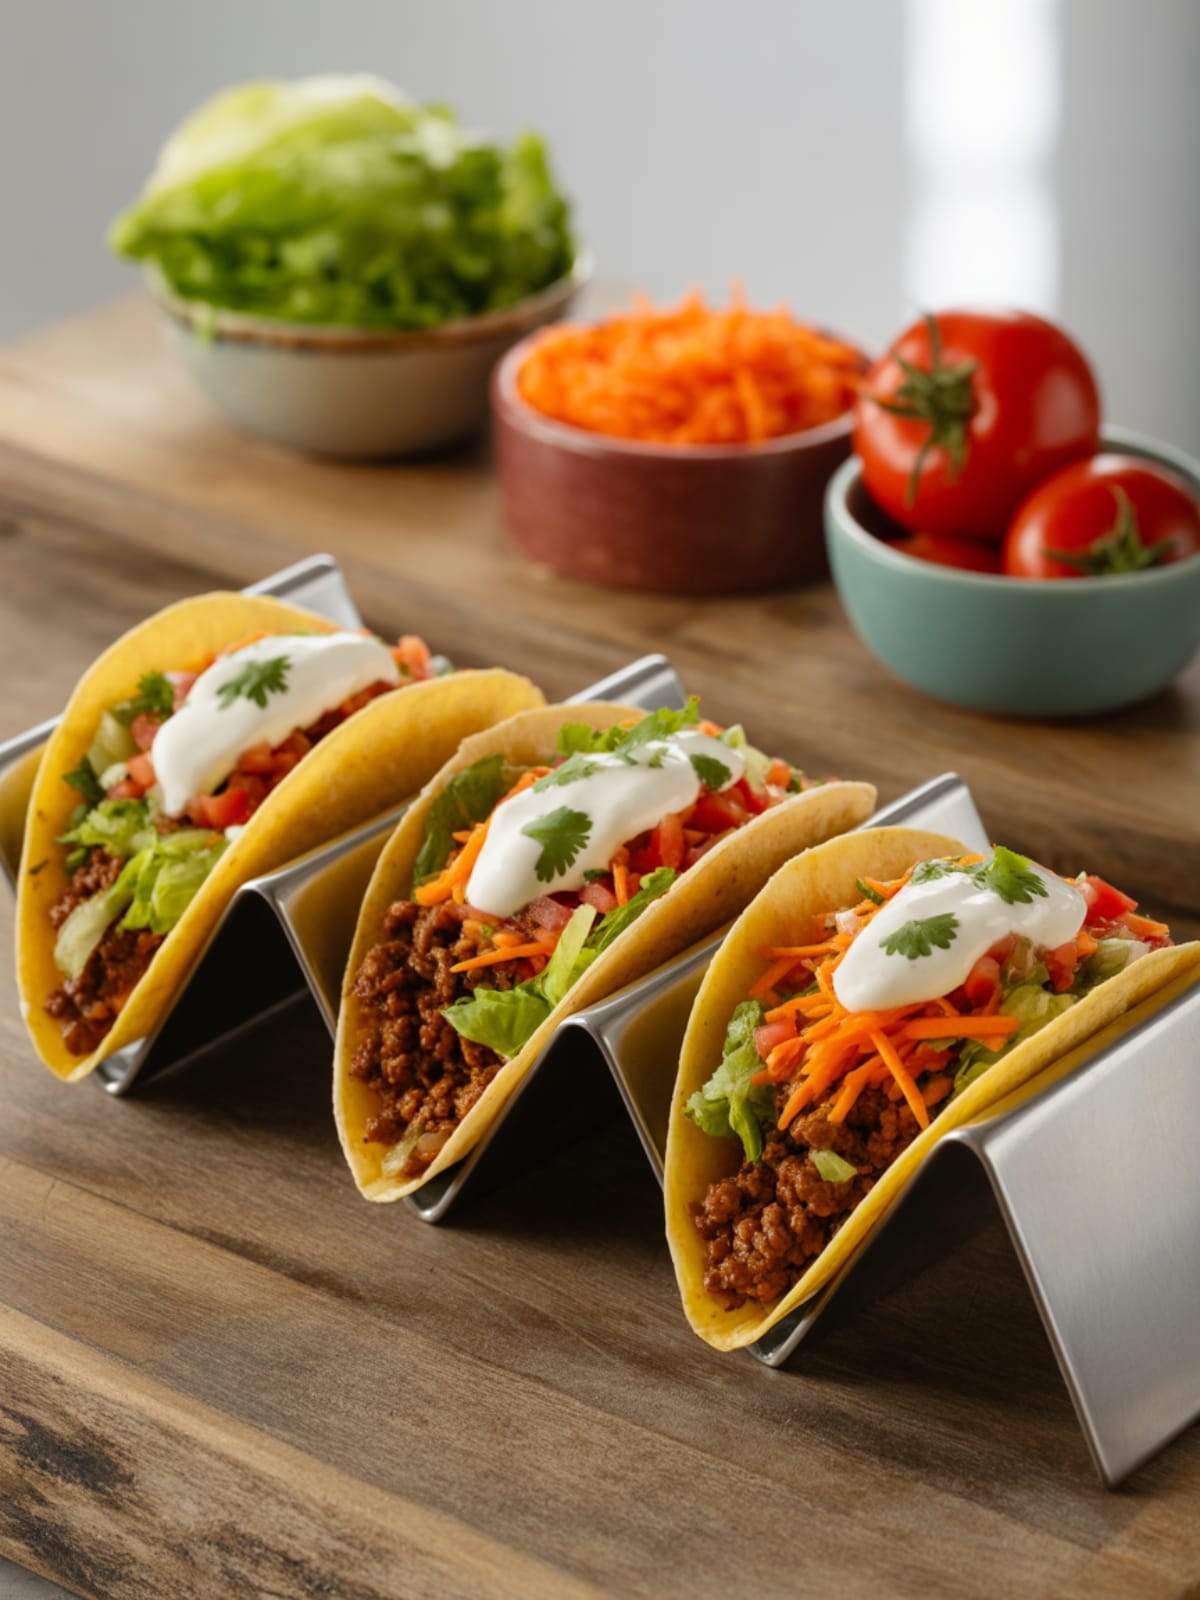
Let’s be honest – who hasn’t had that moment where you’re standing in your kitchen at 6 PM, completely recipe-less, while hungry humans lurk around you expectantly? That’s exactly where my love affair with these classic beef tacos began. They’ve saved dinner (and my sanity) more times than I can count. Crispy shells, seasoned beef, and all those fresh toppings… is your mouth watering yet? Mine certainly is.
Why These Beef Tacos Will Rock Your World
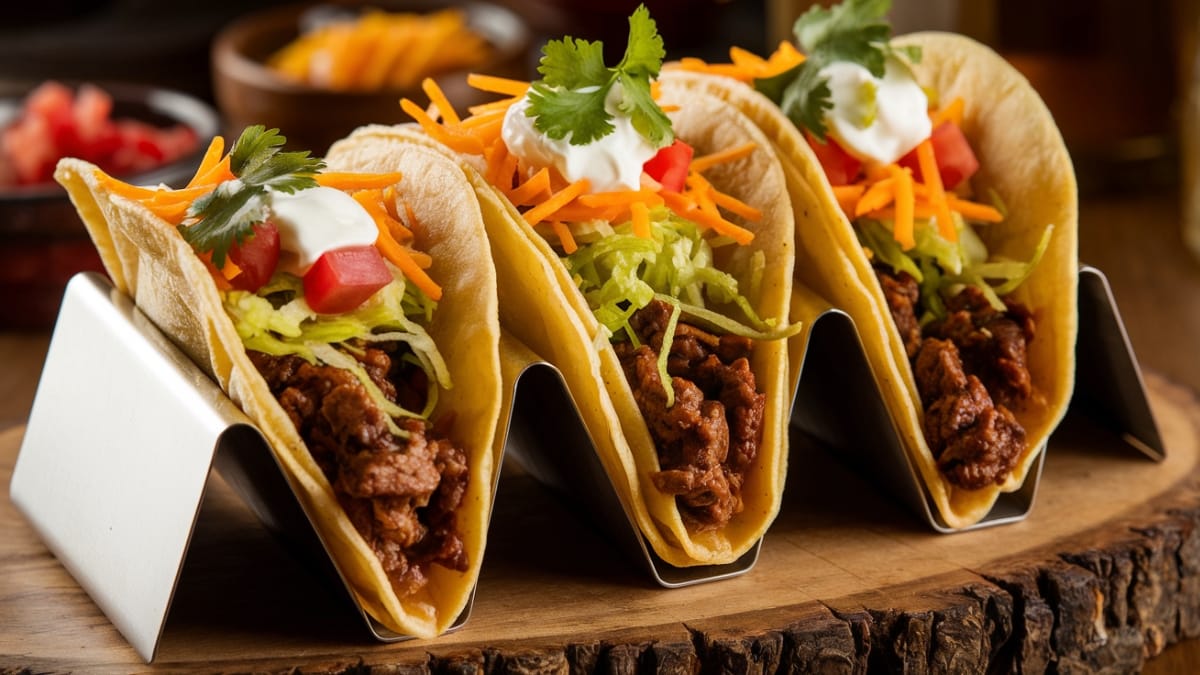
These aren’t just any tacos – they’re your new secret weapon for weeknight dinners. In just 20 minutes, you’ll have a meal that makes everyone think you put in way more effort than you actually did (don’t worry, I won’t tell). The beef is juicy and perfectly spiced, the toppings are fresh and customizable, and honestly? They taste better than your favorite taco joint’s version. Bold claim, I know, but I’m standing by it.

Classic Beef Tacos
Equipment
- Large skillet
- Cutting board
- Knife
Ingredients
- 1 pound ground beef (80/20 lean-to-fat ratio works best)
- 8 hard taco shells (or soft tortillas if that's your jam)
- 2/3 cup water
- 1 tablespoon olive oil
1 packet taco seasoning OR make your own with:
- 1 tablespoon chili powder
- 1 teaspoon cumin
- 1/2 teaspoon paprika
- 1/4 teaspoon oregano
- 1/4 teaspoon garlic powder
- 1/4 teaspoon onion powder
- 1/4 teaspoon salt
- 1/4 teaspoon black pepper
For toppings:
- 1 cup shredded lettuce
- 1 cup diced tomatoes
- 1/2 cup shredded cheddar cheese
- 1/4 cup diced red onion
- 1/4 cup chopped cilantro
- 1 avocado, sliced
- Sour cream
- Salsa or hot sauce
Instructions
- Preheat your oven to 350°F (175°C) to warm those taco shells. Because nobody – and I mean nobody – deserves a cold, sad taco shell.
- Heat olive oil in a large skillet over medium-high heat until it shimmers. Is your pan hot enough? Flick a tiny drop of water in – if it sizzles, you're good to go!
- Add the ground beef and break it apart with a wooden spoon. Keep breaking it down until you have small, even crumbles. No beef boulders allowed in my tacos!
- Cook the beef until no pink remains, about 5-7 minutes. Drain excess fat if you're being virtuous (or leave it if you're being delicious – I won't judge).
- Sprinkle the taco seasoning over the meat and stir to coat evenly. Add water and stir again.
- Bring the mixture to a simmer and cook for about 5 minutes until the liquid reduces and you have a thick, saucy beef mixture. The magic happens in this step – don't rush it!
- While the beef simmers, warm your taco shells in the oven for 3-5 minutes. This makes them extra crispy and less likely to shatter on the first bite (we've all been there).
- Prepare your toppings bar so everyone can customize their tacos. Because if there's one thing I've learned in life, it's that people get weirdly passionate about their taco toppings.
- Assemble: Start with the beef, then pile on your preferred toppings. My pro tip? Cheese goes on first after the meat so it gets a little melty from the heat.
Notes
- Ground beef tip: Don’t overmix or overwork the meat while cooking – this keeps it tender rather than tough.
- Make ahead option: The beef filling can be made up to two days ahead and reheated when needed.
- Shell strategy: If using soft tortillas, you can give them a quick toast in a dry pan for added flavor.
- Leftovers: Store components separately in the refrigerator for up to 3 days. Trust me, taco salad with the leftovers is just as delicious!
Common Mistakes to Avoid
- Skipping the draining step. Unless you want greasy tacos that disintegrate before they reach your mouth, take the 10 seconds to drain that beef!
- Overcooking the meat mixture. Once you add the seasoning and water, just simmer until thickened. Cook it too long and you’ll have dry, sad beef crumbles.
- Cold shells. Room temperature taco shells are an avoidable tragedy. Warm them up! Your taco experience will improve by approximately 473%.
Variations & Customizations
- Healthier Version: Swap ground beef for ground turkey or chicken, use Greek yogurt instead of sour cream, and load up on veggies.
- Spicy Lover’s Edition: Add 1/4 teaspoon cayenne to the seasoning, dice up some jalapeños for topping, and don’t forget the hot sauce!
- Veggie Version: Replace beef with a 15oz can of black beans (drained and rinsed), mashed slightly and seasoned just like the beef. Or try crumbled firm tofu or a plant-based ground substitute.
FAQs
Can I make the taco meat in advance?
Absolutely! It reheats beautifully. Just store it in an airtight container in the fridge for up to 3 days. Add a splash of water when reheating if it seems dry.
How spicy is this recipe?
As written, it’s mild enough for most folks. The beauty is in the customization – let spice-lovers add hot sauce or jalapeños at the table.
Can I use a different meat?
Definitely! Ground turkey, chicken, or pork all work well with the same seasoning. Cooking times might vary slightly.
Final Thoughts
There you have it – classic beef tacos that are quick enough for Tuesday night but delicious enough for, well, any night! They’re the perfect “choose your own adventure” dinner where everyone gets exactly what they want. And isn’t that the dream? Next time someone asks what’s for dinner, just wink mysteriously and say “it’s taco time” – they’ll thank you later.


