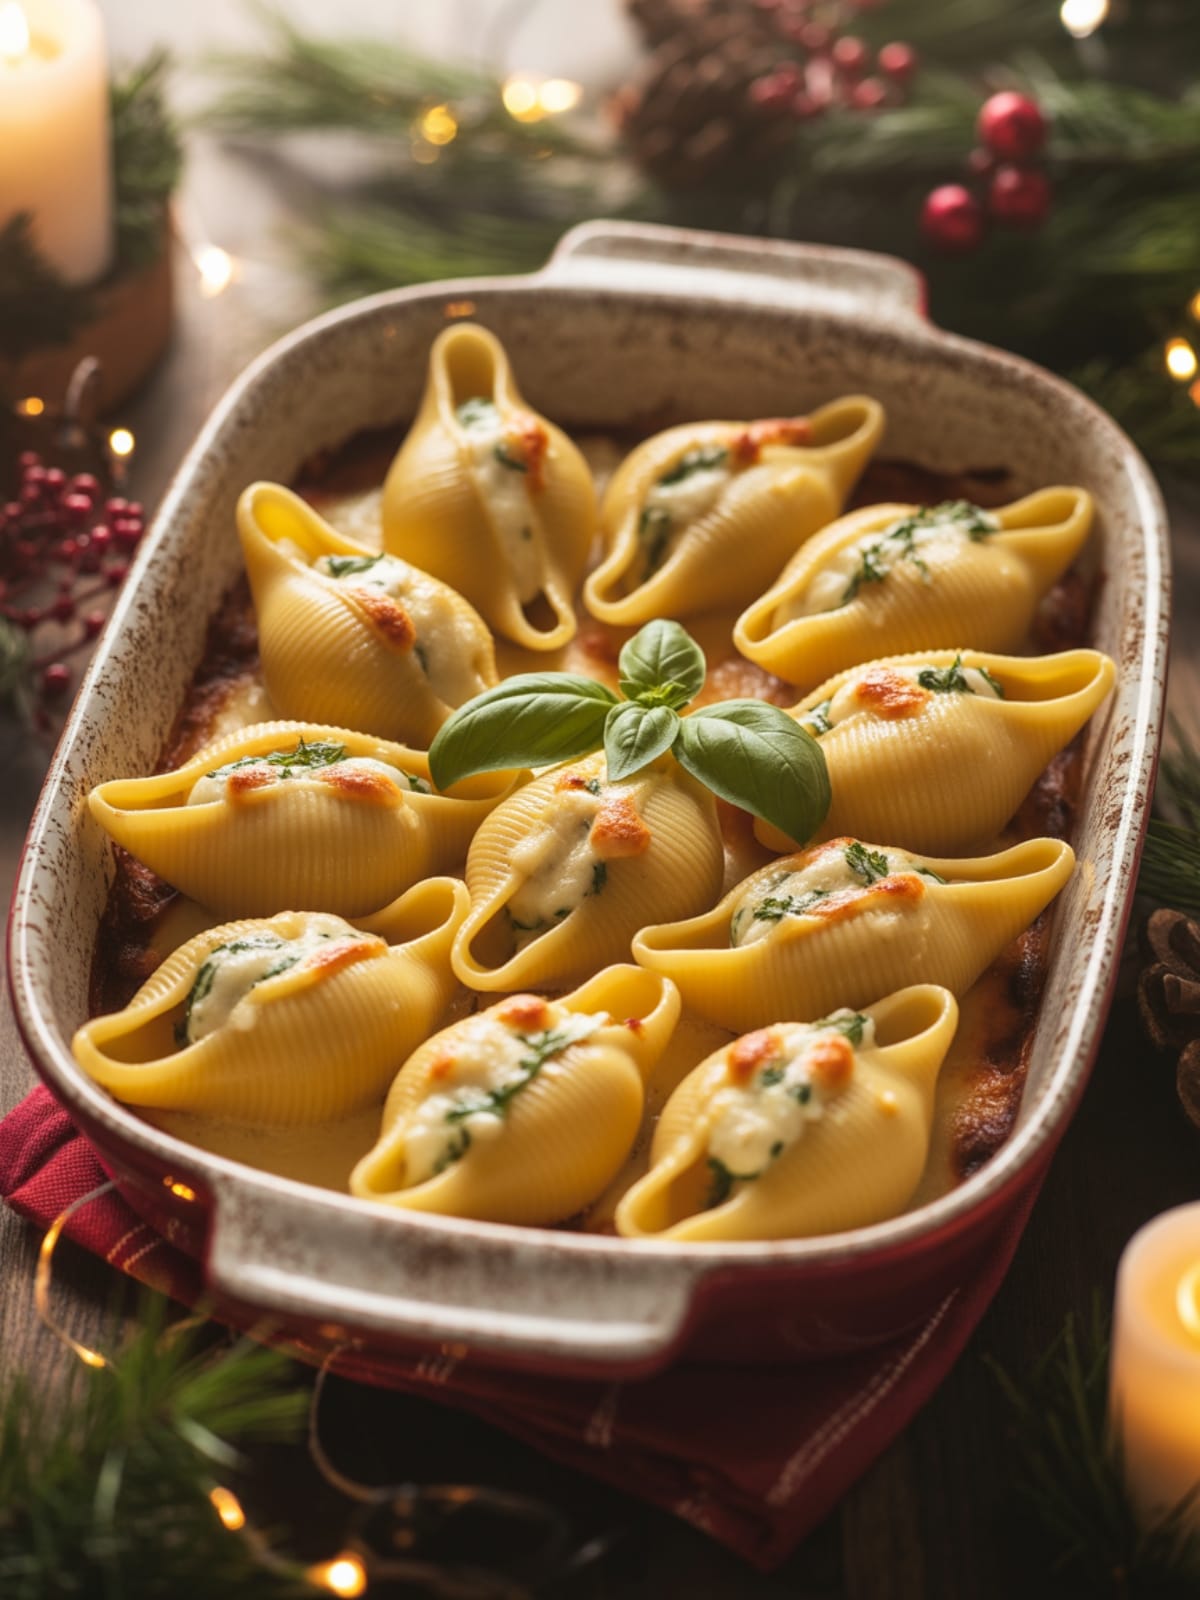
Imagine the aroma of herb-infused ricotta and savory tomato sauce wafting through your kitchen on Christmas Eve. That’s the magic of Christmas Stuffed Shells – a dish that transforms your holiday table into an Italian celebration. These colorful pasta gems aren’t just delicious; they’re a statement piece that says “special occasion” without demanding hours in the kitchen.
Perfect for those who want to create lasting food memories without missing the gift exchange!
Why This Recipe is Awesome
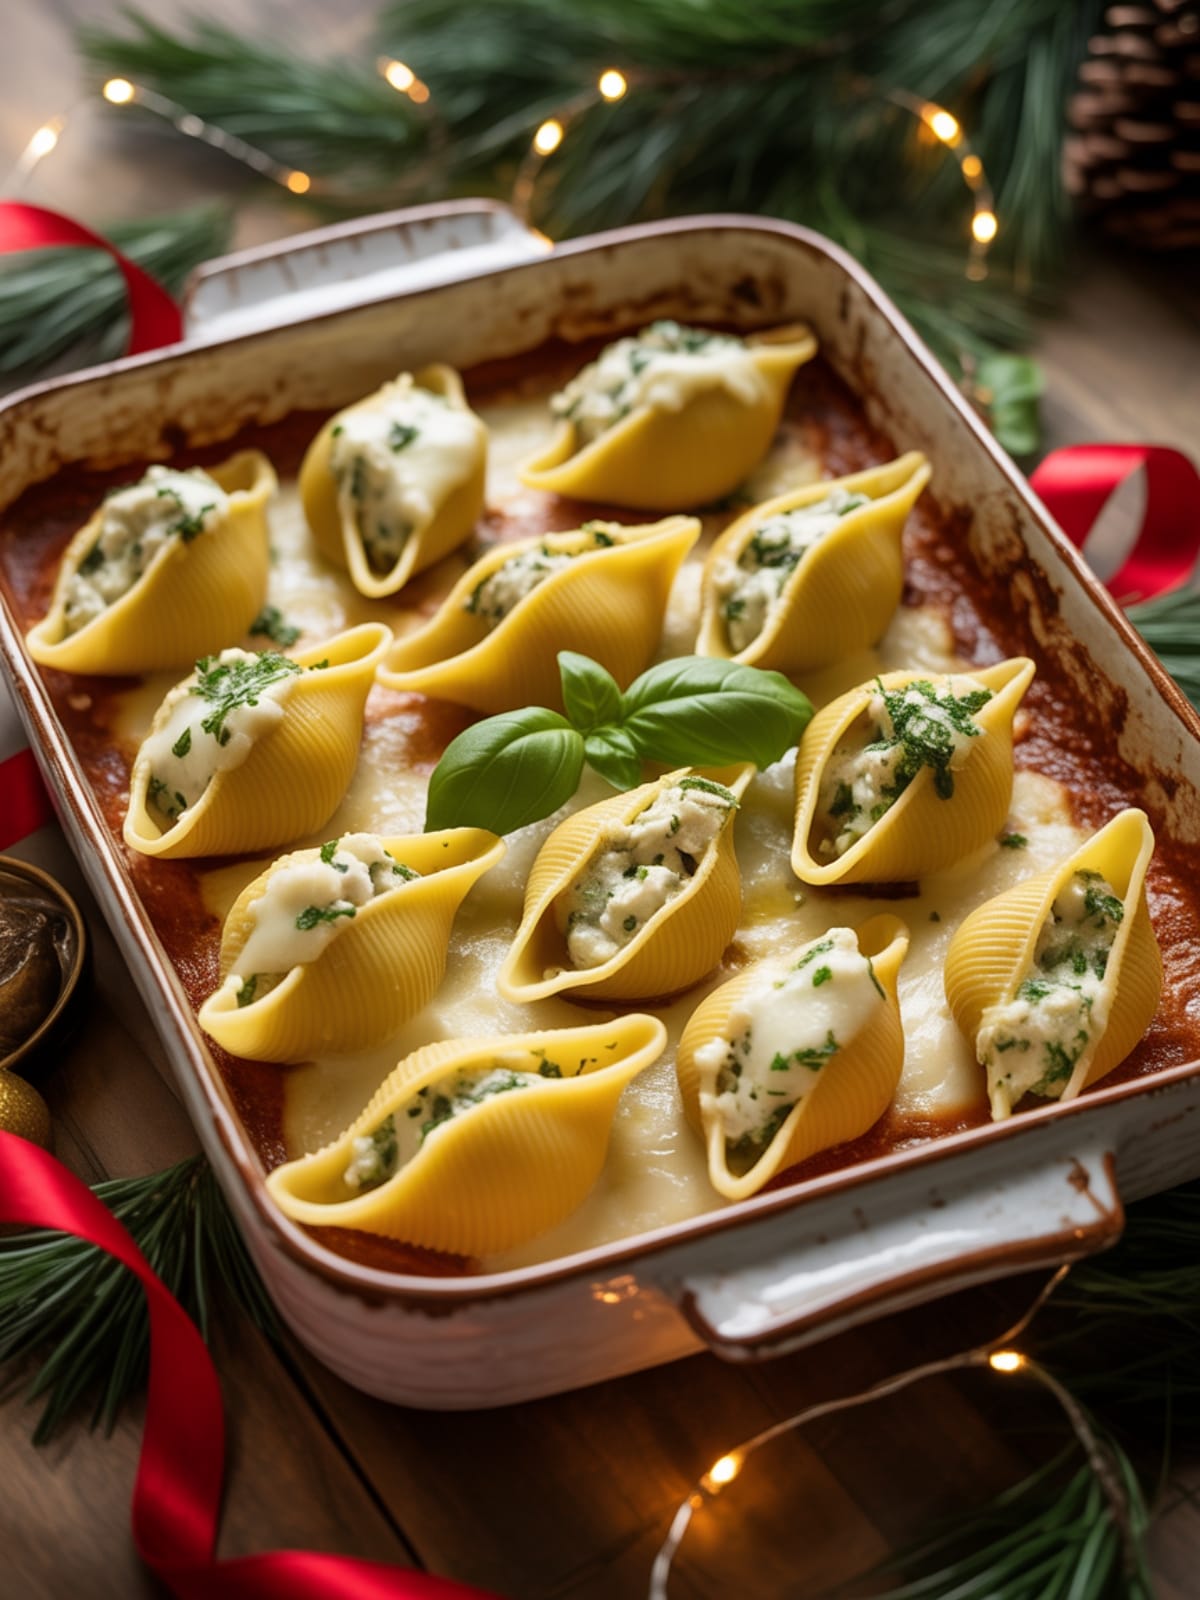
What makes Christmas Stuffed Shells truly spectacular is their incredible versatility and visual impact. The red sauce and green-flecked filling create a naturally festive color scheme that’s perfect for holiday gatherings. These shells are make-ahead friendly – a true gift during the hectic holiday season!
Unlike traditional lasagna that can feel heavy, these shells offer perfect portion control with each pasta shell acting as its own little present of flavor.
The combination of creamy ricotta, melty mozzarella, and robust marinara creates that comforting Italian flavor profile we all crave during cold December nights.
Best of all, this recipe strikes the perfect balance between impressive and accessible. Your guests will think you’ve been cooking all day, but the secret? Most of the work can be done well before they arrive.
That’s holiday magic at its finest!
Equipment needed: Large pot, mixing bowl, 9×13 baking dish, measuring cups, measuring spoons, spoon for filling shells
Christmas Stuffed Shells
Ingredients
- 24-26 jumbo pasta shells
- 32 oz ricotta cheese
- 2 cups shredded mozzarella cheese divided
- 1 cup grated Parmesan cheese divided
- 2 eggs lightly beaten
- 10 oz frozen spinach thawed and well-drained (can substitute with fresh spinach, blanched and chopped)
- 2 tablespoons fresh basil chopped
- 2 tablespoons fresh parsley chopped
- 1 tablespoon fresh rosemary finely chopped
- 2 cloves garlic minced
- 1 teaspoon salt
- 1/2 teaspoon black pepper
- 1/4 teaspoon nutmeg
- 24 oz marinara sauce homemade or store-bought
- Fresh basil leaves for garnish
- Red pepper flakes optional, for serving
Instructions
- Preheat your oven to 375°F (190°C) and lightly grease a 9×13 inch baking dish.
- Cook the pasta shells according to package instructions, but keep them slightly underdone (about 1-2 minutes less than directed). They’ll continue cooking in the oven. Drain and set aside on a baking sheet to cool.
- Prepare the filling by combining ricotta cheese, 1 cup mozzarella, 1/2 cup Parmesan, eggs, drained spinach, chopped herbs, garlic, salt, pepper, and nutmeg in a large mixing bowl. Mix thoroughly until well combined.
- Spread 1 cup of marinara sauce evenly across the bottom of your prepared baking dish.
- Fill each pasta shell with a generous spoonful of the ricotta mixture (about 1.5-2 tablespoons each) and arrange them in a single layer in the baking dish.
- Pour the remaining marinara sauce over the filled shells, making sure to cover them evenly. The sauce protects the pasta from drying out during baking.
- Sprinkle the remaining mozzarella and Parmesan cheese over the top of the shells.
- Cover the baking dish with foil and bake for 25 minutes. Then remove the foil and bake for an additional 5-10 minutes until the cheese is bubbly and slightly golden.
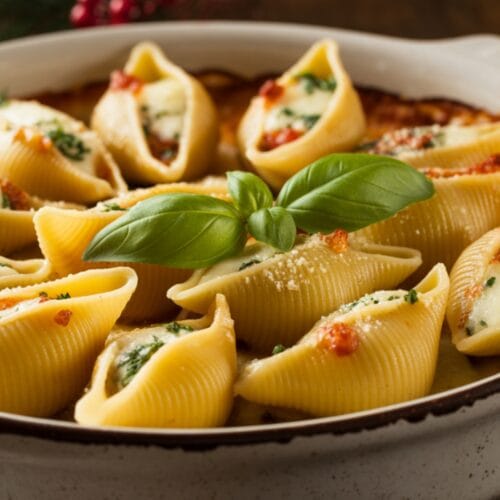
- Let the dish rest for 5 minutes before serving. Garnish with fresh basil leaves and offer red pepper flakes on the side for those who enjoy a touch of heat.
Notes
- When working with frozen spinach, squeeze it extremely well to remove excess moisture. Wrap it in a clean kitchen towel and twist to extract water.
- Cook a few extra shells in case some tear during boiling. The pasta can be fragile, so handle with care.
- To make ahead: Prepare the shells up to the point of baking, cover tightly with foil, and refrigerate for up to 24 hours. Add 10-15 minutes to the covered baking time when cooking from cold.
- For a festive presentation, add diced red bell peppers to the marinara sauce to enhance the Christmas colors.
- Leftovers can be stored in the refrigerator for up to 3 days and actually taste even better as the flavors continue to meld.
Calories & Nutritional Info
- Calories per serving: Approximately 450 calories
- Protein: 25g
- Carbohydrates: 30g
- Fat: 24g
- Dietary considerations: Vegetarian, contains gluten, eggs, and dairy
- Not suitable for: Vegans, those with gluten intolerance, or dairy allergies without modifications
Common Mistakes to Avoid
- Overcooked pasta shells – They’ll continue to cook in the oven, so keep them slightly firm when boiling. Al dente pasta holds its shape better when stuffed.
- Wet spinach – Not removing enough moisture from the spinach will make your filling watery. Take the extra time to thoroughly squeeze it dry.
- Overstuffing the shells – This makes them difficult to handle and can cause them to split. About 1.5-2 tablespoons of filling per shell is ideal.
- Skipping the resting period – Letting the dish stand for 5 minutes after baking allows the filling to set, making service much neater.
- Forgetting to cover with foil initially – This protects the cheese from browning too quickly and ensures the filling heats through properly.
Alternatives & Substitutions
- Dairy-free option: Use plant-based ricotta, mozzarella, and Parmesan alternatives. The texture will be slightly different but still delicious.
- Meat lovers version: Add 1 pound of cooked Italian sausage or ground beef to the sauce for a heartier dish.
- Gluten-free adaptation: Substitute with gluten-free jumbo pasta shells, which are increasingly available in specialty stores.
- Lower calorie option: Use part-skim ricotta and mozzarella, and incorporate more vegetables like mushrooms or zucchini into the filling.
- Time-saving shortcut: Use pre-minced garlic and dried herbs (reduce quantities by half) if fresh aren’t available.
- Vegetable variations: Substitute spinach with blanched and chopped kale, Swiss chard, or even finely chopped broccoli.
FAQs
Can I freeze Christmas Stuffed Shells?
Absolutely! Freeze them before baking – arrange filled shells in a freezer-safe container, cover tightly, and freeze for up to 3 months. When ready to enjoy, thaw overnight in the refrigerator and bake as directed, adding about 15 minutes to the covered baking time.
What can I serve with Christmas Stuffed Shells?
A crisp Caesar salad, garlic bread, and a light vegetable side like roasted Brussels sprouts complement these shells beautifully. For a complete holiday meal, pair with a simple antipasto platter as a starter.
How can I make this recipe more festive for Christmas?
Try topping with diced red bell peppers and additional fresh herbs before serving, or arrange the shells in a circular wreath pattern in a round baking dish. Some families even add a touch of food coloring to create red and green pasta shells!
What if I can’t find jumbo pasta shells?
Cannelloni tubes or large manicotti make excellent substitutes. You can also use this filling for a traditional lasagna, spreading it between layers of pasta sheets.
How do I know when the shells are done baking?
The dish is ready when the sauce is bubbling around the edges, the cheese on top has melted completely with slight browning, and the internal temperature reaches 165°F (74°C).
Final Thoughts
Christmas Stuffed Shells bring together the best of holiday cooking – they’re impressive yet approachable, festive yet comforting. They allow you to prepare most of the work ahead of time, giving you the freedom to enjoy those precious moments with family and friends.
Whether it’s your first time making them or they’re already a cherished tradition, these colorful, cheesy parcels of joy are sure to bring some Italian warmth to your holiday celebrations.


