The first time I made enchiladas from scratch, my kitchen looked like a salsa bomb had exploded. There was sauce on the ceiling (don’t ask), cheese in my hair, and somehow, tortilla fragments in places tortillas should never be. Fast forward to today, and I’ve finally perfected a beef enchilada recipe that delivers maximum flavor with minimum kitchen destruction. These aren’t just any enchiladas – they’re the kind that make your friends text you three days later still thinking about them. They’re the “I’m having a bad day and only saucy, cheesy goodness will fix it” meal. Ready to create some serious Mexican food magic in your own kitchen? Let’s roll! (Pun absolutely intended.)
Why These Beef Enchiladas Will Rock Your World
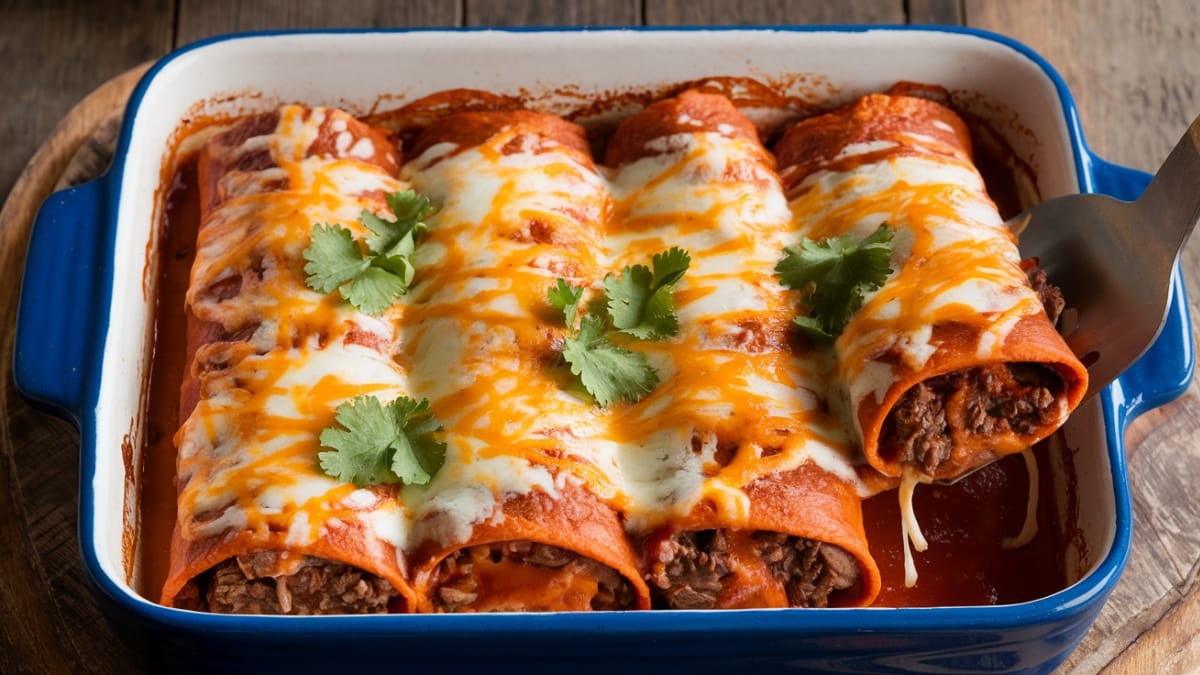
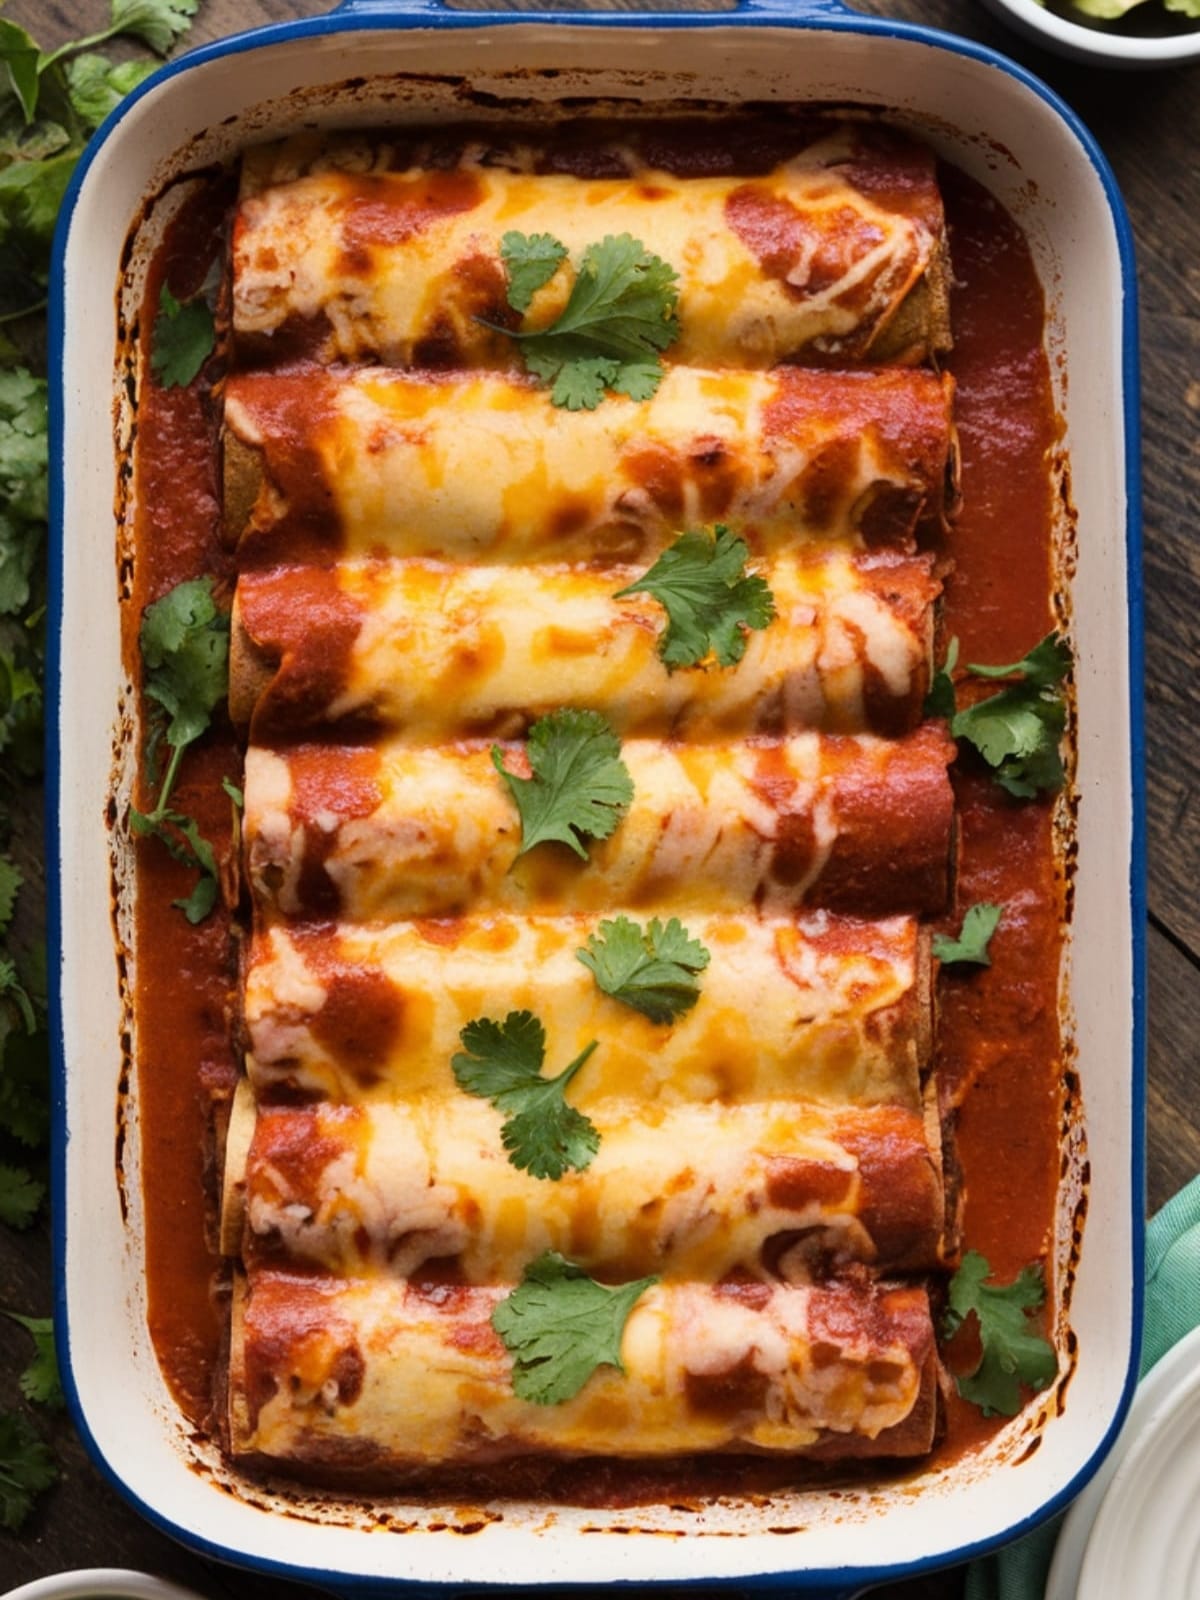
These enchiladas strike that perfect balance between authentic technique and weeknight practicality. The beef filling is seasoned to perfection – smoky, a little spicy, and incredibly savory. The homemade enchilada sauce (trust me, it’s worth it) wraps everything in a velvety, complex flavor that store-bought just can’t match. When the tortillas soak up that vibrant red sauce and the cheese gets all melty and crispy around the edges… it’s a borderline spiritual experience. Best of all, while these taste like they came from your favorite Mexican restaurant, they come together in just 45 minutes – most of which is hands-off baking time. Perfect for impressing dinner guests or just treating yourself on a random Tuesday.

Beef Enchiladas
Equipment
- Large skillet
- 9×13 baking dish
- Small saucepan
Ingredients
For the enchilada sauce
- 3 tablespoons vegetable oil
- 3 tablespoons all-purpose flour
- 1/4 cup chili powder
- 2 cups chicken broth
- 1 (8 oz) can tomato sauce
- 1 teaspoon ground cumin
- 1 teaspoon garlic powder
- 1/2 teaspoon dried oregano
- 1/2 teaspoon salt
- 1/4 teaspoon cinnamon (my secret ingredient!)
For the beef filling
- 1 tablespoon vegetable oil
- 1 pound ground beef (80/20 lean-to-fat ratio)
- 1 medium onion, diced
- 2 cloves garlic, minced
- 1 (4 oz) can diced green chiles
- 1/2 teaspoon ground cumin
- 1/2 teaspoon dried oregano
- Salt and pepper to taste
For assembly
- 12 corn tortillas (or flour tortillas if you prefer)
- 3 cups shredded Mexican cheese blend, divided
- Optional toppings: diced avocado, sour cream, chopped cilantro, sliced jalapeños, lime wedges
Instructions
Step 1: Make the Enchilada Sauce
- Heat the oil in a small saucepan over medium heat until shimmering.
- Add the flour and chili powder, then whisk continuously for about 2 minutes until fragrant. This is essentially making a roux, which will thicken your sauce.
- Gradually whisk in the chicken broth to avoid lumps. Then add tomato sauce, cumin, garlic powder, oregano, salt, and cinnamon.
- Bring to a simmer and cook for 5-7 minutes until slightly thickened, whisking occasionally. The sauce should coat the back of a spoon but still be pourable.
- Remove from heat and set aside. This sauce can be made up to 3 days ahead and refrigerated if you want to prep ahead!
Step 2: Prepare the Beef Filling
- Preheat your oven to 375°F (190°C).
- Heat oil in a large skillet over medium-high heat until shimmering.
- Add the ground beef and break it apart with a wooden spoon. Cook until no longer pink, about 5-7 minutes.
- Add the diced onion and cook until softened, about 3-4 minutes.
- Stir in the garlic, green chiles, cumin, and oregano. Cook for another minute until fragrant.
- Season with salt and pepper to taste, then remove from heat. Drain excess fat if needed.
- Stir in 1 cup of the shredded cheese while the mixture is still hot so it melts slightly.
Step 3: Soften the Tortillas
- Traditional method: Lightly fry each tortilla in hot oil for about 10 seconds per side until pliable but not crispy. Drain on paper towels.
- Easier method: Stack tortillas, wrap in damp paper towels, and microwave for 30-45 seconds until warm and pliable.
- Healthier option: Brush tortillas lightly with oil on both sides and warm in the oven for 2-3 minutes.
Step 4: Assemble and Bake
- Spread about 1/2 cup of enchilada sauce in the bottom of a 9×13 baking dish.
- Working with one tortilla at a time, place about 1/4 cup of the beef filling down the center of the tortilla.
- Roll up the tortilla tightly and place it seam-side down in the baking dish. Repeat with remaining tortillas, arranging them snugly in the dish.
- Pour the remaining enchilada sauce over the top, making sure to cover all the tortillas (this prevents them from drying out).
- Sprinkle the remaining 2 cups of cheese evenly over the top.
- Bake uncovered for 20-25 minutes until the cheese is melted and bubbly and the edges are slightly crispy.
- Let stand for 5 minutes before serving (I know it's hard to wait, but this helps them set up a bit!).
- Garnish with your choice of toppings and serve hot. Prepare for compliments!
Notes
- Sauce strategy: The homemade enchilada sauce is what makes this recipe special, but in a pinch, you can substitute 2.5 cups of your favorite store-bought enchilada sauce.
- Tortilla tip: Corn tortillas have more authentic flavor, but flour tortillas are easier to work with and don’t tear as easily. Both are delicious!
- Make ahead magic: You can assemble the entire dish up to 24 hours in advance and refrigerate. Add an extra 10 minutes to the baking time if cooking from cold.
- Freezer friendly: Baked enchiladas freeze beautifully for up to 3 months. Thaw overnight in the refrigerator and reheat in a 350°F oven until warmed through.
- Spice control: For milder enchiladas, reduce the chili powder to 2 tablespoons. For spicier, add 1/4 teaspoon cayenne to the sauce or top with sliced jalapeños.
Common Mistakes to Avoid
- Skipping the tortilla softening step. Dry, straight-from-the-package tortillas will crack when you try to roll them! Take the extra minute to soften them using one of the methods above. Your enchiladas will look better and be easier to eat.
- Overstuffing the tortillas. I know it’s tempting to cram in as much filling as possible, but overstuffed enchiladas tend to split open and make a mess. Stick to about 1/4 cup of filling per tortilla for the perfect ratio.
- Not simmering the sauce enough. Raw flour taste in your sauce? No thanks! Make sure to cook the flour/chili powder mixture for a full 2 minutes, and then let the sauce simmer until it thickens slightly. This develops the flavors and ensures a silky-smooth texture.
Variations & Customizations
- Chicken Enchiladas: Substitute 2 cups of shredded rotisserie chicken for the ground beef for an equally delicious but different flavor profile.
- Vegetarian Version: Replace the beef with a mixture of sautéed bell peppers, zucchini, corn, and black beans. Use vegetable broth in the sauce instead of chicken broth.
- Breakfast Enchiladas: Fill the tortillas with scrambled eggs, chorizo, and cheese for an amazing brunch option. Top with a fried egg for extra decadence!
FAQs
Can I use ground turkey instead of beef?
Absolutely! Ground turkey, chicken, or even plant-based meat alternatives work well. If using turkey or chicken, which are leaner, you might want to add a tablespoon of olive oil to the filling for moisture.
How spicy are these enchiladas?
As written, they’re moderately spicy – flavorful but not overwhelming. The heat mainly comes from the chili powder in the sauce and the green chiles in the filling. Adjust to your taste by changing the amount of chili powder or adding cayenne for more heat.
What sides go well with enchiladas?
Mexican or Spanish rice, refried or black beans, a simple green salad, or elote (Mexican street corn) all make perfect companions. For drinks, try a classic margarita or horchata!
Final Thoughts
There’s something deeply satisfying about making enchiladas from scratch. Yes, there are a few steps, but the payoff is so worth it. That moment when you pull the bubbling, cheese-topped dish from the oven and the aroma fills your kitchen… pure culinary bliss. Whether you’re cooking for family, friends, or just treating yourself, these beef enchiladas deliver restaurant-quality flavor with home-cooked love in every bite. The only problem? Once people know you can make enchiladas this good, be prepared for frequent requests!