Ever bitten into a piece of fudge so smooth and rich that it instantly transported you back to childhood holiday memories? That’s exactly what this Best Christmas Fudge Recipe delivers. This isn’t just another sweet treat—it’s a holiday tradition in the making, a gift everyone actually wants to receive, and quite possibly the easiest impressive dessert you’ll ever create.
The magic of watching simple ingredients transform into velvety, decadent squares of joy is something everyone should experience at least once during the festive season.
Why This Recipe is Awesome
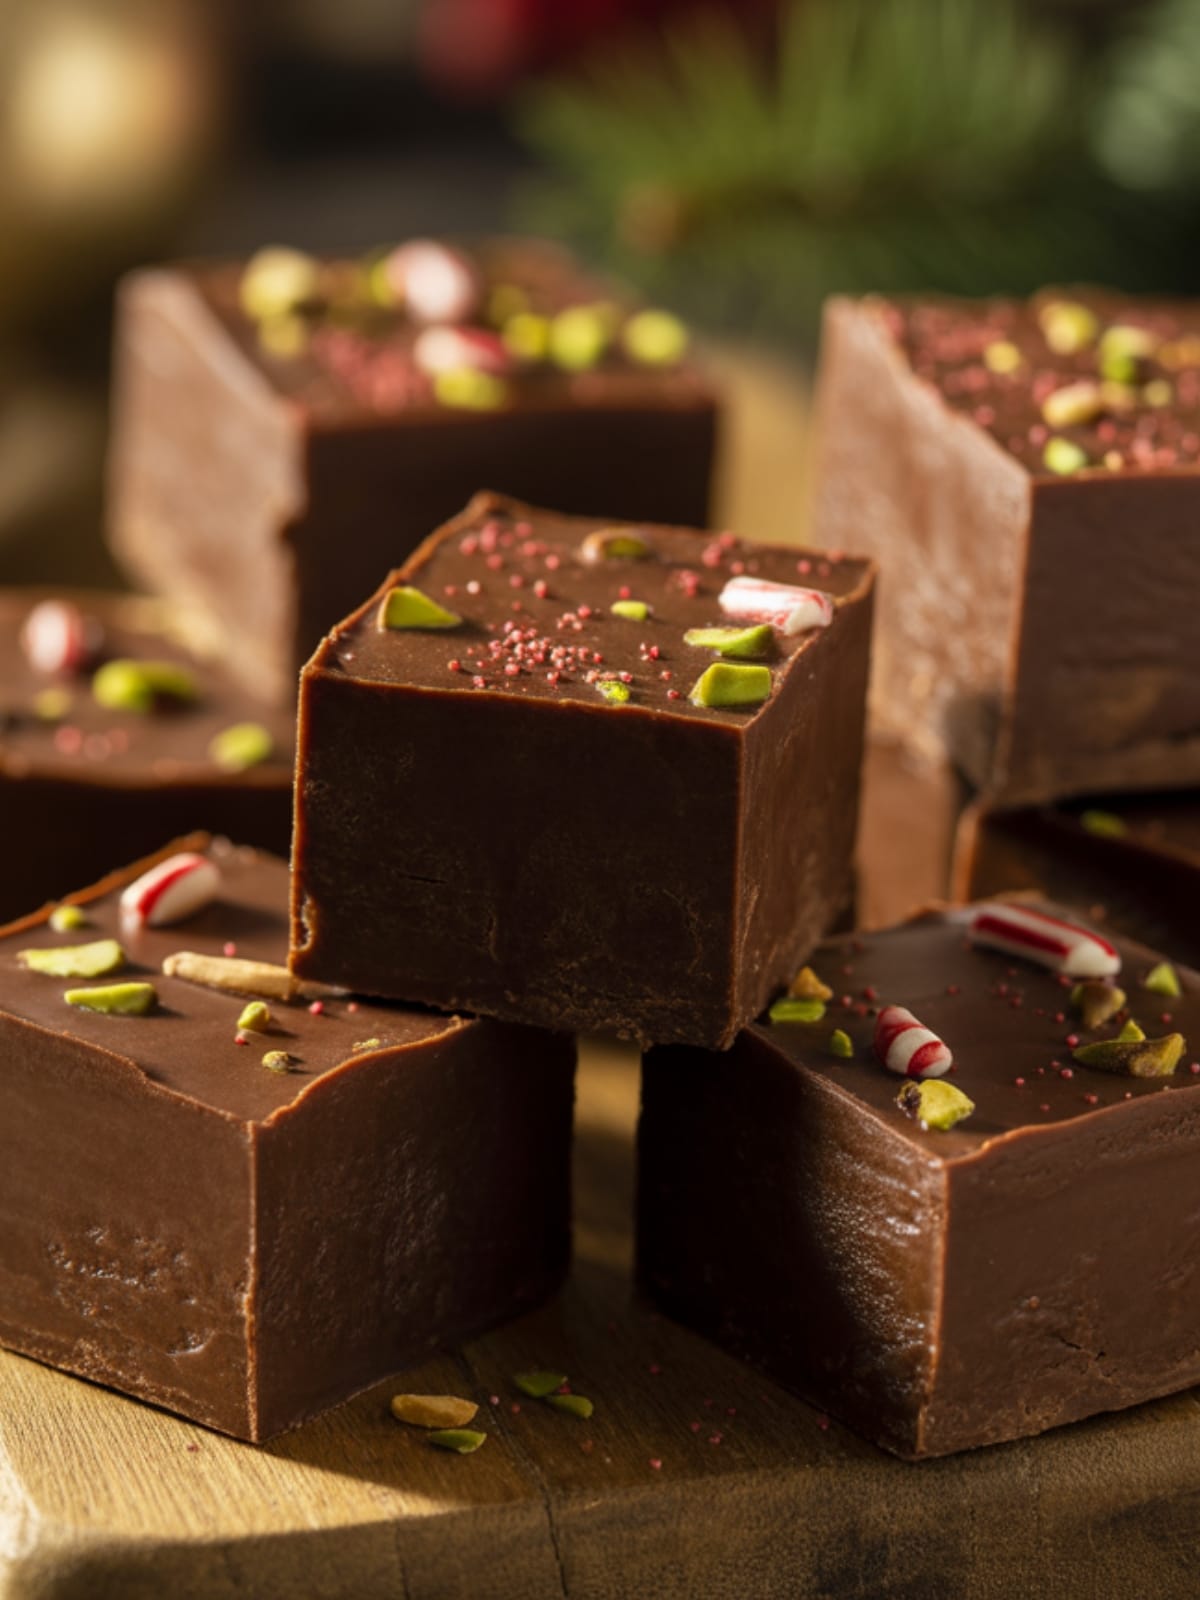
What makes this Best Christmas Fudge Recipe stand out in the sea of holiday confections is its perfect balance of simplicity and wow-factor. Unlike many fudge recipes that require candy thermometers and precise timing, this foolproof version delivers consistently perfect results even for first-time candy makers. The texture is impeccably smooth—never grainy or crumbly—with a melt-in-your-mouth quality that store-bought versions simply can’t match.
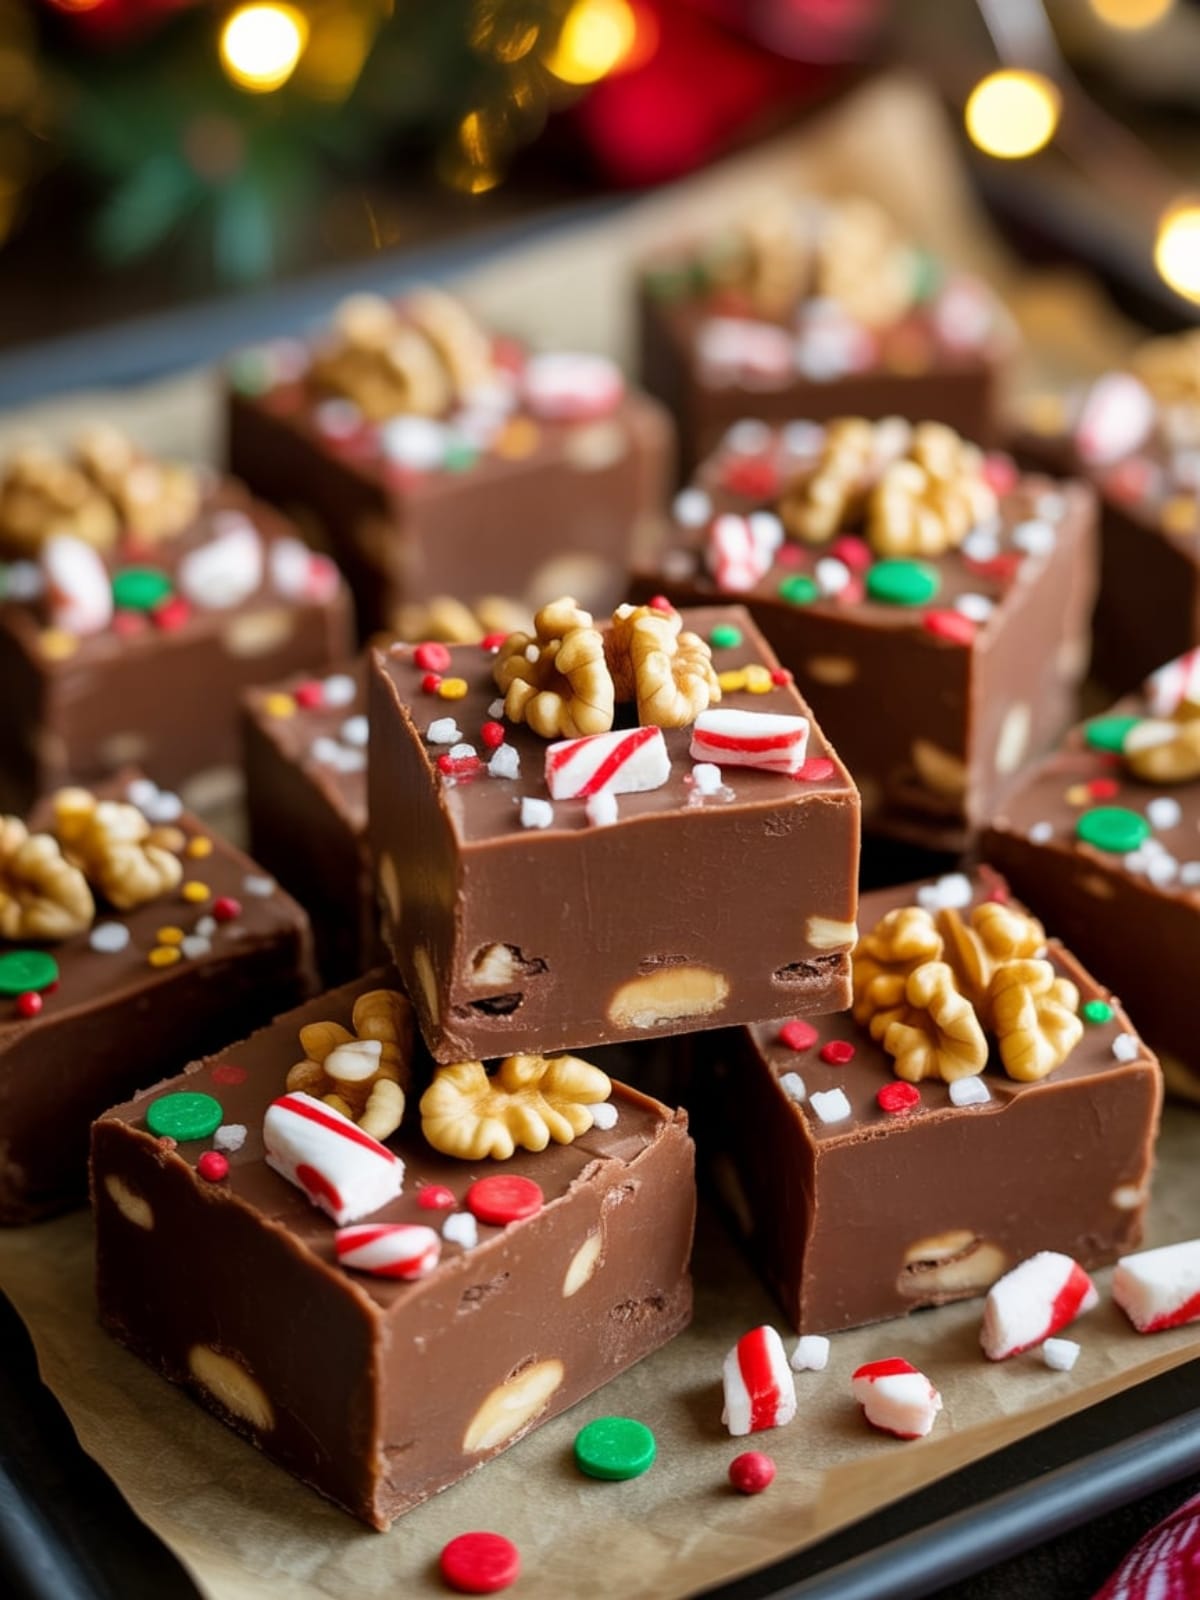
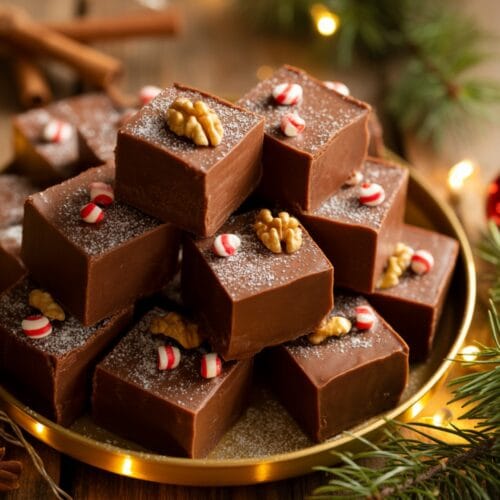
This recipe also serves as the perfect canvas for creativity. While delicious in its classic form, you can easily customize it with mix-ins like crushed candy canes, toasted nuts, or festive sprinkles to make it uniquely yours. Plus, it makes an impressive homemade gift that looks like you spent hours in the kitchen, when really it takes just minutes of active preparation.
Equipment needed: 8×8 inch pan, parchment paper, medium saucepan, rubber spatula, measuring cups
Christmas Fudge
Ingredients
- 3 cups semi-sweet chocolate chips
- 1 14 oz can sweetened condensed milk
- ¼ cup 4 tablespoons unsalted butter
- 1 tablespoon pure vanilla extract
- ¼ teaspoon salt enhances chocolate flavor
- Optional mix-ins: 1 cup chopped walnuts ½ cup crushed candy canes, or ½ cup holiday sprinkles
Instructions
- Prepare your pan by lining an 8×8 inch baking dish with parchment paper, leaving overhang on the sides for easy removal. Lightly grease the parchment if desired.
- Combine the chocolate chips, condensed milk, and butter in a medium saucepan. Heat over low heat, stirring constantly to prevent scorching.
- Continue stirring until completely melted and smooth – this should take about 5 minutes. The mixture should look glossy and uniform with no visible chocolate chip pieces remaining.
- Remove from heat and stir in vanilla and salt until fully incorporated. This is the moment that transforms good fudge into great fudge, so don’t skip these flavor enhancers.
- Fold in any optional mix-ins if using, distributing them evenly throughout the mixture without overmixing.
- Pour the fudge mixture into your prepared pan and smooth the top with your spatula for a perfectly even surface.
- Allow to cool completely at room temperature for about 2 hours, then transfer to the refrigerator for at least 1 hour to fully set.
- Lift the fudge out using the parchment paper overhang and place on a cutting board.
- Cut into 1-inch squares with a sharp knife, wiping the blade clean between cuts for the cleanest edges.
Notes
- For the smoothest texture, avoid substituting other milk products for the sweetened condensed milk – it’s crucial for both structure and sweetness.
- This fudge will keep at room temperature in an airtight container for up to 1 week, or refrigerated for up to 3 weeks – perfect for making ahead during the busy holiday season.
- For easier cutting, dip your knife in hot water and wipe dry between slices.
- If giving as gifts, wait until the fudge is completely set before packaging to avoid smudging or sticking.
- For a more intense chocolate flavor, use a mix of semi-sweet and bittersweet chocolate chips.
Calories & Nutritional Info
- Calories: Approximately 90 calories per 1-inch square
- Fat: 5g per serving (3g saturated)
- Carbohydrates: 10g (9g from sugar)
- Protein: 1g per serving
- Allergens: Contains dairy; may contain traces of nuts depending on chocolate chips used
- Dietary notes: Gluten-free but not suitable for vegan diets
Common Mistakes to Avoid
- Rushing the melting process – heating too quickly can cause chocolate to seize or burn. Low and slow is the way to go!
- Neglecting to stir constantly – the mixture can develop hot spots and become grainy if not continually stirred during heating.
- Cutting before fully set – patience is key! Cutting too soon results in messy, soft edges instead of clean squares.
- Using cold ingredients – allow butter to come to room temperature for more even melting and better texture.
- Substituting evaporated milk for sweetened condensed milk – they’re entirely different products and your fudge will fail without the right one.
Alternatives & Substitutions
- White chocolate version: Substitute white chocolate chips for semi-sweet for a creamy vanilla fudge base that pairs beautifully with crushed peppermints.
- Peanut butter twist: Replace ½ cup of chocolate chips with ½ cup peanut butter for a Reese’s-inspired treat.
- Dairy-free option: Use dairy-free chocolate chips and coconut condensed milk (though texture may differ slightly).
- Rocky road variation: Fold in 1 cup mini marshmallows and ½ cup chopped nuts after removing from heat.
- Mocha fudge: Add 1 tablespoon instant espresso powder when adding the vanilla for coffee-enhanced chocolate flavor.
FAQs
Why did my fudge turn out grainy?
Grainy fudge typically results from sugar crystallization. Ensure you’re stirring constantly while heating, avoid rapid temperature changes, and don’t scrape the sides of the pan where sugar crystals form.
Can I double this recipe?
Absolutely! Double all ingredients and use a 9×13 inch pan instead. The setting time might increase slightly, but the preparation remains the same.
How do I know when the fudge is properly set?
Properly set fudge should feel firm to the touch and not leave any residue on your finger. It should also cleanly release from the parchment paper and hold its shape when cut.
Why add salt to sweet fudge?
Salt is a flavor enhancer that actually makes the chocolate taste more chocolatey by contrasting with the sweetness. It creates a more complex, balanced flavor profile that elevates the entire recipe.
Can I freeze this fudge for later?
Yes! This fudge freezes beautifully for up to 3 months. Wrap it tightly in plastic wrap, then foil, and store in an airtight container. Thaw in the refrigerator overnight before serving.
Final Thoughts
This Best Christmas Fudge Recipe isn’t just about creating a delicious treat—it’s about crafting sweet holiday memories. Whether you’re continuing a family tradition or starting a new one, there’s something magical about homemade fudge that brings people together. Give yourself permission to enjoy both the process and the delectable results. Your future self (and your lucky recipients) will thank you!


