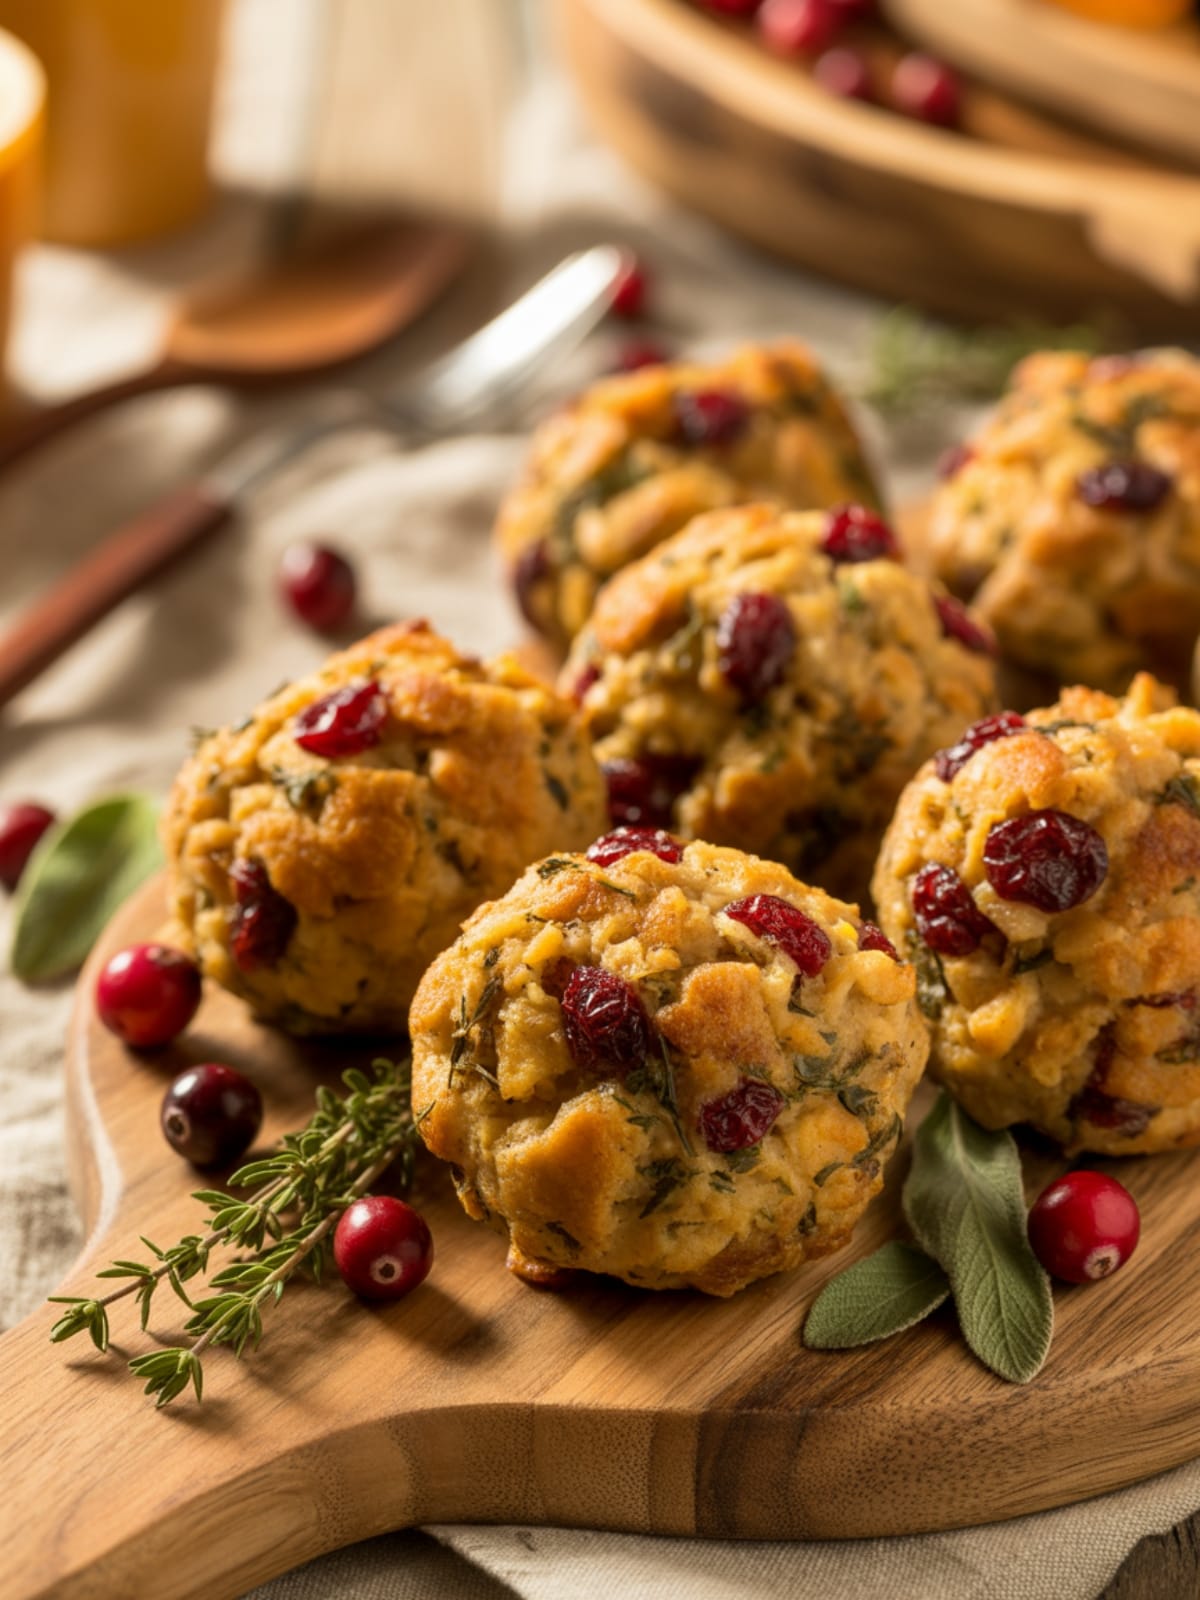
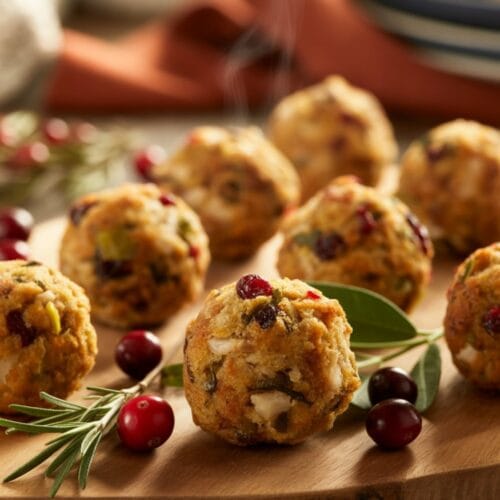
Ever find yourself with leftover turkey and stuffing after a holiday feast? Or maybe you’re just craving those warm, comforting holiday flavors without committing to a full spread? These Cranberry & Turkey Stuffing Balls are about to become your new favorite way to enjoy classic holiday flavors in a perfectly portioned, incredibly versatile package.
These little bites of joy combine the savory goodness of turkey with the herby complexity of stuffing and the bright pop of cranberries. They’re essentially the best parts of a holiday dinner rolled into delightful, golden-brown morsels that everyone will reach for.
Why This Recipe is Awesome
What makes these Cranberry & Turkey Stuffing Balls truly special is how they transform traditional holiday flavors into something new and exciting. They’re the perfect solution for holiday leftovers, turning yesterday’s dinner into today’s star appetizer.
But don’t wait for leftovers—they’re worth making from scratch too! These stuffing balls strike that perfect balance between crispy exterior and moist, flavorful interior. The combination of herbs, savory turkey, and tart cranberries creates an explosion of flavors that captures the essence of a holiday meal in every bite.
As a bonus, they’re incredibly versatile. Serve them as appetizers at your next gathering, pack them for lunch with a side salad, or make them the centerpiece of a cozy dinner with roasted vegetables. They freeze beautifully too, making meal prep a breeze.
Equipment needed: Mixing bowl, baking sheet, parchment paper, measuring cups, measuring spoons
Cranberry & Turkey Stuffing Balls
Ingredients
- 2 cups cooked turkey finely chopped (leftover or freshly cooked)
- 3 cups prepared stuffing homemade or store-bought
- 1 cup dried cranberries
- 2 large eggs beaten
- ¼ cup fresh parsley finely chopped
- 2 tablespoons fresh sage finely chopped (or 2 teaspoons dried)
- 1 tablespoon fresh thyme leaves or 1 teaspoon dried
- 1 medium onion finely diced
- 2 celery stalks finely diced
- 3 tablespoons butter
- ½ cup chicken or turkey broth if stuffing is dry
- Salt and freshly ground black pepper to taste
- 2 tablespoons olive oil for brushing
Instructions
- Prepare your workspace by preheating your oven to 375°F (190°C) and lining a baking sheet with parchment paper.
- Sauté the aromatics by melting butter in a skillet over medium heat, then adding onions and celery. Cook for 5-7 minutes until softened but not browned. Let cool slightly.
- Combine the base mixture in a large bowl by mixing the prepared stuffing, chopped turkey, and sautéed vegetables. If your stuffing is very dry, add a splash of broth to moisten.
- Add the flavor enhancers by folding in the cranberries, fresh herbs, salt, and pepper, ensuring even distribution throughout the mixture.
- Bind the mixture by pouring in the beaten eggs and gently mixing until everything holds together. The mixture should be moist but not soggy.
- Form the balls using about 2 tablespoons of mixture for each. Roll between your palms to create golf ball-sized portions, placing them on the prepared baking sheet about an inch apart.
- Brush with oil to ensure a golden, crispy exterior. Make sure to coat the tops and sides lightly.
- Bake until golden for 25-30 minutes, rotating the pan halfway through for even browning. The stuffing balls should be crisp on the outside and reach an internal temperature of 165°F.
- Rest briefly for 5 minutes before serving to allow them to set up properly.
Notes
- If using leftover stuffing that’s already well-seasoned, you may want to reduce the added herbs in the recipe.
- These stuffing balls can be made up to a day ahead and refrigerated before baking.
- For make-ahead convenience, you can freeze the uncooked balls on a baking sheet, then transfer to a freezer bag once solid. Bake from frozen, adding about 10 minutes to the cooking time.
- If you don’t have leftover turkey, rotisserie chicken makes an excellent substitute.
- For extra richness, add ¼ cup grated parmesan cheese to the mixture.
Calories & Nutritional Info
- Calories: Approximately 120 calories per stuffing ball
- Protein: 6g per serving
- Carbohydrates: 14g per serving
- Fat: 5g per serving
- Fiber: 1g per serving
- Contains: Gluten (from stuffing), eggs
- Not suitable for: Vegetarians, vegans, those with celiac disease (unless using gluten-free stuffing)
Common Mistakes to Avoid
- Mixture too dry: If your mixture crumbles when forming balls, add a little more broth until it holds together.
- Mixture too wet: If too sticky to form balls, add a few breadcrumbs to absorb excess moisture.
- Overcrowding the baking sheet: Leave enough space between balls for heat circulation, or they’ll steam instead of getting crispy.
- Skipping the oil brush: This step is crucial for achieving that desirable golden crust.
- Not chopping ingredients finely enough: Large chunks can cause the balls to fall apart during cooking.
Alternatives & Substitutions
- Make it gluten-free: Use gluten-free stuffing mix as your base.
- Protein options: Substitute chicken, ham, or even cooked sausage for the turkey.
- Vegetarian version: Replace the meat with sautéed mushrooms and add some nuts for texture and protein.
- Fruit variations: Try dried cherries or chopped dried apricots instead of cranberries.
- Herb adjustments: Rosemary or tarragon work well as alternative herbs.
- Binding alternatives: If avoiding eggs, try 2-3 tablespoons of flax meal mixed with 6-9 tablespoons of water as a binder.
FAQs
Can I make these stuffing balls ahead of time?
Absolutely! You can form the balls up to 24 hours in advance and refrigerate them covered.
You can also freeze the uncooked balls for up to 3 months. When ready to serve, bake them directly from frozen, adding about 10 extra minutes to the cooking time.
What’s the best way to serve Cranberry & Turkey Stuffing Balls?
They’re delicious on their own as appetizers, perhaps with a cranberry dipping sauce or gravy. For a main course, serve with roasted vegetables or a fresh salad.
They also make excellent sliders when split and served on dinner rolls with a little mayo.
How do I know when the stuffing balls are done cooking?
They should be golden brown on the outside, and when tested with a food thermometer, the center should reach 165°F. If you don’t have a thermometer, break one open – it should be steaming hot throughout with no cold spots.
Can I use boxed stuffing mix for this recipe?
Yes! Prepare the boxed stuffing according to package directions first, then proceed with the recipe.
Just be mindful that some boxed mixes are heavily seasoned, so you might want to adjust additional seasonings accordingly.
What’s the best way to reheat leftover stuffing balls?
For the best texture, reheat them in a 350°F oven for about 10 minutes until heated through. Microwaving works in a pinch (1-2 minutes), but you’ll lose some of the crispy exterior.
Final Thoughts
These Cranberry & Turkey Stuffing Balls are more than just a clever way to use holiday leftovers—they’re a celebration of those beloved flavors in a fun, versatile format. Whether you’re hosting a gathering or simply want to enjoy the taste of the holidays any time of year, these savory-sweet bites deliver comfort and joy in every bite.
Don’t be surprised when they become a new tradition in your home!


