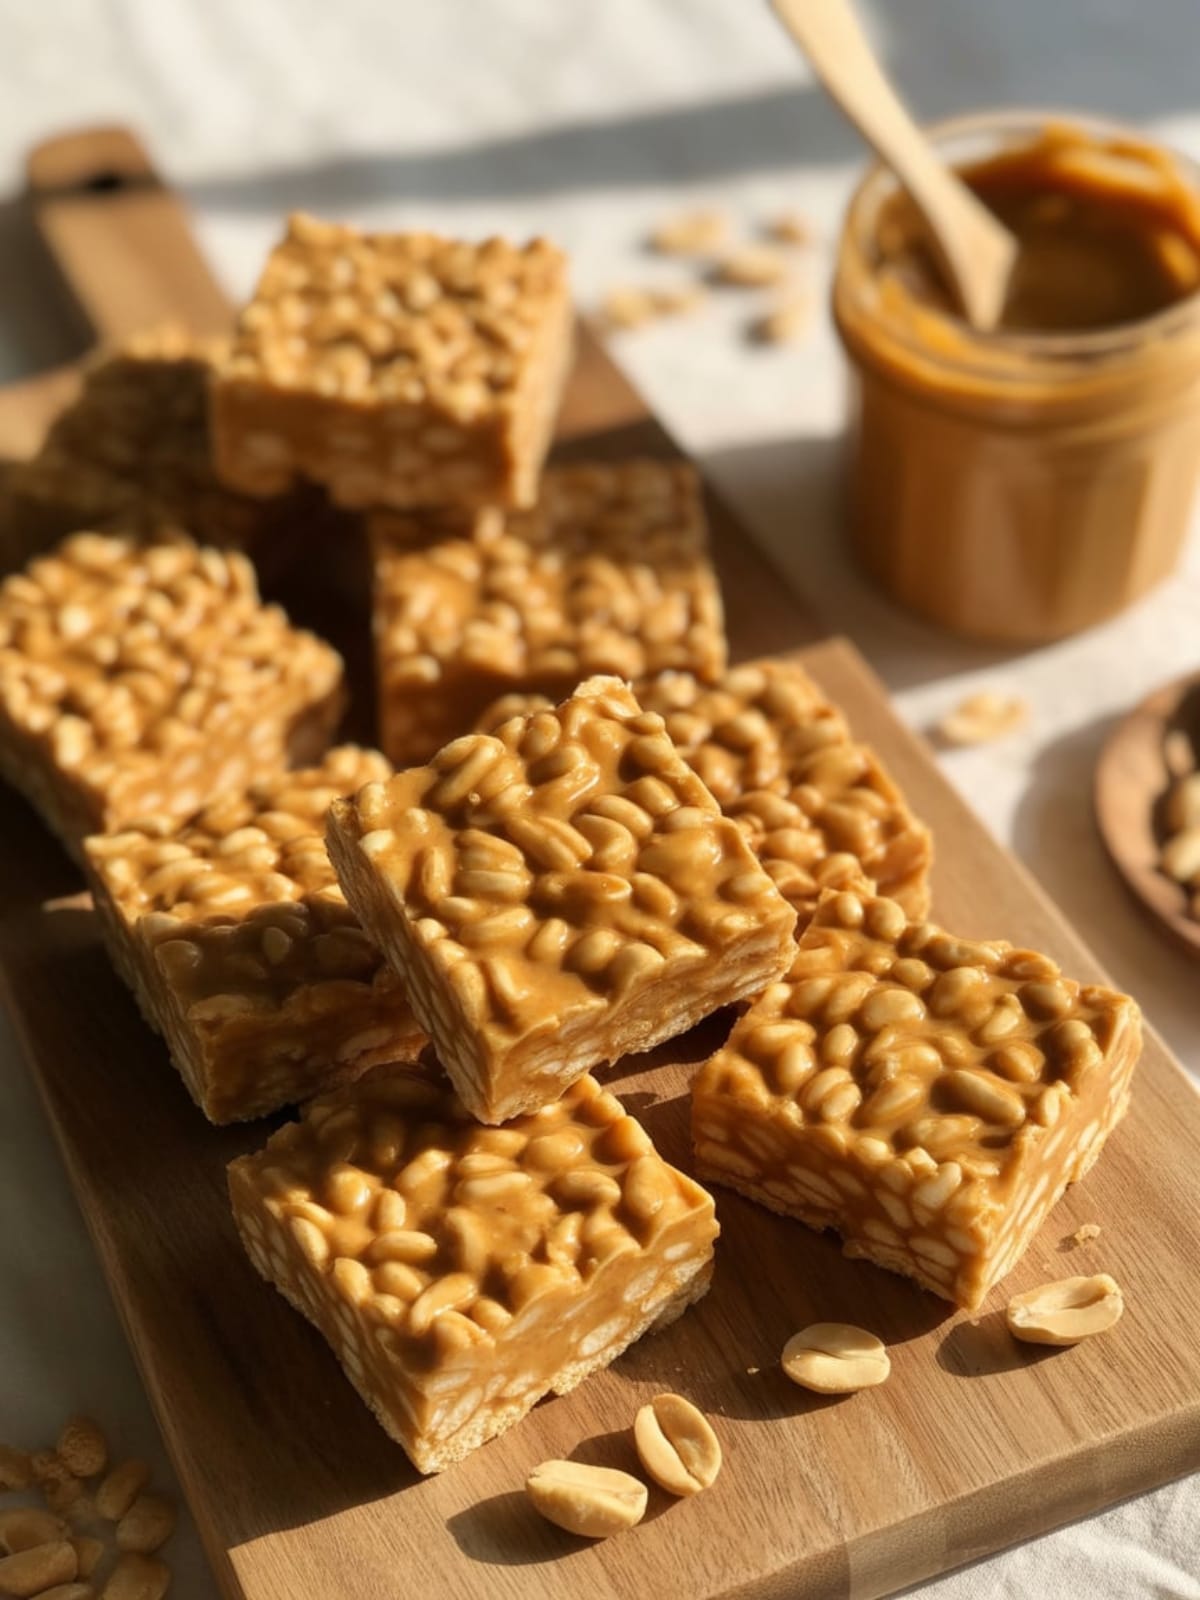
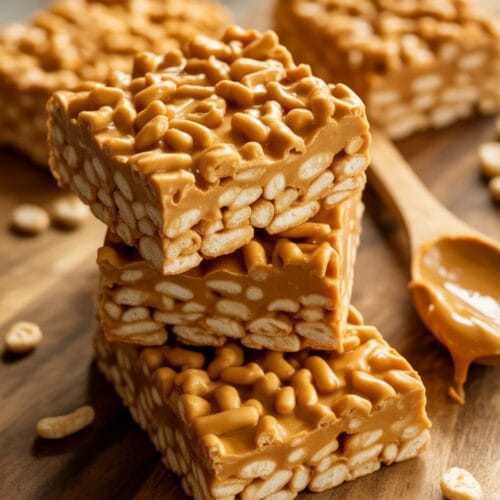
Remember those crispy rice treats you loved as a kid? Well, prepare for a grown-up upgrade that’ll make your taste buds do a happy dance. These Crispy Rice Peanut Butter Treats take that classic snack and transform it into something truly special with the addition of creamy, nutty peanut butter goodness.
They’re the perfect balance of nostalgic comfort and sophisticated flavor—and trust me, they disappear from the plate faster than you can say “childhood memories!”
Why This Recipe is Awesome
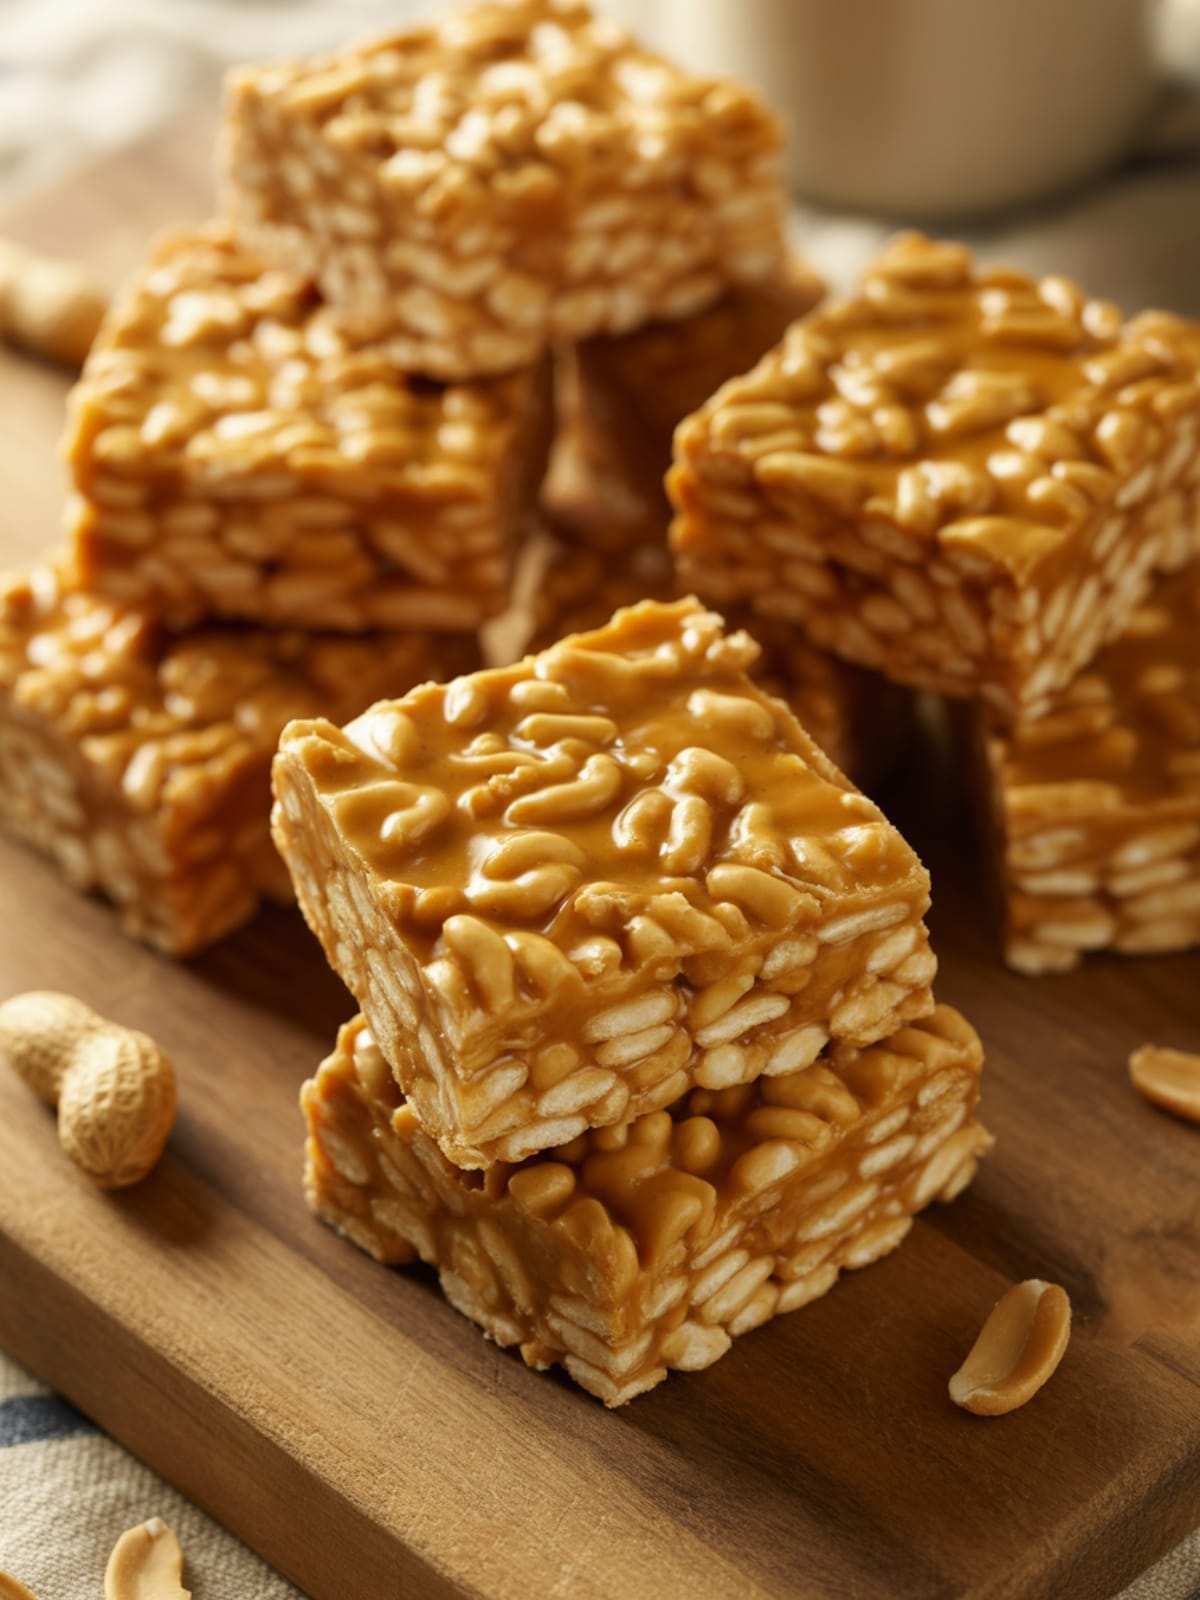
What makes these Crispy Rice Peanut Butter Treats stand out is their perfect texture-flavor combination. The crispy rice cereal maintains that satisfying crunch we all love, while the peanut butter adds a rich, creamy element that elevates these treats beyond the ordinary.
These treats require just a handful of ingredients and come together in minutes—no baking required! They’re perfect for last-minute gatherings, bake sales, or those moments when you need something sweet without the fuss of turning on the oven.
The peanut butter doesn’t just add flavor; it also gives these treats a protein boost, making them slightly more substantial than their traditional counterparts.
It’s the kind of snack that satisfies both your sweet tooth and your hunger in one delicious square.
Equipment needed: Large pot, wooden spoon, 9×9 inch baking pan, parchment paper, measuring cups, measuring spoons
Crispy Rice Peanut Butter Treats
Ingredients
- 4 tablespoons unsalted butter
- 1 10 oz package marshmallows (about 40 regular marshmallows)
- 1/2 cup creamy peanut butter not natural style
- 1/4 teaspoon salt enhances the peanut butter flavor
- 1 teaspoon vanilla extract
- 6 cups crispy rice cereal
- 1/3 cup mini chocolate chips optional, for sprinkling on top
Instructions
- Prepare your pan by lining a 9×9 inch baking dish with parchment paper, leaving some overhang for easy removal later. Lightly coat the parchment with cooking spray.
- Melt the butter in a large pot over medium-low heat. Watch it carefully so it doesn’t brown—you want it just melted completely.
- Add the marshmallows to the melted butter and stir continuously until they’re completely melted and smooth. This should take about 3-4 minutes. Reduce heat if they start to brown at all.
- Remove from heat and add peanut butter, stirring vigorously until fully incorporated and smooth. The mixture should be glossy and uniform.
- Mix in the salt and vanilla extract, stirring until well combined. These additions enhance the flavor profile significantly.
- Fold in the crispy rice cereal one cup at a time, gently folding with a wooden spoon until all cereal is evenly coated. Be careful not to crush the cereal—you want to maintain that signature crunch!
- Transfer the mixture to your prepared pan and press it down evenly using a piece of parchment paper or a spatula lightly coated with cooking spray. Don’t compact it too hard or your treats will become dense.
- Sprinkle with mini chocolate chips if using, gently pressing them into the surface while the mixture is still warm so they adhere.
- Allow to cool completely at room temperature for about 30 minutes before cutting into squares.
Notes
- For the best texture, use fresh marshmallows. Older ones tend to create harder treats.
- Traditional peanut butter (like Jif or Skippy) works better than natural peanut butter, which can separate and affect texture.
- These treats can be made in advance and stored in an airtight container at room temperature for up to 3 days.
- For extra indulgence, try drizzling melted chocolate over the top after they’ve set.
- Work quickly once the marshmallows are melted—the mixture becomes harder to stir as it cools.
Calories & Nutritional Info
- Calories: Approximately 170 calories per square
- Protein: 3g per serving
- Carbohydrates: 27g per serving
- Fat: 7g per serving
- Allergens: Contains peanuts, may contain wheat depending on cereal brand
- Dietary notes: Vegetarian-friendly, can be made gluten-free with certified GF crispy rice cereal
Common Mistakes to Avoid
- Overheating the marshmallow mixture: This can lead to hard, tough treats. Keep the heat medium-low and remove from heat as soon as everything is melted.
- Pressing too firmly: When setting the mixture in the pan, press just enough to even it out. Too much pressure compacts the cereal and creates dense, hard treats.
- Using old marshmallows: Stale marshmallows won’t melt properly and can result in dry, crumbly treats.
- Cutting too soon: If you try to cut before the treats are completely set, you’ll end up with a sticky mess. Patience pays off!
- Using natural peanut butter: The oils in natural peanut butter can separate, affecting both texture and binding properties.
Alternatives & Substitutions
- Alternative nut butters: Almond, cashew, or sunflower seed butter can substitute for peanut butter (though the flavor profile will change).
- Dietary restrictions: Use vegan marshmallows and plant-based butter for a vegan version.
- Flavor variations: Add 1/4 cup cocoa powder to the marshmallow mixture for a chocolate peanut butter version.
- Add-ins: Mix in 1/3 cup chopped peanuts for extra crunch, or fold in 1/4 cup mini chocolate chips into the warm (not hot) mixture.
- Honey substitution: Replace marshmallows with 1/2 cup honey plus 1/4 cup sugar (though texture will be slightly different).
FAQs
Why did my treats turn out too hard?
Likely causes include cooking the marshmallow mixture too long, pressing too firmly when shaping, or using stale marshmallows. Remember that the mixture should be melted just until smooth, and pressed gently into the pan.
Can I use crunchy peanut butter instead of creamy?
Absolutely! Crunchy peanut butter works well and adds extra texture. Just be aware that your treats will have peanut pieces throughout, which many people actually prefer.
How do I store these treats to keep them fresh?
Store in an airtight container at room temperature for up to 3 days. Place parchment paper between layers if stacking. Avoid refrigeration, which can make them too firm.
Can I freeze these peanut butter treats?
Yes! Wrap individual squares in plastic wrap, then place in a freezer bag for up to 6 weeks. Thaw at room temperature for about 30 minutes before enjoying.
Why add salt to a sweet treat?
Salt enhances the peanut butter flavor and creates that irresistible sweet-salty balance. Even in desserts, a pinch of salt makes all the other flavors pop more vibrantly.
Final Thoughts
These Crispy Rice Peanut Butter Treats are proof that sometimes the simplest twists on classics create the most memorable treats. They’re quick enough for busy weeknights but special enough to bring smiles to any gathering. Don’t be surprised if you find yourself making these regularly—they have a way of becoming a household staple once you’ve tried them!


