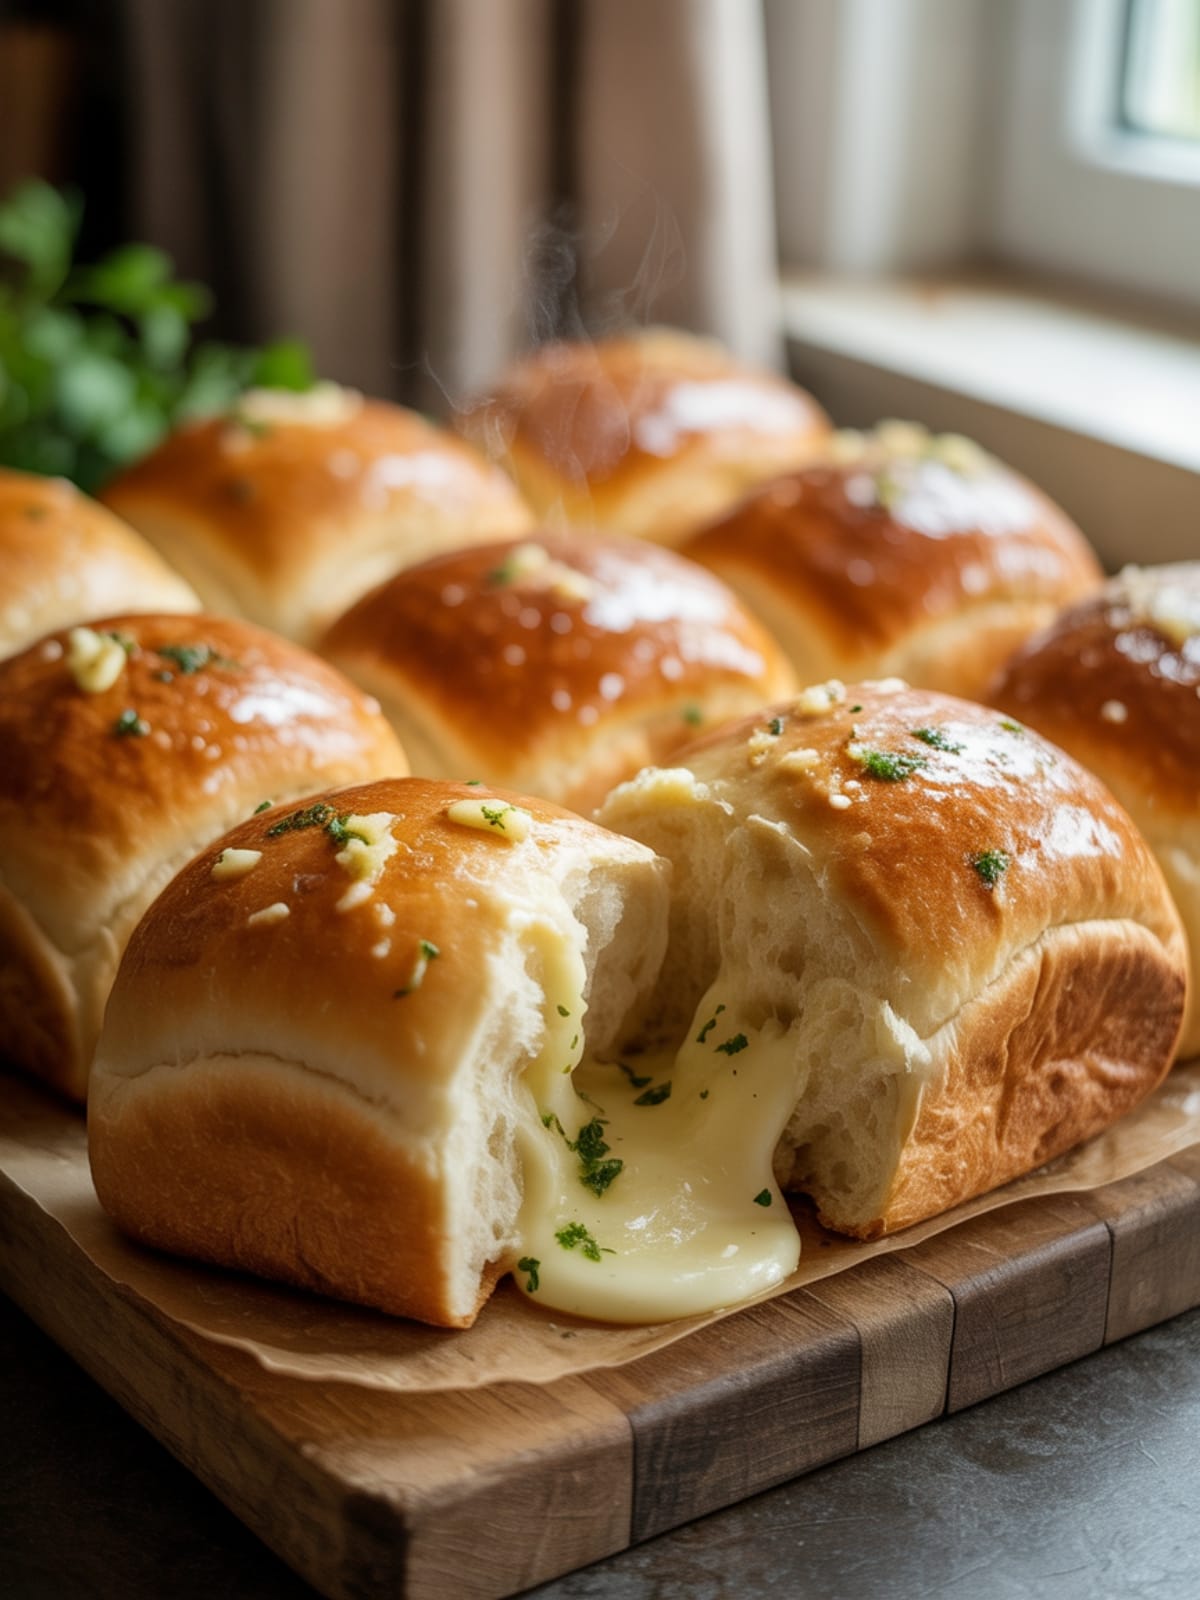
Imagine pulling apart a warm, pillowy bread roll that’s glistening with melted garlic butter, releasing a cloud of aromatic steam as the layers separate in your hands. That first bite—soft, buttery, with just the right hint of garlic—is pure comfort food magic. Garlic Butter Bread Rolls are the side dish that consistently steals the spotlight at dinner tables, potlucks, and holiday gatherings. They’re the bread that makes people forget their “I’m watching my carbs” declarations, at least for one heavenly moment.
Why This Recipe is Awesome

What makes these Garlic Butter Bread Rolls truly special is their versatility paired with extraordinary flavor impact.
Unlike store-bought rolls that often taste flat and processed, these homemade treasures offer that perfect balance of cloud-like texture and rich flavor that elevates any meal from ordinary to memorable. The magic lies in the double butter technique—butter in the dough creates tenderness, while the garlic butter brushed both before and after baking delivers that irresistible flavor that permeates every bite. Even if you’re new to bread-making, this recipe is surprisingly forgiving and straightforward.
The hands-on time is minimal, with most of the work happening during rising and baking—perfect for busy home cooks who still want to impress.
Equipment needed: Large mixing bowl, stand mixer (optional), baking pan, pastry brush
Garlic Butter Bread Rolls
Ingredients
- 4 cups all-purpose flour
- 1 packet 2¼ teaspoons active dry yeast
- ¼ cup granulated sugar
- 1 teaspoon salt
- 1 cup warm milk 110°F
- ⅓ cup unsalted butter softened (for dough)
- 2 large eggs room temperature
- ½ cup 1 stick unsalted butter (for garlic butter)
- 6 garlic cloves finely minced
- 2 tablespoons fresh parsley chopped
- 1 teaspoon Italian seasoning
- ½ teaspoon salt for garlic butter
Instructions
- Activate the yeast: In a small bowl, combine the warm milk (ensure it’s not too hot—should feel like warm bathwater), sugar, and yeast. Stir gently and let sit for 5-10 minutes until foamy and fragrant.
- Prepare the dough: In a large mixing bowl or stand mixer with dough hook, combine flour and salt. Add the activated yeast mixture, softened butter, and eggs. Mix until a soft, slightly sticky dough forms, about 5-7 minutes.
- First rise: Place dough in a lightly greased bowl, cover with a clean kitchen towel, and let rise in a warm spot for about 1 hour, or until doubled in size.
- Make the garlic butter: While dough is rising, melt the ½ cup butter in a small saucepan over medium-low heat. Add minced garlic and cook for 1-2 minutes until fragrant but not browned. Remove from heat, stir in parsley, Italian seasoning, and salt. Set aside.
- Shape the rolls: Punch down the risen dough and divide into 12 equal portions. Roll each portion into a smooth ball by pulling the edges toward the bottom and pinching to seal.
- Second rise: Arrange the rolls in a greased 9×13-inch baking pan, leaving space between each for expansion. Cover and let rise for another 30 minutes until puffy.
- Preheat and prepare: Preheat oven to 375°F. Brush the tops of rolls generously with half of the garlic butter mixture.
- Bake the rolls: Bake for 25-30 minutes until golden brown on top. The rolls should sound hollow when tapped on the bottom.
- Finish with more butter: As soon as the rolls come out of the oven, brush them with the remaining garlic butter, making sure to get the delicious garlic bits on each roll.
- Serve warm: Allow to cool for just 5 minutes before serving for the most heavenly experience.
Notes
- For extra fluffy rolls, don’t skip either rising period—the slow rise is what develops both flavor and texture.
- To make ahead, prepare the rolls through shaping, then cover tightly and refrigerate overnight. Allow to come to room temperature for 30-45 minutes before baking.
- If you don’t have a stand mixer, you can knead the dough by hand for about 10 minutes until smooth and elastic.
- The rolls freeze beautifully! After baking and cooling completely, freeze in an airtight container for up to 3 months. Reheat in a 300°F oven for 10 minutes.
- For a tangier flavor profile, substitute half the milk with buttermilk.
Calories & Nutritional Info
- Calories: Approximately 275 calories per roll
- Carbohydrates: 32g per roll
- Fat: 14g per roll (from butter)
- Protein: 5g per roll
- Allergens: Contains wheat, dairy, and eggs
- Dietary notes: Not suitable for vegan or gluten-free diets without modifications
Common Mistakes to Avoid
- Using too hot milk – This can kill the yeast. Always check the temperature (around 110°F is perfect) or use the wrist test—it should feel warm, not hot.
- Not kneading enough – Properly developed gluten creates that perfect chewy texture. Look for a smooth, elastic dough that springs back when poked.
- Rushing the rise – Patience yields the best bread. Cold environments will slow down the process, so find a warm spot if your kitchen is chilly.
- Burning the garlic – Garlic becomes bitter when overcooked. Cook just until fragrant for best flavor.
- Skipping the final butter brush – That last coating of garlic butter while the rolls are hot is what makes them truly unforgettable!
Alternatives & Substitutions
- Gluten-free version: Substitute with a 1:1 gluten-free flour blend, but expect a slightly different texture and add ½ teaspoon of xanthan gum if your blend doesn’t include it.
- Vegan adaptation: Replace butter with plant-based butter, milk with almond or oat milk, and eggs with a mixture of 2 tablespoons ground flaxseed mixed with 6 tablespoons water.
- Herb variations: Try rosemary and thyme instead of parsley for a more aromatic profile, or add 2 tablespoons of grated Parmesan to the garlic butter for a cheesy twist.
- Whole wheat option: Replace up to half the all-purpose flour with whole wheat for a nuttier flavor and more fiber (may require a bit more liquid).
- No-yeast emergency version: In a pinch, use self-rising flour and omit the yeast, but know that the texture will be more like biscuits than traditional rolls.
FAQs
Can I make the dough in a bread machine?
Absolutely! Add the ingredients in the order recommended by your bread machine manufacturer, and run the dough cycle. Then pick up the recipe at the shaping stage.
Why didn’t my dough rise properly?
The most common culprits are dead yeast (check expiration date), too-hot liquid that killed the yeast, or a too-cold environment. The ideal rising temperature is around 75-85°F.
How do I know when the rolls are done baking?
The tops should be golden brown, and when you tap the bottom of a roll, it should sound hollow. An internal temperature of 190°F means they’re perfectly baked.
Can I use instant yeast instead of active dry?
Yes! Use the same amount, but you can skip the activation step and add it directly to your dry ingredients. Your first rise might be slightly faster.
How can I get that professional bakery shine on my rolls?
For an extra glossy finish, brush rolls with an egg wash (1 egg beaten with 1 tablespoon water) before baking, then follow with the garlic butter after baking.
Final Thoughts
There’s something deeply satisfying about placing a basket of homemade Garlic Butter Bread Rolls on the table—they’re a simple gesture that says “I care” in the language of food. Whether paired with a hearty soup, a holiday roast, or enjoyed on their own, these rolls create moments of pure pleasure. The best part? That unmistakable pride when someone asks, “Did you make these yourself?” Yes, yes you did.


