There’s something deeply satisfying about that first bite into a perfectly crispy chicken breast – that golden, crunchy exterior giving way to tender, juicy meat inside. If you’ve been chasing that restaurant-quality crunch without the mess of deep frying, you’re in for a treat. Air fryer breaded chicken breast delivers that coveted texture with a fraction of the oil and effort. I’ve tested countless methods, and this approach consistently produces chicken that’s not just crispy, but remarkably moist – solving that age-old dry chicken breast problem once and for all.
Why This Recipe is Awesome

What makes this crispy air fryer breaded chicken breast stand out from other preparation methods?
First, it’s incredibly forgiving, even if you’re new to air frying. The circulation of hot air creates that golden exterior that rivals deep-fried versions, but with significantly less oil – we’re talking tablespoons instead of cups. The true magic lies in how the breading seals in moisture while the air fryer works its crisping magic.
Unlike oven-baked versions that can sometimes turn out pale or soggy on the bottom, every inch gets that beautiful crunch. Plus, the cleanup is minimal – no oil splatters on your stovetop or multiple pans to wash. I’ve refined this recipe through dozens of tests, adjusting temperatures and techniques to ensure foolproof results.
Whether you’re meal prepping for the week or serving a weeknight dinner that impresses, this crispy air fryer chicken delivers restaurant quality with everyday ease.
Equipment needed: Air fryer, shallow bowls for breading, meat thermometer, tongs

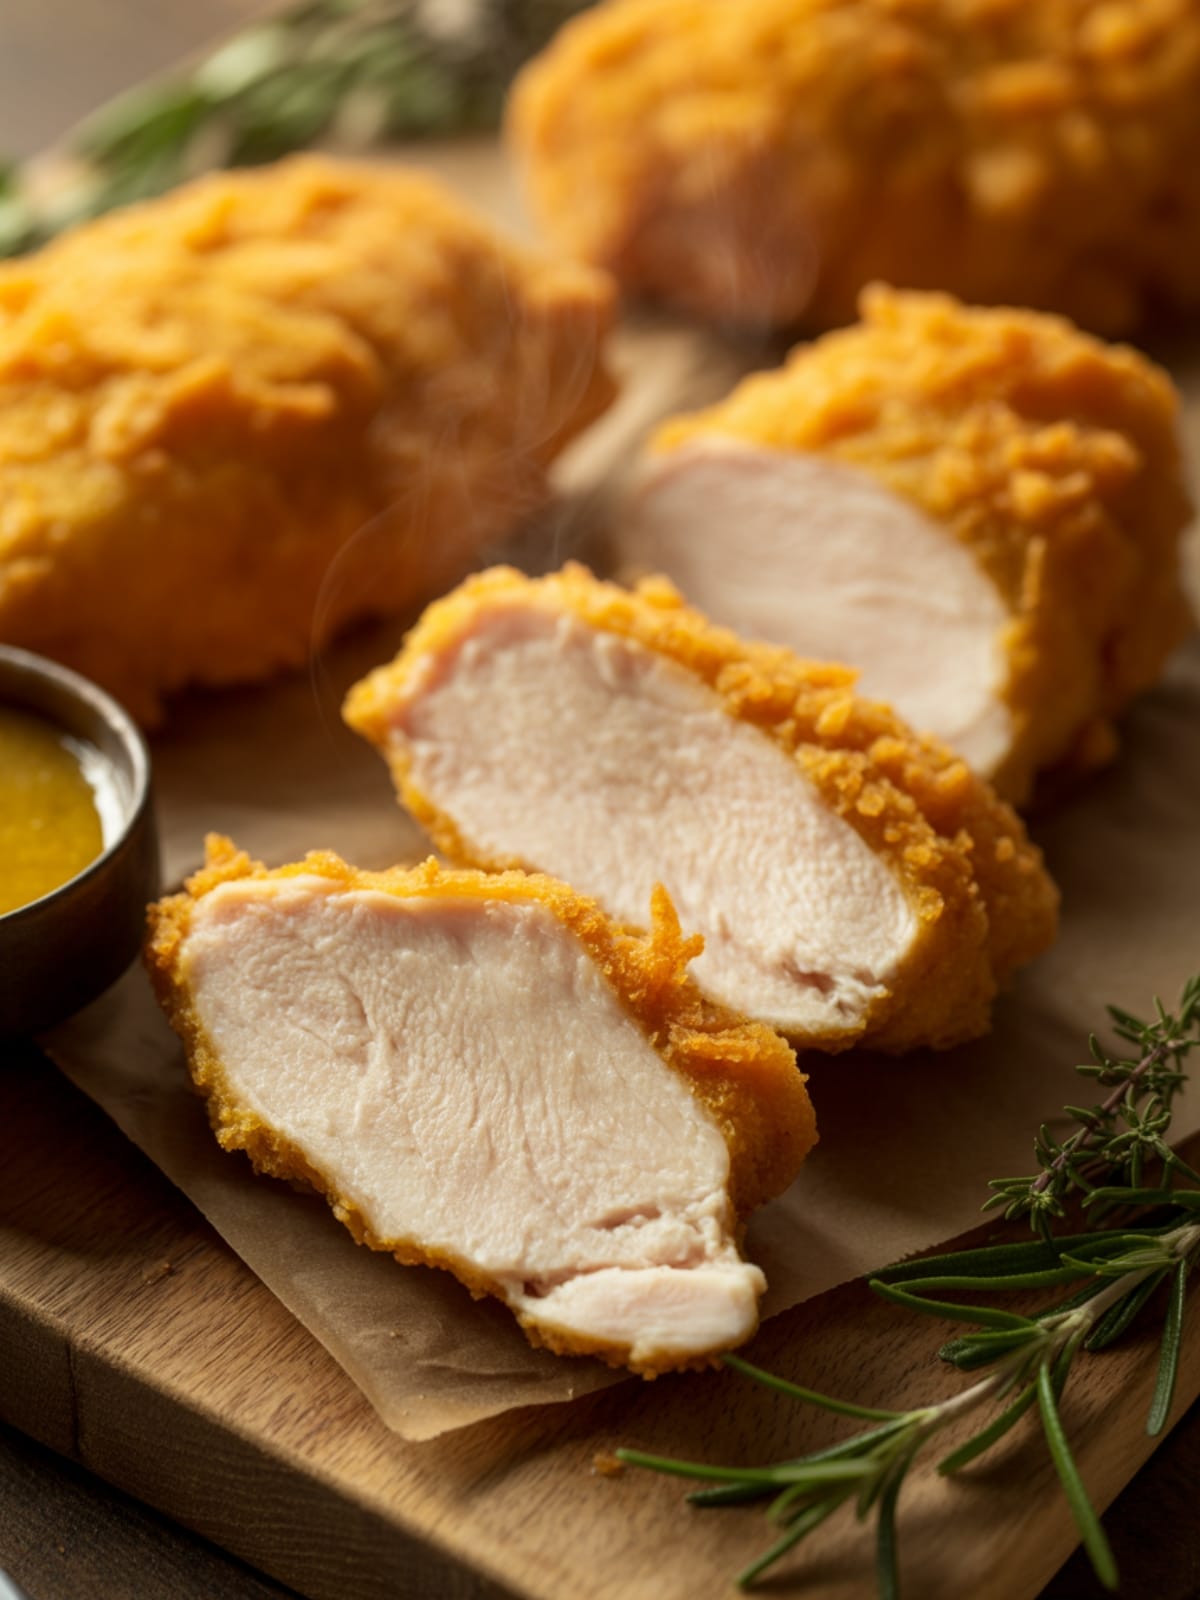
Crispy Air Fryer Breaded Chicken Breast
Ingredients
- 4 boneless skinless chicken breasts (about 6-8 oz each)
- 1 cup all-purpose flour
- 1 tablespoon garlic powder
- 1 tablespoon onion powder
- 1 teaspoon paprika
- 1 teaspoon dried oregano
- 1 teaspoon salt
- ½ teaspoon black pepper
- 2 large eggs
- 2 tablespoons milk
- 1½ cups panko breadcrumbs for extra crispiness
- ½ cup regular breadcrumbs
- ⅓ cup grated Parmesan cheese optional but recommended
- Olive oil spray or 2 tablespoons olive oil
Instructions
- Prepare the chicken breasts by patting them completely dry with paper towels – this is crucial for crispy results. If the breasts are very thick, pound them between plastic wrap to an even thickness of about ¾ inch using a meat mallet or heavy pan.
- Set up your breading station with three shallow bowls. In the first bowl, combine flour, garlic powder, onion powder, paprika, dried oregano, ½ teaspoon salt, and ¼ teaspoon pepper. In the second bowl, whisk together eggs and milk. In the third bowl, mix panko breadcrumbs, regular breadcrumbs, Parmesan cheese, remaining salt and pepper.
- Preheat your air fryer to 380°F (190°C) for 3-5 minutes. This ensures immediate cooking and better crisping when you add the chicken.
- Bread each chicken breast by first coating in the seasoned flour mixture, shaking off excess. Then dip into the egg mixture, letting excess drip off. Finally, press firmly into the breadcrumb mixture, ensuring an even, thick coating all over.
- Lightly spray or brush both sides of the breaded chicken with olive oil. This helps achieve that golden-brown color and extra crispy texture.
- Place breaded chicken in the air fryer basket, leaving space between pieces for air circulation. Depending on your air fryer size, you may need to cook in batches.
- Cook at 380°F for 7-8 minutes, then flip the chicken breasts and continue cooking for another 6-7 minutes until golden brown and crispy. The internal temperature should reach 165°F (74°C).
- Let the chicken rest for 5 minutes before cutting to allow juices to redistribute throughout the meat, ensuring maximum juiciness.
Notes
- For extra flavor, brine the chicken breasts for 30 minutes in a solution of 4 cups water and 2 tablespoons kosher salt before breading.
- The combination of panko and regular breadcrumbs provides both exceptional crunch and better coating adhesion.
- Different air fryer models may require slight temperature or timing adjustments – check your first batch at 12 minutes total cooking time.
- For meal prep, these chicken breasts reheat beautifully in the air fryer for 3-4 minutes at 350°F.
- To ensure even cooking, make sure all chicken breasts are similar in size and thickness.
Calories & Nutritional Info
- Calories: Approximately 320 calories per chicken breast
- Protein: 38g per serving
- Carbohydrates: 24g per serving
- Fat: 9g per serving
- Allergens: Contains wheat, dairy, and eggs
- Dietary notes: Low in fat compared to traditional fried chicken, high in protein
Common Mistakes to Avoid
- Not drying the chicken thoroughly before breading – moisture prevents crispy coating formation.
- Overcrowding the air fryer basket – this prevents proper air circulation and results in uneven cooking.
- Skipping the oil spray/brush – a light coating of oil makes a significant difference in achieving golden-brown color.
- Not checking internal temperature – visual cues can be misleading; always verify doneness with a meat thermometer.
- Cutting into the chicken immediately – without a 5-minute rest, you’ll lose precious juices and end up with drier meat.
Alternatives & Substitutions
- Gluten-free option: Use gluten-free flour and breadcrumbs; the air fryer method works beautifully for gluten-free breading.
- Dairy-free: Skip the Parmesan and use plant-based milk in the egg wash.
- Lower carb: Replace half or all breadcrumbs with crushed pork rinds or almond flour (note: almond flour browns faster).
- Spicier version: Add 1 teaspoon of cayenne pepper to the flour mixture or mix hot sauce into the egg wash.
- Chicken tenders: Use chicken tenderloins instead of breasts and reduce cooking time to 10-12 minutes total.
- Flavor variations: Add Italian seasoning, ranch seasoning powder, or cajun spice blend to the breadcrumb mixture.
FAQs
Can I use chicken thighs instead of breasts?
Absolutely! Boneless, skinless chicken thighs work wonderfully in this recipe. They’re naturally juicier but will need slightly longer cooking time – about 18-20 minutes total. Flip halfway through and check for an internal temperature of 165°F.
How do I keep the breading from falling off?
The secret is the three-step breading process. Make sure to pat the chicken very dry first, then press firmly into each coating. After breading, let the chicken rest for 5 minutes before air frying to allow the coating to adhere better.
Can I prepare these ahead of time?
Yes! You can bread the chicken up to 24 hours ahead and refrigerate on a wire rack (uncovered is best for maintaining crispiness). Add 1-2 minutes to the cooking time when cooking from refrigerated.
Why is my chicken not getting crispy enough?
Three likely culprits: your air fryer wasn’t fully preheated, you skipped the oil spray/brush, or the basket was overcrowded. Remember that different air fryer models perform differently – you might need to increase the temperature by 10°F.
What sides pair well with this chicken?
This versatile chicken pairs beautifully with so many sides! Try a crisp green salad, roasted vegetables, mashed potatoes, or a simple pasta salad. For a complete air fryer meal, cook some frozen french fries right after the chicken while it rests.
Final Thoughts
This crispy air fryer breaded chicken breast recipe proves you don’t need deep-frying for spectacular results. It’s become my go-to method for juicy, crunchy chicken that satisfies both weeknight cravings and special occasions. The beauty lies in its simplicity – master this technique once, and you’ll have an incredibly versatile cooking skill in your repertoire. Give it a try, and I’m confident it will become a regular in your meal rotation!