Ever been to a gathering where the dessert steals the show? That’s exactly what happens when you set up a Brownie Sundae Bar. It’s the choose-your-own-adventure of desserts—starting with warm, fudgy brownies and ending wherever your sweet tooth takes you.
This isn’t just dessert; it’s an experience that brings people together, sparks joy, and creates those “remember when” moments that linger long after the last chocolate smudge is wiped away. I discovered the magic of sundae bars at my niece’s birthday party. What started as a simple dessert option turned into the highlight of the event, with guests of all ages crafting their personal masterpieces and comparing creations.
Now, it’s my go-to when I want to impress without stressing.
Why This Recipe is Awesome
The Brownie Sundae Bar isn’t just a dessert—it’s an entertainment system. Unlike standard pre-made desserts, this interactive setup invites guests to express themselves through toppings and combinations, creating natural conversation and shared experiences. Versatility is its superpower.
Hosting kids? They’ll love the colorful candies and sprinkles. Adults-only gathering?
Add some bourbon-infused caramel or espresso chips to elevate the experience. The brownie base provides rich, chocolatey stability while the toppings open up endless creativity. From a host’s perspective, it’s remarkably stress-free.
Most components can be prepared hours or even days ahead, meaning you’re not frantically assembling desserts while trying to socialize. Your guests become the chefs, and you get to enjoy the party along with them.
Equipment needed: Mixing bowls, whisk, 9×13 baking pan, spatula, serving platters, small bowls for toppings, ice cream scoop
Brownie Sundae Bar
Ingredients
For the Brownies
- 1 cup 2 sticks unsalted butter
- 2 cups granulated sugar
- 4 large eggs room temperature
- 1 tablespoon vanilla extract
- 1 cup all-purpose flour
- 1 cup unsweetened cocoa powder
- 1/2 teaspoon salt
- 1 cup semi-sweet chocolate chips
For the Sundae Bar
- 2 quarts ice cream vanilla, chocolate, and strawberry recommended
- Hot fudge sauce store-bought or homemade
- Caramel sauce store-bought or homemade
- Strawberry sauce or fresh berry compote
- Whipped cream fresh or canned
- Chopped nuts walnuts, pecans, almonds
- Sprinkles various colors
- Mini chocolate chips
- Crushed cookies Oreos, graham crackers
- Sliced fresh fruits strawberries, bananas
- Maraschino cherries
- Crushed candy bars your favorites
Instructions
- Preheat your oven to 350°F (175°C) and line a 9×13 inch baking pan with parchment paper, leaving overhang on the sides for easy brownie removal.
- Melt the butter in a large microwave-safe bowl in 30-second intervals, stirring between each until completely melted but not hot.
- Whisk sugar into the melted butter until well combined, then add eggs one at a time, whisking well after each addition until the mixture becomes slightly lighter in color.
- Stir in vanilla extract until fully incorporated into the wet mixture.
- Sift together flour, cocoa powder, and salt in a separate bowl to remove any lumps and ensure even distribution of ingredients.
- Gently fold the dry ingredients into the wet mixture using a spatula, being careful not to overmix—stop when you no longer see dry streaks.
- Fold in the chocolate chips until evenly distributed throughout the batter.
- Pour the batter into your prepared pan and spread evenly using a spatula or the back of a spoon.
- Bake for 25-30 minutes until a toothpick inserted comes out with a few moist crumbs (not wet batter). Be careful not to overbake—fudgy brownies are key!
- Allow brownies to cool completely in the pan, then use the parchment overhang to lift them out and cut into 2-inch squares.
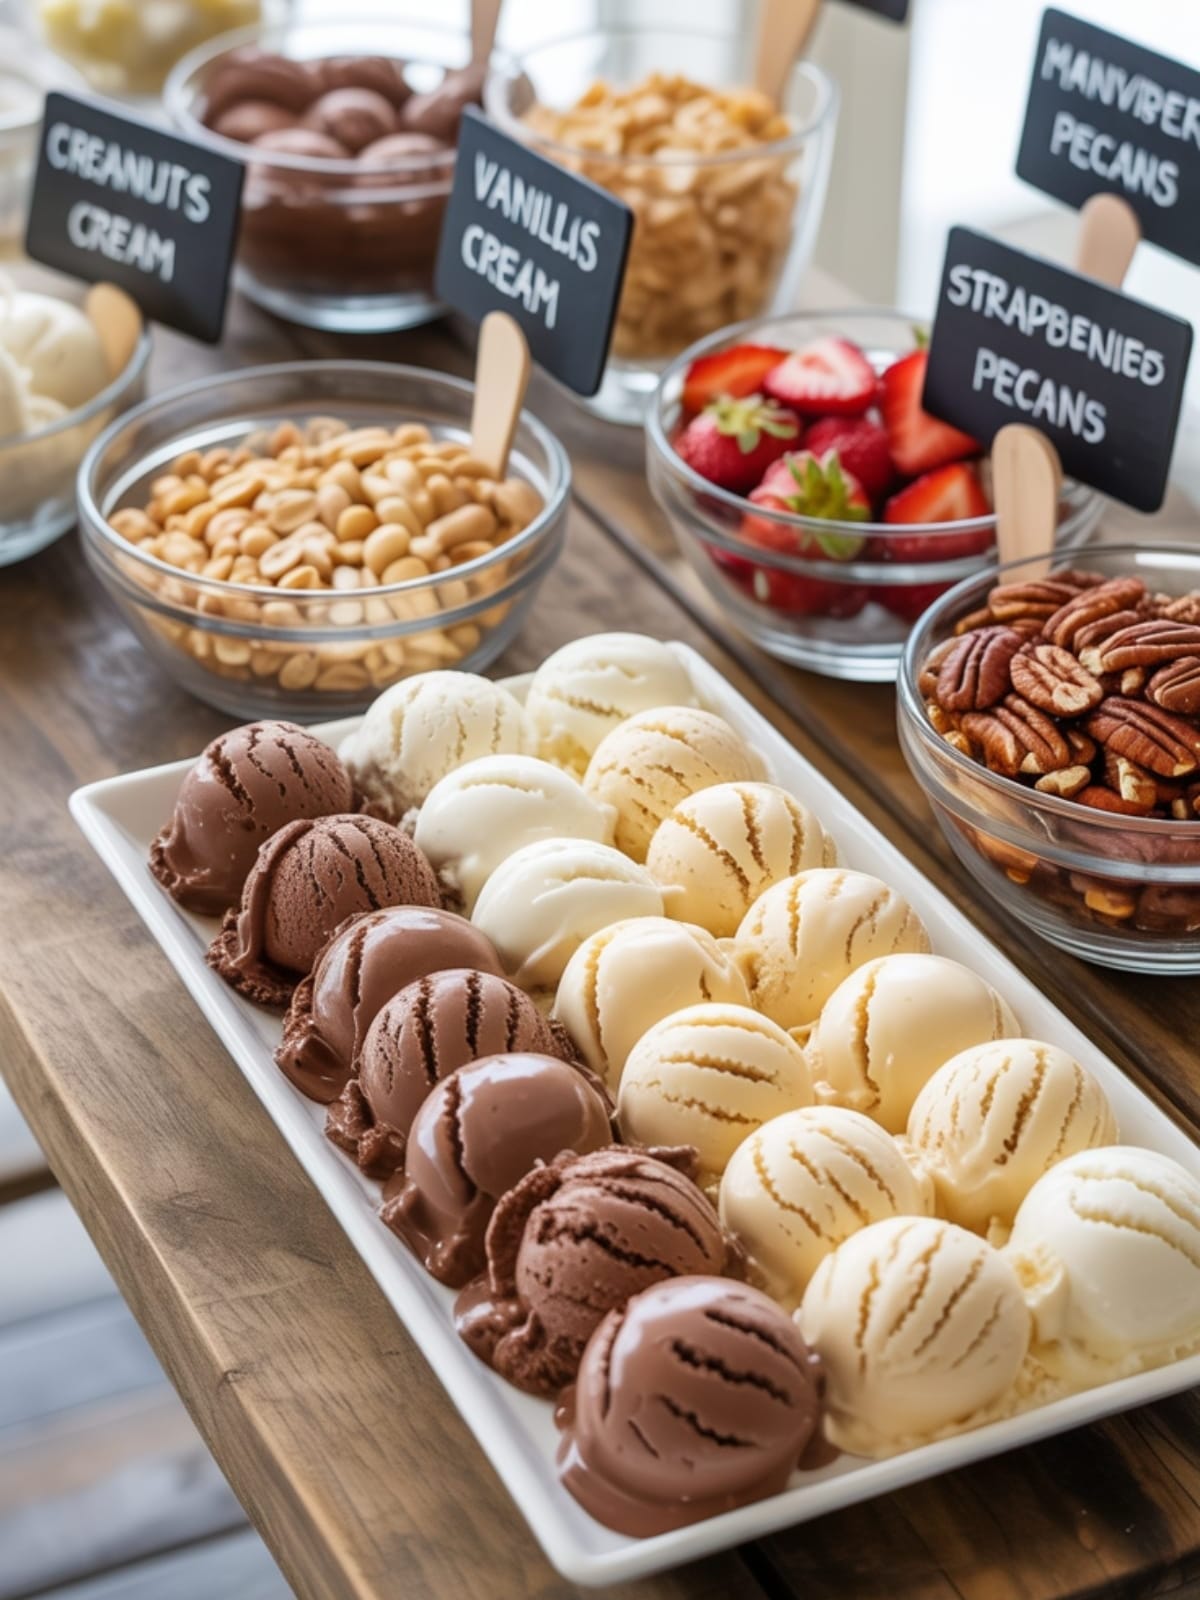
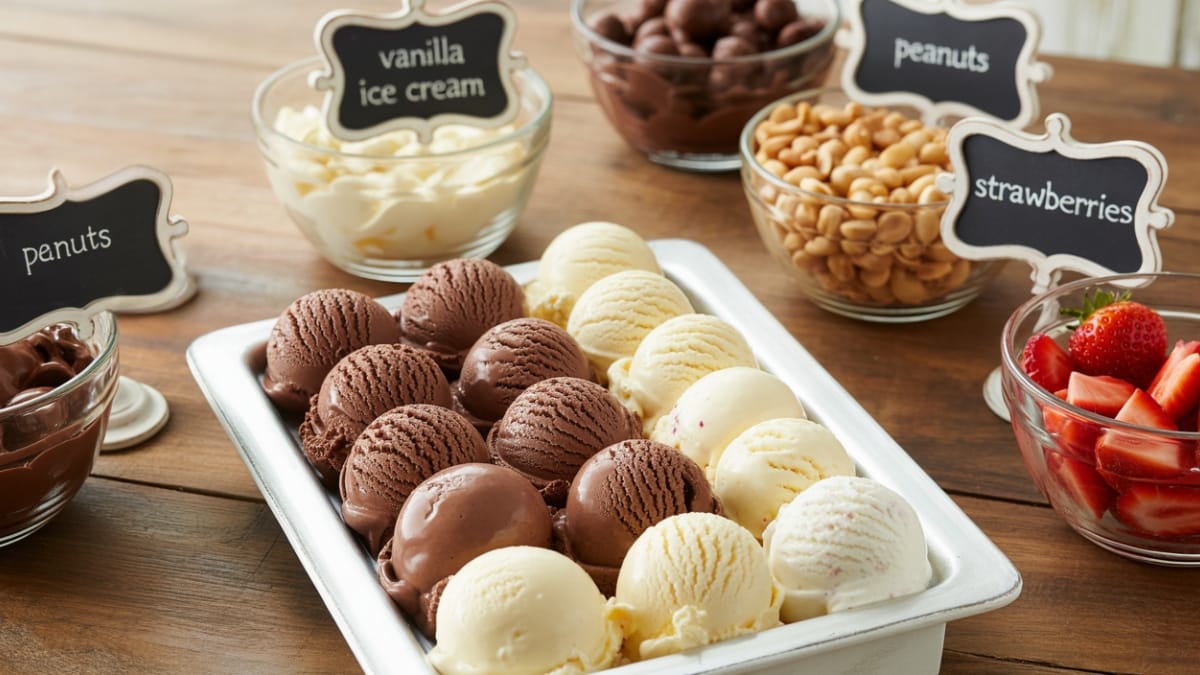
- Set up your sundae bar by arranging brownies on a platter and placing all toppings in separate bowls with appropriate serving utensils.
- Keep ice cream in the freezer until just before serving, then place in an ice bath to maintain consistency while guests build their sundaes.
- Warm sauce containers by placing them in warm (not hot) water for a few minutes before serving.
Notes
- The brownies can be made up to 2 days in advance and stored in an airtight container at room temperature.
- For extra fudginess, refrigerate the brownies for a few hours before serving.
- If making homemade sauces, prepare them a day ahead and reheat gently before serving.
- Consider dietary restrictions when selecting toppings – include some nut-free and gluten-free options.
- For large parties, pre-scoop ice cream balls onto a parchment-lined tray and freeze until serving time.
- Set out both bowls and waffle cones for different serving options.
- Label any ingredients that contain common allergens (nuts, dairy, etc.).
Calories & Nutritional Info
- Calories per brownie (without toppings): Approximately 320 calories
- Complete sundae (brownie + 1 scoop vanilla + hot fudge + whipped cream): Approximately 550 calories
- Protein: 5g per brownie
- Carbohydrates: 42g per brownie
- Fat: 16g per brownie
- Contains: Gluten, dairy, eggs
- Diet considerations: Not suitable for vegan or dairy-free diets without modifications
Common Mistakes to Avoid
- Overbaking the brownies – They should be slightly underdone for the perfect fudgy texture; a few moist crumbs on your toothpick is ideal.
- Setting up toppings too early – Fresh fruits can brown, and whipped cream can deflate if prepared too far in advance.
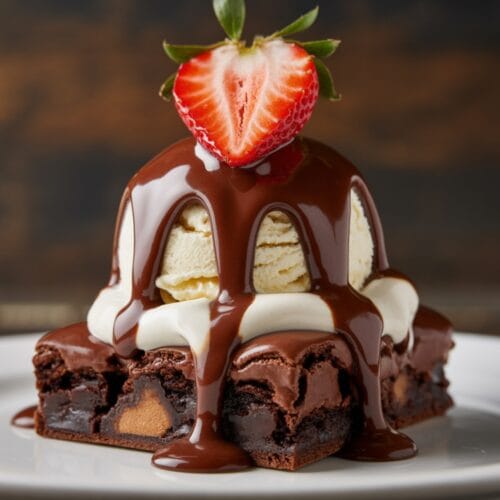
- Forgetting temperature contrasts – Warm brownies with cold ice cream creates that magical textural experience, so plan your timing accordingly.
- Overlooking presentation – Taking a few extra minutes to arrange toppings in attractive containers significantly enhances the visual appeal.
- Not having enough serving utensils – Every topping needs its own spoon or tongs to prevent flavor mixing and accommodate guests with allergies.
- Forgetting napkins and wet wipes – This is a deliciously messy experience, especially with children involved!
Alternatives & Substitutions
- Brownie Base Alternatives: Use blondies, cookie bars, or even pound cake slices for different flavor foundations.
- Gluten-Free Option: Substitute all-purpose flour with a 1:1 gluten-free baking blend in the brownie recipe.
- Vegan Adjustments: Replace butter with coconut oil, eggs with flax eggs, and use dairy-free ice cream options.
- Lower-Sugar Version: Reduce sugar in brownies by 1/4 cup and offer fresh fruit toppings instead of candy options.
- Adult Variation: Add 2 tablespoons of coffee liqueur to the brownie batter and offer bourbon-infused caramel sauce.
- Healthier Twist: Use Greek yogurt instead of ice cream and focus on nut and fresh fruit toppings.
- No-Bake Option: Use store-bought brownies and focus your efforts on homemade toppings for a time-saving alternative.
FAQs
Can I make the brownies ahead of time?
Absolutely! The brownies can be made up to 2 days in advance and stored in an airtight container at room temperature. You can even freeze them for up to a month – just thaw and warm slightly before serving.
How do I keep ice cream from melting too quickly during the party?
Place your ice cream containers in a large bowl filled with ice, or pre-scoop ice cream balls onto a parchment-lined baking sheet and keep them in the freezer until just before serving. A metal ice cream scoop dipped in warm water also helps with serving.
What’s the best way to warm the brownies without drying them out?
Place room-temperature brownies in a 300°F oven for about 5 minutes, or microwave individual brownies for 10-15 seconds. You want them warm, not hot, to prevent melting the ice cream too quickly.
How can I make this work for dietary restrictions?
Label all ingredients clearly, provide separate serving utensils for each topping, and consider having a separate section for allergen-free options. For gluten-free guests, offer gluten-free brownies; for dairy-free needs, include sorbet or dairy-free ice cream options.
Can I transport this setup to another location?
Yes! Pack brownies in airtight containers, pre-portion toppings in jars with lids, and transport ice cream in coolers with ice packs. Assemble the bar at your destination – it takes just minutes to set up once you arrive.
Final Thoughts
The Brownie Sundae Bar isn’t just dessert—it’s memory-making in action. There’s something magical about watching people light up as they create their perfect sweet treat. Don’t worry about perfection; the beauty lies in the experience itself. The laughter, the creative combinations, even the occasional ice cream drip—these become the moments we cherish. So set it up, step back, and watch the joy unfold!


