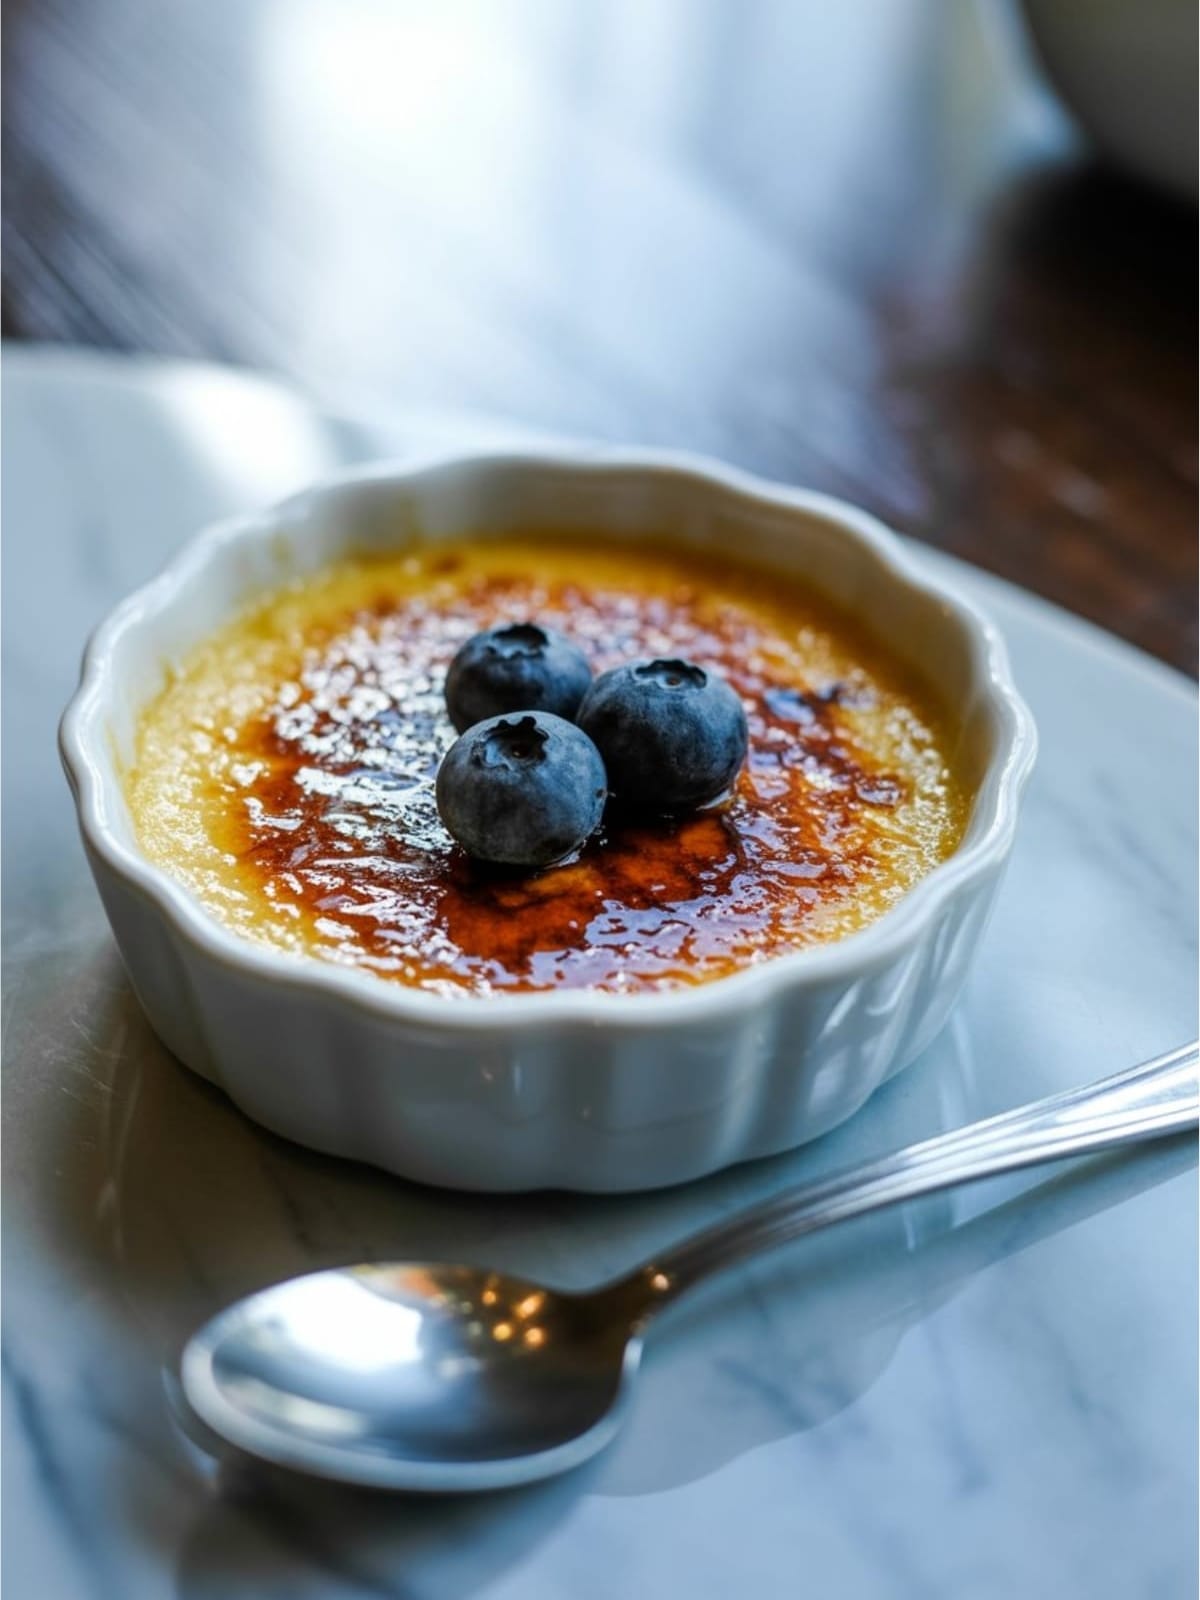
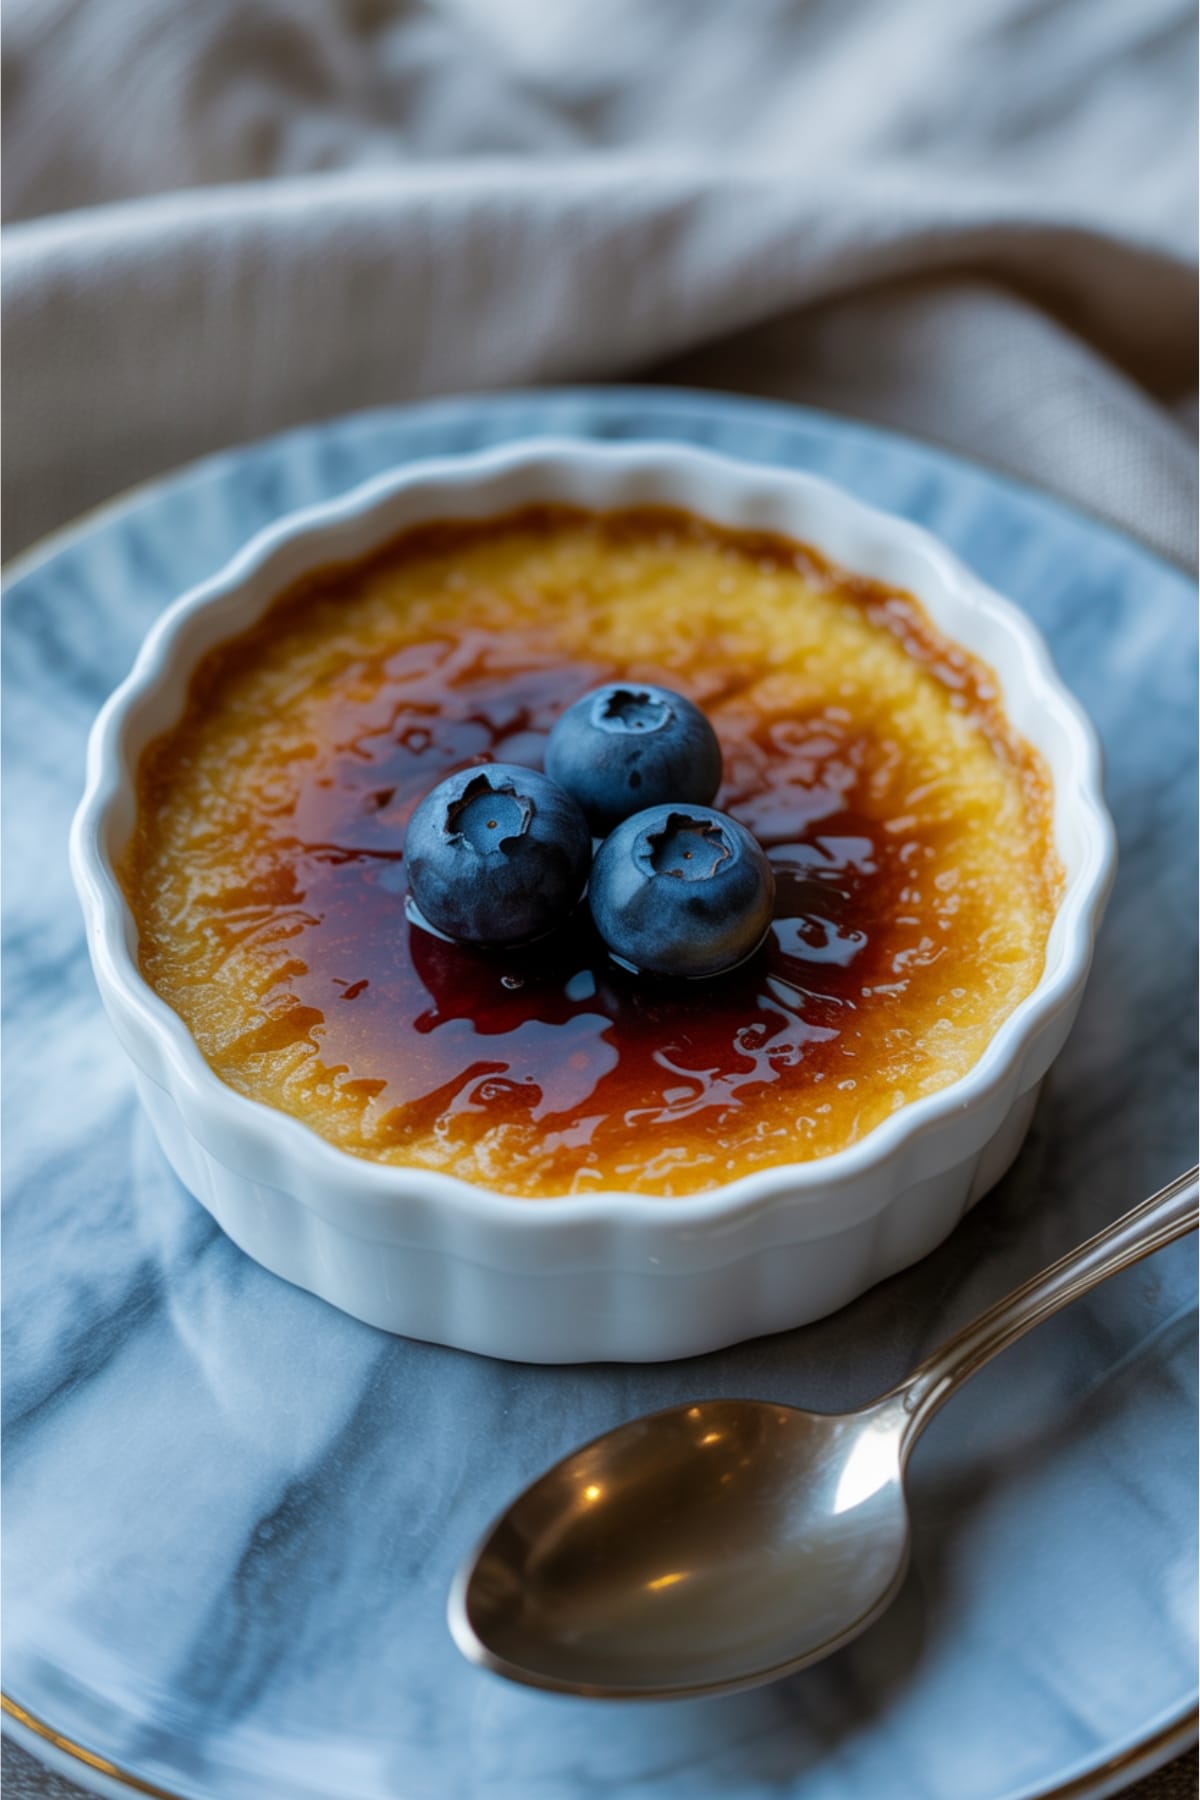
There’s something undeniably magical about cracking through that glassy caramelized sugar top to reveal the silky custard beneath. If you’ve ever hesitated to make Classic Crème Brûlée at home, thinking it’s only for professional chefs or fancy restaurants, I’m here to change your mind. This iconic French dessert might seem intimidating, but with the right guidance, it’s surprisingly accessible—even for beginners.
I still remember my first attempt at making this dessert years ago. I was nervous about tempering eggs and achieving that perfect crack-worthy top. Now, after countless batches, I’m excited to share all my tips and tricks with you.
Why This Recipe is Awesome
What makes Classic Crème Brûlée so special is its beautiful contradiction—it’s extraordinarily elegant yet requires just a handful of basic ingredients.
The contrast between the cool, velvety custard and that warm, shattering sugar crust creates a sensory experience unlike any other dessert. This particular recipe has been refined over dozens of iterations to achieve the perfect consistency—not too firm, not too loose, with just the right amount of vanilla fragrance. It’s also incredibly forgiving if you follow the key steps I’ll outline.
Unlike other versions that might be overly complicated, I’ve streamlined the process while maintaining authenticity. The result is a restaurant-quality dessert that will genuinely impress your guests while being surprisingly straightforward to create.
Equipment needed: Ramekins, baking dish, kitchen torch, fine mesh strainer, mixing bowls, whisk, measuring cups
Crème Brûlée
Ingredients
- 2 cups heavy cream
- 5 large egg yolks room temperature
- 1/2 cup granulated sugar divided (1/4 cup for custard, 1/4 cup for topping)
- 1 vanilla bean split and scraped (or 1 1/2 teaspoons pure vanilla extract)
- Pinch of salt
- Boiling water for water bath
Instructions
- Preheat your oven to 325°F (165°C) and arrange four 6-ounce ramekins in a deep baking dish or roasting pan. This provides the foundation for your water bath, essential for gentle cooking.
- Heat the cream and vanilla together in a medium saucepan over medium-low heat. If using a vanilla bean, add both the seeds and pod to the cream. Heat until small bubbles form around the edges (about 5 minutes)—don’t let it boil. Remove from heat and let steep for 10 minutes if using vanilla bean.
- Whisk egg yolks, 1/4 cup sugar, and salt together in a medium bowl until the mixture lightens in color and becomes slightly thickened, about 2 minutes. The sugar should be mostly dissolved.
- Gradually temper the eggs by slowly pouring about 1/4 cup of the warm cream into the egg mixture while whisking constantly. Continue adding the cream in a slow stream, whisking continuously to prevent the eggs from scrambling.
- Strain the mixture through a fine-mesh sieve into a clean bowl or measuring cup with a pour spout. This removes any potential bits of cooked egg and ensures perfectly smooth custard.
- Divide the custard evenly among the ramekins, filling them about 3/4 full. Place the baking dish on the oven rack, then carefully pour enough boiling water into the dish to reach halfway up the sides of the ramekins.
- Bake for 35-40 minutes until the custards are set but still slightly jiggly in the center—they should wobble like gelatin when gently shaken. They will continue to set as they cool.
- Cool the custards completely at room temperature, then cover each with plastic wrap and refrigerate for at least 2 hours or up to 3 days.
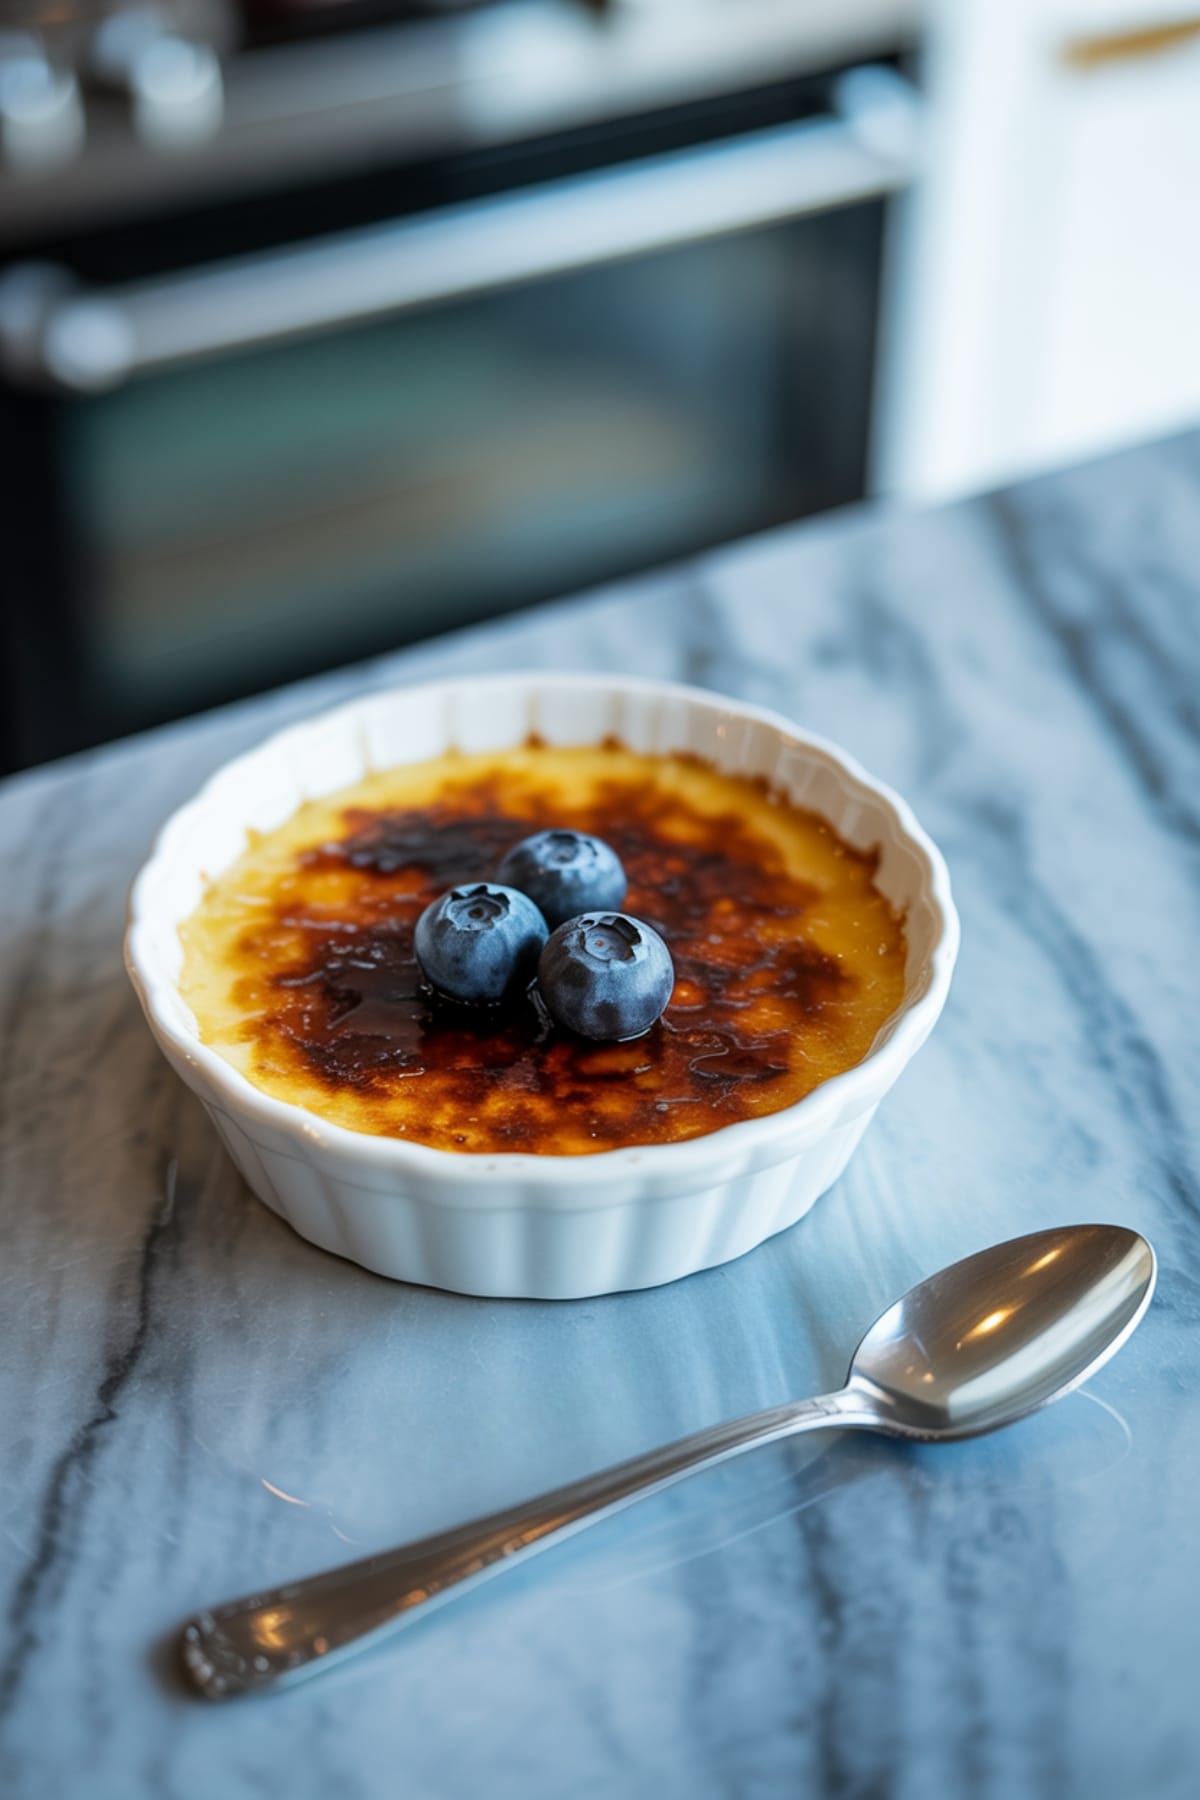
- Just before serving, sprinkle 1-2 teaspoons of sugar evenly over each custard, rotating and tilting the ramekin to ensure complete coverage. Tap out any excess sugar.
- Caramelize the sugar using a kitchen torch, moving it constantly over the surface until the sugar melts and turns a deep amber color. Let stand for 1-2 minutes until the sugar hardens into a crisp shell before serving.
Notes
- For the smoothest texture, strain the custard mixture twice—once after tempering and again before pouring into ramekins.
- The water bath is non-negotiable—it ensures gentle, even cooking and prevents curdling.
- If you don’t have a kitchen torch, place the sugar-topped custards under a preheated broiler for 2-3 minutes, watching carefully to prevent burning.
- For the most dramatic “crack” experience, caramelize the sugar right before serving—the contrast between cold custard and warm, crisp topping is part of the magic.
- You can infuse the cream with other flavors like citrus zest, lavender, or coffee beans during the heating step.
Calories & Nutritional Info
- Calories per serving: Approximately 420 calories
- Fat: 35g (primarily from cream and egg yolks)
- Carbohydrates: 25g (from sugar)
- Protein: 5g
- Contains: Dairy and eggs
- Not suitable for: Vegan, dairy-free, or egg-free diets
Common Mistakes to Avoid

- Cooking at too high a temperature – This causes the custard to curdle and become grainy instead of silky smooth.
- Skipping the water bath – Without it, the custard will cook unevenly and develop a rubbery texture.
- Rushing the tempering process – Adding hot cream too quickly to egg yolks will result in scrambled eggs rather than custard.
- Using cold eggs – Room temperature yolks blend more easily and create a smoother texture.
- Removing from oven too early or too late – The custard should be set but still have a slight wobble in the center.
- Applying too much sugar for the topping – A thin, even layer caramelizes better than a thick one.
Alternatives & Substitutions
- Vanilla alternatives: Replace vanilla bean with 1½ teaspoons of extract, vanilla bean paste, or experiment with other flavors like orange zest, cinnamon, or coffee.
- Dairy options: For a lighter version, substitute half-and-half for up to half of the heavy cream (texture will be slightly less rich).
- Sugar variations: Brown sugar or raw sugar can be used in the custard for a deeper flavor profile (though white sugar works best for the caramelized top).
- Flavored variations: Infuse the cream with 1-2 tablespoons of espresso powder, 2 teaspoons of matcha, 1 tablespoon of citrus zest, or 2 tablespoons of liqueur like Grand Marnier.
- No torch method: Use a preheated broiler, keeping the ramekins 2-3 inches from the heat source and watching carefully to prevent burning.
FAQs
How far in advance can I make Crème Brûlée?
The custard can be made up to 3 days ahead and stored covered in the refrigerator. However, always caramelize the sugar topping just before serving for that perfect crack and contrast between cold custard and warm topping.
Why did my custard curdle or become grainy?
This typically happens when the eggs are overcooked, either by adding hot cream too quickly without tempering, baking at too high a temperature, or not using a water bath. The water bath provides gentle, insulated heat that prevents curdling.
Can I make Crème Brûlée without a torch?
Absolutely! Place your sugar-topped custards under a preheated broiler for 2-3 minutes, watching very carefully. Position the ramekins about 2-3 inches from the heat source and rotate them for even browning.
How do I know when the custard is perfectly baked?
The edges should be set, but the center should still have a slight wobble—similar to gelatin—when you gently shake the ramekin. The custard will continue to set as it cools, so it’s better to slightly underbake than overbake.
Why isn’t my sugar topping hardening properly?
You might be using too much sugar or not getting your torch close enough. Use just 1-2 teaspoons per ramekin in a thin, even layer, and hold the torch about 2 inches from the surface, moving it constantly until the sugar bubbles and turns amber.
Final Thoughts
Making Classic Crème Brûlée at home is one of those kitchen achievements that feels incredibly rewarding. The contrast between the cool, silky custard and that warm, shatteringly crisp sugar top creates a sensory experience that’s hard to beat. Don’t be intimidated by its fancy reputation—with patience and attention to detail, you’ll master this timeless French dessert and have a go-to impressive recipe in your culinary arsenal.


