
Ever had one of those days when you’re staring into your fridge, wondering how to transform that pack of chicken breasts into something that doesn’t scream “I’ve given up on flavor”? Same. That’s why this parmesan crusted chicken is about to become your new weeknight hero—it’s what happens when ordinary chicken puts on a tuxedo and suddenly becomes the life of the dinner party.
Why This Recipe is Awesome
First off, it’s ridiculously crispy on the outside while staying juicy on the inside. That’s basically the holy grail of chicken cookery right there. The parmesan creates this golden, savory crust that will make you question why you ever made chicken any other way.
The best part? You probably already have everything you need in your kitchen. No obscure ingredients that you’ll use once and then discover growing science experiments in the back of your fridge six months later. Just honest ingredients creating dishonest levels of deliciousness (because something this good feels like cheating).
And let’s talk about versatility—this chicken works as the star of your plate, sliced over salads, stuffed in sandwiches, or even cut into strips for the pickiest of tiny humans. One recipe, endless possibilities. That’s efficiency, my friends.
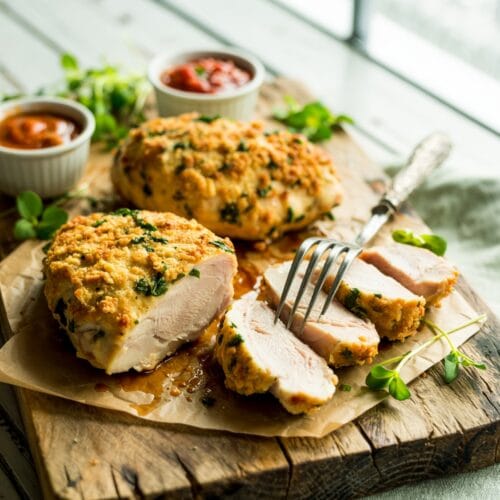
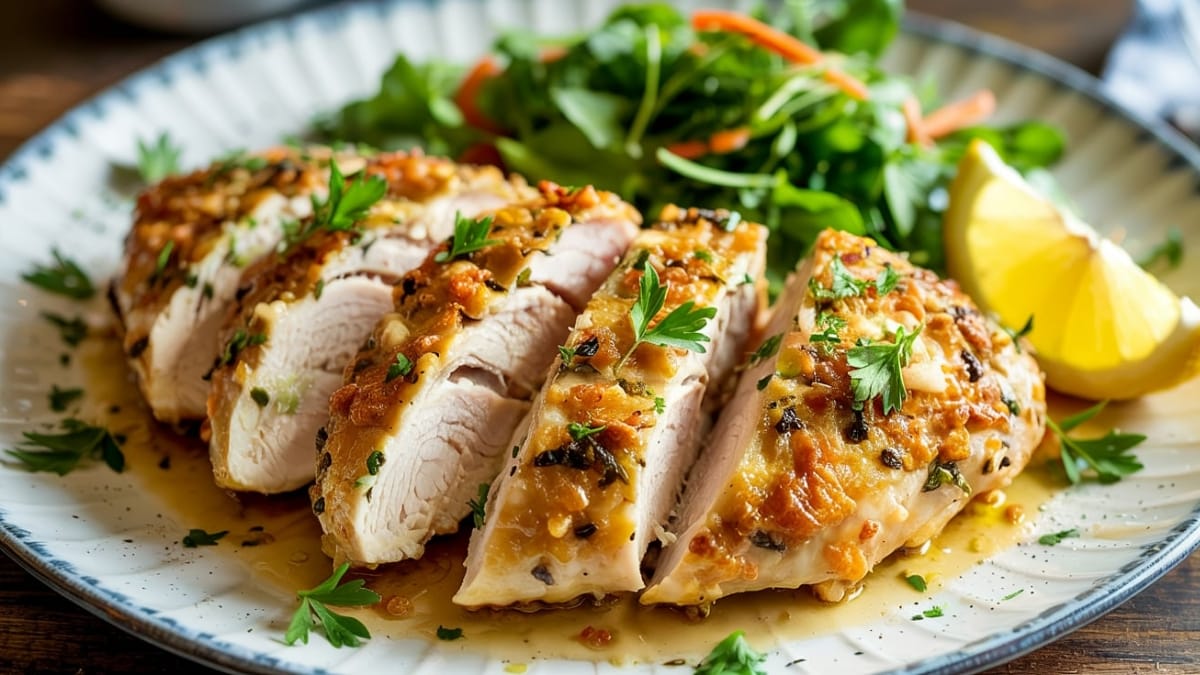
Parmesan Crusted Chicken
Ingredients
- 4 boneless skinless chicken breasts (about 6-8 oz each, pounded to even thickness)
- ¾ cup freshly grated Parmesan cheese the real stuff, not the sawdust in the green can
- ¾ cup panko breadcrumbs
- 2 teaspoons Italian seasoning
- 1 teaspoon garlic powder
- ½ teaspoon paprika smoked if you’re feeling fancy
- ½ teaspoon salt
- ¼ teaspoon black pepper
- 2 large eggs
- 3 tablespoons olive oil plus more if needed
- 2 tablespoons butter
- Fresh parsley chopped (for garnish)
- Lemon wedges for serving
Instructions
- Preheat your oven to 375°F (190°C). Chicken always appreciates a warm welcome.
- Place your chicken breasts between two sheets of plastic wrap and pound them to an even thickness of about ½ inch. Uneven chicken is sad chicken that cooks unevenly. We don’t want sad chicken.
- Set up your breading station: In one shallow dish, beat the eggs. In another dish, mix together the Parmesan, panko, Italian seasoning, garlic powder, paprika, salt, and pepper. Stir until it’s well combined.
- Pat the chicken breasts completely dry with paper towels. Moisture is the enemy of crispness! Season both sides with a bit of salt and pepper.
- Dip each chicken breast into the egg wash, making sure it’s fully coated, then press firmly into the Parmesan mixture. Really get that coating to stick on both sides. For extra crispiness, press gently with your fingers to adhere the coating.
- Heat your olive oil and butter in a large oven-safe skillet over medium-high heat until shimmering but not smoking.
- Add the chicken breasts to the hot pan and cook for 3-4 minutes without moving them (resist the urge to peek!) until they develop a golden-brown crust.
- Carefully flip them over using tongs and cook the other side for 2-3 minutes.
- Transfer the skillet to the preheated oven and bake for 10-15 minutes, or until the internal temperature reaches 165°F (74°C) and the coating is deep golden brown.
- Let the chicken rest for 5 minutes before slicing. This helps keep all those delicious juices inside.
- Garnish with fresh parsley and serve with lemon wedges for a bright finishing touch.
Notes
- For even cooking, make sure your chicken breasts are pounded to uniform thickness.
- Let the breaded chicken sit for about 5 minutes before frying to help the coating adhere better.
- If your chicken breasts are particularly large, you may need to finish them in the oven a bit longer.
- No oven-safe skillet? No problem! Transfer the chicken to a baking sheet after searing.
- The parmesan should be finely grated for the best coating adhesion.
Calories & Nutritional Info
- Calories per serving: Approximately 420
- Protein: 42g
- Carbohydrates: 10g
- Fat: 25g
- Sodium: 650mg
- Happiness index: Off the charts
- Compliments anticipated: Many
Common Mistakes to Avoid
- Using cold chicken straight from the refrigerator – Let it sit out for 15-20 minutes to take the chill off for more even cooking.
- Skipping the pounding step – Uneven chicken means some parts will be dry before others are done.
- Not patting the chicken dry – Water and crispy crusts are mortal enemies.
- Flipping too early – Wait for that golden crust to form before turning.
- Overcrowding the pan – Cook in batches if needed; crowded chicken steams instead of sears.
Alternatives & Substitutions
- No panko? Regular breadcrumbs work too, though the crust won’t be quite as crispy.
- Watching carbs? Skip the breadcrumbs altogether and go for an all-Parmesan crust.
- Chicken thighs can substitute for breasts if you prefer dark meat.
- Make it spicy: Add ¼ teaspoon of cayenne to the breading mixture.
- Dairy-free option: Use nutritional yeast instead of Parmesan (it won’t be the same, but it’ll still be tasty).
- Fresh herbs: Add 1 tablespoon of chopped fresh herbs like thyme or rosemary to the breading for an aromatic twist.
FAQs
Can I make this without an oven-safe skillet?
Absolutely! Sear the chicken in whatever skillet you have, then transfer it to a baking sheet lined with parchment paper to finish in the oven. Crisis averted, dinner saved.
How do I know when the chicken is done?
The most reliable way is to use a meat thermometer – it should read 165°F (74°C) at the thickest part. If you don’t have one, cut into the thickest part; the meat should be opaque with no pink showing.
Can I prep this ahead of time?
You can bread the chicken up to 2 hours ahead and keep it in the refrigerator on a wire rack (uncovered). Any longer and you risk a soggy crust, which is a culinary tragedy. For meal prep, I recommend cooking completely, refrigerating, and reheating in a hot oven to re-crisp.
What should I serve with Parmesan crusted chicken?
The better question is what SHOULDN’T you serve with it! Pasta with marinara, roasted vegetables, garlic mashed potatoes, a simple salad—this chicken plays well with others. It’s basically the popular kid at the dinner table.
Can I freeze this chicken?
You can freeze it after cooking, but be warned: the crust won’t be as crispy when reheated. To serve, thaw completely in the refrigerator, then reheat in a 350°F oven until warmed through and the coating has regained some of its crispness.
Why did my breading fall off?
Three possible culprits: 1) The chicken was too wet, 2) Your pan wasn’t hot enough when you added the chicken, or 3) You flipped it too soon. Patience is key—let that crust form before disturbing the chicken.
Final Thoughts
This parmesan crusted chicken isn’t just a recipe; it’s peace of mind in a world of “what’s for dinner” panic. It’s simple enough for Monday night but impressive enough for company. It’s the chicken recipe that will make you look like you know what you’re doing in the kitchen, even if most days you’re just winging it like the rest of us. Now go forth and create that crispy, cheesy magic. Your taste buds (and probably your family) will thank you.


