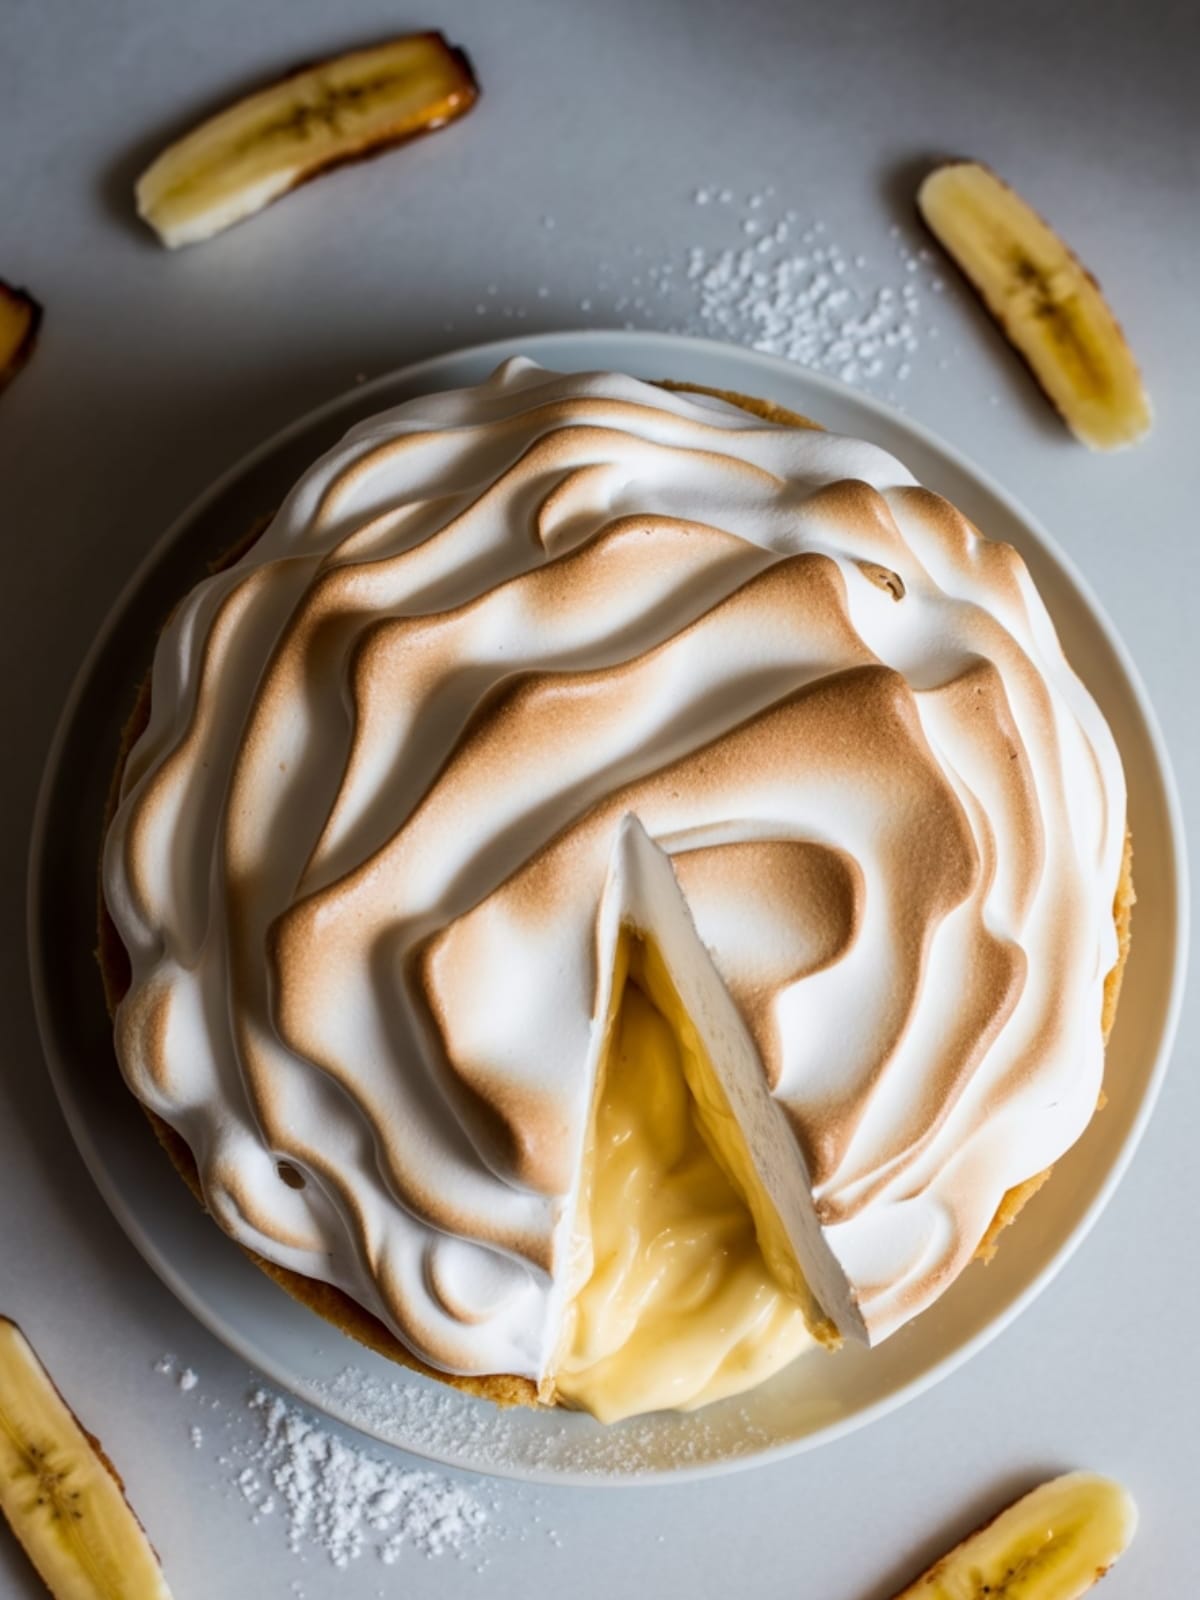
Ever had one of those desserts that makes you close your eyes and just savor the moment? That’s exactly what this Banana Pudding Pie does. It transforms the beloved classic banana pudding into a sliceable, showstopping pie that somehow feels both nostalgic and fresh at the same time.
This isn’t just dessert—it’s a sweet memory in the making, with layers of creamy vanilla pudding, fresh bananas, and those perfectly soft vanilla wafers that somehow taste like childhood.
Why This Recipe is Awesome
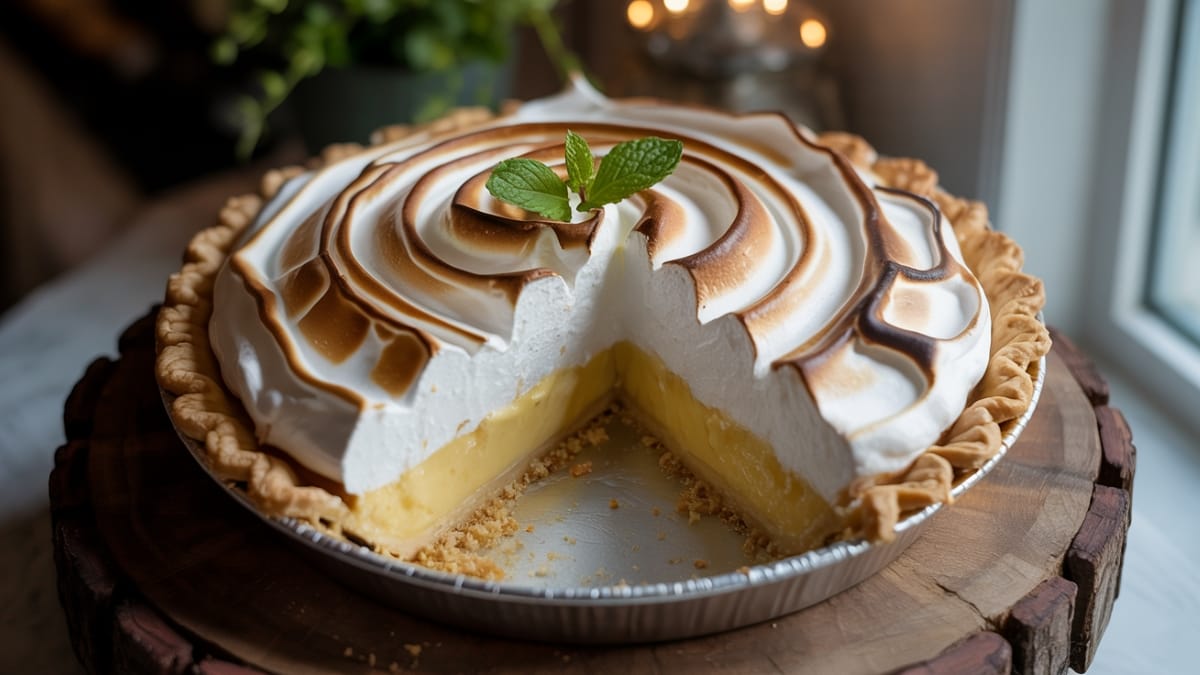
What makes this Banana Pudding Pie truly special is how it elevates a humble Southern classic into an impressive dessert while keeping all the comfort of the original. The magic happens in the contrast of textures—that buttery, slightly crisp cookie crust giving way to silky pudding and tender banana slices. Unlike traditional banana pudding in a bowl, this pie holds its shape when sliced, making it perfect for serving at gatherings.
The recipe strikes that rare balance between impressive and approachable. You don’t need professional pastry skills to create those beautiful, distinct layers that make everyone reach for their phones before taking a bite. And that caramelized meringue topping?
It adds a professional touch that makes people think you spent hours in the kitchen (when really, it takes just minutes with a kitchen torch).
Equipment needed: 9-inch pie dish, mixing bowls, whisk, hand mixer or stand mixer, kitchen torch (optional)
Banana Pudding Pie
Ingredients
For the crust
- 2 cups vanilla wafer cookies crushed (about 60 cookies)
- 6 tablespoons unsalted butter melted
- 2 tablespoons granulated sugar
For the filling
- 3/4 cup granulated sugar
- 1/3 cup cornstarch
- 1/4 teaspoon salt
- 3 cups whole milk
- 4 large egg yolks save whites for meringue
- 2 tablespoons unsalted butter
- 2 teaspoons vanilla extract
- 3-4 ripe bananas firm but with some brown spots for optimal sweetness
- 20 vanilla wafer cookies whole
For the meringue topping
- 4 large egg whites reserved from filling
- 1/4 teaspoon cream of tartar
- 1/3 cup granulated sugar
- 1 teaspoon vanilla extract
Instructions
- Prepare the crust by combining crushed vanilla wafers, melted butter, and sugar in a bowl until the mixture resembles wet sand. Press firmly into a 9-inch pie dish, creating an even layer on the bottom and up the sides. Refrigerate for 30 minutes to set.
- Make the pudding filling by whisking together sugar, cornstarch, and salt in a medium saucepan. Gradually whisk in milk until smooth, then heat over medium heat, stirring constantly until the mixture begins to thicken and bubble (about 5-7 minutes).
- Temper the egg yolks by slowly adding about 1 cup of the hot milk mixture to the beaten egg yolks while whisking constantly. Pour this mixture back into the saucepan and cook for 1-2 more minutes until very thick, continuing to whisk constantly to prevent scorching.
- Remove from heat and stir in butter and vanilla extract until completely melted and incorporated. Transfer to a bowl and cover with plastic wrap directly on the surface of the pudding (to prevent a skin from forming) and let cool for 15 minutes.
- Assemble the base layers by arranging a layer of whole vanilla wafers on the bottom of the chilled crust, then top with sliced bananas (about 1½ bananas, sliced ¼-inch thick). Pour half of the pudding mixture over the bananas and spread evenly.
- Create the second layer by adding another layer of vanilla wafers, remaining sliced bananas, and topping with the remaining pudding. Smooth the surface with a spatula and refrigerate while preparing the meringue.
- Make the meringue by beating egg whites and cream of tartar in a clean, dry bowl until foamy. Gradually add sugar while continuing to beat until stiff, glossy peaks form (about 3-4 minutes). Fold in vanilla extract.
- Top the pie with the meringue, making sure to spread it all the way to the edges of the crust to seal in the filling. Create decorative peaks with the back of a spoon.
- Brown the meringue either under a broiler for 1-2 minutes (watching carefully to prevent burning) or use a kitchen torch to caramelize the surface until golden brown.
- Chill thoroughly for at least 4 hours or overnight before serving to allow the pie to set completely for clean, beautiful slices.
Notes
- For the best texture and flavor, make this pie at least 4 hours before serving, but not more than 24 hours ahead as the bananas will begin to darken.
- When selecting bananas, choose ones that are ripe but still firm – they should have some brown spots but not be overly soft.
- To prevent the meringue from weeping, be sure to spread it all the way to the edge of the crust, creating a seal.
- The vanilla wafer crust can be made a day ahead and stored in the refrigerator.
- For a shortcut version, you can substitute instant vanilla pudding mix, but the homemade pudding truly elevates this pie.
Calories & Nutritional Info
- Calories: Approximately 420 calories per slice
- Carbohydrates: 62g (primarily from sugar and cookies)
- Protein: 7g
- Fat: 17g
- Contains: Dairy, eggs, and wheat (from cookies)
- Not suitable for: Vegan, dairy-free, or gluten-free diets without modifications
Common Mistakes to Avoid
- Undercooking the pudding: The filling should be very thick before removing from heat. If it’s too loose, your pie won’t set properly.
- Using overripe bananas: Too-soft bananas will turn mushy and brown quickly. Choose bananas with just a few spots for the perfect sweetness and texture.
- Not cooling the pudding before assembly: Hot pudding will make the cookies soggy and can cook the bananas, creating an unpleasant texture.
- Getting fat or yolk in your egg whites: Even a tiny bit will prevent your meringue from whipping up properly. Separate eggs carefully and use a clean, dry bowl.
- Cutting the pie too soon: Patience is key! The pie needs adequate time to chill and set, or you’ll end up with a messy, runny slice.
Alternatives & Substitutions
- Gluten-free option: Use gluten-free vanilla cookies for the crust and layers.
- Lighter version: Substitute 2% milk for whole milk and reduce sugar by 25% in the pudding.
- No-meringue variation: Top with sweetened whipped cream instead of meringue for a simpler finish.
- Chocolate lover’s twist: Add a layer of chocolate ganache between the crust and first pudding layer.
- Make it tropical: Substitute coconut milk for half the regular milk and add 1/2 cup toasted coconut to the filling.
- Graham cracker alternative: If you can’t find vanilla wafers, a graham cracker crust works beautifully as well.
FAQs
Can I make Banana Pudding Pie ahead of time?
Yes, but with some limitations. You can make it up to 24 hours in advance, but the bananas may start to brown slightly after that. For the freshest presentation, prepare the crust and pudding a day ahead, then assemble with bananas and meringue a few hours before serving.
Why did my meringue weep or shrink?
Meringue weeping (liquid forming between layers) usually happens when sugar isn’t fully dissolved or when the meringue is spread on a cold filling. Make sure to add sugar gradually while beating and spread meringue on a slightly warm filling, sealing it to the edges of the crust.
Can I freeze Banana Pudding Pie?
I don’t recommend freezing this pie as the texture of both the bananas and meringue will deteriorate significantly upon thawing. This is definitely a “make and enjoy fresh” kind of dessert.
How do I know when my pudding is thick enough?
The pudding should coat the back of a spoon and when you run your finger through it, the line should remain clean and distinct. It should be thick enough that it mounds slightly when dropped from a spoon.
Can I use a store-bought crust to save time?
Absolutely! While the homemade vanilla wafer crust adds authentic flavor, a pre-made graham cracker crust works in a pinch and saves considerable time when you’re in a hurry.
Final Thoughts
This Banana Pudding Pie isn’t just dessert—it’s an experience that brings together the best of Southern comfort food in a slightly more sophisticated package. There’s something magical about that first bite, where the crunch of the crust meets the silky pudding and sweet bananas. Whether you’re making it for a special occasion or simply because you deserve something delicious, this pie has a way of turning any day into a celebration.


