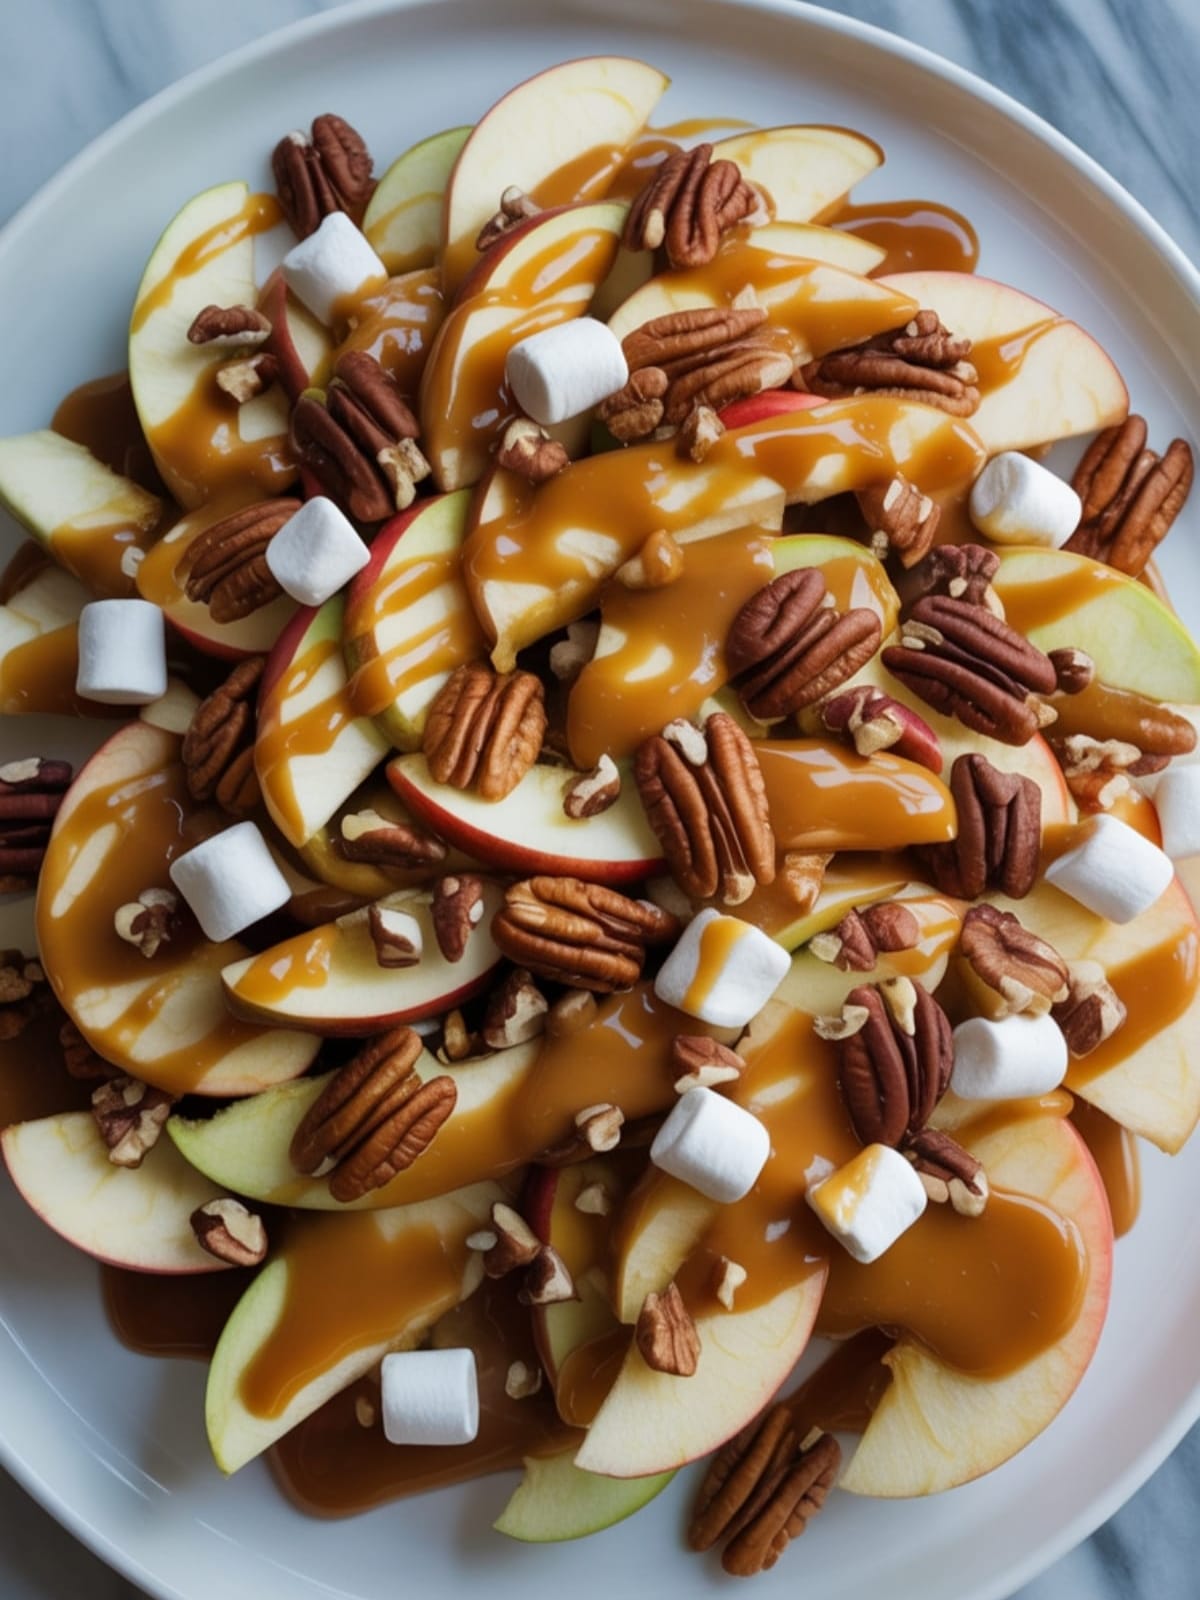
Have you ever craved something sweet that’s equal parts impressive and effortless? Caramel Apple Nachos are about to become your new go-to treat. Imagine crisp apple slices fanned out like tortilla chips, drizzled with warm caramel, and topped with a medley of crunchy, sweet additions. This isn’t just a dessert—it’s an experience that brings together the nostalgic comfort of caramel apples without the mess or commitment.
Why This Recipe is Awesome
What makes Caramel Apple Nachos truly special is their incredible versatility and visual appeal.
Unlike traditional caramel apples that are sometimes challenging to eat, these nachos deliver all the same flavors in a shareable, customizable format. They’re perfect for everything from afterschool snacks to elegant dessert boards at gatherings. The beauty lies in the balance—tart, juicy apples provide the perfect canvas for sweet caramel and whatever toppings inspire you.
In just minutes, you’ll create a dessert that looks like you spent hours, but actually requires minimal effort. As a culinary enthusiast who’s tested countless quick desserts, I can confidently say these nachos deliver maximum impact with minimum fuss—exactly what we need in our busy lives.
Equipment Needed: Cutting board, sharp knife, microwave-safe bowl, serving platter
Caramel Apple Nachos
Ingredients
- 4-5 medium apples mix of Granny Smith and Honeycrisp for sweet-tart balance
- 1 cup caramel sauce store-bought or homemade
- ½ cup chocolate chips milk, dark, or white
- ¼ cup mini marshmallows
- ¼ cup chopped nuts peanuts, pecans, or walnuts work beautifully
- ¼ cup crushed graham crackers cookies, or pretzels
- 2 tablespoons lemon juice to prevent browning
- Optional: shredded coconut toffee bits, mini chocolate candies
Instructions
- Prepare the apples by washing them thoroughly, then slice into thin, even wedges (about ¼ inch thick). Toss gently with lemon juice in a bowl to prevent browning.
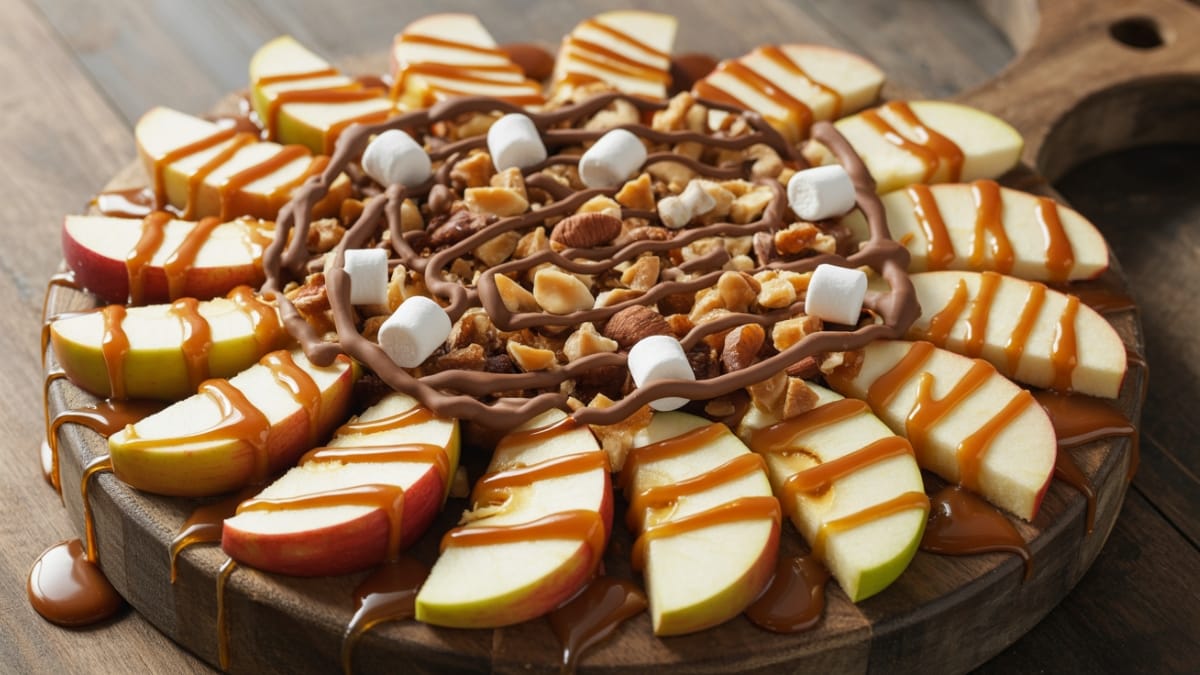
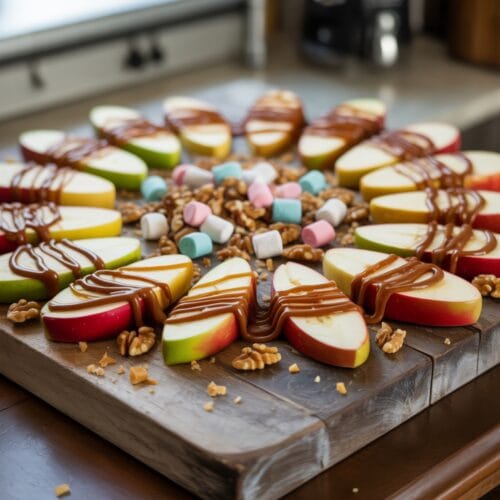
- Arrange apple slices in an overlapping pattern on a large serving platter, creating a circular design similar to traditional nachos. Make sure the slices aren’t piled too high—you want most pieces to get some toppings.
- Warm the caramel sauce in a microwave-safe bowl for 20-30 seconds until it reaches a pourable consistency. Be careful not to overheat as it can become too runny.
- Drizzle the warm caramel generously over the arranged apple slices, using a spoon to create an appealing pattern. Cover about two-thirds of the apples, leaving some visible for color contrast.
- Melt chocolate chips in a separate microwave-safe bowl, heating in 15-second intervals and stirring between each until smooth.
- Drizzle the melted chocolate over the apples in a zigzag pattern, creating visual interest against the caramel layer.
- Sprinkle your toppings evenly across the nachos—nuts, marshmallows, crushed cookies, and any optional additions you’ve chosen.
- Serve immediately while the caramel and chocolate are still slightly warm for the best taste experience.
Notes
- For make-ahead preparation, slice the apples and store them in cold water with a tablespoon of lemon juice for up to 2 hours before serving, then pat dry before assembling.
- Create a “nacho bar” with individual bowls of toppings so everyone can customize their portion.
- Leftover nachos won’t keep well once assembled, so it’s best to prepare only what will be eaten immediately.
- For a warmer dessert, briefly heat the assembled nachos in the oven at 300°F for 3-5 minutes to slightly soften the apples.
- If you’re using homemade caramel, let it cool slightly before drizzling to prevent the apples from wilting.
Calories & Nutritional Info
- Calories per serving: Approximately 250-300 calories (based on a 6-serving portion)
- Primarily carbohydrates from fruit sugars and added sweeteners
- Contains moderate fat content from nuts and chocolate
- Provides dietary fiber from apples and nuts
- Gluten-free if using gluten-free cookies or omitting cookie crumbles
- Can be dairy-free by choosing dairy-free caramel and chocolate options
Common Mistakes to Avoid
- Slicing apples too thick – Thinner slices (¼ inch) make for easier eating and better topping distribution
- Skipping the lemon juice treatment – This crucial step prevents unsightly browning that can make your presentation less appealing
- Overheating the caramel – Excessive heat makes caramel too thin and runny, causing it to pool at the bottom of your platter
- Adding toppings while caramel is too hot – Wait 1-2 minutes after drizzling or your chocolate and small toppings will melt completely
- Assembling too far in advance – Even with lemon juice, apple nachos are best enjoyed within 30 minutes of preparation
Alternatives & Substitutions
- Apple varieties: Use Pink Lady for extra sweetness or Braeburn for more tang. Red Delicious aren’t recommended as they tend to become mealy.
- Caramel alternatives: Try dulce de leche, maple syrup, or honey mixed with a touch of cinnamon for different flavor profiles.
- Nut-free option: Substitute nuts with sunflower seeds, granola clusters, or additional cookie crumbles.
- Lower-sugar version: Use Greek yogurt mixed with a small amount of honey and cinnamon as a caramel substitute.
- Seasonal variations: Add pumpkin spice in fall, crushed candy canes in winter, or fresh berries in summer.
FAQs
How do I keep my apple slices from turning brown?
The lemon juice treatment works wonders, but you can also use a solution of 1 cup water mixed with 1 tablespoon honey for a sweeter option. Soak apple slices for 1-2 minutes, then pat dry before arranging.
Can I make caramel apple nachos for a large party?
Absolutely! For larger gatherings, consider creating multiple smaller platters rather than one giant one—this allows for better topping distribution and ensures everyone can reach the nachos without disrupting the presentation.
What’s the best way to slice apples for nachos?
I recommend coring the apples first, then slicing into even wedges about ¼-inch thick. For a more elegant presentation, use a mandoline for consistent thickness, but be very careful of your fingers!
Are caramel apple nachos healthy?
While not low-calorie, they do contain beneficial nutrients from fresh fruit and nuts. You can make healthier versions by using yogurt drizzle instead of caramel and dark chocolate instead of milk chocolate.
How can I make this recipe more kid-friendly?
Children typically love this dessert as is, but you can use their favorite cereals, mini marshmallows, or colorful sprinkles as toppings. Consider setting up a DIY nacho bar where kids can decorate their own portions.
Final Thoughts
Caramel Apple Nachos beautifully transform ordinary ingredients into something extraordinary. They capture the essence of fall flavors but deserve a spot in your recipe collection year-round. There’s something magical about the way the warm caramel embraces the crisp apple slices—a reminder that sometimes the most delightful culinary experiences come from simple, thoughtful combinations rather than complicated techniques.


