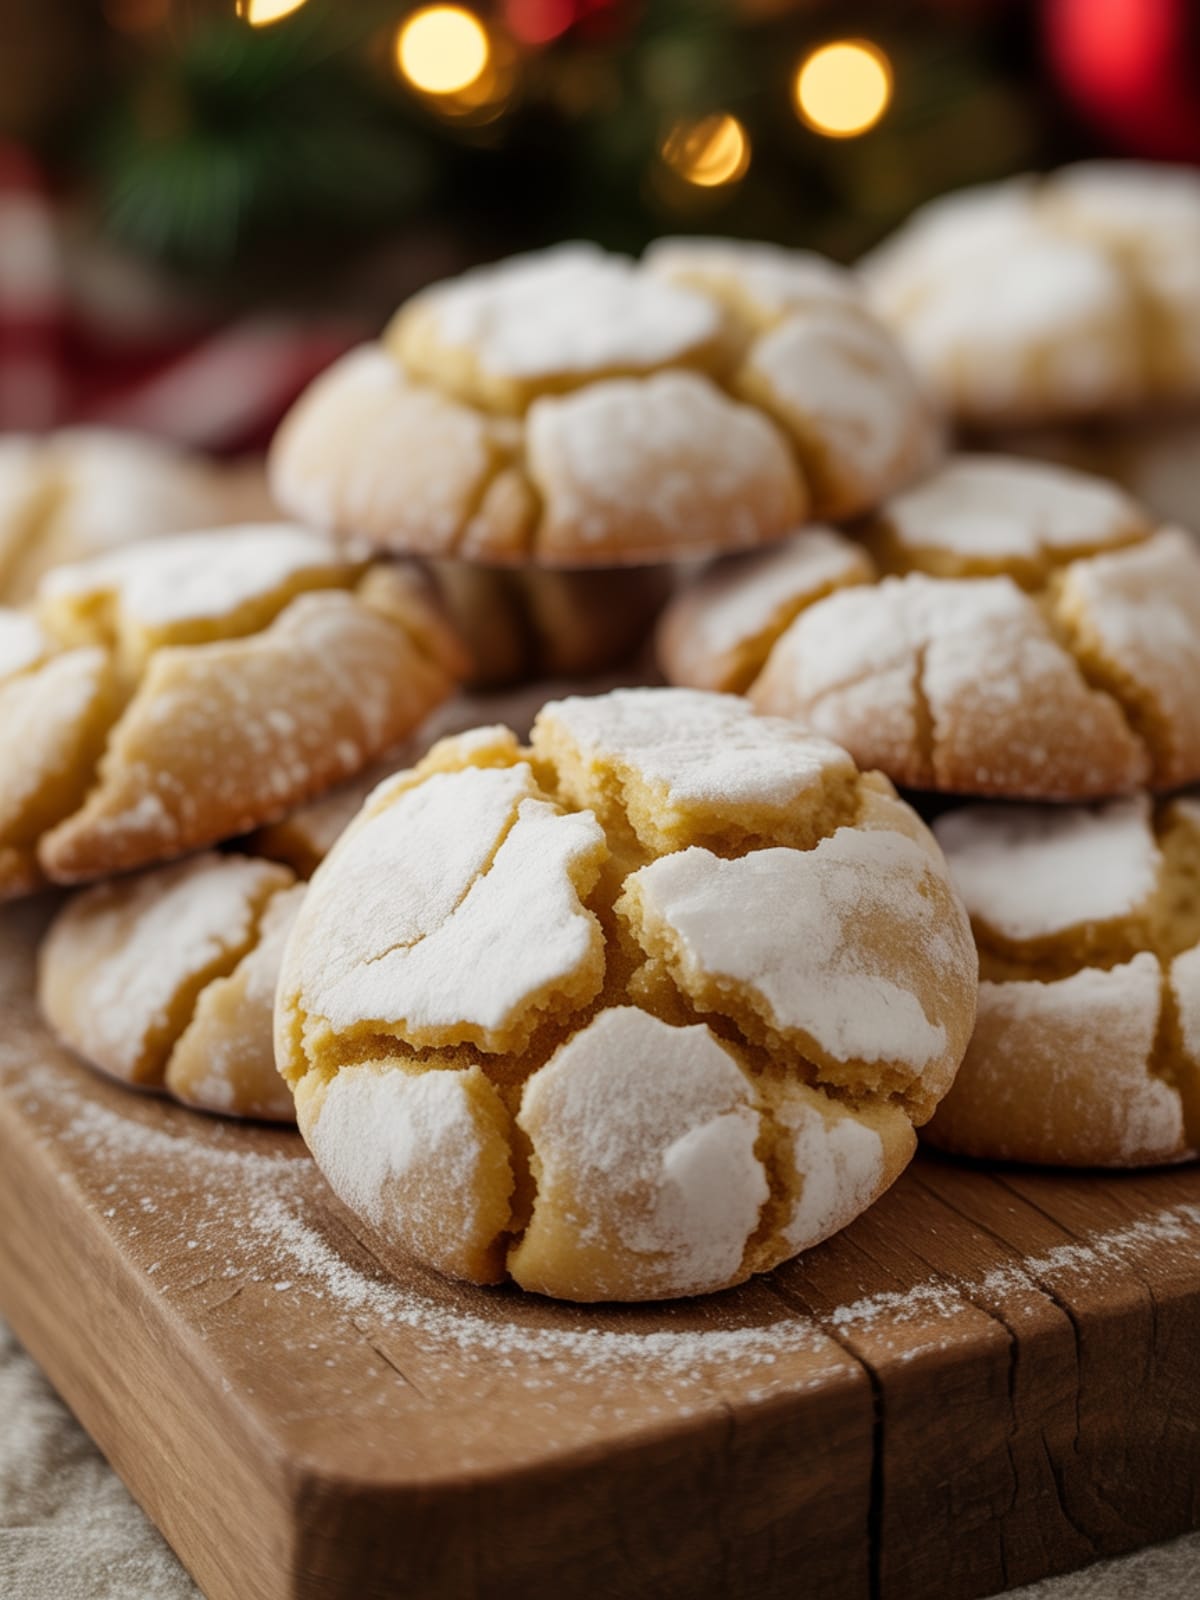
Welcome to cookie heaven! Christmas Gooey Butter Cookies are what happens when holiday magic meets melt-in-your-mouth perfection. These cookies have been stealing the show at my family gatherings for years, and for good reason – they strike that irresistible balance between a soft, tender center and a delicately crisp exterior dusted with powdered sugar. They look like little snowballs but taste like the most luxurious dessert you’ve ever tried. Trust me, once you make these, they’ll become your new holiday tradition!
Why This Recipe is Awesome
Christmas Gooey Butter Cookies aren’t just another holiday cookie – they’re a game-changer. First, they require minimal ingredients but deliver maximum flavor impact. The secret lies in using cake mix as the base, which not only simplifies the process but ensures a consistently tender texture every time.
What makes these truly special is their versatility. While they’re perfect for Christmas with their snow-like appearance, you can easily adapt them year-round with different colors or mix-ins. The cookies have this magical quality of being rich without being overwhelming – each bite offers a perfect balance of sweetness with that characteristic “gooey butter” flavor that originated in St.
Louis bakeries. Even better? They’re practically foolproof.
Whether you’re a seasoned baker or just starting out, these cookies will make you look like a dessert genius at your next holiday gathering.
Equipment Needed: Mixing bowls, electric mixer, cookie scoop, baking sheets, cooling rack
Christmas Gooey Butter Cookies
Ingredients
- 1 8 oz package cream cheese, softened
- 1/2 cup 1 stick unsalted butter, softened
- 1 large egg
- 1 teaspoon vanilla extract
- 1 box white cake mix 15.25 oz
- 1/4 teaspoon almond extract optional but adds wonderful flavor
- Red and green food coloring gel food coloring works best
- 1/2 cup powdered sugar for rolling
- Holiday sprinkles optional, for decorating
Instructions
- Prepare your workspace and ingredients. Preheat your oven to 350°F (175°C) and line baking sheets with parchment paper. Make sure your butter and cream cheese are properly softened – they should yield easily to gentle pressure but still hold their shape.
- Cream the butter and cream cheese together. In a large bowl, beat the softened cream cheese and butter with an electric mixer on medium speed until completely smooth and fluffy, about 2-3 minutes. Scrape down the sides of the bowl halfway through to ensure even mixing.
- Add the wet ingredients. Beat in the egg and vanilla extract (and almond extract if using) until fully incorporated and the mixture is smooth. The batter should look pale yellow and have a consistent texture.
- Incorporate the cake mix. Gradually add the cake mix to the wet ingredients, mixing on low speed until just combined. Don’t overmix – stop as soon as there are no visible dry spots. The dough will be quite sticky and soft.
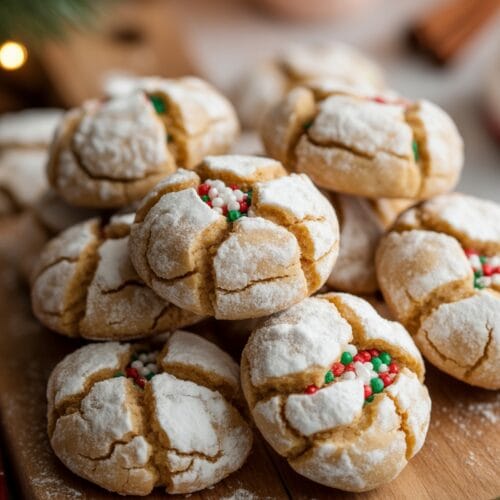
- Color the dough (optional). Divide the dough into portions if you want multiple colors. Add a few drops of food coloring to each portion and gently fold until the color is evenly distributed. For Christmas, red and green are traditional, but you can also leave some dough plain for “snowball” cookies.
- Chill the dough. Cover the bowl and refrigerate for at least 30 minutes until the dough is firm enough to handle. This prevents excessive spreading during baking and makes the dough easier to work with.
- Shape the cookies. Place powdered sugar in a small bowl. Using a cookie scoop or spoon, portion the dough into 1-inch balls. Roll each ball in powdered sugar, coating generously on all sides.
- Arrange and bake. Place the coated cookie balls on the prepared baking sheets, leaving about 2 inches between each cookie. Bake for 10-12 minutes until the edges are just set but the centers still appear slightly underdone (this ensures the “gooey” texture).
- Cool before serving. Allow the cookies to cool on the baking sheet for 5 minutes, then transfer to a wire rack to cool completely. The cookies will firm up as they cool while maintaining their gooey centers.
Notes
- For best results, make sure all refrigerated ingredients are at room temperature before mixing.
- The dough freezes beautifully – you can make it ahead and freeze portioned dough balls for up to 3 months. Just thaw in the refrigerator before rolling in powdered sugar and baking.
- These cookies will be very soft when hot – they need to cool completely to achieve the perfect texture contrast between the exterior and gooey center.
- Try different cake mix flavors for variations – chocolate, strawberry, and lemon all work wonderfully!
- For a more intense vanilla flavor, use clear vanilla extract and consider adding 1/2 teaspoon of butter extract.
Calories & Nutritional Info
- Calories: Approximately 165 calories per cookie
- Fat: 8g (5g saturated)
- Carbohydrates: 22g (14g sugar)
- Protein: 2g
- Contains: Dairy, eggs, and wheat (allergens)
- Not suitable for: Vegan, gluten-free, or dairy-free diets without modifications
Common Mistakes to Avoid
- Skipping the chilling step: This results in cookies that spread too much and lose their characteristic gooey center. Always chill the dough for at least 30 minutes.
- Overbaking: These cookies should look slightly underdone when you take them out. They’ll continue cooking on the hot baking sheet.
- Not using enough powdered sugar: The generous coating creates that beautiful crackled effect and adds textural contrast.
- Undermixing the butter and cream cheese: Take the time to fully cream these ingredients until smooth to avoid lumps in your cookies.
- Using cold ingredients: Room temperature butter and cream cheese are essential for proper incorporation and texture.
Alternatives & Substitutions
- Gluten-free option: Substitute a gluten-free cake mix. The texture may be slightly different but still delicious.
- Different cake flavors: Try chocolate cake mix with mint extract for a chocolate mint version, or lemon cake mix for bright citrus cookies.
- Cream cheese alternatives: Neufchâtel cheese works well as a lower-fat option without significant texture changes.
- Decorative options: Add 1/4 cup of holiday sprinkles directly to the dough for funfetti-style cookies, or press a chocolate candy in the center immediately after baking.
- Extract variations: Replace vanilla with almond, orange, or peppermint extract for different flavor profiles (reduce to 1/2 teaspoon for stronger extracts).
FAQs
Why are my cookies spreading too much?
Your dough may be too warm. Make sure to chill it thoroughly before baking, and consider refrigerating the shaped cookies for 10 minutes before baking if your kitchen is warm. Also, check if your oven temperature is accurate with an oven thermometer.
Can I make these cookies ahead of time?
Absolutely! You can either freeze the shaped unbaked dough balls for up to 3 months (roll in powdered sugar after thawing, right before baking) or store baked cookies in an airtight container for up to 5 days. They actually taste even better on day two!
Why do they call these “gooey butter” cookies?
These cookies are inspired by St. Louis Gooey Butter Cake, which was allegedly created by accident in the 1930s when a baker mixed up the proportions of butter in a cake recipe. The resulting “mistake” became a beloved regional specialty!
How do I know when they’re done baking?
The cookies should look set around the edges but still appear slightly underdone in the center. They’ll have a beautiful crackled appearance on top. Remember, they’ll continue firming up as they cool.
Can I mail these cookies as gifts?
Yes, but with care! Make sure they’re completely cooled, then stack them with parchment paper between layers in an airtight container. They’re somewhat delicate, so cushion the container well and ship via expedited service during cooler weather.
Final Thoughts
Christmas Gooey Butter Cookies are more than just a treat – they’re a holiday experience that brings joy with every bite. Whether you’re making them as a family tradition or trying them for the first time, these cookies have a special way of creating sweet memories. Their festive appearance and irresistible texture make them perfect for sharing, gifting, or simply enjoying with a cup of hot cocoa on a cold winter evening.


