Ever found yourself staring at those fancy bakery displays, wondering how they make those flaky, golden apple pastries that look like they took hours of culinary school to master? I’m about to let you in on a delicious secret—you can create those same impressive treats at home with minimal effort. This Apple Puff Pastry combines the convenience of store-bought puff pastry with the timeless comfort of cinnamon-spiced apples for a dessert that’s both elegant and surprisingly simple.
Why This Recipe is Awesome
This Apple Puff Pastry deserves a spot in your recipe collection because it delivers maximum impression with minimum stress.
The beauty lies in its versatility—it works perfectly as a sophisticated dinner party finale, a weekend brunch star, or even a cozy night-in treat. What makes this recipe stand out is the perfect balance between the buttery, flaky layers of puff pastry and the warm, tender apple filling that caramelizes slightly during baking. Unlike traditional apple pie, there’s no fussy crust to make from scratch, and the open design lets those gorgeous apple slices take center stage.
As someone who’s tested countless pastry recipes, I appreciate how this one offers professional-looking results without requiring professional skills. It’s the kind of recipe that makes you look like you spent hours in the kitchen when the actual hands-on time is less than 20 minutes.
Equipment needed: Baking sheet, parchment paper, pastry brush, sharp knife, mixing bowl
Apple Puff Pastry
Ingredients
- 1 sheet of frozen puff pastry thawed (approximately 320g/11oz)
- 3 medium-sized apples Honeycrisp, Granny Smith, or Braeburn work best
- 3 tablespoons granulated sugar
- 1 tablespoon brown sugar
- 1 teaspoon ground cinnamon
- ¼ teaspoon ground nutmeg
- 1 tablespoon lemon juice
- 1 tablespoon all-purpose flour
- 1 egg for egg wash
- 1 tablespoon water for egg wash
- 2 tablespoons apricot jam or honey for glazing, optional
- Vanilla ice cream or whipped cream for serving optional
Instructions
- Prepare your workspace and ingredients. Preheat your oven to 375°F (190°C) and line a baking sheet with parchment paper. Take the puff pastry out of the refrigerator about 15 minutes before you plan to use it so it’s easier to work with.
- Core and slice the apples thinly. Aim for slices about ⅛-inch thick, and place them in a medium bowl. Immediately toss with lemon juice to prevent browning.
- Mix the flavor components. In a small bowl, combine the granulated sugar, brown sugar, cinnamon, nutmeg, and flour. Sprinkle this mixture over the apple slices and gently toss until evenly coated.
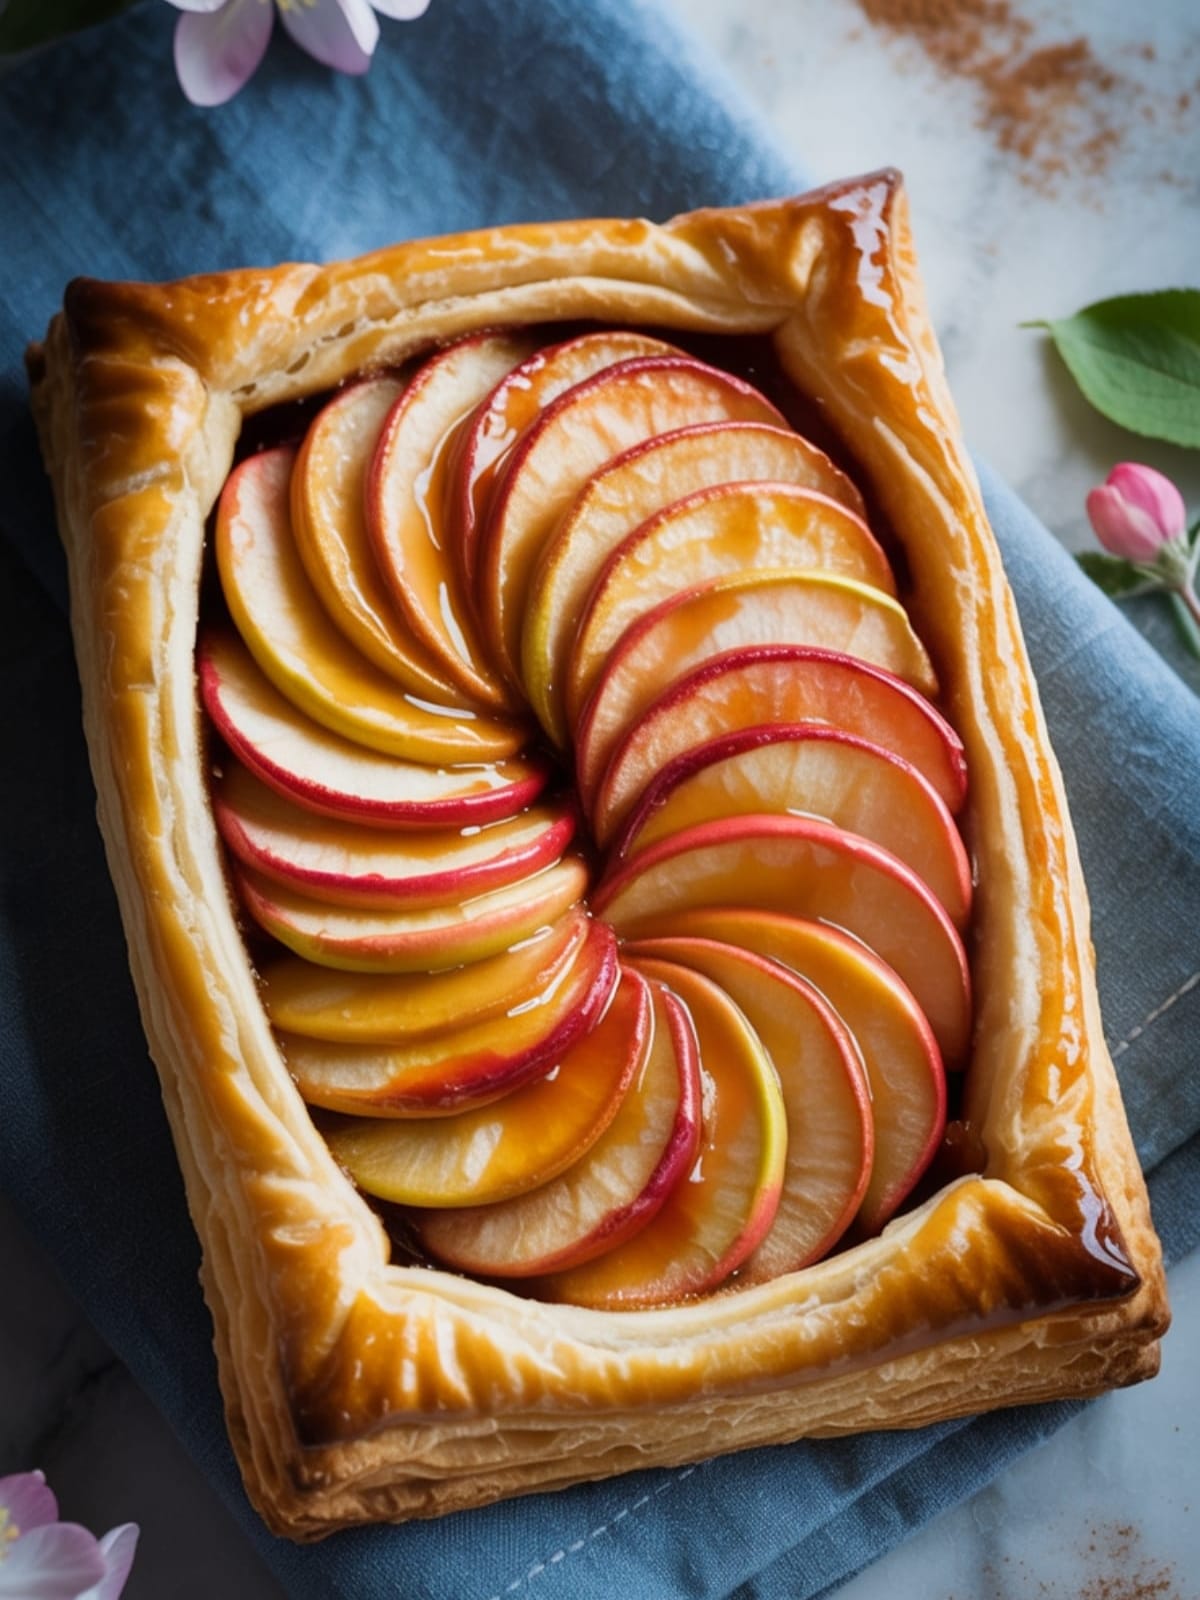
- Prepare the pastry base. Unfold the puff pastry sheet onto the lined baking sheet. Using a knife, score a 1-inch border around the edge without cutting all the way through the pastry. This creates a frame that will puff up around your filling.
- Arrange the apples attractively. Place the sugar-coated apple slices inside the scored border, slightly overlapping them in rows or a circular pattern. Don’t pile them too high as this can make the center soggy.
- Create the egg wash and apply. Beat the egg with 1 tablespoon of water and brush it on the border of the pastry (not on the apples). This will give your pastry that professional golden-brown finish.
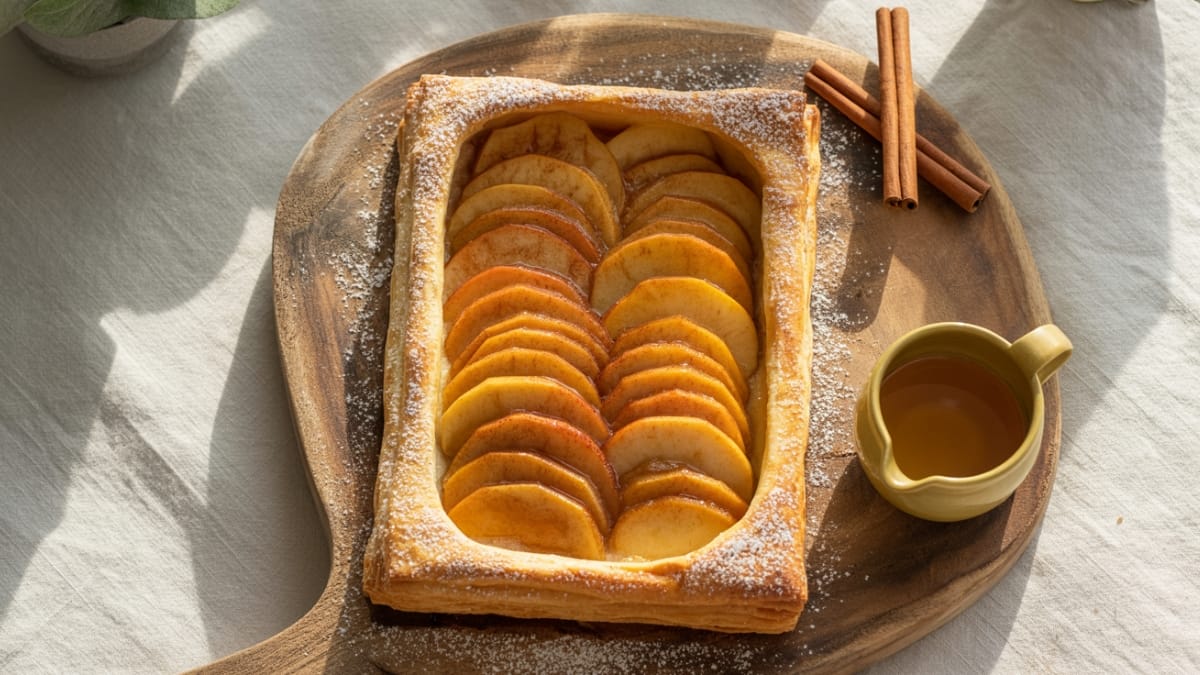
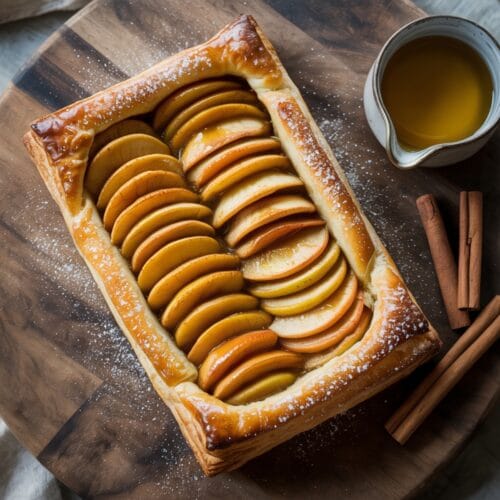
- Bake until perfectly golden. Place the baking sheet in the oven and bake for 25-30 minutes, or until the pastry is puffed and golden brown and the apples are tender.
- Add the finishing touches. If using, warm the apricot jam or honey in the microwave for 10-15 seconds until fluid, then gently brush over the warm apples to create a shiny glaze.
- Allow to cool slightly before serving. Let the pastry rest for 5-10 minutes before cutting to allow the filling to set slightly. Serve warm with a scoop of vanilla ice cream or a dollop of whipped cream if desired.
Notes
- For the best results, make sure your puff pastry is cold but pliable. If it gets too warm, pop it back in the refrigerator for a few minutes.
- The flour mixed with the sugar helps absorb excess moisture from the apples, preventing a soggy bottom on your pastry.
- You can prepare this recipe ahead of time by assembling everything up to 2 hours before baking—just keep it refrigerated until you’re ready to bake.
- If you notice the edges browning too quickly during baking, loosely cover them with foil strips.
- This pastry is best enjoyed the day it’s made, but can be reheated in a 300°F oven for 5-7 minutes to crisp it up again.
Calories & Nutritional Info
- Calories: Approximately 280 calories per serving
- Carbohydrates: 35g
- Fat: 15g (mostly from the puff pastry)
- Protein: 3g
- Sugar: 18g
- Contains wheat, dairy, and egg allergens
- Suitable for vegetarians, but not vegans (unless using vegan puff pastry and omitting egg wash)
Common Mistakes to Avoid
- Skipping the scoring step – Without scoring the border, your pastry won’t create that beautiful raised edge that keeps the filling contained.
- Overloading with apples – Too many apple slices will release excess moisture and make your pastry soggy in the center.
- Working with warm pastry – If puff pastry gets too warm before baking, the butter layers will melt prematurely, and you’ll lose that signature flaky texture.
- Slicing apples too thick – Thick apple slices won’t cook through properly in the time it takes for the pastry to bake.
- Forgetting to let it cool – Cutting into the pastry immediately after baking will cause the filling to run and the layers to collapse.
Alternatives & Substitutions
- Fruit variations: Replace apples with pears, peaches, plums, or a mix of berries (reduce baking time slightly for berries).
- Flavor twists: Add ½ teaspoon of cardamom or ginger to the spice mix, or include a splash of bourbon or apple brandy.
- Dairy-free option: Many store-bought puff pastries are naturally vegan. Use plant-based milk for the wash instead of egg.
- Lower sugar version: Reduce the sugar by half and add a tablespoon of maple syrup for natural sweetness.
- Make it fancy: Sprinkle with sliced almonds before baking, or drizzle with caramel sauce after baking.
- Savory variation: Skip the sugar and cinnamon, use granny smith apples, add sharp cheddar cheese and a sprinkle of thyme for a savory appetizer version.
FAQs
Can I make Apple Puff Pastry ahead of time?
You can assemble the pastry up to 2 hours before baking and keep it refrigerated. For the best texture, it’s preferable to bake it just before serving. If needed, you can fully bake it earlier in the day and warm it in a 300°F oven for 5-7 minutes before serving.
Why did my puff pastry get soggy in the middle?
Excess moisture from the apples is usually the culprit. Make sure to mix the flour with your sugar and spices, as this helps absorb liquid. Also, avoid overloading with too many apple slices, and ensure your oven is fully preheated before baking.
What’s the best type of apple to use for this recipe?
Firm, slightly tart apples work best because they hold their shape during baking and balance the sweetness of the pastry. Honeycrisp, Granny Smith, Braeburn, or Pink Lady varieties are excellent choices. Avoid softer varieties like McIntosh or Red Delicious, which can become mushy.
Can I freeze Apple Puff Pastry?
Yes, you can freeze it either before or after baking. To freeze unbaked, assemble on a parchment-lined tray, freeze until solid, then wrap well. Bake from frozen, adding 5-7 minutes to the baking time. To freeze after baking, cool completely, wrap well, and freeze. Reheat from frozen in a 350°F oven for about 15 minutes.
Do I need to blind bake the puff pastry first?
No, one of the beauties of this recipe is that everything bakes together. The scoring technique creates a border that puffs up while allowing the center with the apples to stay relatively flat, giving you that perfect pastry texture without any pre-baking steps.
Final Thoughts
This Apple Puff Pastry proves that spectacular desserts don’t require professional training or hours in the kitchen. There’s something magical about pulling a golden, fragrant pastry from the oven that you created with your own hands. Whether you’re serving it at a dinner party or enjoying it with afternoon tea, this recipe brings a touch of bakery-quality indulgence to your table with surprising ease. Go ahead—impress yourself and everyone lucky enough to share it with you.


