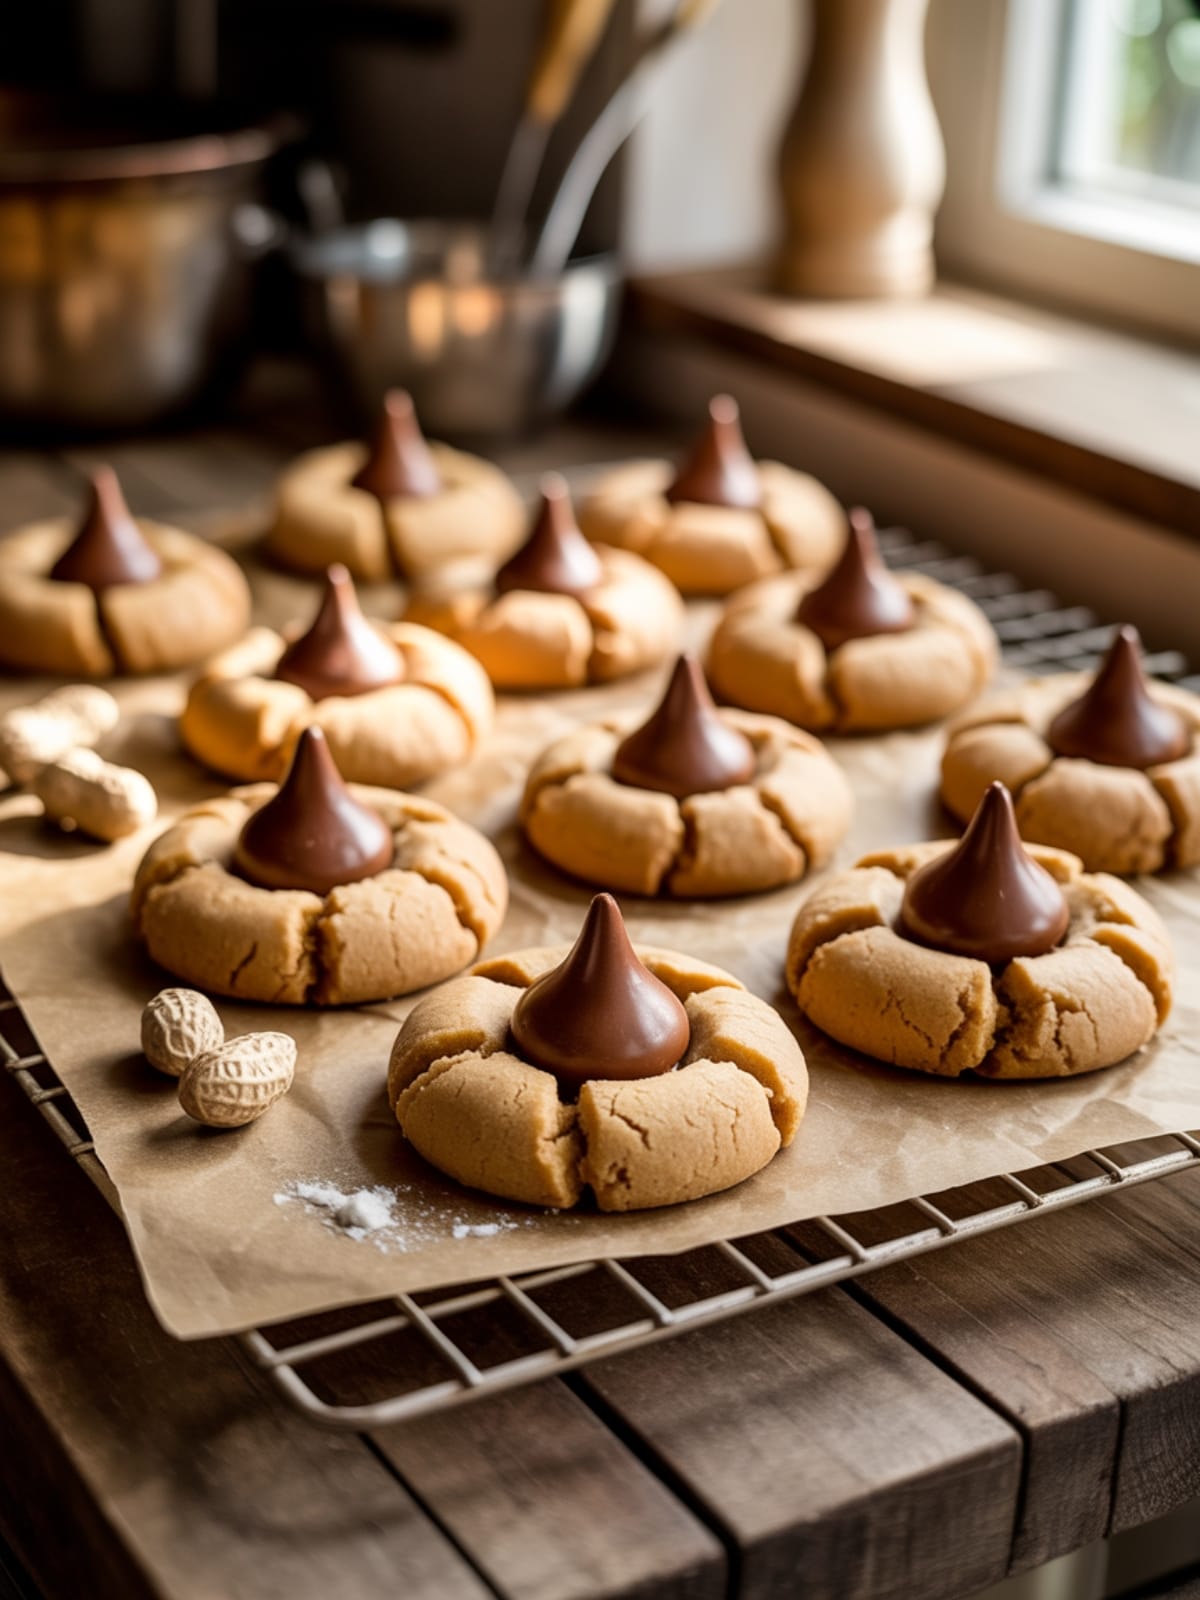
Remember the first time you bit into a warm peanut butter cookie with a chocolate kiss nestled right in the center? That perfect balance of salty-sweet, the slightly crumbly texture giving way to smooth chocolate – it’s like a hug in cookie form! Classic Peanut Butter Blossoms bring back those wonderful childhood memories while still managing to impress adults at any cookie exchange or family gathering. I’ve been making these cookies for years, and they never fail to disappear faster than just about anything else on the dessert table.
There’s something magical about that combination of peanut butter and chocolate that keeps everyone coming back for “just one more.”
Why This Recipe is Awesome
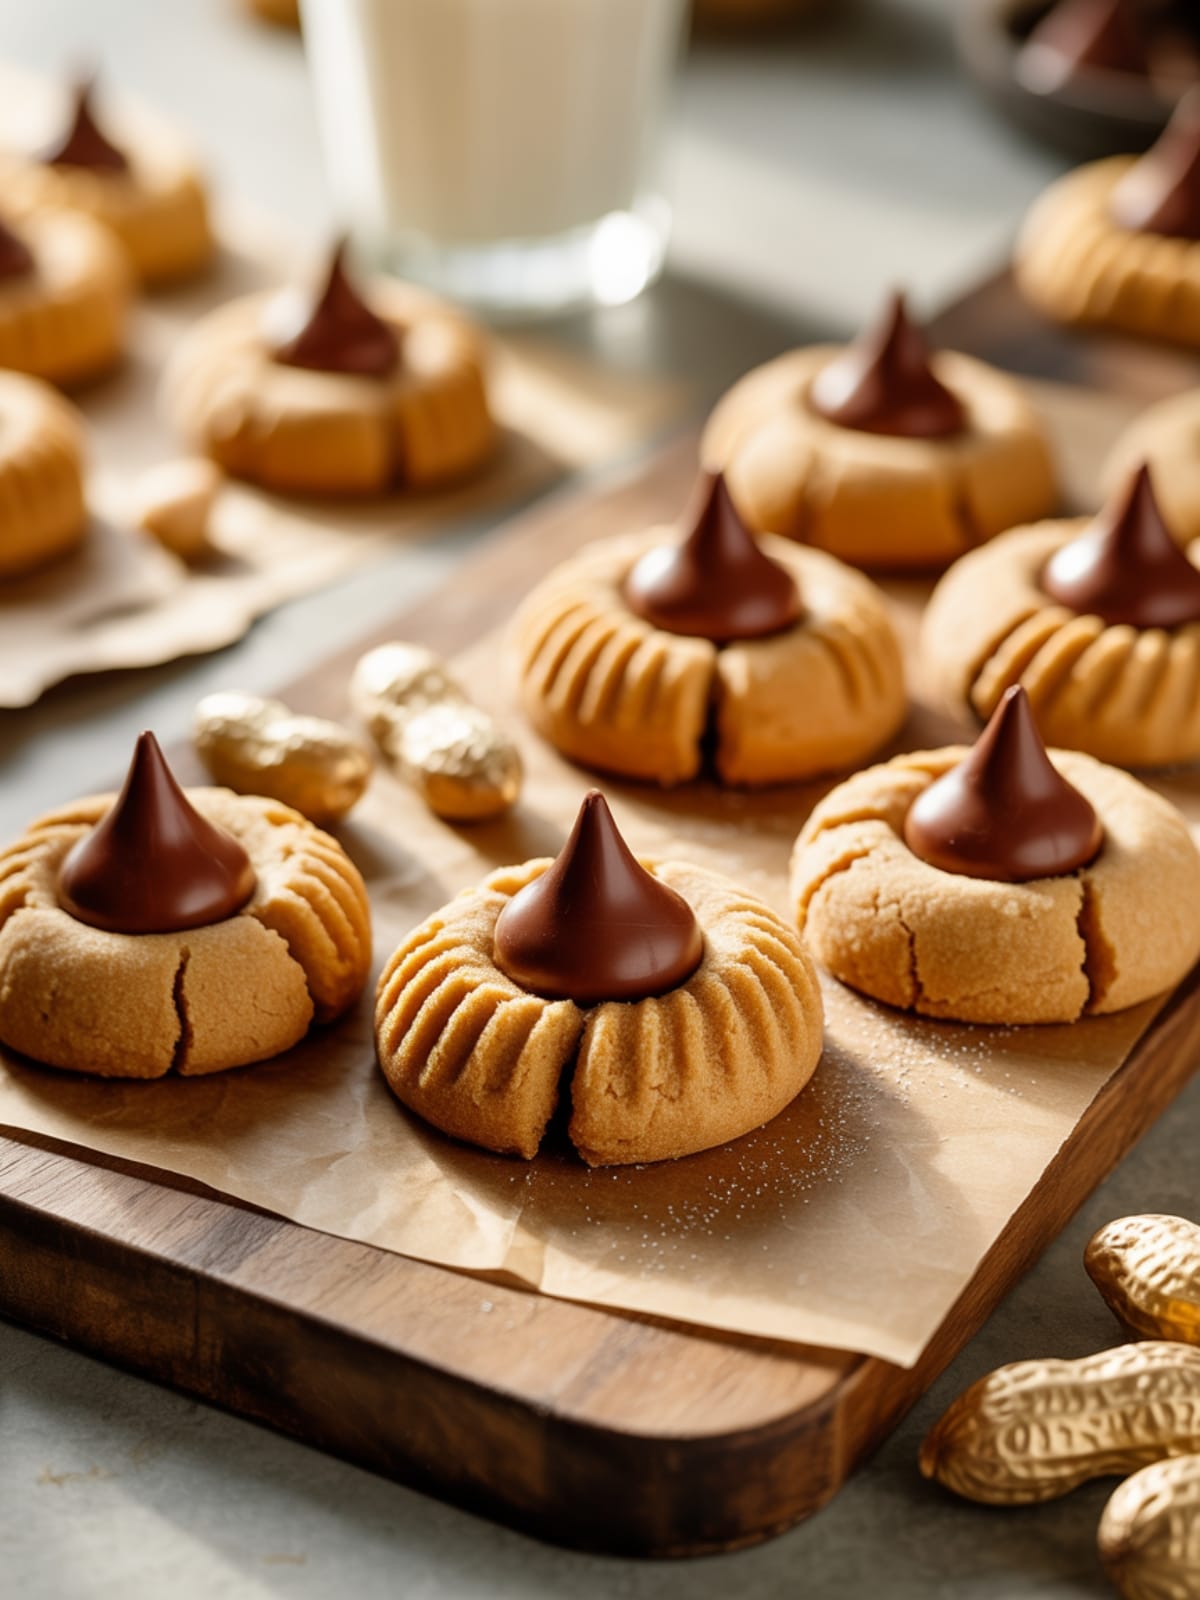
Classic Peanut Butter Blossoms are more than just another cookie recipe – they’re a perfect marriage of convenience and wow-factor. These cookies strike that rare balance of being simple enough for beginners but impressive enough to earn compliments from the most discerning cookie connoisseurs. The genius is in the contrast: a tender, slightly crumbly peanut butter cookie base creates the perfect foundation for that iconic chocolate kiss.
As the warm cookie cradles the chocolate, something magical happens – the kiss softens just enough without completely melting, creating that perfect bite. What makes this version special is the extra care in the details – rolling the dough balls in sugar before baking creates a delicate crackly exterior that complements the rich interior. Unlike many overly sweet cookies, these maintain a sophisticated balance where the salt from the peanut butter perfectly offsets the sweetness of the chocolate.
Equipment needed: Mixing bowls, electric mixer, baking sheets, cooling rack, measuring cups and spoons
Classic Peanut Butter Blossoms
Ingredients
- ½ cup 1 stick unsalted butter, softened
- ½ cup creamy peanut butter not natural-style
- ½ cup granulated sugar plus extra for rolling
- ½ cup packed light brown sugar
- 1 large egg at room temperature
- 1 teaspoon vanilla extract
- 1¾ cups all-purpose flour
- 1 teaspoon baking soda
- ½ teaspoon salt
- 36 chocolate kisses unwrapped (one 9-oz package)
Instructions
- Preheat your oven to 350°F (175°C) and line two baking sheets with parchment paper. Unwrap all your chocolate kisses so they’re ready when needed.
- Cream together the butter and peanut butter in a large mixing bowl using an electric mixer on medium speed until smooth and well combined, about 1-2 minutes.
- Add both sugars and continue beating until the mixture becomes light and fluffy, approximately 2-3 minutes. This creates air pockets for a tender cookie texture.
- Beat in the egg and vanilla extract until fully incorporated and the mixture looks smooth, scraping down the sides of the bowl as needed.
- In a separate bowl, whisk together the flour, baking soda, and salt until well combined.
- Gradually add the dry ingredients to the wet ingredients, mixing on low speed until just combined. Avoid overmixing which can make your cookies tough.
- Pour some additional granulated sugar into a small bowl. Shape the dough into 1-inch balls and roll each ball in the sugar until completely coated.
- Place the coated dough balls about 2 inches apart on the prepared baking sheets to allow room for spreading.
- Bake for 8-10 minutes until the edges are just set and the cookies appear light golden. They should look slightly underdone in the center.
- Remove from the oven and immediately press a chocolate kiss into the center of each cookie, pushing down gently but firmly. The cookie will crack slightly around the edges – this is exactly what you want!
- Allow the cookies to cool on the baking sheet for 2 minutes, then transfer to a wire rack to cool completely. The chocolate kiss will remain soft for quite a while.
Notes
- For best results, refrigerate the cookie dough for 30 minutes before shaping if your kitchen is warm.
- Make sure butter is softened but not melty for the ideal cookie texture.
- Traditional creamy peanut butter (like Jif or Skippy) works better than natural peanut butter for this recipe, as the stabilizers help maintain the cookie structure.
- These cookies freeze beautifully for up to 3 months in an airtight container, making them perfect for holiday prep.
- Try chilling the unwrapped kisses while you prepare the dough – this helps them hold their shape better when pressed into warm cookies.
Calories & Nutritional Info
- Calories per cookie: Approximately 130 calories
- Protein: 2g per cookie
- Carbohydrates: 16g per cookie
- Fat: 7g per cookie
- Allergens: Contains peanuts, milk (in chocolate), wheat, and eggs
- Not suitable for gluten-free, dairy-free, or nut-free diets without modifications
Common Mistakes to Avoid
- Overbaking the cookies – They should look slightly underdone when you remove them from the oven as they’ll continue to cook on the hot baking sheet
- Waiting too long to add the kisses – The chocolate needs to be pressed into cookies while they’re still warm and pliable
- Using natural peanut butter – The oil separation can cause the cookies to spread too much and become greasy
- Making the dough balls too large – This can lead to cookies that spread too much and lose their characteristic shape
- Moving the cookies too soon – They need those few minutes on the baking sheet to set up properly before transferring
Alternatives & Substitutions
- Peanut butter alternatives: Try almond butter or sunbutter for those with peanut allergies (though the flavor profile will change)
- Chocolate options: Substitute the kisses with peanut butter cups, caramel-filled chocolates, or dark chocolate chunks for interesting variations
- Sugar-coating variations: Roll in colored sugar for holidays, or try a cinnamon-sugar mixture for a snickerdoodle-inspired twist
- Gluten-free option: Substitute a 1:1 gluten-free flour blend (though the texture may be slightly different)
- Vegan adaptation: Use plant-based butter, a flax egg, and vegan chocolate pieces (though this significantly alters the original)
FAQs
Why did my cookies spread too much?
This typically happens if your butter was too warm or the dough wasn’t chilled enough. Make sure your butter is softened but still cool to the touch, and consider chilling the dough for 30 minutes before baking, especially in warmer kitchens.
Can I make the dough ahead of time?
Absolutely! The dough can be refrigerated for up to 3 days or frozen for up to 3 months. If frozen, thaw in the refrigerator overnight before rolling and baking. You may need to let it sit at room temperature for 20 minutes to make it easier to shape.
Why are my chocolate kisses melting too much?
If your kisses are melting completely, your cookies might be too hot. Try letting the cookies cool for 1-2 minutes after removing from the oven, then add the kisses. You can also try chilling the kisses beforehand.
How do I store these cookies?
Store in an airtight container at room temperature for up to 5 days. For longer storage, freeze in a single layer, then transfer to a freezer container with parchment between layers for up to 3 months.
Can I use crunchy peanut butter instead of creamy?
Yes! Crunchy peanut butter works fine and adds an interesting texture. Just be aware that the cookies may spread slightly differently, and you’ll get those little peanut bits throughout the cookie.
Final Thoughts
Classic Peanut Butter Blossoms are one of those magical recipes that bring generations together. There’s something special about a cookie that’s remained beloved for decades – probably because they deliver that perfect harmony of flavors in every bite.
Whether you’re making them for a holiday tradition or just because it’s Tuesday, these cookies have a way of making any moment a little sweeter.


