Have you ever craved the perfect marriage of chocolate and peanut butter but didn’t want to turn on your oven? These No-Bake Chocolate Peanut Butter Bars are the answer to your sweet tooth prayers! They deliver that irresistible combination with absolutely zero baking required.
I discovered this recipe years ago during a summer heatwave when the thought of turning on my oven seemed criminal, and it’s been my go-to impressive-yet-effortless dessert ever since.
Why This Recipe is Awesome
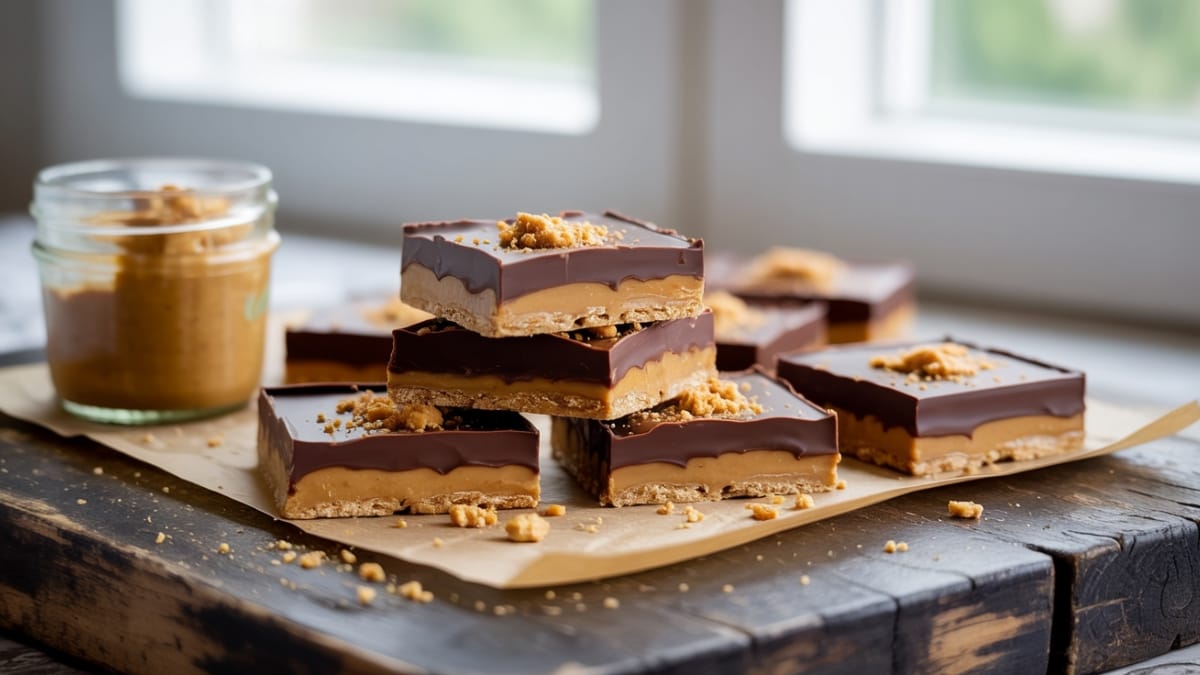
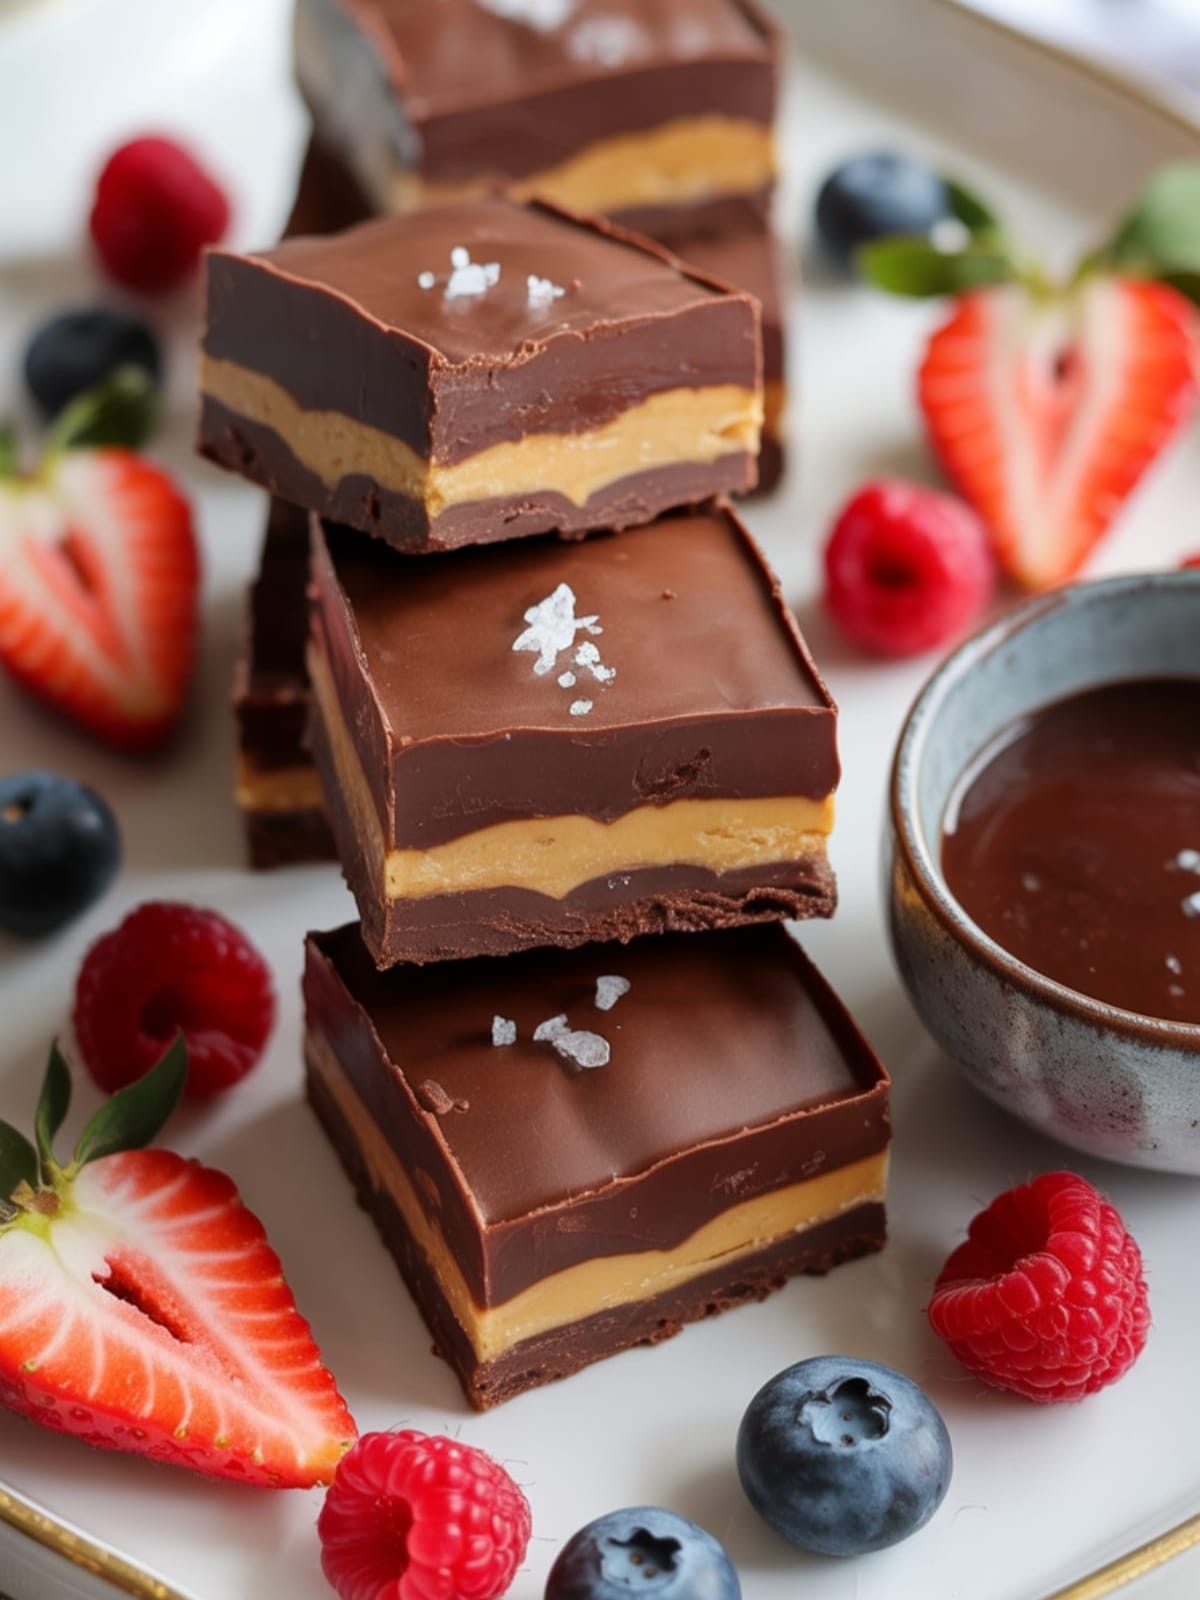
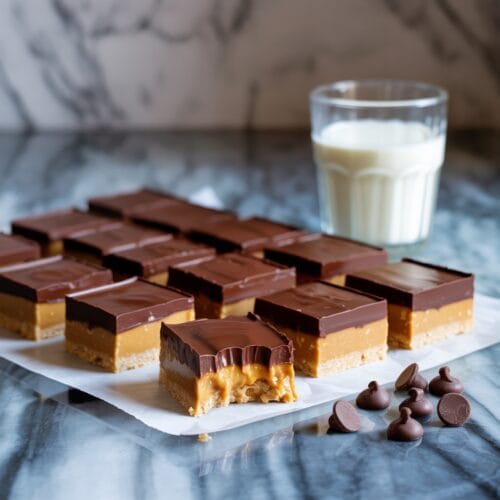
What makes these No-Bake Chocolate Peanut Butter Bars truly special is their uncanny resemblance to gourmet Reese’s peanut butter cups, but with a more satisfying texture and customizable sweetness. The bottom layer is a perfect blend of creamy peanut butter mixed with graham cracker crumbs that creates an irresistible cookie-like base. Meanwhile, the top layer delivers that snap of chocolate that gives way to the velvety peanut butter layer beneath.
Unlike many desserts that require precision timing or temperature monitoring, these bars are virtually foolproof. Even culinary novices can create something that looks and tastes professional. The best part? You can whip them up in just 15 minutes of active time, then simply let your refrigerator do the rest of the work!
Equipment needed: 8×8 baking pan, parchment paper, mixing bowl, microwave-safe bowl, spatula, measuring cups
No-Bake Chocolate Peanut Butter Bars
Ingredients
- 1 cup 226g creamy peanut butter, divided (natural works but traditional gives the best texture)
- ½ cup 113g unsalted butter, melted
- 2 cups 200g graham cracker crumbs (about 14 full sheets, finely crushed)
- 2 cups 240g powdered sugar
- 1½ cups 255g semi-sweet chocolate chips (can substitute dark or milk chocolate based on preference)
- ¼ teaspoon sea salt optional, for enhanced flavor
- 1 teaspoon vanilla extract
Instructions
- Prepare your pan by lining an 8×8-inch baking dish with parchment paper, leaving overhang on the sides to easily lift the bars out later. Make sure the parchment is pressed into corners smoothly.
- Make the peanut butter base by combining ¾ cup of the peanut butter, melted butter, graham cracker crumbs, powdered sugar, vanilla extract, and salt (if using) in a large bowl. Mix until thoroughly combined into a thick, uniform dough.
- Press the mixture firmly into the prepared pan, creating an even layer. Use the bottom of a measuring cup to compact it, ensuring there are no air pockets or loose areas that could cause the bars to crumble later.
- Create the chocolate topping by placing chocolate chips and remaining ¼ cup peanut butter in a microwave-safe bowl. Heat in 30-second intervals at 50% power, stirring between each interval, until completely melted and smooth (typically 1-2 minutes total).
- Pour the melted chocolate mixture over the peanut butter layer, spreading it evenly with a spatula to cover the entire surface.
- Refrigerate the bars for at least 2 hours or until the chocolate layer is set firm. For best results, allow to chill undisturbed without covering.
- Cut into squares by lifting the chilled bars out of the pan using the parchment paper overhang. Use a sharp knife wiped clean between cuts for the cleanest edges.
Notes
- For cleaner slices, let the bars sit at room temperature for 10 minutes before cutting, then use a knife warmed under hot water and dried.
- These bars can be stored in an airtight container in the refrigerator for up to 1 week or frozen for up to 3 months.
- If you prefer a sweeter or less sweet bar, you can adjust the powdered sugar down to 1½ cups or up to 2½ cups.
- For added texture, try mixing ½ cup of crushed salted pretzels or rice cereal into the peanut butter layer.
- Sprinkle flaky sea salt on top of the chocolate layer before it sets for a sophisticated sweet-salty contrast.
Calories & Nutritional Info
- Calories: Approximately 320 calories per bar
- Fat: 22g (10g saturated)
- Carbohydrates: 31g (25g sugar)
- Protein: 6g
- Allergens: Contains peanuts, may contain wheat and dairy
- Dietary suitability: Vegetarian, can be made gluten-free with GF graham crackers
Common Mistakes to Avoid
- Using cold butter – Make sure your butter is completely melted to properly integrate with the dry ingredients.
- Rushing the chilling process – The bars need full refrigeration time to set properly, or they’ll fall apart when cut.
- Overheating the chocolate – Chocolate burns easily in the microwave; always use short intervals and stir frequently.
- Not lining the pan – Parchment paper is crucial for easy removal; don’t skip this step or you’ll have difficulty getting clean bars.
- Using chunky peanut butter – While possible, chunky peanut butter will create a less cohesive texture in the base layer.
Alternatives & Substitutions
- Nut-free version: Substitute sunflower seed butter or cookie butter for peanut butter (flavor will change but texture remains similar).
- Gluten-free option: Use gluten-free graham crackers or gluten-free cookies for the crumbs.
- Vegan adaptation: Replace butter with coconut oil or vegan butter, and ensure chocolate chips are dairy-free.
- Lower sugar version: Reduce powdered sugar to 1½ cups and use dark chocolate chips with higher cocoa content.
- Graham cracker alternatives: Digestive biscuits, vanilla wafers, or even Oreo cookies (with cream removed) can be used instead.
FAQs
Why are my bars too soft or falling apart?
Your bars might be too soft if they weren’t chilled long enough or if your peanut butter was too oily. Natural peanut butter tends to create softer bars; if using it, you might need to add extra graham cracker crumbs for stability or ensure it’s well-mixed before using.
Can I make these bars ahead of time for a party?
Absolutely! These bars are perfect for make-ahead situations. You can prepare them up to 3 days in advance and keep refrigerated, or freeze for up to 3 months. If frozen, thaw in the refrigerator overnight before serving.
Why did my chocolate layer crack when I cut the bars?
Chocolate cracks when it’s too cold or cut with too much pressure. Let the bars sit at room temperature for 10 minutes before cutting, and use a sharp knife warmed under hot water, then dried between cuts.
How do I know when the peanut butter mixture is properly combined?
The mixture should be thick but uniform, with no visible streaks of powdered sugar or butter. It should hold together when pressed between your fingers, similar to a firm cookie dough consistency.
Can I add other mix-ins or toppings to these bars?
Absolutely! Consider adding mini chocolate chips, crushed pretzels, or chopped nuts to the peanut butter layer. For toppings, try a sprinkle of flaky sea salt, a drizzle of white chocolate, or even a light dusting of cocoa powder.
Final Thoughts
These No-Bake Chocolate Peanut Butter Bars are more than just a simple dessert – they’re a crowd-pleasing revelation that proves incredible flavor doesn’t require complicated techniques or hours in the kitchen. Whether you’re a seasoned baker or someone just starting their culinary journey, these bars offer that perfect balance of impressive results with minimal effort. So go ahead, indulge that chocolate-peanut butter craving with this foolproof recipe!


