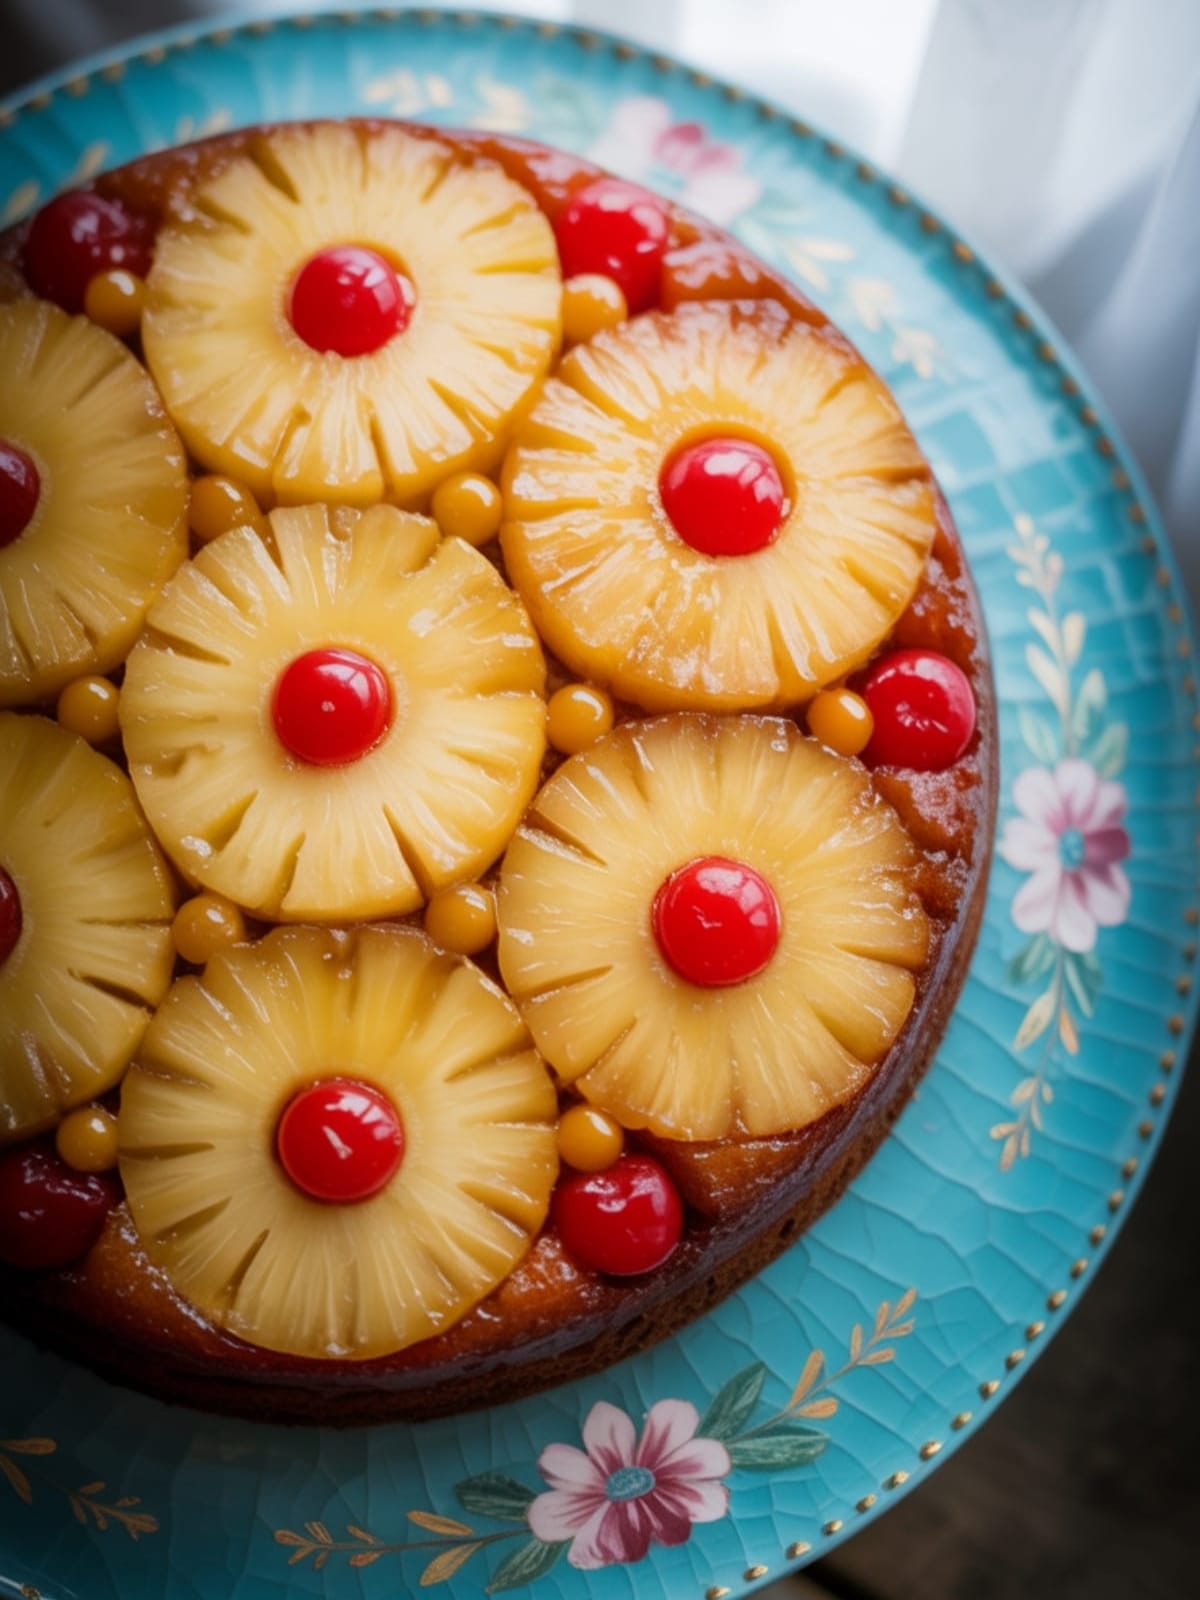
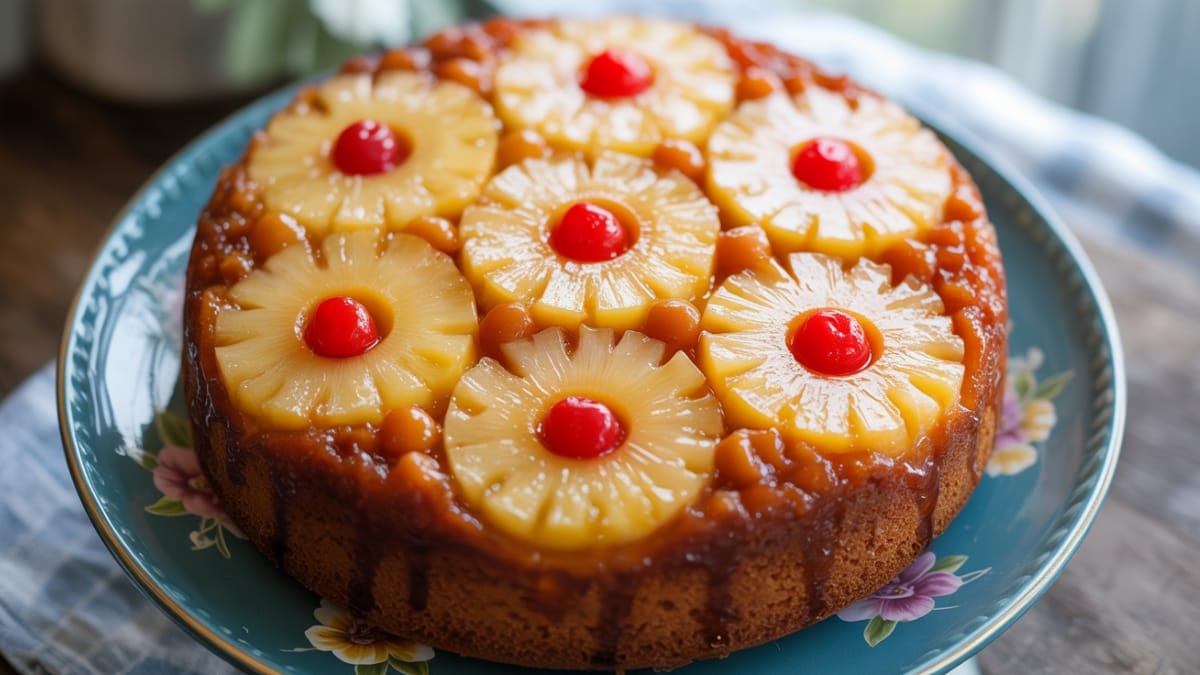
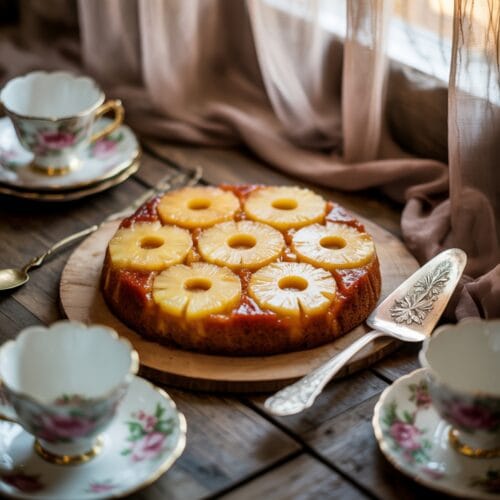
Remember that moment when someone flips a cake pan and reveals a glistening, caramelized pineapple top? That’s the magic of a Pineapple Upside Down Cake! This retro dessert isn’t just visually stunning—it’s a perfect balance of buttery cake and caramelized fruit that makes everyone smile.
The best part? Despite its impressive appearance, this cake is surprisingly simple to make, even for beginners. Ready to create a dessert that looks like you spent hours in the kitchen, when you actually only needed a few basic ingredients and minimal effort?
Why This Recipe is Awesome
This Easy Pineapple Upside Down Cake recipe stands out because it combines nostalgic charm with practical simplicity.
Unlike fussy layer cakes that require decorating skills, this dessert decorates itself when you flip it! The butter and brown sugar create a natural caramel sauce that glazes the pineapple rings, delivering that perfect sweet-tangy balance that’s impossible to resist. What really makes this version special is its forgiving nature—the batter comes together in one bowl, and even if your flip isn’t perfect, it still looks charmingly homemade.
Plus, it’s a wonderful way to use canned pineapple, transforming a pantry staple into something extraordinary. The contrast between the moist, vanilla-scented cake and the sticky-sweet fruit topping creates a textural symphony that’s greater than the sum of its parts.
Equipment Needed: 9-inch round cake pan, mixing bowl, electric mixer, measuring cups, measuring spoons
Pineapple Upside Down Cake
Ingredients
- ¼ cup unsalted butter melted
- ⅔ cup packed brown sugar
- 1 can 20 oz pineapple rings in juice, drained (reserve ¼ cup juice)
- Maraschino cherries about 10-12
- 1½ cups all-purpose flour
- 1 cup granulated sugar
- 2 teaspoons baking powder
- ½ teaspoon salt
- ¼ cup vegetable oil
- 1 cup milk
- 1 teaspoon vanilla extract
- 2 large eggs
Instructions
- Preheat your oven to 350°F (175°C) and position the rack in the center of the oven for even baking.
- Prepare the caramel base by pouring the melted butter into your 9-inch round cake pan, making sure it coats the entire bottom.
- Sprinkle the brown sugar evenly over the melted butter, creating a thin, consistent layer that will caramelize during baking.
- Arrange pineapple rings in a single layer on top of the brown sugar mixture—you should fit about 7 rings, with one in the center and six around it.
- Place a maraschino cherry in the center of each pineapple ring and in any gaps between rings for that classic look.
- In a large mixing bowl, whisk together the flour, granulated sugar, baking powder, and salt until well combined.
- Add the vegetable oil, milk, vanilla, and eggs to the dry ingredients and beat with an electric mixer on medium speed for 2 minutes until smooth.
- Stir in the reserved ¼ cup pineapple juice to infuse the batter with subtle pineapple flavor.
- Carefully pour the batter over the pineapple arrangement, making sure not to disturb the pattern.
- Bake for 30-35 minutes or until a toothpick inserted into the center comes out clean and the top is golden brown.
- Allow the cake to cool for exactly 5 minutes in the pan—this timing is crucial for successful release.
- Run a knife around the edge of the pan to loosen the cake, then place your serving plate upside down on top of the pan.
- Quickly but confidently flip the cake over onto the plate and wait 30 seconds before lifting the pan off to reveal your masterpiece.
- Let the cake cool for at least 15 minutes before serving to allow the caramel topping to set slightly.
Notes
- For the best caramelization, use dark brown sugar rather than light brown sugar.
- Fresh pineapple can be substituted, but canned works perfectly and is more consistent.
- This cake is best served slightly warm, but not hot, to maintain its structure.
- For extra flavor, add ½ teaspoon of cinnamon or ¼ teaspoon of nutmeg to the batter.
- The cake can be made up to a day ahead, but store at room temperature rather than refrigerating to prevent drying out.
- If you don’t have a round pan, a 9×9 inch square pan works too—just arrange the pineapple in a grid pattern.
Calories & Nutritional Info
- Calories: Approximately 350 calories per slice
- Carbohydrates: 62g (primarily from sugars)
- Fat: 11g
- Protein: 4g
- Allergens: Contains eggs, dairy, and wheat (gluten)
- Not suitable for: Vegan or gluten-free diets without modifications
Common Mistakes to Avoid
- Flipping too soon or too late – The 5-minute cooling time is crucial; too soon and the caramel is too runny, too late and it sticks to the pan.
- Overcrowding the pineapple – Leave small gaps between rings to allow caramel to flow through.
- Using cold ingredients – Room temperature eggs and milk blend better and create a more tender cake texture.
- Skipping the knife around the edge – This simple step is essential for clean release when flipping.
- Overbaking – This can dry out the cake; start checking 5 minutes before the suggested baking time.
Alternatives & Substitutions
- Gluten-Free Version: Substitute a 1:1 gluten-free flour blend for all-purpose flour.
- Dairy-Free Option: Use coconut oil instead of butter and almond or soy milk instead of regular milk.
- Fruit Variations: Try sliced peaches, apricots, or plums instead of pineapple for a different twist.
- Sugar Alternatives: Coconut sugar can replace brown sugar for a deeper flavor (though slightly less caramelization).
- Flavor Additions: Add 2 tablespoons of rum to the caramel mixture or 1 teaspoon of coconut extract to the batter for tropical flair.
- No Cherries? Use blueberries, raspberries, or even pecan halves as decorative elements.
FAQs
Can I make this cake without an electric mixer?
Absolutely! While an electric mixer makes the job easier, you can use a whisk and good old elbow grease. Just be sure to whisk vigorously for about 3-4 minutes to incorporate enough air into the batter for a light texture.
Why did my pineapple topping stick to the pan?
This usually happens if the cake cooled too long in the pan. Remember the 5-minute rule! Also, make sure you’re using enough butter in the base layer and run a knife around the edge before flipping.
Can I make this cake in advance for a party?
Yes! This cake actually tastes great the next day. Make it up to 24 hours in advance and store at room temperature, loosely covered. Avoid refrigeration, which can dry out the cake and harden the caramel.
My cake seems too moist in the center. What went wrong?
Pineapple contains a lot of moisture, which can affect baking time. If your cake seems underdone, it likely needed a few more minutes in the oven. Always test with a toothpick before removing from the oven.
Can I freeze this cake?
While possible, freezing isn’t ideal for Pineapple Upside Down Cake as the fruit topping can become soggy when thawed. If you must freeze, wrap individual slices tightly and consume within a month.
Final Thoughts
There’s something wonderfully satisfying about making a Pineapple Upside Down Cake – that moment of reveal when you flip it over never gets old. This recipe bridges generations, bringing vintage charm to your modern table with minimal fuss. Whether you’re baking to impress or simply to treat yourself, this cake delivers both nostalgia and genuine delight in every slice. Happy baking!


