
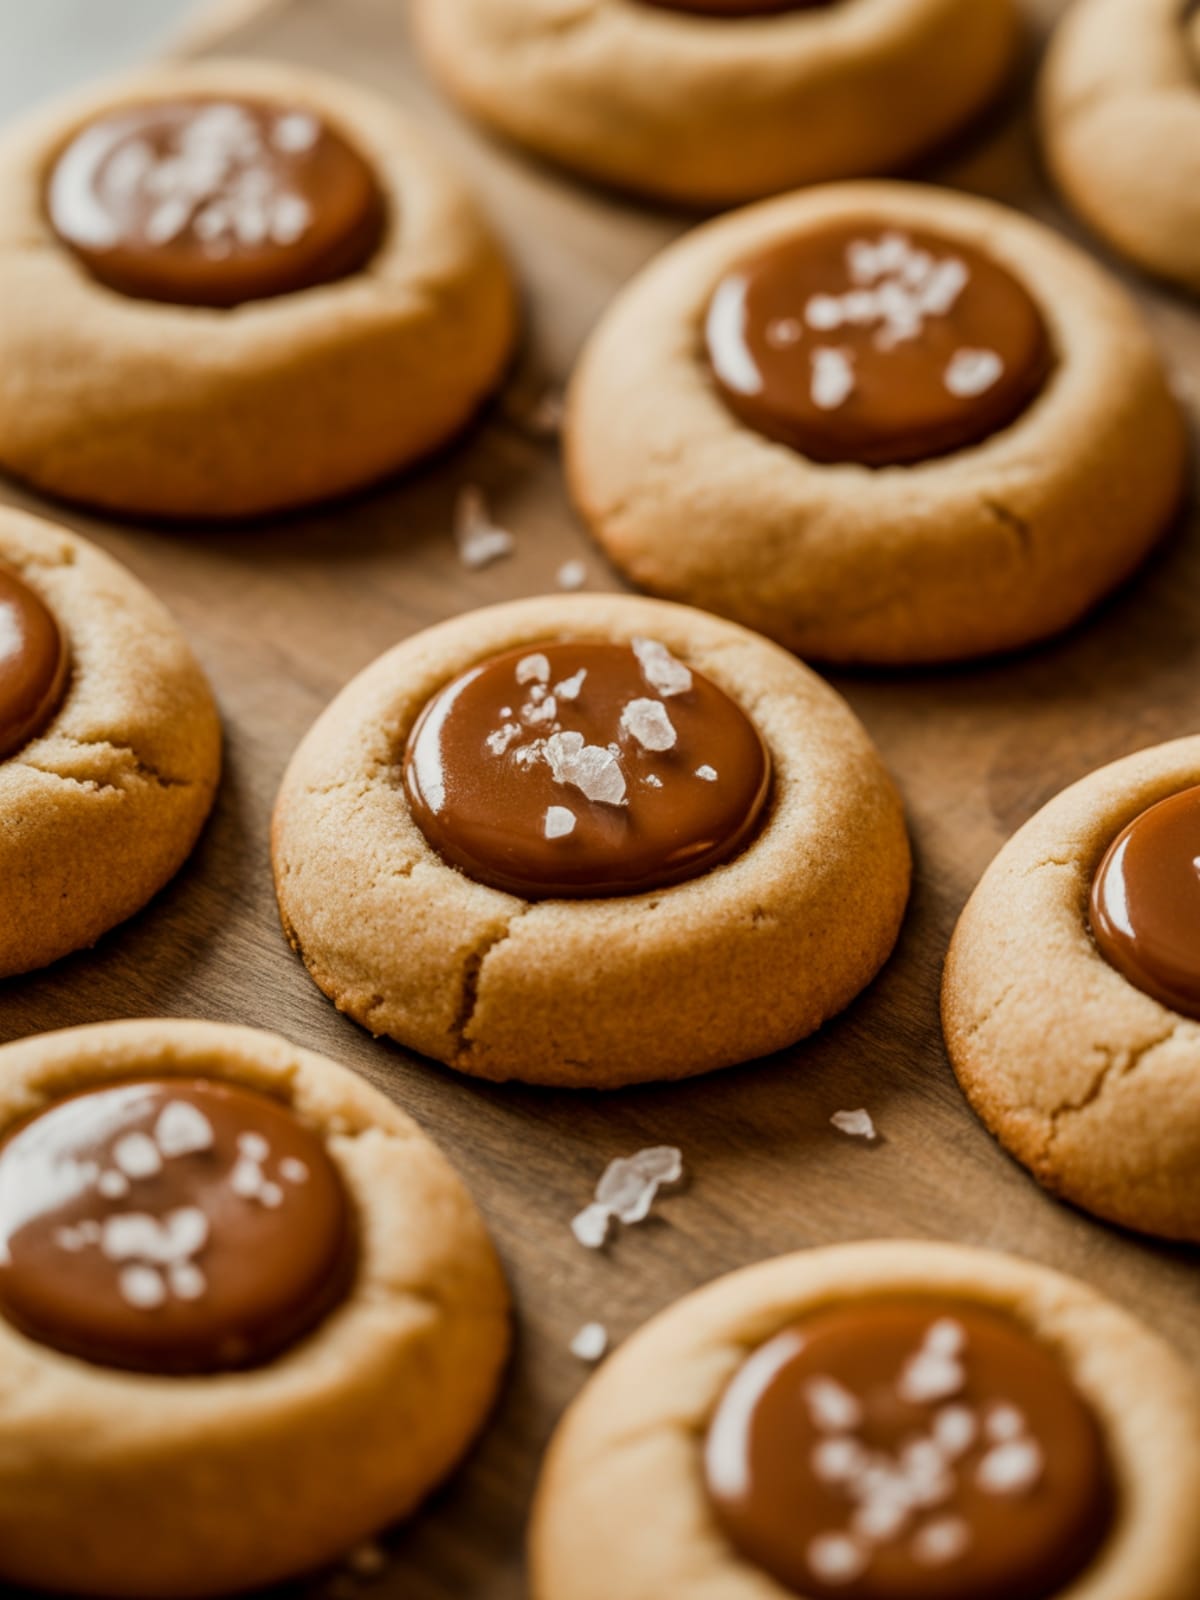
I’ve always believed that the best cookies are the ones that bring something unexpected to the table. These Espresso Caramel Thumbprint Cookies do exactly that – they’re not your average cookie, but rather a sophisticated treat that combines the rich depth of espresso with the sweet, buttery bliss of caramel. The moment I bit into my first one, I knew I had to share this recipe.
The coffee flavor isn’t just an afterthought; it’s the star that transforms what could be an ordinary thumbprint cookie into something memorable and crave-worthy.
Why This Recipe is Awesome
What makes these Espresso Caramel Thumbprint Cookies special is how they balance sophistication with comfort. The espresso powder infuses the buttery cookie base with a complex, adult flavor that isn’t overwhelming – just enough to wake up your taste buds. Unlike many caramel-filled cookies that become tooth-achingly sweet, these maintain perfect harmony.
The slight bitterness of the coffee cuts through the sweetness of the caramel, creating a balance that’s addictively good. These cookies also have that impressive “wow factor” despite being surprisingly simple to make. They’re perfect for gifting, holiday cookie exchanges, or serving with after-dinner coffee when you want to impress without spending hours in the kitchen.
Equipment needed: Mixing bowls, baking sheets, parchment paper, measuring cups and spoons, 1-inch round measuring spoon or thumb

Espresso Caramel Thumbprint Cookies
Ingredients
- 2 cups all-purpose flour
- 2 tablespoons instant espresso powder not regular instant coffee for best flavor
- 1/2 teaspoon salt
- 1 cup 2 sticks unsalted butter, room temperature
- 2/3 cup granulated sugar
- 1 teaspoon vanilla extract
- 2 egg yolks
- 1/2 cup caramel sauce store-bought or homemade
- Optional: 1/4 cup finely chopped chocolate for drizzling
- Optional: 1 tablespoon flaky sea salt for garnish
Instructions
- Preheat your oven to 350°F (175°C) and line two baking sheets with parchment paper. This prevents sticking and makes cleanup easier.
- Whisk together the flour, espresso powder, and salt in a medium bowl until well combined and no espresso clumps remain. The espresso needs to be evenly distributed throughout the flour.
- Beat the butter and sugar together in a large bowl using an electric mixer on medium speed until light and fluffy, about 3 minutes. Don’t rush this step – proper creaming creates the perfect cookie texture.
- Add the vanilla and egg yolks to the butter mixture and beat until fully incorporated and smooth. The mixture should look creamy and slightly lighter in color.
- Gradually add the flour mixture to the wet ingredients on low speed, mixing just until combined. Overmixing will develop too much gluten and make tough cookies.
- Roll the dough into 1-inch balls and place them 2 inches apart on the prepared baking sheets. You should get approximately 24 cookies.
- Make an indentation in the center of each ball using your thumb or a measuring spoon. If the dough cracks, gently press it back together – slightly damp fingers can help with this.
- Bake for 12-15 minutes until the edges are set but not browned. The cookies should remain pale to maintain their espresso color.
- If the indentations have puffed up, gently press them down again while the cookies are still warm. Work quickly but carefully.
- Allow the cookies to cool completely on the baking sheets. Moving them too soon may cause them to break.
- Fill each indentation with caramel sauce when cookies are completely cool. Warm the caramel slightly if it’s too thick to pour easily.
- If using, drizzle melted chocolate over the cookies and sprinkle with a tiny pinch of flaky sea salt for that perfect sweet-salty finish.
Notes
- The dough can be made ahead and refrigerated for up to 3 days; just bring to room temperature before shaping.
- For the most intense espresso flavor, use high-quality espresso powder rather than regular instant coffee.
- If your caramel is too runny, refrigerate the filled cookies for 30 minutes to help it set.
- These cookies stay fresh in an airtight container for up to 5 days, though the caramel may soften over time.
- For gift-giving, place cookies in a single layer with parchment between layers to prevent sticking.
Calories & Nutritional Info
- Calories: Approximately 175 calories per cookie
- Fat: 9g (5g saturated)
- Carbohydrates: 22g (15g sugar)
- Protein: 2g
- Allergens: Contains wheat, dairy, eggs
- Not suitable for: Vegan, gluten-free, or dairy-free diets without modifications
Common Mistakes to Avoid
- Using cold butter: Make sure your butter is truly at room temperature for proper creaming, or you’ll get dense, flat cookies.
- Overfilling the indentations: Too much caramel will overflow during storage, creating a sticky mess. Fill just to the top.
- Making indentations too shallow: Press firmly to create a deep well that can hold enough caramel to taste in every bite.
- Skipping the parchment paper: Caramel can spill and stick aggressively to unlined baking sheets.
- Rushing the cooling process: Filling warm cookies will cause the caramel to melt and run off completely.
Alternatives & Substitutions
- Gluten-free version: Replace all-purpose flour with a 1-to-1 gluten-free baking blend. The texture may be slightly more crumbly.
- Dairy-free option: Use plant-based butter sticks (not spread) and dairy-free caramel sauce.
- No espresso powder? Use 1 tablespoon of very finely ground coffee beans or 1 tablespoon of cocoa powder plus 1 teaspoon of instant coffee.
- Caramel alternatives: Try dulce de leche, chocolate ganache, or fruit preserves for different flavor profiles.
- Add texture: Mix 1/2 cup finely chopped toasted nuts into the dough for added crunch and flavor dimension.
FAQs
Can I make these cookies ahead of time for a party?
Absolutely! The unfilled cookies can be made 3-4 days in advance and stored in an airtight container. I recommend filling them with caramel the day of serving for the best presentation, though they’ll still taste wonderful if filled a day ahead.
How strong is the coffee flavor in these cookies?
The espresso provides a noticeable but not overwhelming coffee flavor. Think of it as similar to coffee ice cream – definitely present but balanced beautifully with the other flavors. You can adjust the amount of espresso powder to suit your taste.
My caramel hardened too much after cooling.
What happened? You might have cooked your homemade caramel a bit too long. Try warming it gently before filling the cookies, or next time, remove it from heat slightly earlier. Store-bought caramel sauce is often more foolproof for beginners.
Can I freeze these cookies?
Yes! Freeze the unfilled baked cookies in an airtight container for up to 3 months. Thaw at room temperature and then fill with caramel. Filled cookies can also be frozen but the caramel texture may change slightly.
Why did my cookies spread too much during baking?
Your butter was likely too warm or the dough was overworked. If the dough feels very soft after mixing, refrigerate it for 30 minutes before shaping. Also, make sure your oven temperature is accurate with an oven thermometer.
Final Thoughts
These Espresso Caramel Thumbprint Cookies bridge the gap between everyday treats and special occasion indulgences. They’re fancy enough for gifting but simple enough for a weekend baking project. The beautiful harmony of coffee and caramel creates something that feels both familiar and new. I hope they bring as much joy to your kitchen as they have to mine!


