Looking to elevate your holiday gatherings without spending hours in the kitchen? A Christmas Tree Shaped Charcuterie board is your answer! This show-stopping centerpiece transforms simple ingredients into a festive work of art that guests can’t help but gather around.
It’s not just an appetizer—it’s an experience that sparks conversation and creates those magical holiday moments we all treasure.
Why This Recipe is Awesome
The Christmas Tree Shaped Charcuterie stands out as the perfect holiday appetizer for so many reasons. First, it’s completely customizable to your taste preferences and what’s available at your local store. Unlike traditional appetizers that require precise cooking times, this is all about creative assembly.
What makes this truly special is how it turns simple ingredients into something spectacular through presentation alone. Your guests will be snapping photos before they even take their first bite! Plus, it’s interactive—everyone can graze at their leisure, picking their favorite combinations.
As someone who’s created dozens of themed charcuterie boards, I can assure you that the tree shape is one of the most forgiving designs for beginners. The cascading layout naturally hides any imperfections, making you look like a pro even on your first attempt.
Equipment needed: Large wooden board or platter, small bowls, serving utensils, kitchen scissors

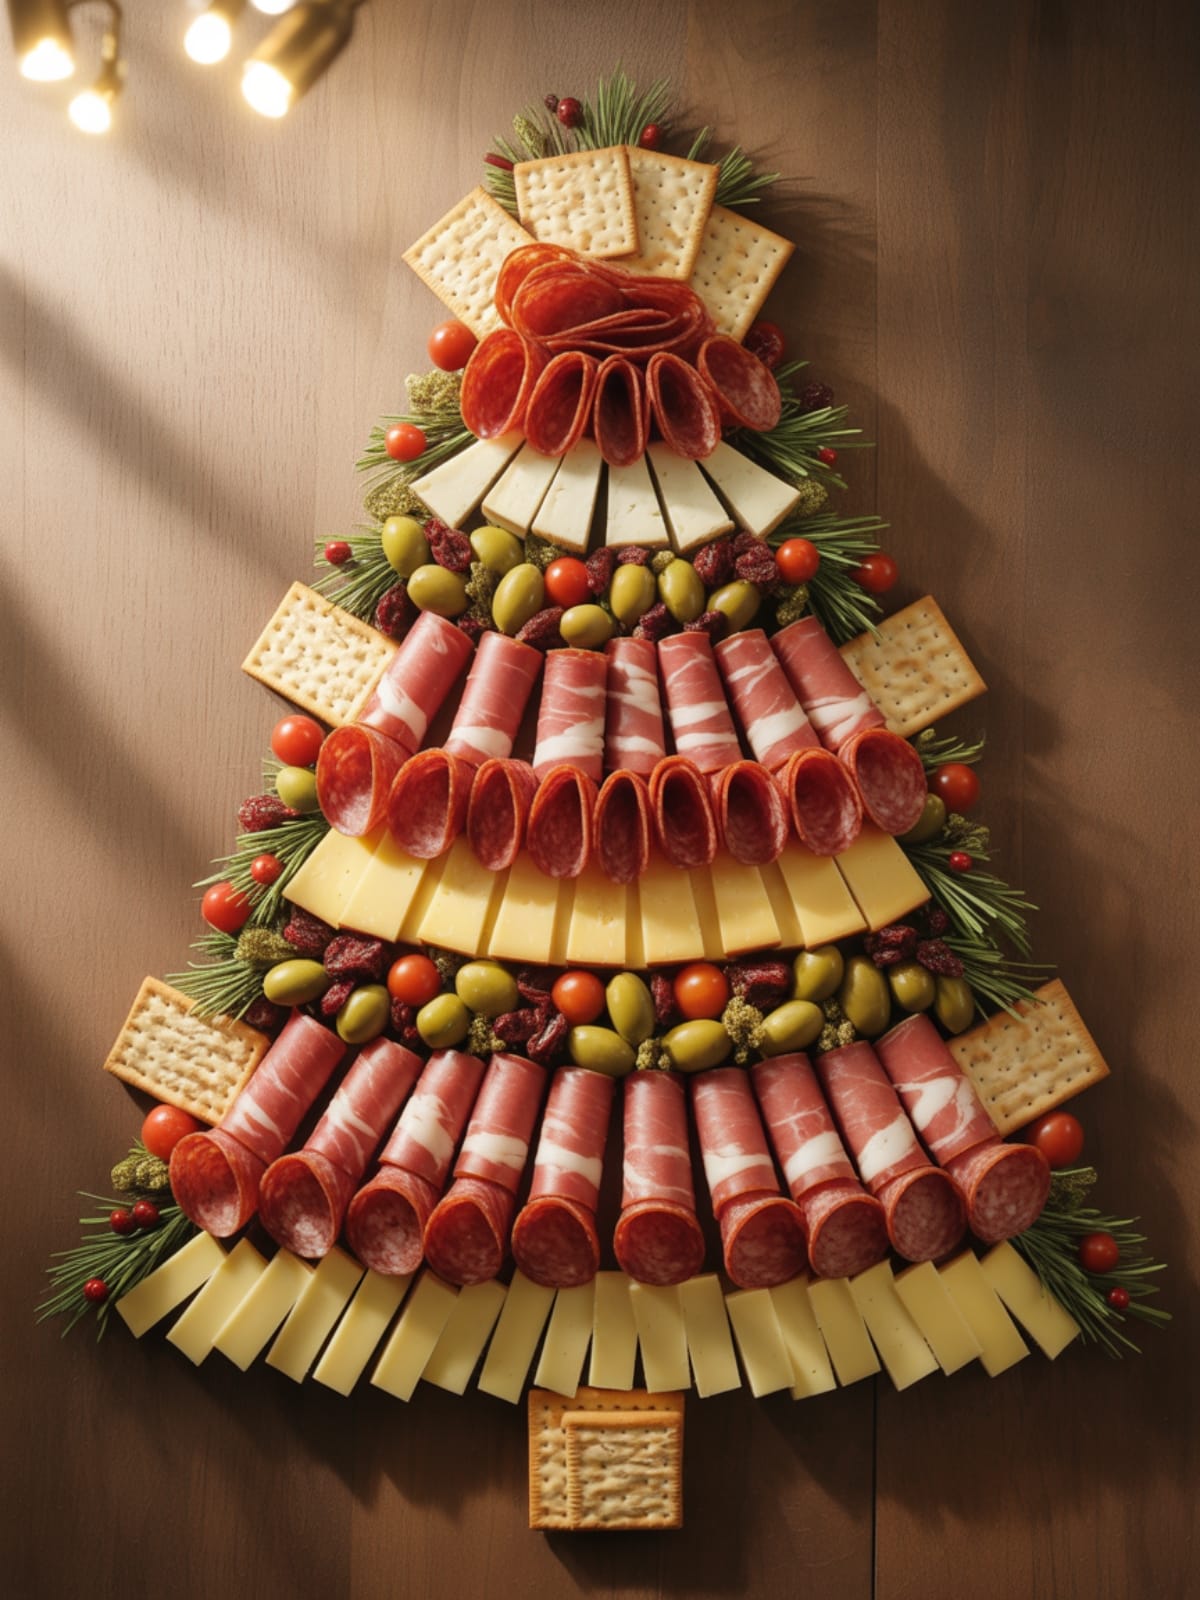
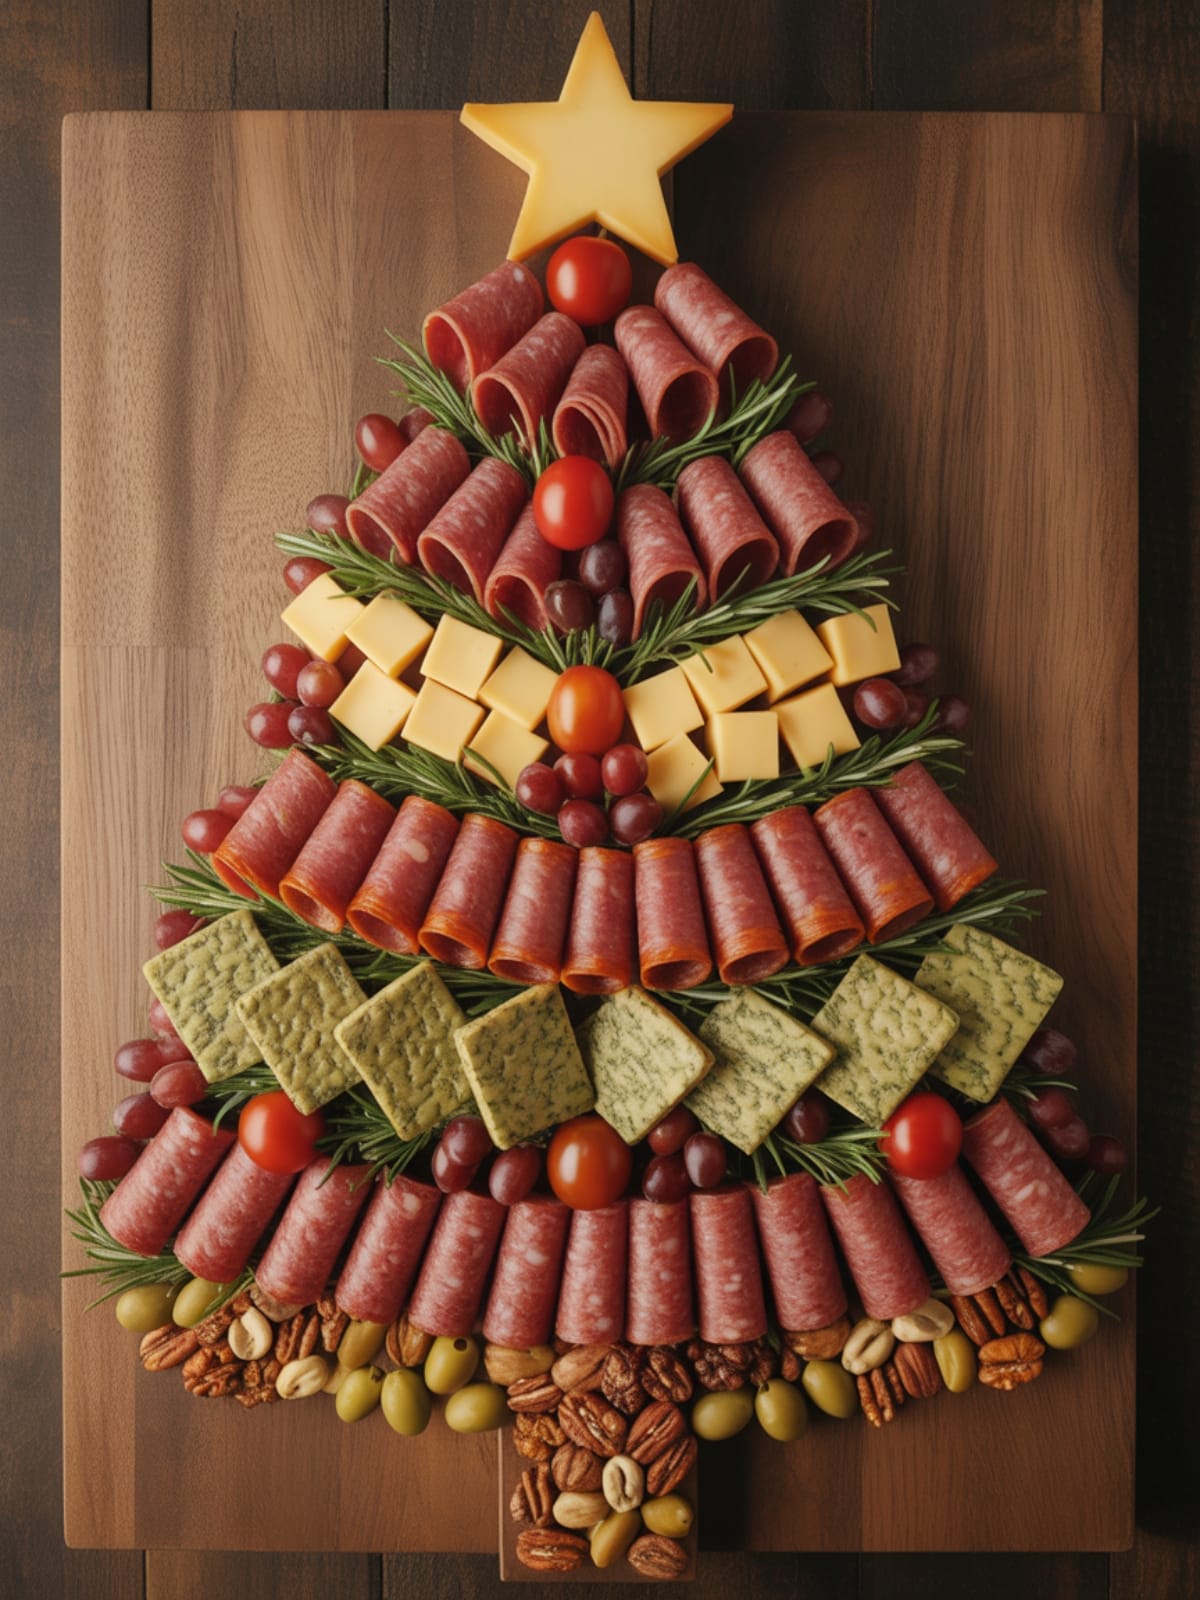
Christmas Tree Shaped Charcuterie
Ingredients
- Base meats: 8 oz salami, 8 oz prosciutto, 4 oz pepperoni
- Cheeses: 8 oz brie or camembert, 6 oz aged cheddar, 4 oz gouda, 4 oz blue cheese (optional)
- Fresh elements: Rosemary sprigs (for the “branches”), grape clusters, sliced pears or apples
- Dried fruits: 1/2 cup cranberries, 1/2 cup apricots, 1/4 cup dates
- Nuts: 1 cup mixed nuts like walnuts, almonds, and pistachios
- Accompaniments: Crackers and breadsticks (for arranging around the base)
- Spreads: Fig jam, honey, whole grain mustard
- Garnishes: Cherry tomatoes, olives, pickles (for “ornaments”)
- Star topper: Yellow bell pepper cut into star shape or a star-shaped cheese
Instructions
- Prepare your board surface. Select a large wooden board, marble slab, or even a lined baking sheet. Ensure it’s clean and food-safe. Consider placing a piece of parchment paper underneath for easier cleanup.
- Create the tree trunk. Place a row of breadsticks or twisted prosciutto at the bottom of your board to form the trunk of your tree. This foundation sets the stage for the triangular shape to follow.
- Outline your tree shape. Use rosemary sprigs to create the outer edges of your triangular tree. This provides a fragrant frame and gives you boundaries to work within as you build your creation.
- Start with larger items as anchor points. Place larger cheese wedges and folded meat slices throughout your tree outline. Position them asymmetrically for a natural look, making sure to distribute colors and textures evenly throughout.
- Fill in with smaller components. Add olives, nuts, and dried fruits in clusters throughout the tree, filling gaps between your anchor items. Think of these as your tree’s “ornaments” that add color and dimension.
- Create visual pathways. Arrange grape clusters in a garland-like fashion, creating visual “strings of lights” that wind through your tree design. This guides the eye through your composition.
- Place your spreads strategically. Position small bowls of dips and spreads within the outline, ensuring they’re stable and accessible. These can become “ornaments” in your design while being functional.
- Add your star topper. Position your cheese or pepper star at the top of your tree arrangement. Make sure it’s prominently displayed as the crowning element of your creation.
- Fill remaining spaces. Add remaining crackers, fruits, and smaller meat rolls to fill any empty spaces, ensuring your tree looks abundant but not overcrowded. Tuck in additional rosemary sprigs for extra “branches.”
- Finish with final garnishes. Add a light drizzle of honey over certain cheeses or sprinkle a few pomegranate seeds for “twinkling lights” effect. Step back and adjust any areas that need balancing.
Notes
- For best presentation, slice hard cheeses in advance but wait to place soft cheeses until just before serving.
- Create height variation by stacking some elements or using small risers hidden beneath certain ingredients.
- Consider your guests’ preferences and dietary restrictions when selecting ingredients.
- The board can be partially assembled up to 4 hours ahead, with temperature-sensitive items added just before serving.
- Keep extra ingredients on hand for replenishing as the evening progresses.
Calories & Nutritional Info
- Estimated calories: 300-400 calories per serving (based on approximately 2-3 ounces of selections)
- High in protein from meats and cheeses
- Contains healthy fats from nuts and natural cheeses
- Offers antioxidants through fruits and vegetables
- Note: Nutritional content varies widely based on specific selections and portion sizes
- Contains common allergens: dairy, nuts, and potentially gluten in crackers
Common Mistakes to Avoid
- Overcrowding the board: Leave some breathing room between elements so guests can easily pick items without dismantling your design.
- Neglecting temperature considerations: Remove cheeses from refrigeration 30-45 minutes before serving for optimal flavor and texture.
- Forgetting serving utensils: Include small knives for cheeses, toothpicks for meats, and tiny spoons for spreads to maintain cleanliness.
- Using only one texture or flavor profile: Balance is key—include creamy, crunchy, sweet, savory, and tangy elements.
- Building too tall: While height adds interest, ensure your creation is stable and guests can easily access all items.
Alternatives & Substitutions
- For vegetarian versions: Replace meats with extra cheeses, marinated vegetables, and plant-based protein options like hummus or bean dips.
- Dairy-free alternatives: Substitute traditional cheeses with cashew-based spreads, hummus varieties, or vegan cheese alternatives.
- Budget-friendly swaps: Use more seasonal fruits and vegetables, focus on one or two quality cheeses rather than several, and incorporate more homemade elements like seasoned nuts.
- Kid-friendly version: Include cubed mild cheeses, turkey roll-ups, fruit skewers, and chocolate-covered pretzels for a more child-appealing board.
- Color themes: Create a monochromatic green tree with kiwi, green grapes, pistachios, and herbs, or go traditional red and green with strawberries and fresh basil.
FAQs
How far in advance can I assemble my Christmas Tree Charcuterie?
You can create the basic structure and place non-perishable items up to 4 hours ahead. However, I recommend adding cheeses about 45 minutes before serving (so they reach room temperature for best flavor) and any cut fruits just before guests arrive to prevent browning.
What size board do I need for this display?
For 8-12 guests, aim for a board that’s approximately 16-20 inches in length. The beauty of this design is that you can scale it up or down based on your surface area—just maintain the triangular shape.
How do I keep everything from falling off the board?
The key is building from the bottom up and using larger, stable items as anchors. The rosemary sprigs create natural barriers, and placing denser items like cheese wedges strategically throughout adds stability to your design.
What if I don’t have rosemary for the branches?
Fresh thyme or sage sprigs work beautifully as alternatives. For a non-herb option, you can use thin breadsticks or even arrange sliced cucumber in branching patterns. The goal is creating that distinctive pine branch texture.
How do I ensure my charcuterie board is food-safe?
Always use food-safe surfaces, wash all produce thoroughly, and don’t leave perishable items at room temperature for more than 2 hours. Provide separate serving utensils for each element and consider placing a “refresh time” sign if your gathering will last several hours.
Final Thoughts
Your Christmas Tree Shaped Charcuterie is more than just an appetizer—it’s a celebration on a board! Don’t stress about making it perfect; the beauty comes from its abundant, festive nature.
The joy of watching guests gather, discover new flavor combinations, and share in this communal experience is what holiday entertaining is all about. So arrange with love, serve with pride, and enjoy the delicious memories you’re creating!


