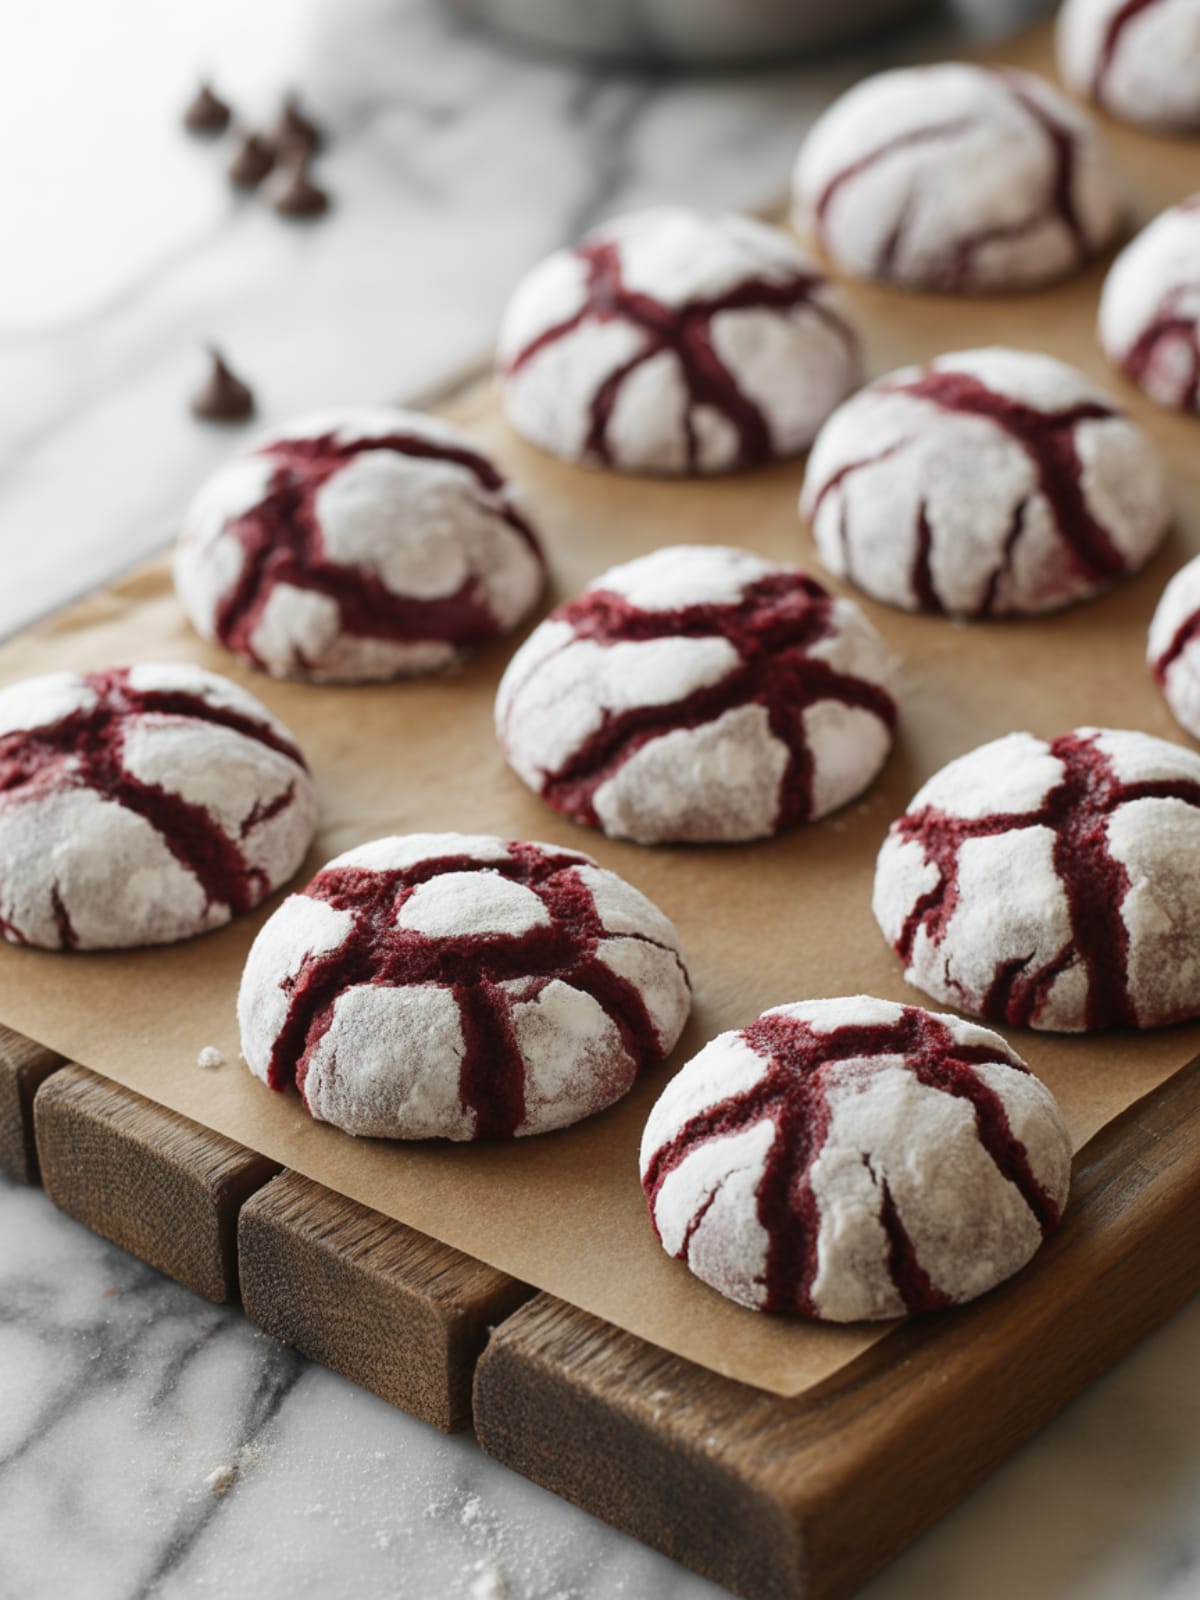
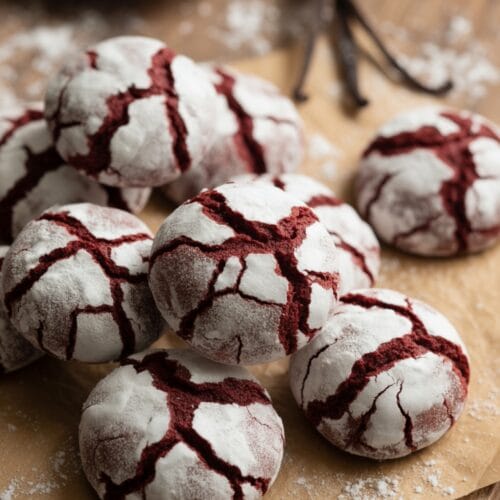
Picture this: you bite into a cookie with a slightly crisp exterior that gives way to a rich, fudgy center. The distinct cocoa-vanilla flavor fills your senses while the striking red color against snowy powdered sugar creates a visual masterpiece. That’s the magic of Fudgy Red Velvet Crinkle Cookies.
These gorgeous treats aren’t just Instagram-worthy – they deliver a perfect balance of chocolate indulgence with that special something that only red velvet can provide.
Why This Recipe is Awesome
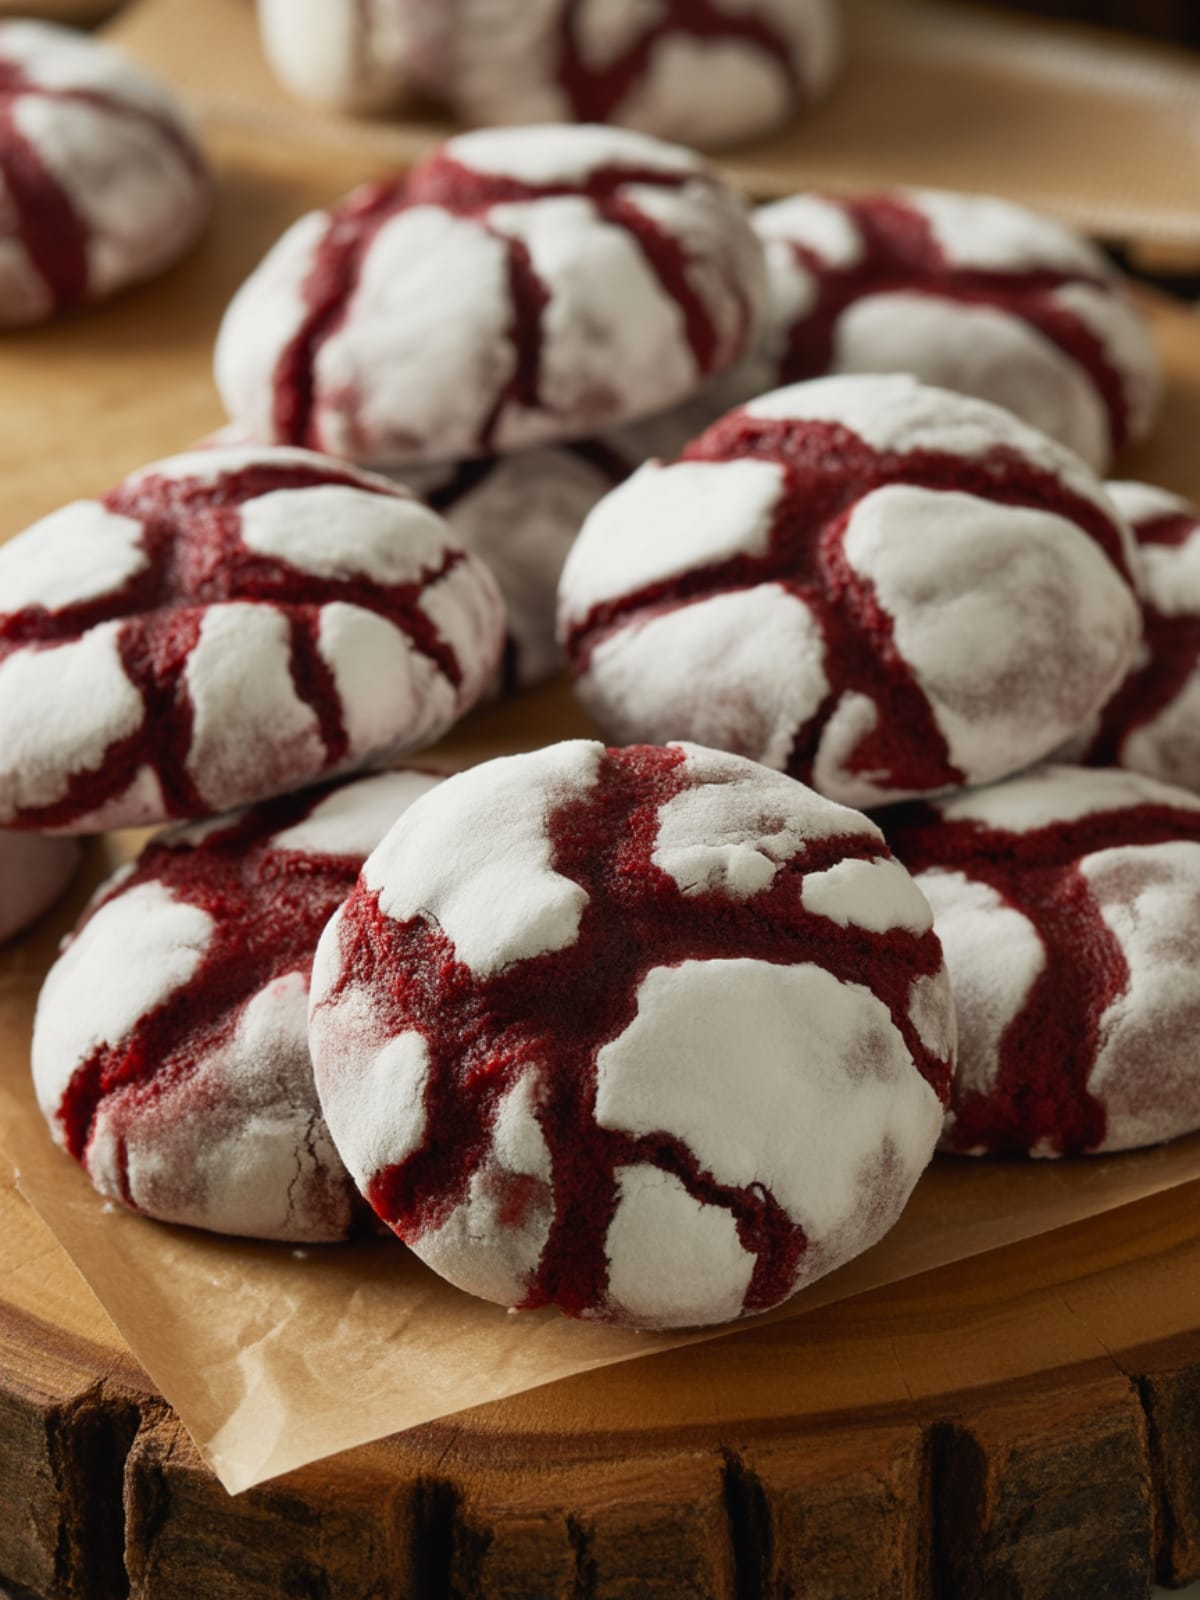
Fudgy Red Velvet Crinkle Cookies stand out in the crowded cookie universe for several compelling reasons. First, they nail the delicate balance between cake-like softness and fudgy brownie texture – a culinary sweet spot that few cookies achieve. The beautiful crackled appearance forms naturally during baking, making these cookies look professional with minimal effort.
Unlike many red velvet recipes that taste mostly of food coloring, these cookies deliver authentic cocoa notes complemented by vanilla and a subtle tang. They’re also incredibly versatile – perfect for holiday platters, Valentine’s Day, or brightening an ordinary Tuesday afternoon coffee break. The dough can be made ahead and refrigerated, making these a fantastic option for busy bakers who want to prep in advance.
Trust me, once you master these, they’ll become your signature cookie that everyone requests!
Equipment needed: Mixing bowls, electric mixer, baking sheets, parchment paper, cooling rack
Fudgy Red Velvet Crinkle Cookies
Ingredients
- 2½ cups all-purpose flour
- ¼ cup unsweetened cocoa powder Dutch-processed preferred for deeper color
- 2 teaspoons baking powder
- ¼ teaspoon baking soda
- ½ teaspoon salt
- ¾ cup 1½ sticks unsalted butter, softened
- 1½ cups granulated sugar
- 2 large eggs at room temperature
- 2 teaspoons vanilla extract
- 1 tablespoon buttermilk or regular milk with ¼ teaspoon vinegar
- 2 tablespoons red food coloring gel preferred for vibrant color without excess liquid
- ½ cup powdered sugar for coating
- ¼ cup granulated sugar for pre-coating helps powdered sugar adhere better
Instructions
- Combine dry ingredients. In a medium bowl, whisk together the flour, cocoa powder, baking powder, baking soda, and salt until well blended. Set aside.
- Cream butter and sugar. In a large bowl, beat the butter and granulated sugar with an electric mixer on medium speed until light and fluffy, about 2-3 minutes. Scrape down the sides of the bowl as needed.
- Add eggs and flavorings. Beat in the eggs one at a time, then add vanilla extract, buttermilk, and red food coloring. Mix until the color is uniform and vibrant, about 1 minute.
- Incorporate dry ingredients. Gradually add the flour mixture to the wet ingredients on low speed, mixing just until combined. Don’t overmix or your cookies will be tough.
- Chill the dough. Cover the bowl with plastic wrap and refrigerate for at least 2 hours or overnight. This step is essential for the proper texture and to make the dough easier to handle.
- Preheat and prepare. When ready to bake, preheat the oven to 350°F (175°C). Line baking sheets with parchment paper. Place the granulated and powdered sugars in separate small bowls.
- Shape cookies. Using a tablespoon or cookie scoop, portion the dough into 1-inch balls. Roll each ball in granulated sugar first (this helps the powdered sugar stick better), then generously coat in powdered sugar.
- Arrange and bake. Place the coated dough balls on prepared baking sheets about 2 inches apart. Bake for 10-12 minutes until the edges are set but the centers still appear slightly soft.
- Cool properly. Allow cookies to cool on the baking sheet for 5 minutes before transferring to a wire rack to cool completely. The crinkles will become more pronounced as they cool.
Notes
- For the most vivid color, use gel food coloring rather than liquid.
- The dough freezes exceptionally well – shape into balls before freezing, then coat in sugar just before baking.
- These cookies will stay soft for 3-4 days when stored in an airtight container.
- The double-sugar coating technique (granulated first, then powdered) ensures the perfect crackle effect as the cookies bake.
- For a more intense chocolate flavor, add ½ cup mini chocolate chips to the dough.
Calories & Nutritional Info
- Calories: Approximately 165 calories per cookie
- Carbohydrates: 24g (primarily from sugars)
- Fat: 7g (4g saturated)
- Protein: 2g
- Contains: Gluten, dairy, and eggs
- Not suitable for: Vegan diets or those with gluten sensitivities unless modifications are made
Common Mistakes to Avoid
- Skipping the chilling time – This crucial step prevents cookies from spreading too much and helps develop flavor.
- Not using enough powdered sugar coating – Be generous with the powdered sugar for the most dramatic crackle effect.
- Overbaking the cookies – These should remain soft in the center. They’ll continue cooking slightly on the hot baking sheet after removal from the oven.
- Using old baking powder or soda – These leavening agents lose potency over time, affecting the texture of your cookies.
- Mixing the dough too much – This develops gluten, resulting in tough rather than tender cookies.
Alternatives & Substitutions
- Dietary needs: Use plant-based butter and egg replacers for a dairy-free/vegan version (though color may vary).
- Natural coloring: Substitute 2 tablespoons of beet powder for food coloring (will produce a less vibrant but natural red hue).
- Gluten-free option: Replace all-purpose flour with a 1:1 gluten-free baking blend.
- Flavor variations: Add 1 teaspoon of espresso powder to enhance the chocolate notes, or mix in ½ cup of white chocolate chips for added sweetness.
- Less sweet version: Reduce granulated sugar to 1¼ cups without affecting texture significantly.
FAQs
Why did my cookies flatten too much?
Cookies flatten when the dough is too warm or the butter too soft. Make sure to chill your dough thoroughly, and if your kitchen is hot, work with small batches, keeping the remaining dough refrigerated.
Can I make these cookies without the red food coloring?
Absolutely! They’ll still taste delicious as chocolate crinkle cookies. If you want some color but prefer natural ingredients, try beet powder, though the hue will be more subdued.
Why didn’t my cookies crackle properly?
The crackle effect comes from the sugar coating and proper oven temperature. Make sure your oven is fully preheated, you’ve coated the cookies generously with powdered sugar (after a granulated sugar pre-coat), and your dough was adequately chilled.
How far in advance can I make the dough?
The dough can be refrigerated for up to 3 days or frozen for up to 3 months. If frozen, thaw overnight in the refrigerator before shaping and baking.
Can I add cream cheese to make them more authentic to red velvet flavor?
Yes! Replace ¼ cup of the butter with 2 oz cream cheese for a tangier flavor that’s more reminiscent of traditional red velvet with cream cheese frosting.
Final Thoughts
Fudgy Red Velvet Crinkle Cookies balance visual drama with genuine flavor satisfaction – a rare combination in the baking world. Whether you’re looking to impress guests or simply treat yourself to something special, these cookies deliver both comfort and elegance. Don’t be surprised if they become your new signature bake – sometimes the most memorable recipes are the ones that bring a little unexpected joy to ordinary moments.


