Ever found yourself craving something sweet but dreading the thought of turning on the oven? I’ve been there more times than I can count. These Peanut Butter Bars are my go-to solution – they’re ridiculously simple, require zero baking skills, and disappear faster than I can say “dessert’s ready!” at any gathering.
The first time I made these bars, I was skeptical that something so easy could taste so good. But that first creamy, rich bite completely converted me. There’s something magical about the combination of peanut butter and chocolate that makes these bars irresistible.
Why This Recipe is Awesome
What makes these Peanut Butter Bars special isn’t just their incredible taste – it’s their reliability and versatility.
They’re essentially a homemade version of Reese’s peanut butter cups in bar form, but with the perfect ratio of peanut butter to chocolate that you control. These bars require no baking, which means they’re perfect for summer days when you don’t want to heat up the kitchen. They also come together with pantry staples most of us already have on hand.
The recipe is virtually foolproof – I’ve never had a batch fail, even when I’ve let my kids help mix them up. Perhaps what I love most is how these bars hit that sweet spot between impressive and effortless. They look and taste like you spent hours in the kitchen, but secretly take just minutes of active prep time.
Equipment needed: 8×8 inch baking pan, parchment paper, mixing bowl, microwave-safe bowl, spatula
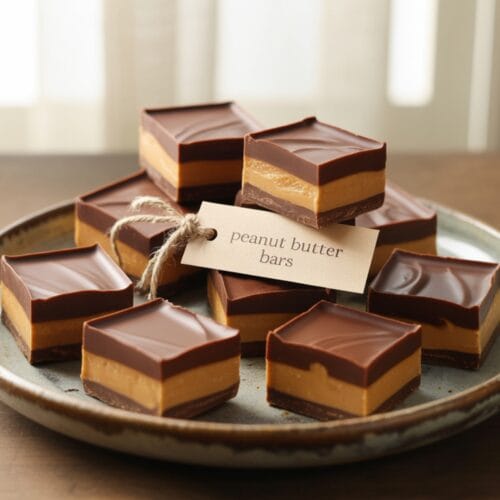
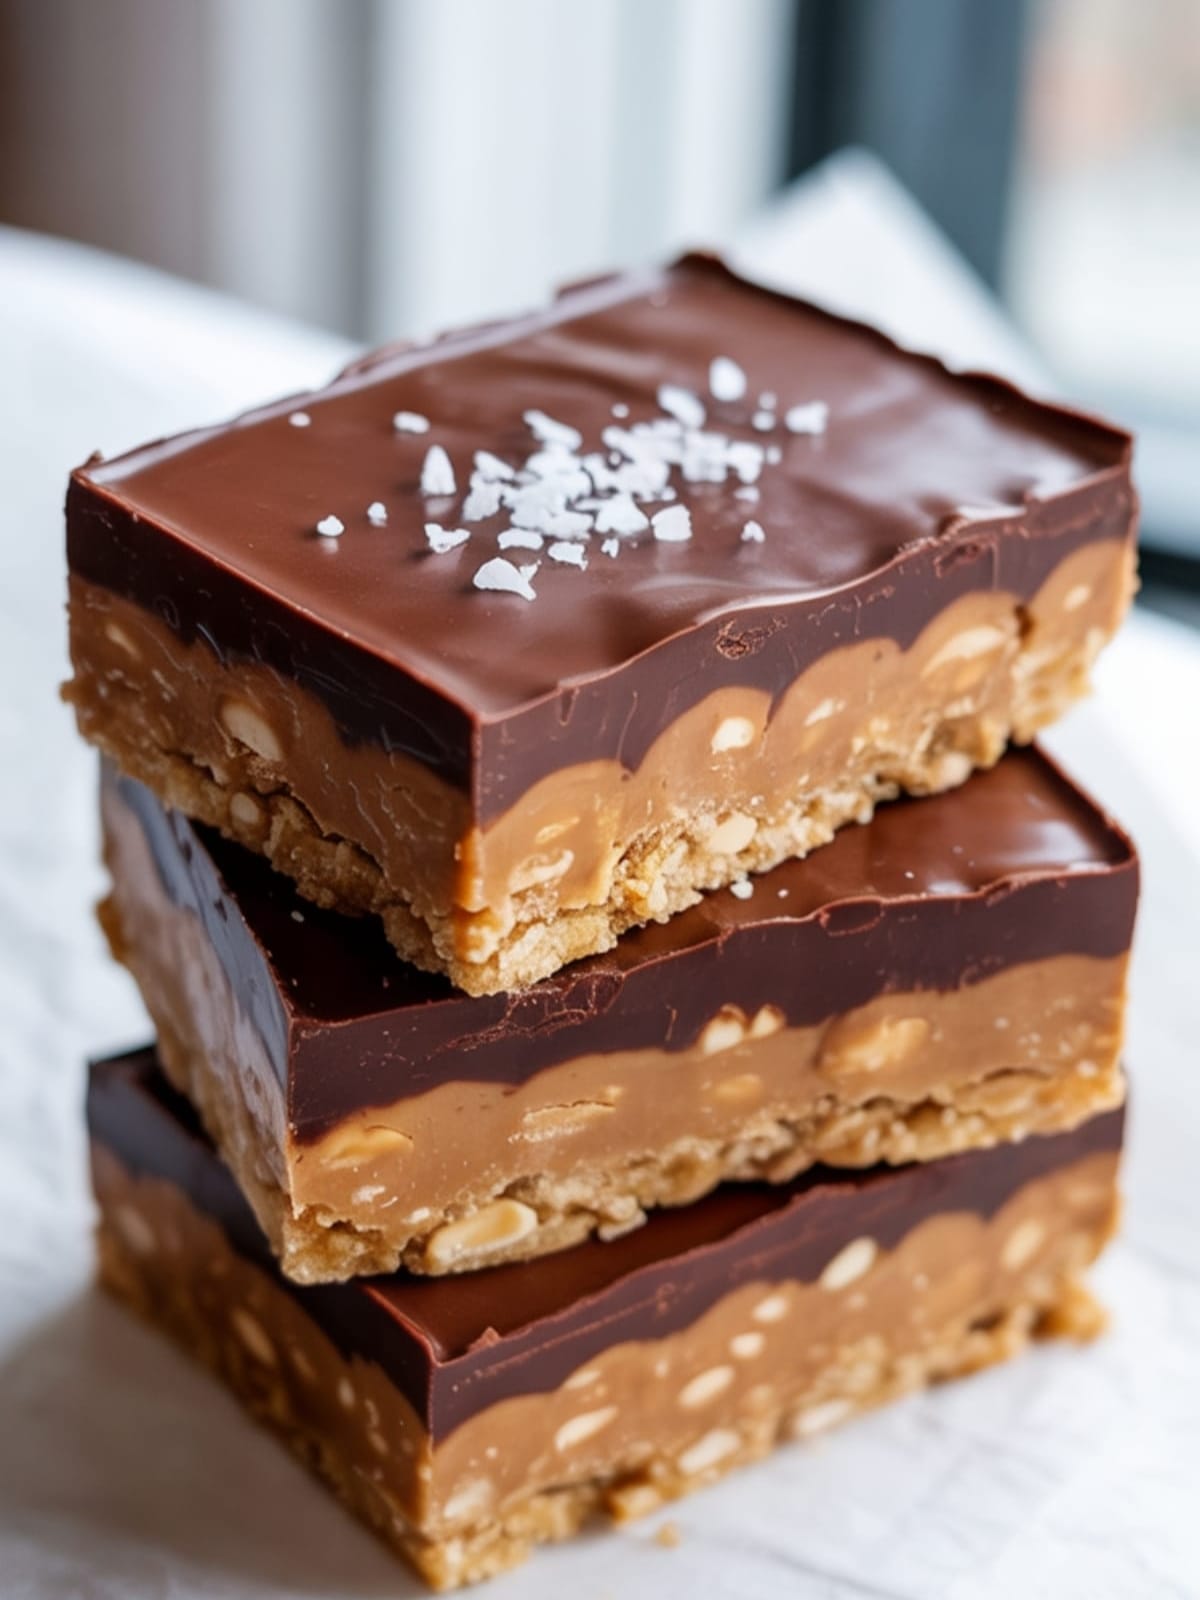
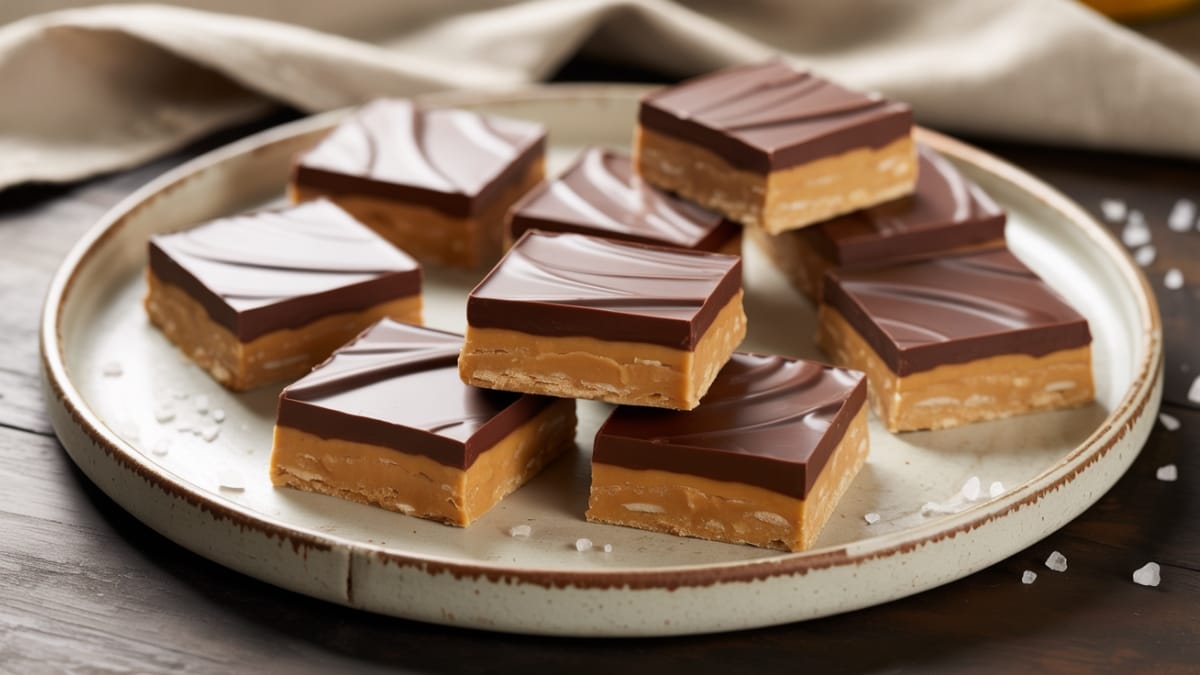
Peanut Butter Bars
Ingredients
- 1 cup 2 sticks unsalted butter, melted
- 2 cups graham cracker crumbs about 16 full sheets, crushed
- 2 cups confectioners’ sugar
- 1 cup creamy peanut butter plus 2 tablespoons for the topping
- 1 teaspoon vanilla extract
- 1/4 teaspoon salt
- 1 1/2 cups semi-sweet chocolate chips
- 1 tablespoon coconut oil or shortening helps chocolate set properly
Instructions
- Prepare your pan by lining an 8×8 inch baking dish with parchment paper, leaving overhang on the sides for easy removal later.
- Make the peanut butter base by combining melted butter, graham cracker crumbs, confectioners’ sugar, 1 cup peanut butter, vanilla extract, and salt in a large bowl. Mix until completely combined and no dry spots remain.
- Press the mixture firmly into your prepared pan, creating an even layer. Use the bottom of a measuring cup to compact it tightly—this helps the bars hold together when cut.
- Prepare the chocolate topping by combining chocolate chips, remaining 2 tablespoons of peanut butter, and coconut oil in a microwave-safe bowl. Microwave in 30-second intervals, stirring between each, until completely melted and smooth.
- Pour the chocolate mixture over the peanut butter layer and spread evenly with a spatula. Gently tap the pan on the counter a few times to help the chocolate settle into a smooth layer.
- Refrigerate the bars for at least 1 hour or until the chocolate layer is set. The longer you let them chill, the cleaner your cuts will be.
- Cut into squares by lifting the entire slab out of the pan using the parchment paper overhang. Use a sharp knife, wiping it clean between cuts for the neatest results.
Notes
- For easier cutting, let the bars sit at room temperature for about 10 minutes after refrigeration so the chocolate won’t crack.
- These bars can be stored in an airtight container in the refrigerator for up to 1 week.
- For a more artisanal look, sprinkle some flaky sea salt on top of the chocolate layer before it sets.
- If you prefer a softer texture, you can store these at room temperature instead, though they’ll be slightly less firm.
- The bars can be frozen for up to 3 months—just thaw in the refrigerator before serving.
Calories & Nutritional Info
- Calories: Approximately 375 calories per bar
- Fat: 26g (10g saturated)
- Carbohydrates: 35g (28g sugar)
- Protein: 6g
- Allergens: Contains peanuts, may contain wheat, dairy
- Dietary notes: Gluten-free if using certified gluten-free graham crackers
Common Mistakes to Avoid
- Using natural peanut butter – The oils tend to separate, which can make your bars too oily or prevent proper setting. Stick with commercial creamy peanut butter for best results.
- Skipping the parchment paper – This makes removal and cutting nearly impossible. Don’t shortcut this step!
- Not compacting the base layer enough – A loose base will crumble when you cut the bars. Press firmly to create a solid foundation.
- Rushing the chilling time – Patience yields the best texture and cleanest cuts. Give these bars the full hour (or more) to set properly.
- Cutting with a dull knife – This will drag through your chocolate layer creating messy edges. Always use a sharp knife and wipe it clean between cuts.
Alternatives & Substitutions
- Graham cracker alternatives: Digestive biscuits, vanilla wafers, or crushed pretzels (for a sweet-salty variation)
- Peanut butter options: Almond butter, sunflower seed butter, or cookie butter can be substituted for those with peanut allergies
- Chocolate variations: Try dark chocolate, milk chocolate, or even white chocolate for the top layer
- Sweetener adjustments: Reduce powdered sugar to 1½ cups for a less sweet version
- Add-ins for texture: Mix in ¼ cup chopped roasted peanuts or mini chocolate chips to the base for extra crunch
- Dietary adaptations: Use dairy-free butter and chocolate chips for a dairy-free version
FAQs
Why did my chocolate layer crack when I cut the bars?
Cold chocolate tends to crack when cut. Let your bars sit at room temperature for 10-15 minutes before cutting, and use a sharp knife that you clean between each slice.
Can I make these bars without graham crackers?
Absolutely! You can substitute crushed digestive biscuits, vanilla wafers, or even crushed pretzels for a delicious sweet-salty variation.
How do I know if my peanut butter mixture is the right consistency?
The mixture should be thick but pliable, similar to a cookie dough texture. If it seems too dry, add a tablespoon more melted butter. If too wet, add a few more graham cracker crumbs.
Can I use crunchy peanut butter instead of smooth?
Yes! Using crunchy peanut butter will give your bars extra texture. Just be aware that the base may be slightly more difficult to spread evenly.
Why add peanut butter to the chocolate topping?
Adding peanut butter to the chocolate helps prevent the chocolate from becoming too hard and cracking when you cut the bars. It also creates a more harmonious flavor transition between layers.
Final Thoughts
These Peanut Butter Bars have saved my dessert reputation countless times when I needed something impressive with minimal effort. They’re proof that sometimes the simplest recipes create the most memorable treats. Whether you’re making them for a family movie night or a potluck dinner, I’m confident they’ll become a regular in your dessert rotation too. Happy no-baking!


