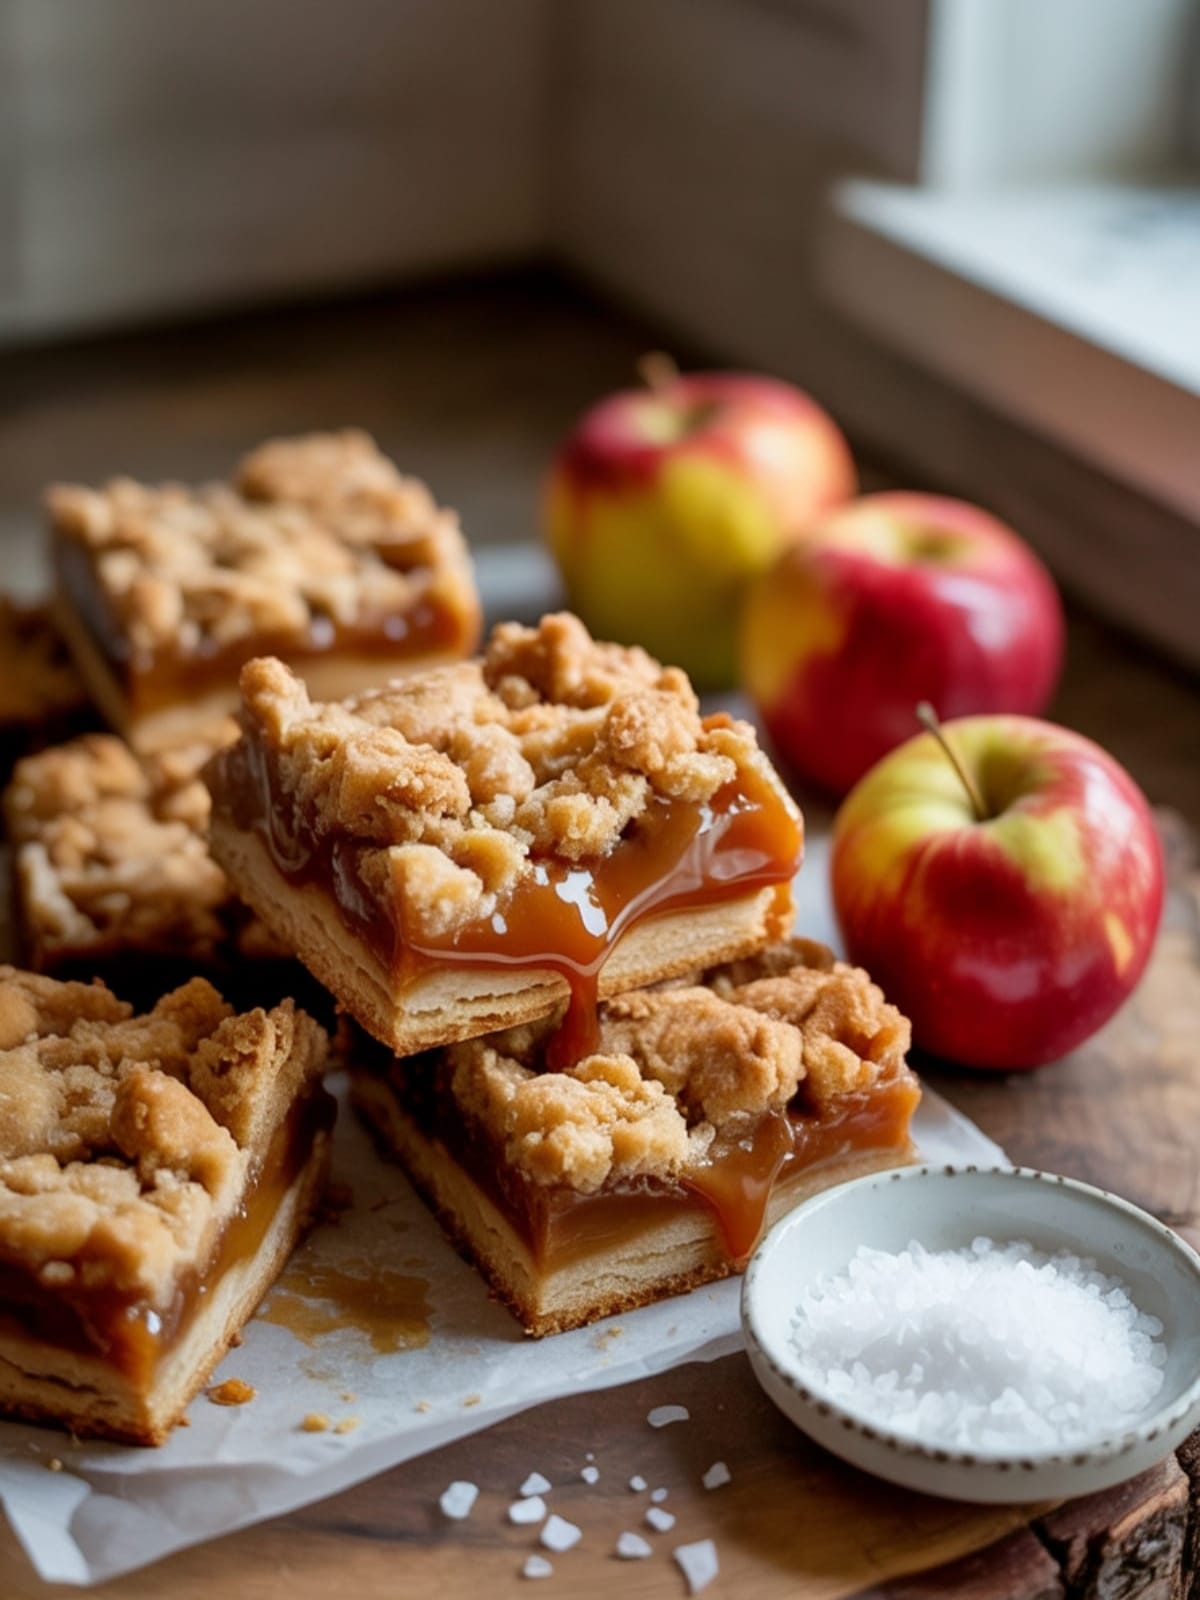
Imagine the comforting aroma of baked apples and buttery caramel filling your kitchen on a crisp autumn afternoon. That’s exactly what these Salted Caramel Apple Pie Bars deliver—all the soul-satisfying flavor of a traditional apple pie but in a convenient, portable form that’s perfect for everything from lunchboxes to elegant dessert platters. As someone who’s always racing against the clock but refuses to compromise on dessert quality, I’ve found these bars to be my secret weapon for impressing guests without spending hours in the kitchen.
Why This Recipe is Awesome
What makes these Salted Caramel Apple Pie Bars truly special is how they transform a classic American dessert into something both accessible and extraordinary.
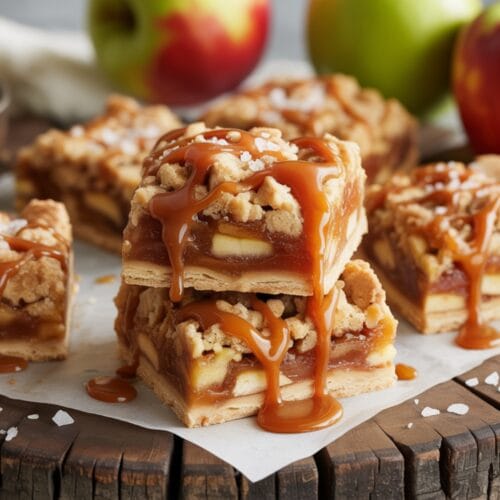
Unlike traditional pie, these bars feature a shortbread-like crust that holds up beautifully without getting soggy, making them perfect for make-ahead situations. The layering technique creates distinct textures in every bite—buttery crust, tender spiced apples, crumbly streusel, and that crowning glory of homemade salted caramel that elevates the entire dessert from good to unforgettable. The salt-sweet balance is what modern desserts strive for, and these bars nail it perfectly.
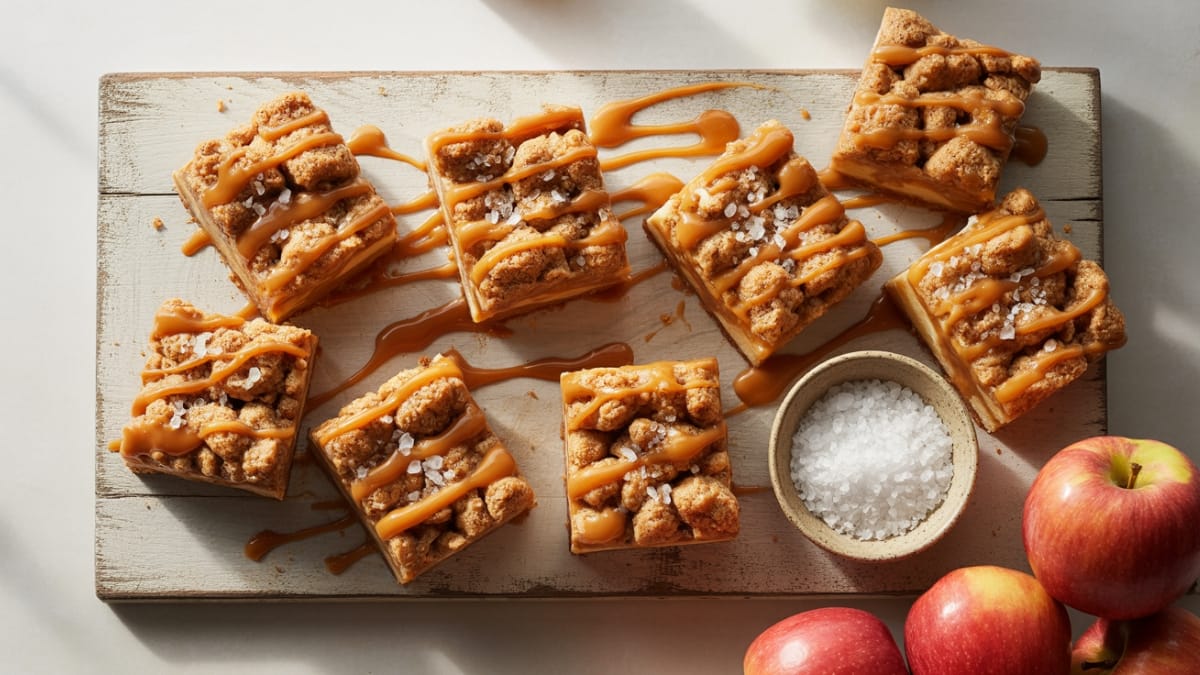
They’re also infinitely more shareable than pie—no messy slicing or serving issues—just neat, perfect portions that look as good as they taste.
Equipment needed: 8×8 inch baking pan, parchment paper, mixing bowls, pastry cutter or food processor, saucepan
Salted Caramel Apple Pie Bars
Ingredients
For the Shortbread Crust
- 1/2 cup 113g unsalted butter, melted
- 1/4 cup 50g granulated sugar
- 1 teaspoon vanilla extract
- 1/4 teaspoon salt
- 1 cup 125g all-purpose flour
For the Apple Filling
- 3 large apples preferably Granny Smith or Honeycrisp, peeled and thinly sliced
- 2 tablespoons all-purpose flour
- 2 tablespoons fresh lemon juice
- 1 teaspoon ground cinnamon
- 1/4 teaspoon ground nutmeg
- 1/4 cup 50g granulated sugar
- 1/4 cup 50g brown sugar, packed
For the Streusel Topping
- 1/2 cup 63g all-purpose flour
- 1/4 cup 50g brown sugar, packed
- 1/4 cup 50g rolled oats
- 1/4 teaspoon ground cinnamon
- 1/4 cup 57g unsalted butter, cold and cubed
For the Salted Caramel Sauce
- 1 cup 200g granulated sugar
- 6 tablespoons 85g unsalted butter, room temperature
- 1/2 cup 120ml heavy cream, room temperature
- 1 teaspoon flaky sea salt like Maldon
Instructions
- Prepare your pan and oven: Preheat your oven to 350°F (175°C). Line an 8×8 inch baking pan with parchment paper, leaving overhang on the sides for easy removal later.
- Make the shortbread crust: In a medium bowl, combine melted butter, sugar, vanilla, and salt. Add flour and stir until everything is incorporated. Press the mixture evenly into the bottom of your prepared pan. Bake for 15 minutes until the edges are slightly golden.
- Prepare the apple filling: While the crust bakes, toss the sliced apples with flour, lemon juice, cinnamon, nutmeg, and both sugars until all slices are evenly coated. Set aside to allow flavors to meld.
- Make the streusel topping: Combine flour, brown sugar, oats, and cinnamon in a medium bowl. Add cold cubed butter and use a pastry cutter or your fingers to work the butter into the dry ingredients until you have coarse crumbs. Refrigerate until ready to use.
- Assemble the bars: When the crust is done, remove from oven but keep the oven on. Layer the apple mixture evenly over the hot crust, trying to create a level surface. Sprinkle the streusel topping evenly over the apples.
- Bake the assembled bars: Return the pan to the oven and bake for 30-35 minutes, until the streusel is golden brown and the apple filling is bubbling at the edges.
- Make the salted caramel sauce: While the bars bake, heat sugar in a medium saucepan over medium heat, stirring constantly with a heat-resistant spatula. The sugar will form clumps before melting into a amber-colored liquid. Once completely melted, immediately add the butter (mixture will bubble rapidly). Whisk until butter is completely incorporated, about 2 minutes.
- Finish the caramel: Slowly pour in the heavy cream while whisking. Allow the mixture to boil for 1 minute, then remove from heat and stir in the sea salt. Let cool slightly before using.
- Cool and finish: Allow bars to cool completely in the pan on a wire rack. Once cooled, lift out using the parchment overhang and drizzle with the salted caramel sauce. For cleaner cuts, refrigerate for 1 hour before cutting into squares.
Notes
- For the best texture contrast, use apples that hold their shape when baked—Granny Smith, Honeycrisp, or Braeburn are excellent choices.
- The caramel sauce can be made up to a week ahead and stored in the refrigerator. Simply warm it slightly before drizzling.
- These bars freeze beautifully for up to 3 months. Layer between parchment paper in an airtight container.
- For a time-saving option, use store-bought caramel sauce and add a pinch of flaky sea salt.
- The shortbread crust must be pre-baked to ensure it doesn’t get soggy from the apple filling.
Calories & Nutritional Info
- Calories: Approximately 275 calories per bar
- Fat: 14g (8g saturated)
- Carbohydrates: 37g (25g sugars)
- Protein: 2g
- Allergens: Contains dairy, gluten, and wheat
- Dietary considerations: Vegetarian, nut-free
Common Mistakes to Avoid
- Skipping the parchment paper – This is crucial for easy removal of the bars from the pan. Without it, they’ll likely break apart when serving.
- Cutting apples too thick – Thin, uniform slices ensure even cooking and the perfect texture. Too thick, and they’ll remain crunchy while the rest of the bar is done.
- Rushing the caramel process – Making caramel requires patience and attention. Stirring constantly prevents burning, and having room-temperature butter and cream prevents dangerous splattering.
- Not allowing full cooling time – Cutting warm bars will result in a messy presentation. The cooling and chilling time allows everything to set properly.
- Over-mixing the streusel – Work the butter in just until you have coarse crumbs. Over-mixing will create a paste rather than the desired crumbly texture.
Alternatives & Substitutions
- Gluten-free option: Substitute all-purpose flour with a 1:1 gluten-free baking blend in all components.
- Dairy-free adaptation: Use coconut oil instead of butter in the crust and streusel, and full-fat coconut cream instead of heavy cream in the caramel (note: the flavor profile will change).
- Fruit variations: Substitute pears for apples, or use a combination of apples and cranberries for a tart contrast.
- Spice adjustments: Add cardamom or ginger to the apple mixture for a warming, complex flavor profile.
- Lower sugar option: Reduce sugar in the filling by 25% and consider using a sugar alternative in the crust.
- Quick version: Use store-bought caramel sauce with added sea salt to save approximately 15 minutes of preparation time.
FAQs
Can I make these bars ahead of time?
Absolutely! These Salted Caramel Apple Pie Bars actually taste even better the day after baking as the flavors have time to meld. You can make them up to 2 days in advance and store in the refrigerator. I recommend adding the caramel drizzle just before serving for the best presentation.
How do I know when my caramel is the right color?
You’re looking for an amber color similar to copper pennies or maple syrup. If it’s too light, it will lack flavor; too dark and it will taste bitter. Once all the sugar has melted and the color resembles a copper penny, proceed immediately to the next step.
Can I double this recipe for a larger crowd?
Yes! Double all ingredients and use a 9×13 inch baking pan. The baking time might increase by 5-10 minutes, so keep an eye on the bars and look for golden-brown streusel and bubbling edges as indicators of doneness.
My caramel crystallized—what went wrong?
Crystallization usually happens when sugar crystals form on the sides of the pan. To prevent this, avoid stirring too vigorously, use a wet pastry brush to wash down any sugar on the sides of the pan, and make sure your pan is completely clean before starting.
How do I store leftover caramel sauce?
Store extra salted caramel sauce in an airtight container in the refrigerator for up to 2 weeks. Warm it gently in the microwave or on the stovetop before using. It’s delicious drizzled over ice cream or stirred into coffee!
Final Thoughts
These Salted Caramel Apple Pie Bars beautifully capture the essence of fall baking while offering something more approachable than a traditional pie. There’s something magical about the combination of buttery shortbread, tender spiced apples, and that irresistible salted caramel that makes these bars a standout dessert for any occasion. Don’t be surprised if they become your new signature dessert—they certainly have in my kitchen!


