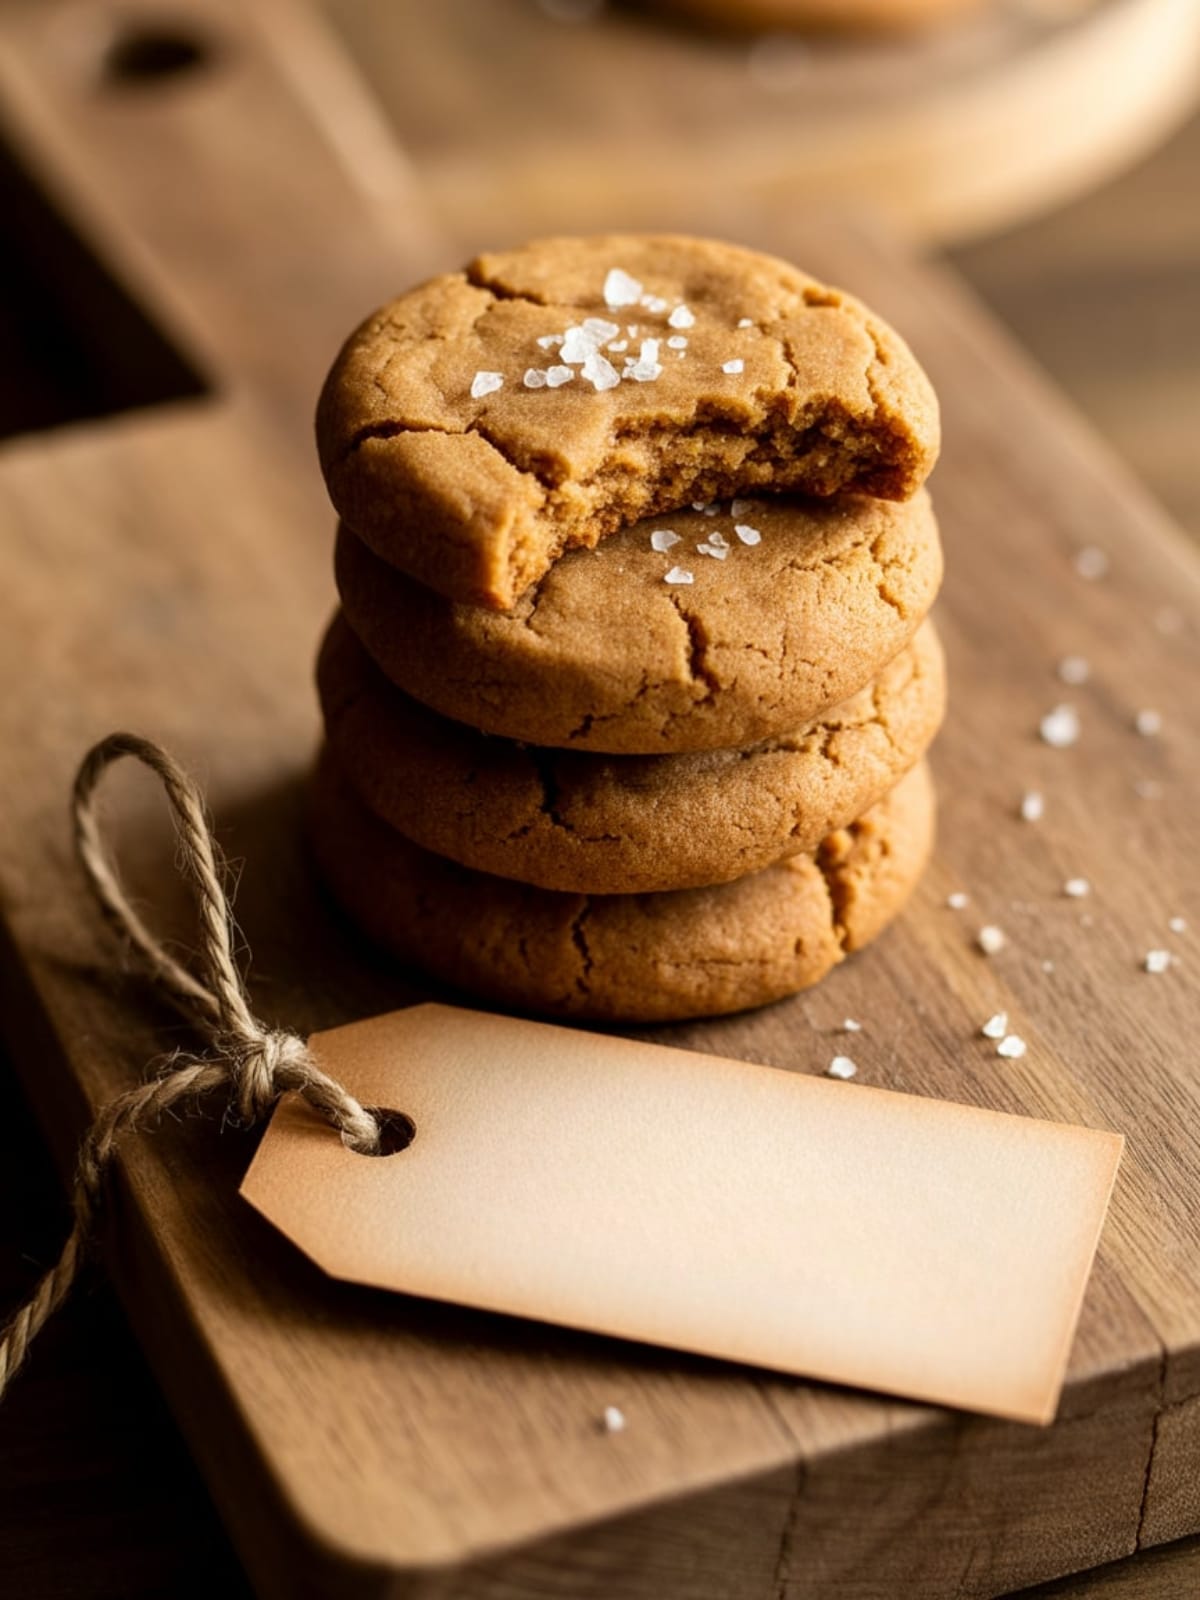
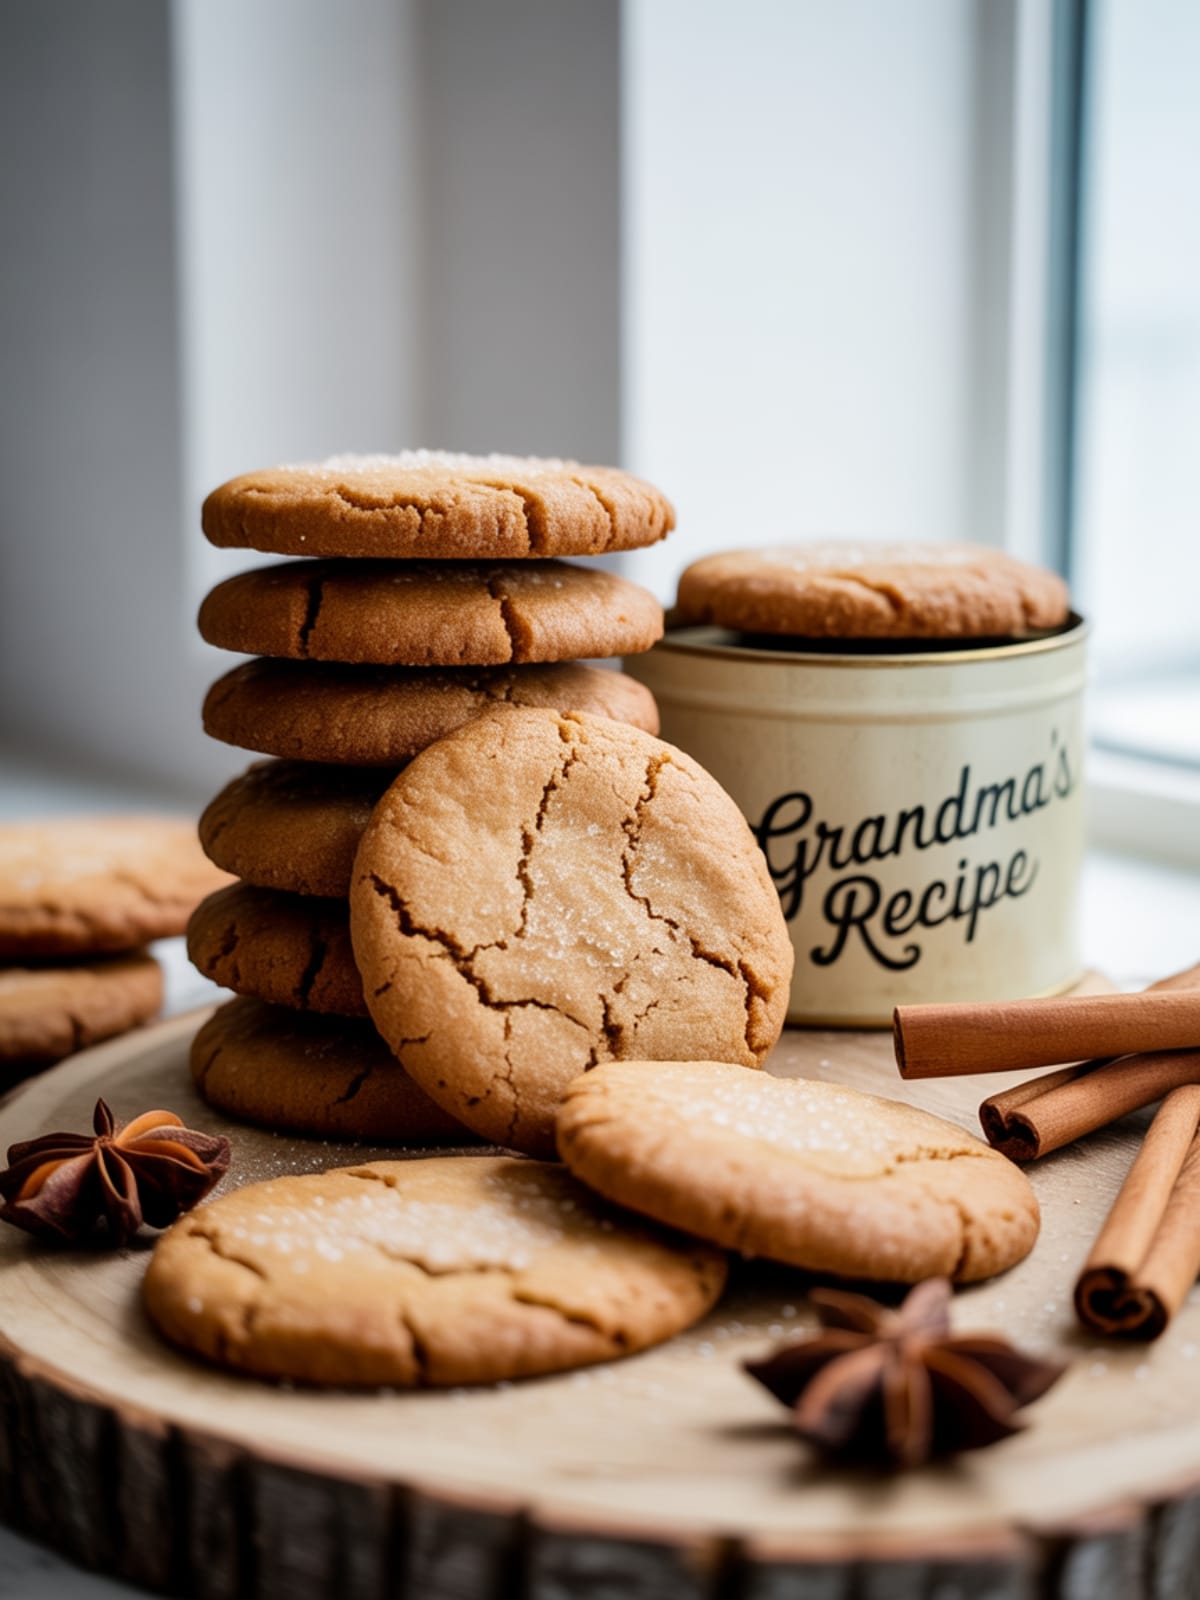
There’s something magical about walking into a kitchen filled with the warm, spicy aroma of ginger and molasses. These Soft Ginger Molasses Cookies aren’t just treats—they’re little circles of comfort that bring back memories of holiday gatherings and cozy winter afternoons. With their crackly tops and perfectly chewy centers, these cookies strike that elusive balance between nostalgic tradition and irresistible flavor that makes you reach for “just one more” every single time.
Why This Recipe is Awesome
What makes these Soft Ginger Molasses Cookies stand out in a sea of holiday baking options?
First, they’re foolproof—even novice bakers can achieve that perfect texture of slightly crisp edges with soft, chewy centers. Unlike many ginger cookies that end up hard or crunchy, these maintain their softness for days (if they last that long!). The blend of warming spices—ginger, cinnamon, and cloves—creates a complex flavor profile that’s both comforting and sophisticated.
And unlike some traditional recipes that can be overpowering, this version balances the robust molasses with just the right amount of sweetness, making them appealing to everyone from spice enthusiasts to picky eaters. Plus, they fill your home with a scent that no candle can replicate—pure holiday magic in cookie form.
Equipment Needed: Mixing bowls, measuring cups and spoons, baking sheets, parchment paper, wire cooling rack

Soft Ginger Molasses Cookies
Ingredients
- 2¼ cups all-purpose flour
- 2 teaspoons ground ginger
- 1 teaspoon baking soda
- ¾ teaspoon ground cinnamon
- ½ teaspoon ground cloves
- ¼ teaspoon salt
- ¾ cup unsalted butter softened (room temperature is key for proper creaming)
- 1 cup granulated sugar plus extra for rolling
- 1 large egg at room temperature
- ¼ cup molasses unsulphured molasses recommended for best flavor
- 1 teaspoon vanilla extract
Instructions
- Prepare your oven and ingredients. Preheat your oven to 350°F (175°C) and line two baking sheets with parchment paper. Make sure your butter and egg are at room temperature for the best results.
- Mix the dry ingredients thoroughly. In a medium bowl, whisk together the flour, ginger, baking soda, cinnamon, cloves, and salt until well combined. This ensures the spices will be evenly distributed throughout your cookies.
- Cream the butter and sugar. In a large bowl, beat the softened butter and 1 cup of sugar with an electric mixer until light and fluffy, about 2-3 minutes. Don’t rush this step—proper creaming creates the perfect cookie texture.
- Add the wet ingredients. Beat in the egg until fully incorporated, then add the molasses and vanilla extract. The mixture might look slightly curdled, but that’s completely normal.
- Combine wet and dry mixtures gradually. Add the flour mixture to the wet ingredients in three batches, mixing on low speed just until combined after each addition. Avoid overmixing, which can make your cookies tough.
- Chill the dough if needed. If the dough feels too sticky to handle, refrigerate it for 30 minutes. A slightly chilled dough is easier to work with and helps prevent excessive spreading.
- Shape and coat the cookies. Place about ¼ cup of granulated sugar in a small bowl. Roll the dough into 1½-inch balls, then roll each ball in the sugar until completely coated.
- Arrange and bake properly. Place the coated dough balls on the prepared baking sheets, spacing them about 2 inches apart. Bake for 8-10 minutes, until the edges are set but the centers still look soft and slightly underdone.
- Allow for proper cooling. Let the cookies cool on the baking sheets for 5 minutes (they’ll continue cooking slightly from residual heat), then transfer to a wire rack to cool completely.
Notes
- For extra flavor dimension, try adding ¼ teaspoon of freshly ground black pepper to the dry ingredients.
- The cookies will appear puffy when first removed from the oven but will settle and create those characteristic crackles as they cool.
- Store in an airtight container with a slice of bread to maintain softness for up to 5 days.
- The dough can be frozen for up to 3 months—roll into balls, freeze on a baking sheet, then transfer to a freezer bag. Bake directly from frozen, adding 1-2 minutes to the baking time.
- For a more pronounced molasses flavor, use dark molasses instead of light (but avoid blackstrap, which can be too bitter).
Calories & Nutritional Info
- Calories: Approximately 165 calories per cookie
- Carbohydrates: 24g
- Fat: 7g
- Protein: 1.5g
- Contains: Gluten, dairy, eggs
- Not suitable for vegan or gluten-free diets without modifications
Common Mistakes to Avoid
- Using cold ingredients: Room temperature butter and eggs are crucial for proper incorporation and texture.
- Overmixing the dough: This develops gluten and results in tough cookies instead of tender ones.
- Overbaking: These cookies should be removed from the oven while still soft in the center—they’ll firm up as they cool.
- Using expired spices: Ground spices lose potency over time; for the best flavor, replace your ground ginger and cinnamon if they’re over 6 months old.
- Skipping the sugar coating: This creates the beautiful crackled exterior and adds a delightful textural contrast.
Alternatives & Substitutions
- Gluten-free option: Substitute the all-purpose flour with a 1:1 gluten-free baking blend. The texture may be slightly different, but still delicious.
- Dairy-free version: Replace butter with the same amount of coconut oil or a plant-based butter substitute.
- Vegan adaptation: Use a flax egg (1 tablespoon ground flaxseed mixed with 3 tablespoons water) in place of the chicken egg.
- Less sugar option: Reduce sugar to ¾ cup and roll in coconut sugar instead of granulated sugar for a lower glycemic impact.
- Spice variations: Add ½ teaspoon cardamom or nutmeg for an interesting flavor twist, or increase the ginger to 1 tablespoon for spice enthusiasts.
FAQs
Why did my cookies spread too much?
Your butter might have been too warm, or your oven temperature might be off. Try chilling the dough for 30 minutes before baking, and check your oven with a thermometer to ensure accuracy.
Can I make these cookies ahead of time?
Absolutely! The dough freezes beautifully for up to 3 months. You can also bake and freeze the finished cookies for up to 1 month. Thaw at room temperature before serving.
Why aren’t my cookies developing cracks on top?
The characteristic cracks come from the sugar coating and proper oven temperature. Make sure you’ve generously coated the dough balls in sugar and that your oven is fully preheated to 350°F.
What kind of molasses should I use?
Unsulphured molasses gives the best flavor. Light molasses provides a milder taste, while dark molasses offers a more robust flavor. Avoid blackstrap molasses for this recipe as it can be too bitter.
Can I make these less spicy for kids?
Yes, simply reduce the ginger to 1 teaspoon and the cloves to ¼ teaspoon for a milder version that’s still flavorful but less intense.
Final Thoughts
These Soft Ginger Molasses Cookies are more than just a sweet treat—they’re a gateway to creating warm holiday memories. There’s something deeply satisfying about mastering a cookie that balances spice, sweetness, and that perfect chewy texture. Whether you’re an experienced baker or just starting out, these cookies deliver the kind of simple joy that makes home baking so rewarding. Go ahead, bake a batch and watch them disappear!


