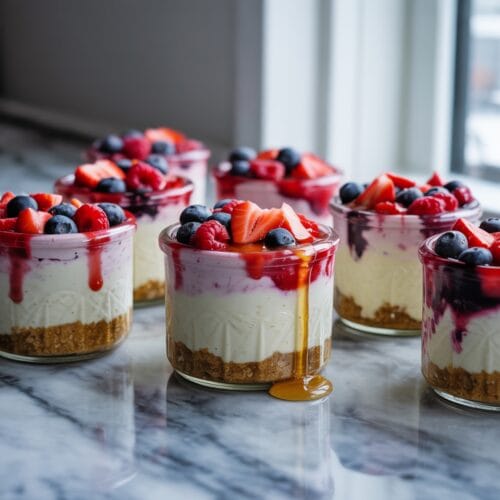
High Protein Cheesecake Jars
These no-bake High Protein Cheesecake Jars feature a crunchy graham cracker and nut base topped with a lusciously smooth cream cheese and Greek yogurt filling, naturally sweetened and boosted with quality protein powder for a guilt-free indulgence.
Ingredients
For the Base
- 1 cup graham crackers or digestive biscuits crushed (can substitute almond flour for lower carb option)
- ¼ cup chopped nuts walnuts or almonds work great
- 2 tablespoons melted coconut oil or butter
- 1 tablespoon honey or maple syrup
- Pinch of salt
For the Cheesecake Filling
- 1 cup low-fat cream cheese softened (use dairy-free alternative if needed)
- 1 cup Greek yogurt 0% or 2% works best for protein content
- 2 scoops approximately 60g vanilla protein powder (whey isolate or plant-based)
- 3 tablespoons honey or maple syrup adjust to taste
- 1 tablespoon lemon juice
- 1 teaspoon vanilla extract
- Optional: fresh berries dark chocolate chips, or nut butter swirl for topping
Instructions
- Prepare the base mixture by combining crushed graham crackers, chopped nuts, melted coconut oil, honey, and salt in a bowl. Mix thoroughly until the consistency resembles wet sand that holds together when pressed.
- Divide the base mixture evenly among four 8-oz mason jars or glasses, pressing firmly to create a compact layer at the bottom. Use the back of a spoon to ensure it’s firmly packed.
- Make the cheesecake filling by adding softened cream cheese, Greek yogurt, protein powder, sweetener, lemon juice, and vanilla to a blender or food processor. Blend on medium speed for 1-2 minutes until completely smooth, stopping to scrape down the sides as needed.
- Test the sweetness and texture of your filling and adjust if necessary. If it’s too thick, add a tablespoon of milk; if not sweet enough, add a touch more honey.
- Transfer the filling into a piping bag or use a spoon to layer it carefully over the crust in each jar, leaving about half an inch of space at the top for optional toppings.
- Add your favorite toppings such as fresh berries, a sprinkle of dark chocolate chips, or a drizzle of nut butter for extra flavor and visual appeal.
- Cover and refrigerate the jars for at least 2 hours, or preferably overnight, to allow the cheesecake to set properly and flavors to meld together.
Notes
- These cheesecake jars will keep in the refrigerator for up to 5 days, making them perfect for meal prep.
- For the best texture, remove from the refrigerator about 10 minutes before eating.
- The protein content may vary depending on your specific protein powder – check the label to calculate exact nutritional information.
- Avoid overmixing the filling as this can incorporate too much air and affect the texture.
- For an even quicker version, use pre-made granola as your base instead of the graham cracker mixture.