
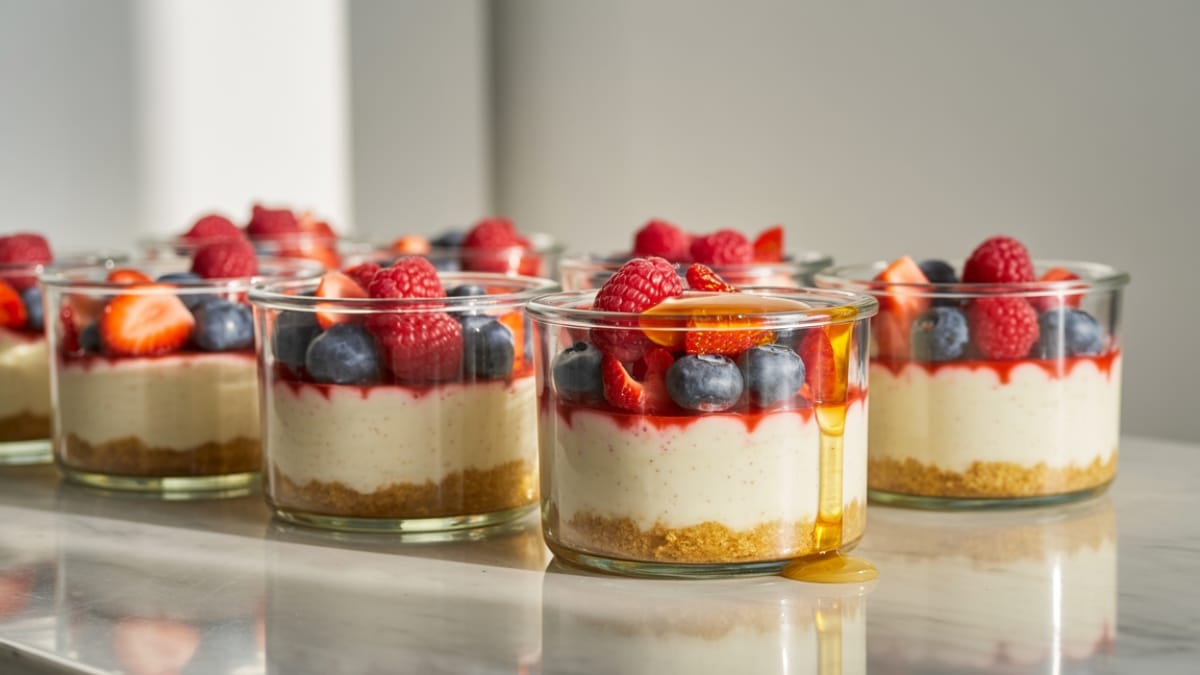
Ever craved cheesecake but didn’t want the guilt that comes with it? That’s where these High Protein Cheesecake Jars come in to save the day! These perfectly portioned, protein-packed treats deliver all the creamy indulgence of traditional cheesecake but with a nutritional profile that actually supports your fitness goals.
No need to choose between satisfying your sweet tooth and sticking to your protein intake – these jars brilliantly solve that eternal dilemma with a dessert that’s as nourishing as it is delicious.
Why This Recipe is Awesome
What makes these High Protein Cheesecake Jars truly special is their remarkable balance of decadence and nutrition. Unlike store-bought protein desserts that often taste artificial, these jars boast an authentic cheesecake flavor and silky texture that will genuinely satisfy your dessert cravings. The individual jar format isn’t just Instagram-worthy – it’s brilliant for portion control and meal prep.
Make them on Sunday, and you’ll have a week’s worth of post-workout treats or midnight snacks that won’t derail your nutrition plan. Perhaps most impressive is how versatile these cheesecakes are. They’re naturally gluten-free, can be made dairy-free with simple swaps, and provide around 15-20g of protein per serving – that’s comparable to a protein shake but infinitely more enjoyable!
Equipment needed: Blender or food processor, mixing bowl, mason jars or glasses, measuring cups
High Protein Cheesecake Jars
Ingredients
For the Base
- 1 cup graham crackers or digestive biscuits crushed (can substitute almond flour for lower carb option)
- ¼ cup chopped nuts walnuts or almonds work great
- 2 tablespoons melted coconut oil or butter
- 1 tablespoon honey or maple syrup
- Pinch of salt
For the Cheesecake Filling
- 1 cup low-fat cream cheese softened (use dairy-free alternative if needed)
- 1 cup Greek yogurt 0% or 2% works best for protein content
- 2 scoops approximately 60g vanilla protein powder (whey isolate or plant-based)
- 3 tablespoons honey or maple syrup adjust to taste
- 1 tablespoon lemon juice
- 1 teaspoon vanilla extract
- Optional: fresh berries dark chocolate chips, or nut butter swirl for topping
Instructions
- Prepare the base mixture by combining crushed graham crackers, chopped nuts, melted coconut oil, honey, and salt in a bowl. Mix thoroughly until the consistency resembles wet sand that holds together when pressed.
- Divide the base mixture evenly among four 8-oz mason jars or glasses, pressing firmly to create a compact layer at the bottom. Use the back of a spoon to ensure it’s firmly packed.
- Make the cheesecake filling by adding softened cream cheese, Greek yogurt, protein powder, sweetener, lemon juice, and vanilla to a blender or food processor. Blend on medium speed for 1-2 minutes until completely smooth, stopping to scrape down the sides as needed.
- Test the sweetness and texture of your filling and adjust if necessary. If it’s too thick, add a tablespoon of milk; if not sweet enough, add a touch more honey.
- Transfer the filling into a piping bag or use a spoon to layer it carefully over the crust in each jar, leaving about half an inch of space at the top for optional toppings.
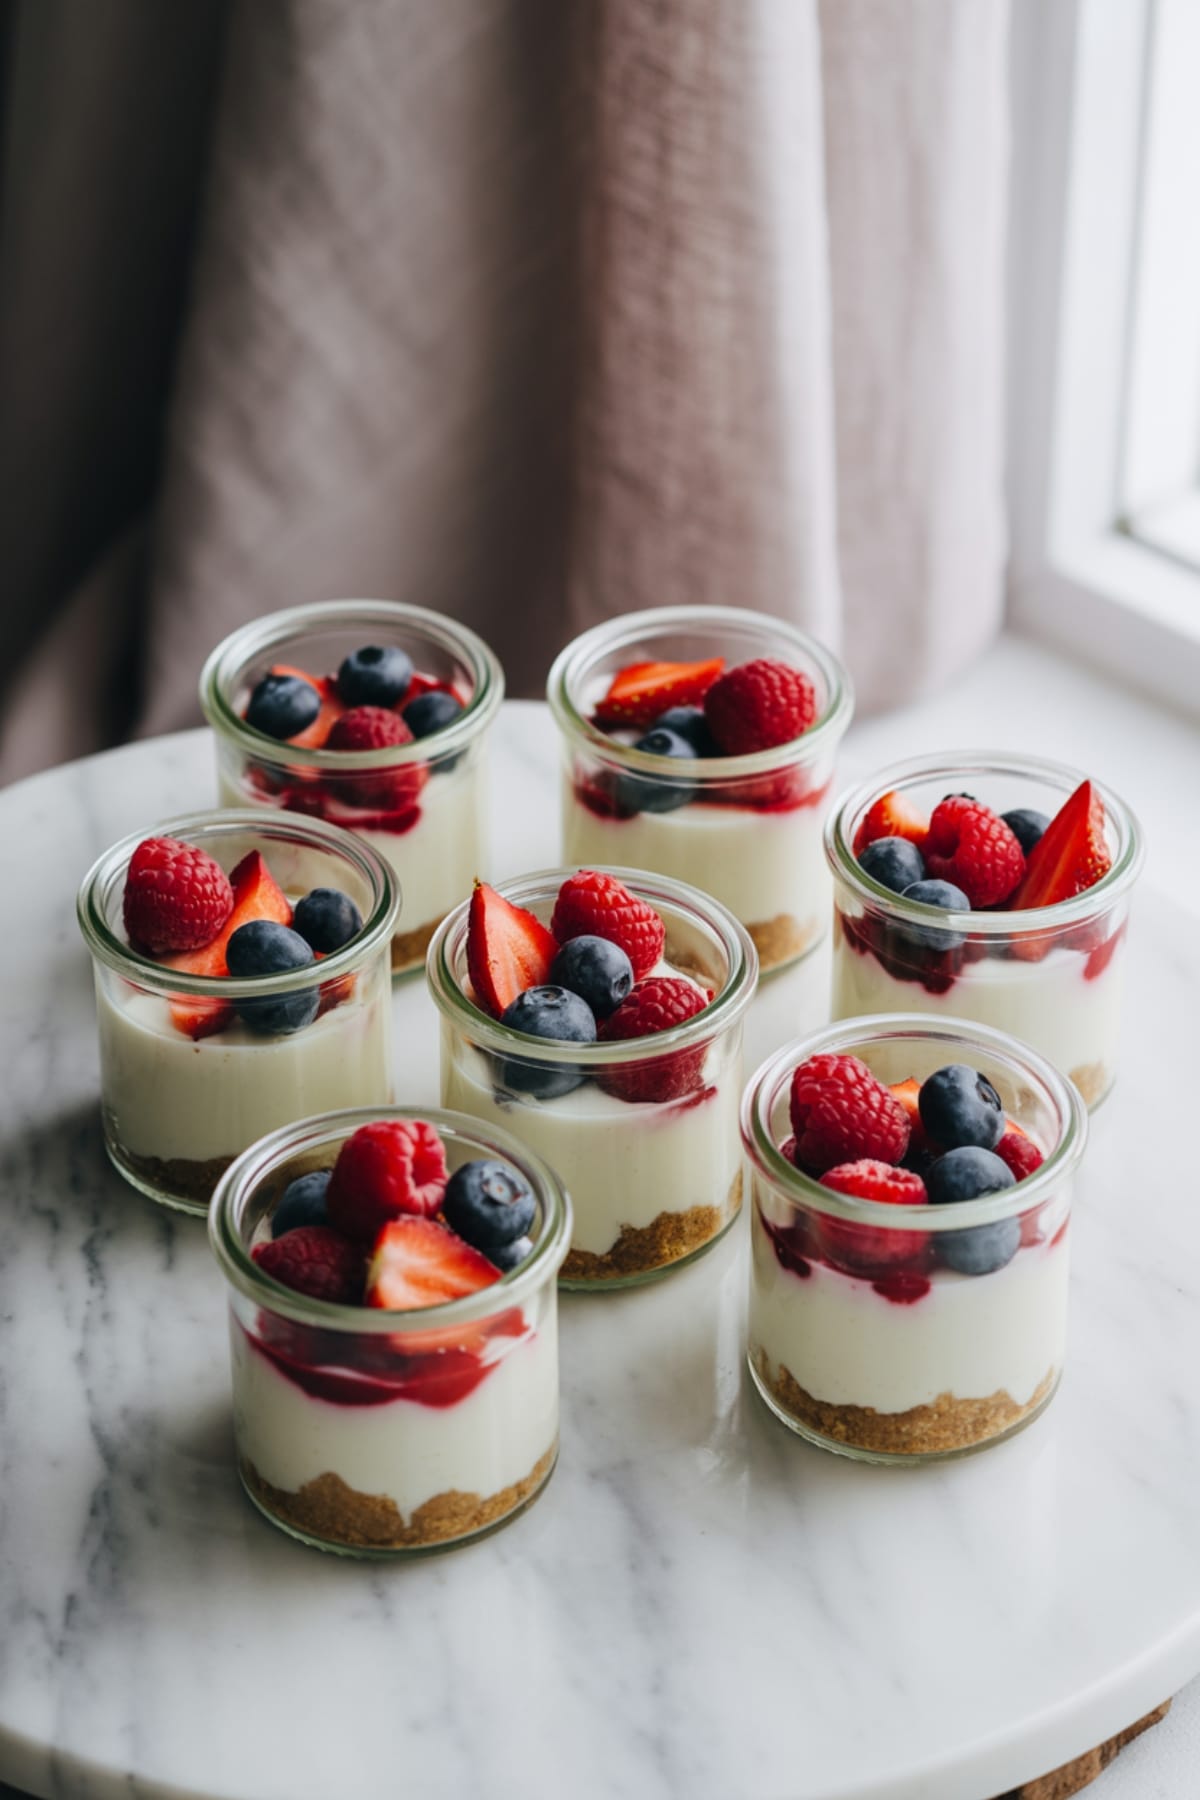
- Add your favorite toppings such as fresh berries, a sprinkle of dark chocolate chips, or a drizzle of nut butter for extra flavor and visual appeal.
- Cover and refrigerate the jars for at least 2 hours, or preferably overnight, to allow the cheesecake to set properly and flavors to meld together.
Notes
- These cheesecake jars will keep in the refrigerator for up to 5 days, making them perfect for meal prep.
- For the best texture, remove from the refrigerator about 10 minutes before eating.
- The protein content may vary depending on your specific protein powder – check the label to calculate exact nutritional information.
- Avoid overmixing the filling as this can incorporate too much air and affect the texture.
- For an even quicker version, use pre-made granola as your base instead of the graham cracker mixture.
Calories & Nutritional Info
- Calories: Approximately 320-350 calories per jar
- Protein: 15-20g per jar (varies by protein powder used)
- Carbohydrates: 25-30g (can be reduced with almond flour base)
- Fat: 15-18g (healthy fats from nuts and dairy)
- Dietary notes: Can be made gluten-free with appropriate cracker choice, dairy-free with plant-based alternatives
Common Mistakes to Avoid
- Using cold cream cheese – Always allow cream cheese to reach room temperature before mixing to avoid lumps in your filling.
- Adding protein powder directly to cold ingredients – This can cause clumping. Instead, blend with a small amount of the filling first, then incorporate.
- Overmixing the filling – This can make the texture too airy instead of rich and dense. Mix just until smooth and combined.
- Not allowing enough setting time – Rushing the refrigeration process will result in a softer, less cheesecake-like texture.
- Using flavored protein powders with strong artificial tastes – Opt for high-quality, naturally flavored protein powders for the best flavor outcome.
Alternatives & Substitutions
- Base options: Substitute crushed graham crackers with almond flour and a bit more coconut oil for a keto-friendly version, or use crushed protein cookies for even more protein.
- Cream cheese alternatives: Dairy-free cream cheese works well, as does firm silken tofu blended with a bit of lemon juice for a completely different approach.
- Greek yogurt swaps: Try coconut yogurt, cashew yogurt, or more dairy-free cream cheese if avoiding dairy products.
- Protein powder options: Any protein powder works, but vanilla, cheesecake, or unflavored varieties yield the most authentic results. Collagen peptides can also work for a paleo option.
- Sweetener flexibility: Swap honey/maple syrup with monk fruit sweetener, stevia, or erythritol for sugar-free versions.
FAQs
Can I make these cheesecake jars without protein powder?
Absolutely! Simply omit the protein powder and add 2 tablespoons of cornstarch or arrowroot powder to help with setting. You may need to adjust the sweetener slightly as protein powders often contain sweeteners.
How can I make these jars more keto-friendly?
Use almond flour and chopped nuts for the base, swap the honey for a keto-friendly sweetener like monk fruit or erythritol, and ensure you’re using full-fat cream cheese and Greek yogurt for the right macros.
Can I freeze these high protein cheesecake jars?
Yes! They freeze beautifully for up to 3 months. Just thaw in the refrigerator overnight before enjoying. The texture might be slightly different but still delicious.
Why is my cheesecake filling lumpy?
This usually happens if your cream cheese was too cold or if the protein powder wasn’t incorporated properly. Next time, ensure all ingredients are at room temperature and blend thoroughly.
Can I make one large cheesecake instead of individual jars?
Definitely! Use an 8-inch springform pan lined with parchment paper and follow the same steps. You’ll need to increase the refrigeration time to at least 4 hours, preferably overnight.
Final Thoughts
These High Protein Cheesecake Jars beautifully bridge the gap between healthy eating and satisfying treats. They’re proof that nutritious food can be genuinely crave-worthy and indulgent. Whether you’re tracking macros, looking for post-workout fuel, or simply want a better-for-you dessert option, these jars deliver on all fronts. Go ahead and make them your own with different flavor combinations – your taste buds and muscles will thank you!


