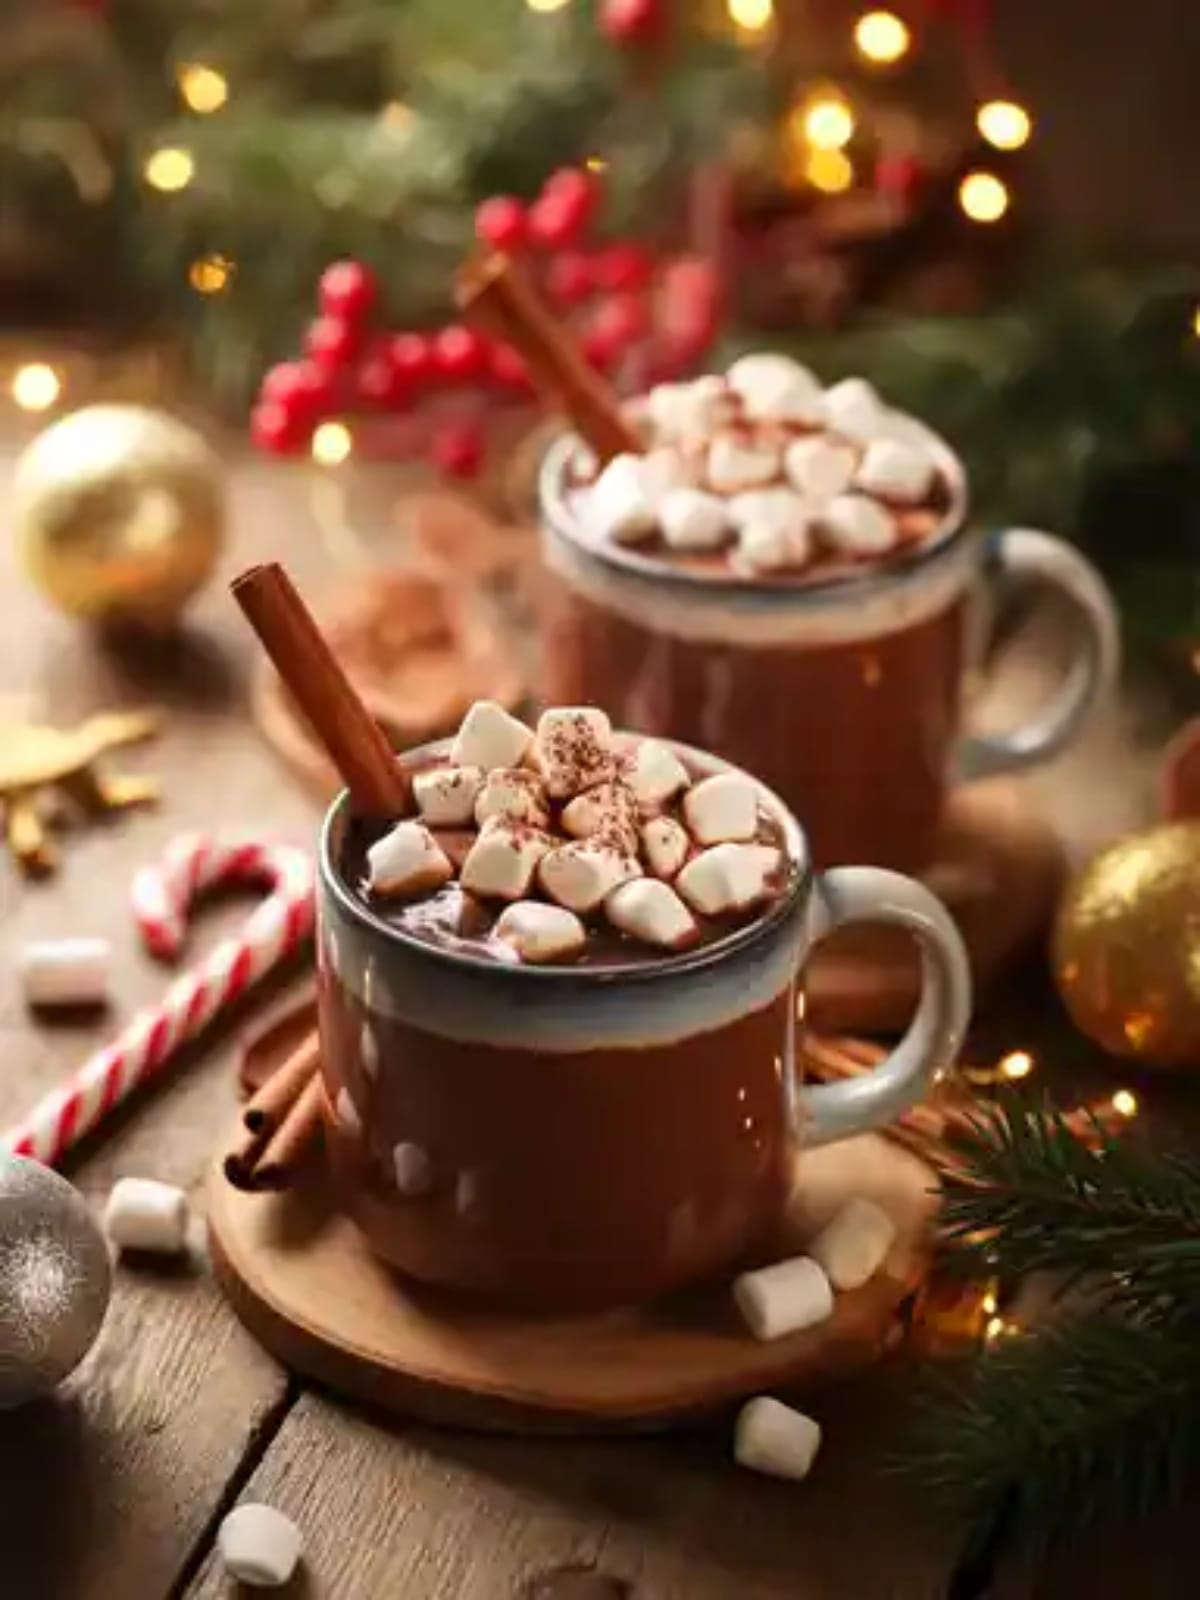
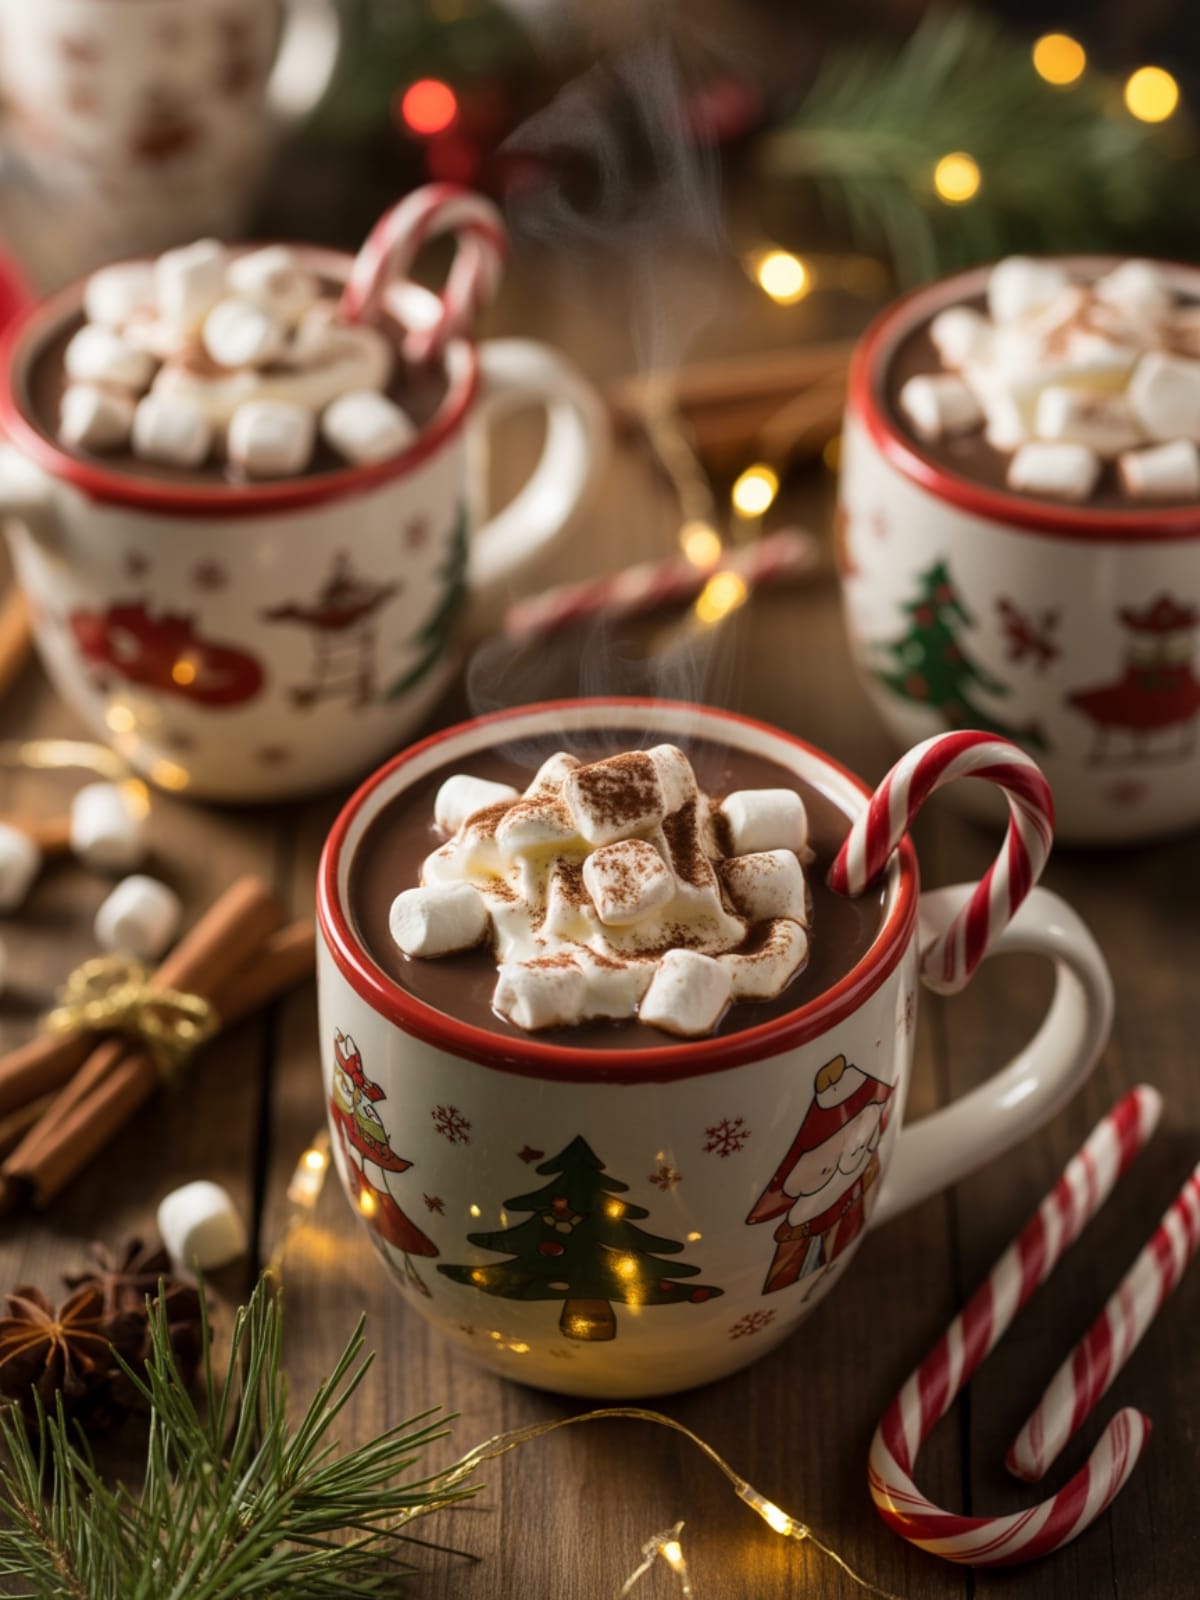
There’s something magical about sipping on a warm, chocolatey treat when the air gets crisp and holiday decorations start appearing. Christmas Chocolate Hot Cups take that cozy feeling to a whole new level! These aren’t just regular hot chocolate drinks—they’re edible chocolate cups filled with rich, velvety hot chocolate, topped with festive garnishes that make them perfect for holiday gatherings or quiet Christmas Eve moments.
Why This Recipe is Awesome
What makes Christmas Chocolate Hot Cups so special is the delightful surprise element they bring to your holiday table. Imagine your guests’ faces when they realize not only is the drink delicious, but the cup itself is an edible chocolate treat!
They’re impressive enough for holiday entertaining but simple enough that you can make them with children as a festive activity. These cups combine rich chocolate flavor with holiday cheer in a way that store-bought hot chocolate simply can’t match. The contrast between the warm drink and the slowly-melting chocolate cup creates a dessert experience that evolves with each sip.
Plus, they’re completely customizable with your favorite holiday flavors—peppermint, cinnamon, orange, or classic vanilla—making them a versatile addition to your Christmas recipe collection.
Equipment needed: Double boiler or microwave-safe bowl, silicone molds or sturdy paper cups, pastry brush, baking sheet, small saucepan
Christmas Chocolate Hot Cups
Ingredients
For the chocolate cups
- 12 ounces high-quality dark or semi-sweet chocolate chopped
- 2 tablespoons coconut oil helps create smoother, more stable cups
- 6 balloon-shaped paper cups or silicone molds
For the hot chocolate
- 2 cups whole milk
- 1 cup heavy cream
- 8 ounces high-quality chocolate milk, dark, or a combination
- 3 tablespoons granulated sugar
- 1 teaspoon vanilla extract
- ¼ teaspoon salt
- Optional: 2 tablespoons liqueur peppermint schnapps, Baileys, or Kahlúa
For the garnish
- Whipped cream
- Crushed candy canes
- Holiday sprinkles
- Mini marshmallows
- Chocolate shavings
- Cinnamon sticks for stirring
Instructions
- Prepare your molds. If using paper cups, trim them down to about 2-3 inches in height. If using silicone molds, ensure they’re clean and completely dry.
- Create a double boiler by placing a heatproof bowl over a pot with 1-2 inches of simmering water (not boiling). Make sure the water doesn’t touch the bottom of the bowl.
- Melt the chocolate and coconut oil in the double boiler, stirring frequently until completely smooth. Alternatively, microwave in 30-second intervals, stirring between each until melted.
- Let the melted chocolate cool slightly for 2-3 minutes. The chocolate should still be fluid but not hot enough to melt through paper cups.
- Coat the inside of each mold by spooning about 2 tablespoons of melted chocolate into each cup and swirling it around to coat the sides. Use a clean pastry brush to ensure even coverage up to about ¼ inch from the top.
- Place the coated cups on a baking sheet and refrigerate for 20 minutes until the first layer is set.
- Apply a second coat of chocolate to reinforce the cups. This ensures they’ll be strong enough to hold hot liquid. Return to the refrigerator for another 30 minutes.
- Carefully peel away the paper cups from the hardened chocolate, or if using silicone molds, gently pull the edges and pop out the chocolate cups. Work slowly to avoid breaking them.
- Store the finished cups in the refrigerator until ready to use, placing them on a flat surface lined with parchment paper.
- Prepare the hot chocolate by combining milk and cream in a medium saucepan over medium heat. Heat until it begins to steam but doesn’t boil.
- Add chopped chocolate, sugar, vanilla, and salt to the hot milk mixture, whisking continuously until the chocolate is melted and the mixture is smooth.
- Remove from heat and stir in liqueur if using. Keep warm until ready to serve.
- Set up a serving station with the chocolate cups, hot chocolate in a pouring vessel, and all garnishes in separate bowls.
- To serve, carefully pour the hot chocolate into each chocolate cup, leaving about ½ inch of space at the top for garnishes.
- Top with whipped cream and festive garnishes of your choice, such as crushed candy canes, sprinkles, or marshmallows.
- Serve immediately on saucers with spoons, instructing guests to enjoy the drink and eat the cup as it softens.
Notes
- The chocolate cups can be made up to 3 days in advance and stored in the refrigerator in an airtight container.
- If the cups start to melt in your hands while working with them, return them to the refrigerator for a few minutes.
- For a more stable cup that will last longer with hot liquid, use tempered chocolate instead of just melted chocolate.
- To make adult and kid-friendly versions, prepare the base hot chocolate without liqueur, then add the alcohol to individual servings for adults.
- When pouring the hot chocolate, it should be warm but not scalding hot, which could melt the cups too quickly.
Calories & Nutritional Info
- Calories per serving: Approximately 520 calories per serving (chocolate cup with hot chocolate, without garnishes)
- High in calcium from milk and cream
- Contains significant fat content from chocolate and dairy
- Allergens: Contains dairy; may contain traces of nuts depending on chocolate used
- Not suitable for vegan or dairy-free diets without substitutions
Common Mistakes to Avoid
- Rushing the chilling process: Give your chocolate cups ample time to set between layers, or they may collapse when filled.
- Using chocolate chips instead of baking chocolate: Chocolate chips contain stabilizers that can make melting inconsistent.
- Overheating the chocolate: This causes it to seize or become grainy. Melt gently and slowly.
- Making the walls too thin: Apply at least two coats of chocolate to ensure the cups can hold hot liquid without leaking.
- Pouring boiling hot chocolate: Let it cool slightly before filling the cups, or they’ll melt immediately.
Alternatives & Substitutions
- Dairy-free option: Use coconut milk and coconut cream instead of dairy, paired with dairy-free chocolate.
- Lower-calorie version: Use 2% milk instead of whole milk and replace heavy cream with half-and-half.
- Flavor variations:
- Add 1/2 teaspoon peppermint extract to the hot chocolate for a minty twist
- Mix in 1/2 teaspoon cinnamon and a pinch of cayenne for Mexican hot chocolate cups
- Incorporate 1 tablespoon orange zest for chocolate-orange flavor
- White chocolate cups: Use white chocolate instead of dark for the cups and garnish with colorful sprinkles for a snow-like effect.
- Marbled cups: Mix white and dark chocolate for a beautiful marbled effect before molding.
FAQs
How long will the chocolate cups hold the hot liquid before melting?
The cups should hold hot chocolate for about 15-20 minutes before beginning to soften significantly. Thicker cups will last longer, and slightly cooled hot chocolate will extend their lifespan.
Can I make these without special molds?
Absolutely! Regular paper cups or even sturdy cupcake liners work well. Just be gentle when peeling them away from the set chocolate.
How do you eat these without making a mess?
Place the cup on a saucer and provide a spoon. Sip the hot chocolate slowly, and as the rim begins to soften, nibble at it. Eventually, you can break pieces off and dip them into the remaining hot chocolate.
Can I make a non-alcoholic version that still feels special?
Yes! Replace liqueur with 1/2 teaspoon of peppermint extract, a splash of orange juice with zest, or 1/4 teaspoon of almond extract for equally festive flavors.
Why did my chocolate cups crack when I removed them from the molds?
This usually happens when the chocolate is too cold. Let them sit at room temperature for 2-3 minutes before attempting removal, and be very gentle around the edges.
Are these suitable for gifting?
Yes! Package the empty chocolate cups carefully in a decorative box with layers of tissue paper, and include a packet of homemade hot chocolate mix with instructions.
Final Thoughts
Christmas Chocolate Hot Cups bring a touch of wonder to holiday entertaining. They transform a simple hot chocolate moment into a memorable experience that delights all ages. Whether shared at a festive gathering or enjoyed during a quiet evening by the Christmas tree, these edible cups create the kind of sweet memories that make the holiday season truly special. So embrace the little bit of mess and enjoy every melting moment!