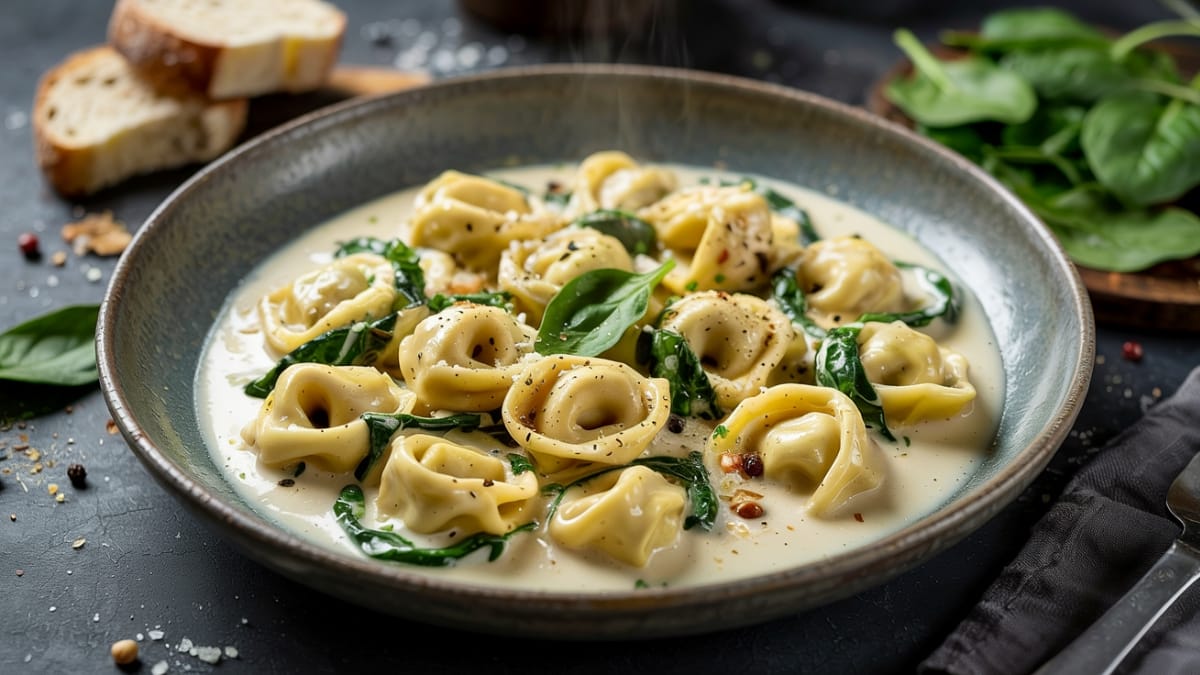
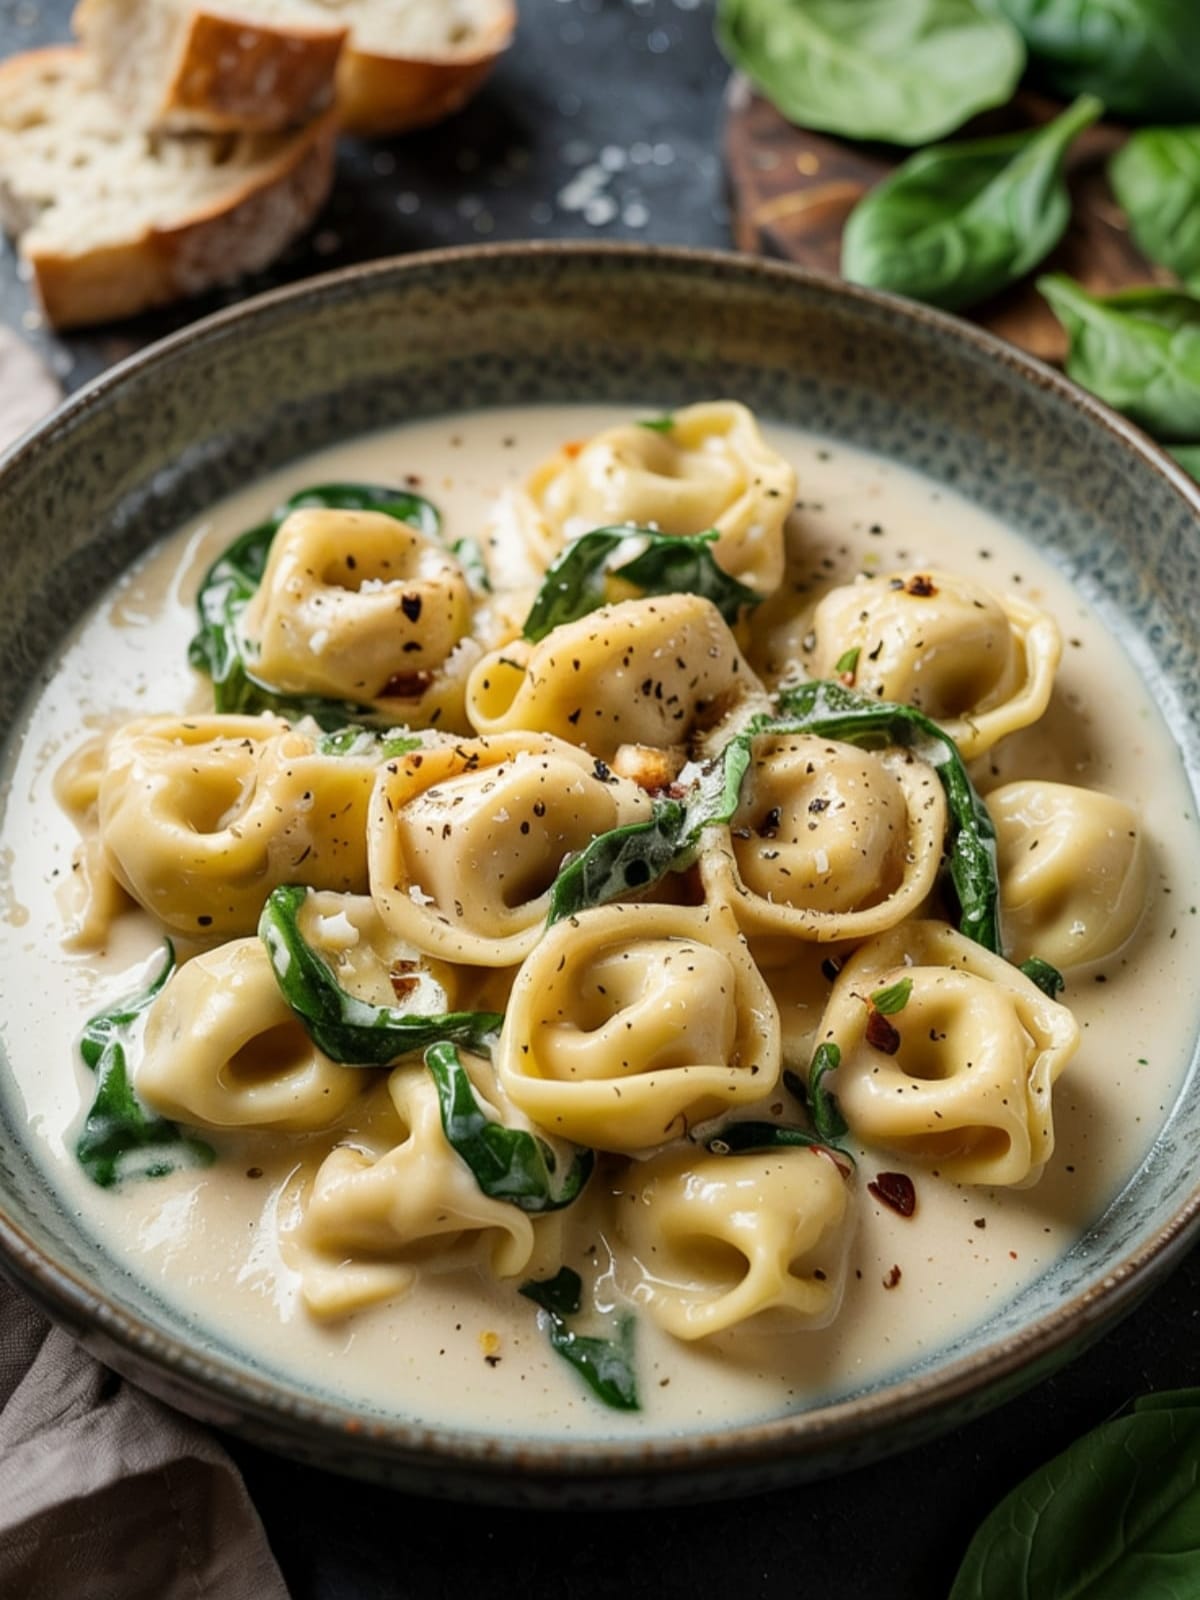
Let’s be real for a second. It’s Wednesday night, you’ve had A Day™, and the thought of cooking a complex dinner makes you want to fake your own disappearance. We’ve all been there. But before you reach for that delivery app, let me introduce you to the dinner that’s about to save your weeknight: One-Pot Creamy Tortellini & Greens.
This dish is the culinary equivalent of finding money in your coat pocket – an unexpected win that makes you feel like you’ve got your life together even when you absolutely do not. It takes advantage of store-bought tortellini (no shame in the shortcut game) and transforms it into something that tastes like you spent hours in the kitchen, when really you just spent 15 minutes half-paying attention while also scrolling through TikTok.
Why This One-Pot Creamy Tortellini & Greens Will Make You Look Like a Kitchen Wizard

First of all, ONE POT. Let me say that again for the people in the back: ONE. POT. That means minimal dishes, which automatically makes any recipe 87% better. Science doesn’t lie.
Second, this creamy dream of a pasta dish hits all the right notes: it’s comforting but not heavy, creamy but still has vegetables (hello, adult points), and it has that magical quality of tasting even better as leftovers. Plus, it’s endlessly customizable based on whatever tortellini flavor caught your eye at the store and whatever greens are wilting in your fridge.
The silky sauce hugs every little pasta pocket like they’re long-lost friends, and the greens add just enough “I’m being healthy” energy to justify seconds. Or thirds. I don’t judge.

One-Pot Creamy Tortellini & Greens
Equipment
- One large pot or deep skillet with lid
- Wooden spoon or silicone spatula
- Measuring cups and spoons
- Knife for minimal chopping
- Cheese grater (if using block cheese)
Ingredients
- 18-20 oz refrigerated cheese tortellini any flavor works – classic cheese, spinach, or even mushroom
- 4 cups low-sodium chicken or vegetable broth
- 1 cup heavy cream or half-and-half
- 3 cloves garlic minced
- 1 tablespoon butter
- 1 tablespoon olive oil
- 1 tablespoon all-purpose flour
- 4 cups fresh greens spinach, kale, arugula, or a mix
- 1/2 cup grated Parmesan cheese plus more for serving
- 1/4 teaspoon red pepper flakes optional, but adds nice heat
- 1 teaspoon lemon zest secret weapon for freshness!
- 1 tablespoon fresh lemon juice
- 2 tablespoons fresh herbs basil, parsley, or chives all work, chopped
- Salt and freshly ground black pepper to taste
Instructions
- Start your sauce base. In your large pot or deep skillet, heat olive oil and butter over medium heat until butter melts. Add minced garlic and red pepper flakes (if using) and cook for 30-60 seconds until fragrant but not burned. If you burn the garlic, there's no coming back – just start over. I've been there, no judgment.
- Make it creamy. Sprinkle the flour over the garlic and stir constantly for about 1 minute to cook out the raw flour taste. Nobody wants a sauce that tastes like uncooked biscuits.
- Add your liquids. Gradually pour in the broth while whisking constantly to avoid lumps (lumps = sad sauce). Bring to a gentle simmer, then pour in the cream or half-and-half. Let it simmer for 2-3 minutes until it starts to thicken slightly. The sauce will continue to thicken as it cooks with the tortellini.
- Cook those pasta pockets. Add the tortellini directly to the simmering liquid. No need to cook them separately – that's what makes this one-pot magic! Stir gently and reduce heat to medium-low. Cover and cook for about 5 minutes or according to package directions. The tortellini will absorb some of the liquid and release starch, helping to thicken the sauce.
- Green it up. Once the tortellini is almost tender, add your greens by the handful, stirring until they wilt down. This should only take 1-2 minutes. If using heartier greens like kale, you might need an extra minute.
- Finish with flavor boosters. Remove from heat and stir in the Parmesan cheese, lemon zest, and lemon juice. The cheese will melt and further thicken the sauce, while the lemon brightens everything up. Season with salt and pepper to taste.
- Serve it up! Divide among bowls, top with fresh herbs, more Parmesan, and a twist of black pepper. Look at you, cooking like an actual adult!
Notes
- Tortellini options are endless – cheese, spinach, mushroom, chicken, or even the fancy seasonal varieties like pumpkin in fall. Choose your fighter!
- The sauce will continue to thicken as it stands. If it gets too thick, simply add a splash of broth or water when reheating.
- Storage tip: This keeps beautifully in the fridge for 3-4 days. The tortellini will absorb more of the sauce overnight, making it even more flavorful.
- Want it even more decadent? Add a dollop of mascarpone cheese at the end for an ultra-silky finish.
Common Mistakes to Avoid
- Boiling versus simmering. Keep the liquid at a gentle simmer, not a rolling boil. Tortellini are delicate creatures – boil them aggressively and they might burst open, releasing their cheese filling into the sauce. Tragic.
- Forgetting to stir occasionally. Give the pot a gentle stir every minute or so to prevent the tortellini from sticking to the bottom. Stuck pasta = sad pasta.
- Oversalting before adding cheese. Parmesan adds saltiness, so go easy on the salt until after you’ve added the cheese. You can always add more, but you can’t take it away!
- Using pre-grated cheese in a tub. I know it’s convenient, but it contains anti-caking agents that prevent it from melting properly. Grate your own for the smoothest sauce. Your taste buds deserve it!
Variations & Customizations
- Protein Power-Up: Add cooked shredded chicken, Italian sausage crumbles, or sautéed shrimp for extra protein. For vegetarians, white beans or chickpeas work beautifully.
- Vegetable Bonanza: Throw in halved cherry tomatoes, sautéed mushrooms, or frozen peas in the last few minutes of cooking for added color and nutrition.
- Dairy-Free Option: Substitute the cream with full-fat coconut milk and use nutritional yeast instead of Parmesan. Different flavor profile but still delicious!
FAQs
Can I use frozen tortellini instead of refrigerated?
Absolutely! Frozen tortellini work perfectly in this recipe—no need to thaw first. Just add 2-3 minutes to the cooking time and be prepared to add a splash more broth if needed, as frozen pasta sometimes absorbs more liquid. The beauty of this recipe is its flexibility, so don’t stress if you only have frozen pasta on hand. It’ll still be delicious, and nobody will know you’re basically cooking from the freezer section (your secret is safe with me).
What’s the best type of greens to use?
Baby spinach is the most foolproof option since it wilts quickly and has a mild flavor that even picky eaters can handle. But don’t let that limit you! Arugula adds a nice peppery bite, while kale or Swiss chard provide more texture and nutritional punch. Pro tip: If using tougher greens like kale, remove the stems and tear the leaves into bite-sized pieces. For a mix of colors and nutrients, use whatever combination of greens you have lurking in your fridge drawer. It’s a great way to prevent food waste!
How can I make this more kid-friendly?
Kids can be tiny food critics with surprisingly strong opinions, can’t they? To make this more appealing to the younger crowd, you might want to go light on the garlic and skip the red pepper flakes entirely. Choose cheese or chicken tortellini rather than anything with visible “green stuff” inside. If your kids are particularly suspicious of green things floating in their food, you could either chop the spinach very finely or blend some of it into the sauce where it becomes virtually undetectable. And when all else fails, extra cheese on top usually wins over even the toughest critics!
Final Thoughts
This One-Pot Creamy Tortellini & Greens is what I like to call a “back-pocket recipe” – one that you can pull out when you’re tired, uninspired, or just craving something comforting without the effort. It’s proof that delicious, satisfying meals don’t have to be complicated or time-consuming. Plus, there’s something deeply satisfying about creating a complete dish in just one pot, watching it come together like culinary magic. So next time you’re tempted to order takeout, remember this 15-minute wonder that might just save your weeknight dinner game – and your wallet.


