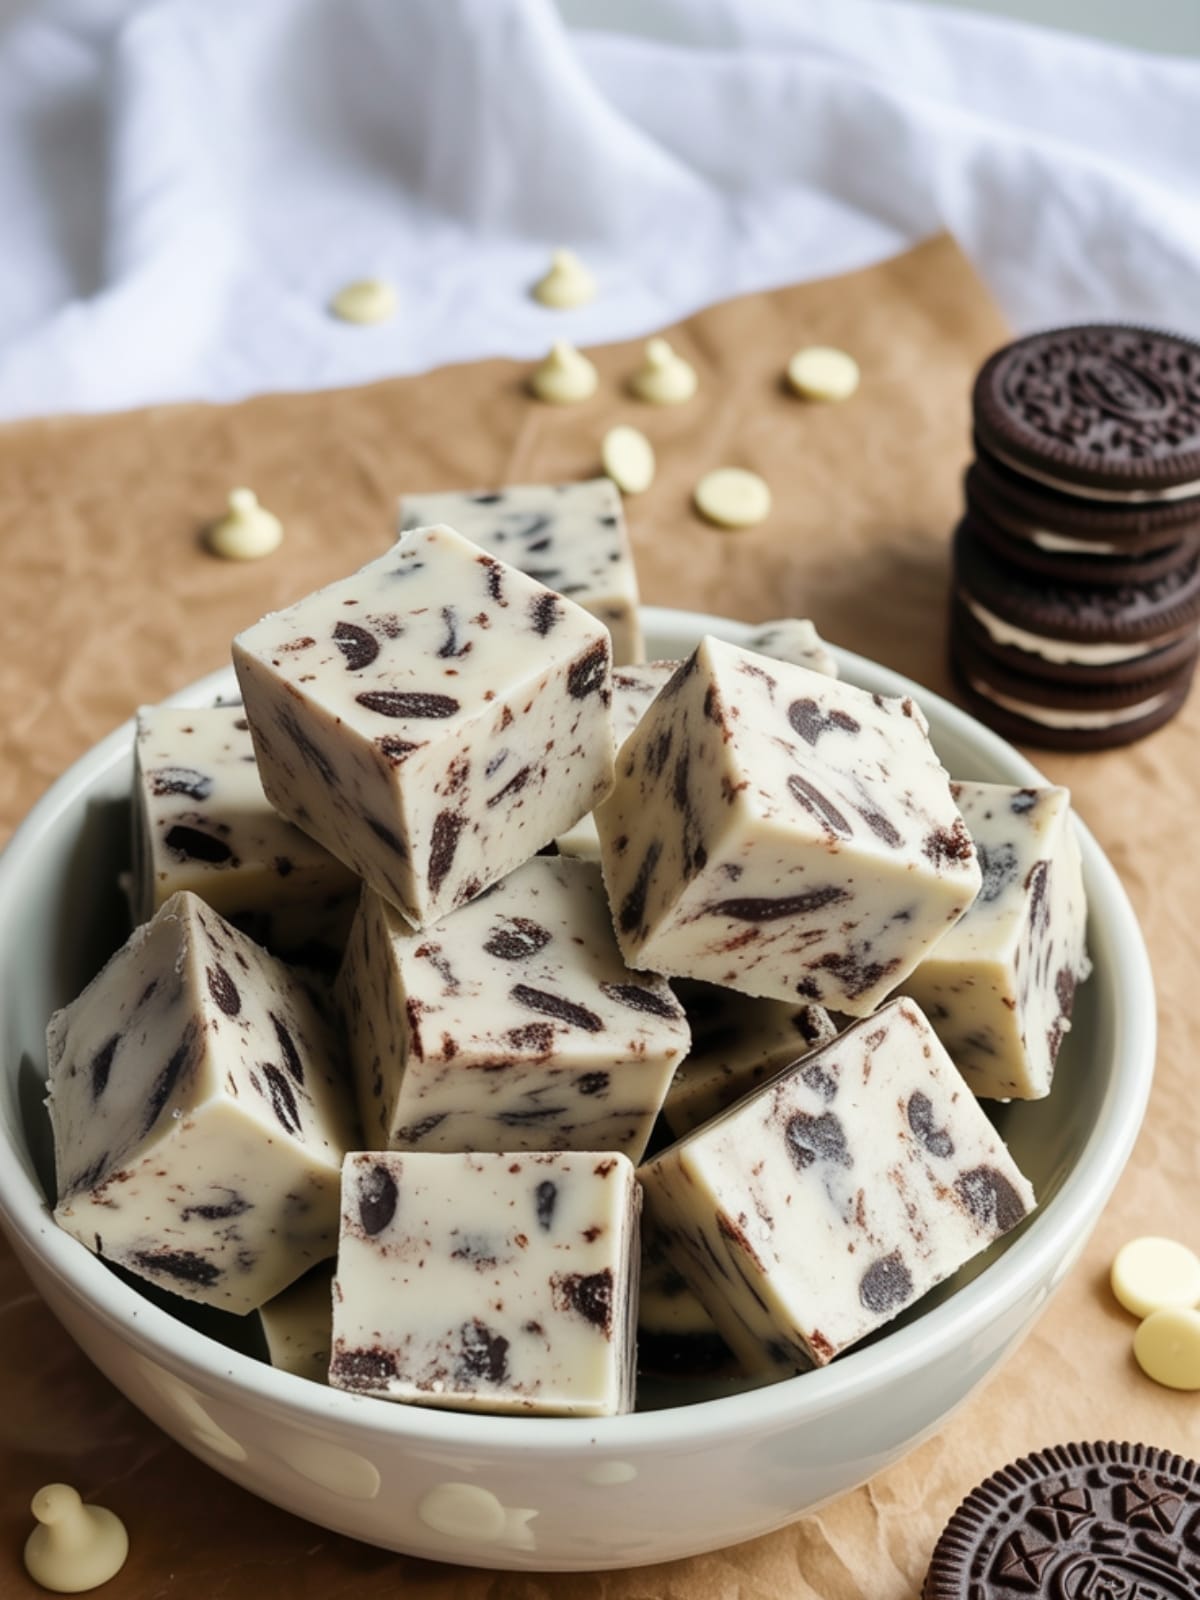
Who doesn’t melt at the thought of rich, creamy fudge studded with chunks of America’s favorite cookie? This Easy Oreo Fudge recipe is about to become your new secret weapon for potlucks, holiday gift-giving, or those moments when chocolate cravings hit hard. The beauty lies in its simplicity—just a handful of ingredients transform into squares of pure bliss that look like you spent hours in the kitchen.
Trust me, this isn’t just another fudge recipe; it’s the one you’ll be asked about at every gathering.
Why This Recipe is Awesome
What makes this Easy Oreo Fudge truly special is the perfect balance between effort and reward. In just 10 minutes of active preparation, you create a dessert that rivals fancy chocolate shop offerings. The contrast between the silky, melt-in-your-mouth white chocolate base and the distinct crunch of Oreo cookies creates an irresistible texture play that keeps you coming back for “just one more piece.” Plus, it’s nearly foolproof—even if you’ve never made candy before, this recipe forgives small mistakes and still turns out beautifully every time.
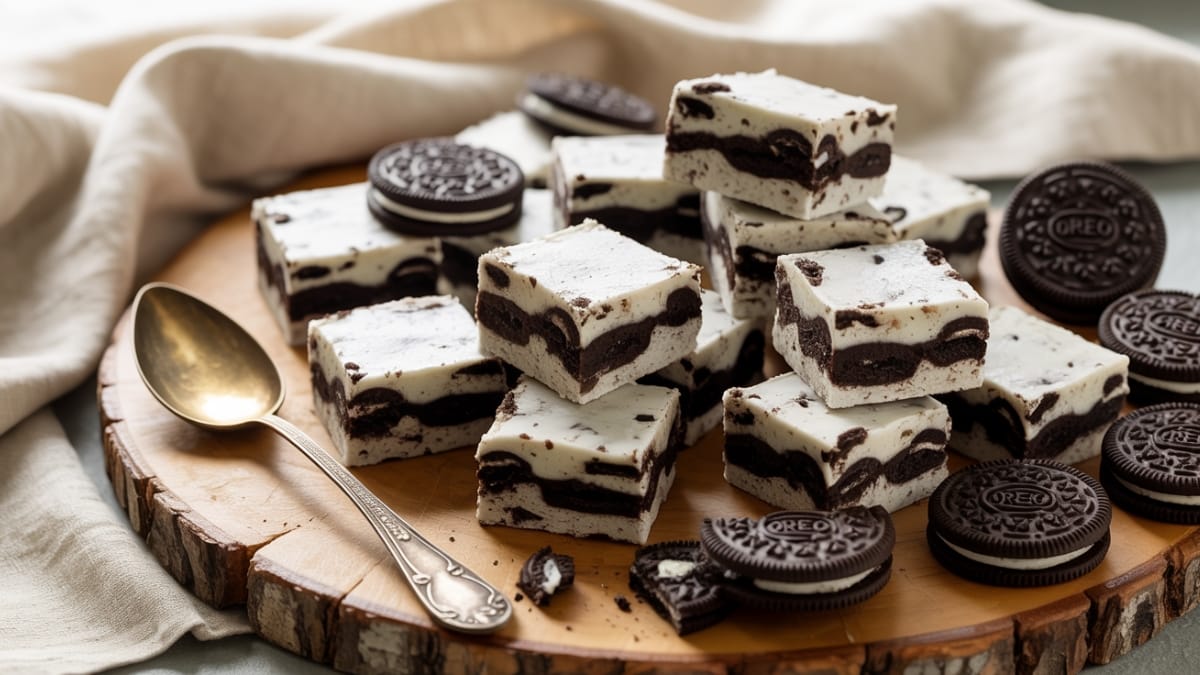
I love how the cookies soften slightly as the fudge sets, creating that beloved cookies-and-cream flavor that appeals to practically everyone. It’s the kind of treat that disappears within minutes at parties and makes an impressive homemade gift when you need something special without spending hours in the kitchen.
Equipment needed: 8×8 inch baking pan, parchment paper, medium saucepan, spatula, measuring cups
Oreo Fudge
Ingredients
- 3 cups white chocolate chips or 18 oz white chocolate, chopped
- 1 14 oz can sweetened condensed milk
- 1 teaspoon vanilla extract
- 20 Oreo cookies roughly chopped (plus 4-5 extra for topping)
- ¼ teaspoon salt to enhance flavor
Instructions
- Prepare your pan by lining an 8×8-inch baking dish with parchment paper, leaving overhang on the sides for easy removal later. Make sure the paper is pressed firmly into corners.
- Roughly chop the Oreo cookies into chunks—aim for pieces about ¼ to ½ inch in size. Set aside about ¼ cup of the chopped cookies for topping.
- Place white chocolate chips and condensed milk in a medium saucepan over low heat. Stir continuously until chocolate is completely melted and mixture is smooth—about 3-5 minutes. Be careful not to let it burn.
- Remove from heat and immediately stir in the vanilla extract and salt until well combined.
- Allow the mixture to cool for about 2 minutes—this prevents the Oreo pieces from melting completely when added.
- Fold in the chopped Oreos (except reserved topping portion) with a spatula until evenly distributed throughout the fudge mixture.
- Pour the fudge mixture into the prepared pan and spread evenly with a spatula. Work quickly as the fudge will begin to set.
- Sprinkle the reserved Oreo pieces on top, gently pressing them into the surface of the fudge.
- Refrigerate for at least 2 hours or until completely firm. For best results, leave overnight.
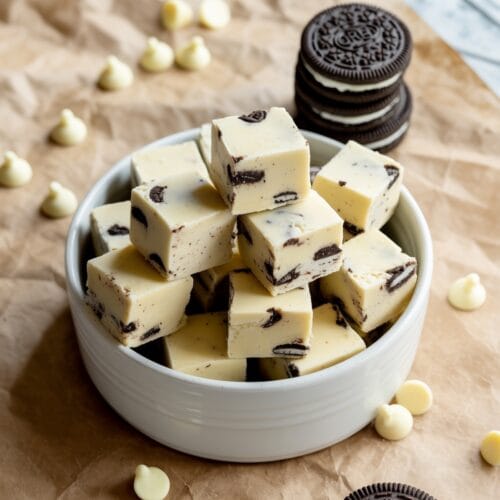
- Once set, lift fudge out using the parchment paper overhang and place on a cutting board. Cut into 1-inch squares with a sharp knife.
Notes
- For extra-clean cuts, run your knife under hot water and wipe dry between slices.
- If your fudge seems too thick when mixing, add 1 tablespoon of heavy cream to smooth it out.
- This fudge can be made up to a week ahead and stored in an airtight container.
- For a different flavor profile, try mint Oreos or seasonal varieties like pumpkin spice.
- Keep refrigerated but allow to sit at room temperature for 5-10 minutes before serving for the best texture.
Calories & Nutritional Info
- Calories: Approximately 165 calories per piece (based on 36 pieces)
- Fat: 8g per piece (5g saturated)
- Carbohydrates: 22g (18g sugar)
- Protein: 2g
- Contains: Dairy, wheat, and soy (from Oreos)
- Not suitable for: Vegan or dairy-free diets unless using appropriate substitutes
Common Mistakes to Avoid
- Using high heat to melt chocolate – This causes scorching and a grainy texture. Always use low heat and stir continuously.
- Skipping the parchment paper – Without it, removing the fudge becomes extremely difficult and messy.
- Cutting fudge too soon – If you don’t allow full setting time, you’ll end up with messy, uneven pieces.
- Crushing Oreos too finely – You want noticeable chunks for texture contrast, not Oreo dust.
- Substituting evaporated milk for condensed milk – They’re completely different products; this substitution will cause your fudge to fail.
Alternatives & Substitutions
- Chocolate chips: Use high-quality chocolate bars chopped into small pieces for an even smoother texture.
- Oreo varieties: Double Stuff, Golden Oreos, or any seasonal flavors work beautifully.
- Mix-ins: Add ½ cup chopped nuts, mini marshmallows, or a swirl of caramel for different flavor profiles.
- For extra indulgence: Drizzle melted dark chocolate over the top before chilling.
- Gluten-free option: Use gluten-free chocolate sandwich cookies instead of Oreos.
- Vegan adaptation: Use dairy-free white chocolate chips and sweetened condensed coconut milk (though texture may vary slightly).
FAQs
Can I use milk chocolate instead of white chocolate?
Yes, you can substitute milk chocolate, but you’ll lose the classic cookies and cream look. The fudge will have a traditional chocolate base with Oreo pieces throughout—still delicious but with a different visual appeal and flavor profile.
Why did my fudge turn out grainy?
Grainy fudge usually happens when chocolate is overheated or exposed to moisture. Make sure to melt the chocolate on very low heat, stir constantly, and avoid getting any water in the mixture. Using fresh chocolate chips rather than older ones can also help prevent graininess.
How long does Oreo fudge last?
When stored in an airtight container in the refrigerator, Easy Oreo Fudge will last up to two weeks. You can also freeze it for up to three months—just wrap individual pieces in plastic wrap, then store in a freezer bag.
Can I make this in the microwave instead?
Absolutely! Place the white chocolate and condensed milk in a microwave-safe bowl and heat in 30-second intervals, stirring well between each until completely melted. Then proceed with adding vanilla, salt, and Oreos as directed. This method is even faster but requires careful attention to prevent overheating.
My fudge is too soft. What went wrong?
If your fudge hasn’t firmed up properly after refrigeration, you might have added too much condensed milk or not enough chocolate. Make sure your measurements are precise. You can often salvage soft fudge by returning it to a saucepan, adding more melted chocolate, and re-chilling.
Final Thoughts
This Easy Oreo Fudge is proof that impressive desserts don’t require culinary school training or hours in the kitchen. The combination of creamy white chocolate and crunchy Oreo pieces creates something truly magical that brings smiles with every bite. Whether you’re making it for yourself or sharing it with others, it’s a small batch of joy that reminds us how the simplest treats are often the most beloved. Happy fudge-making!


