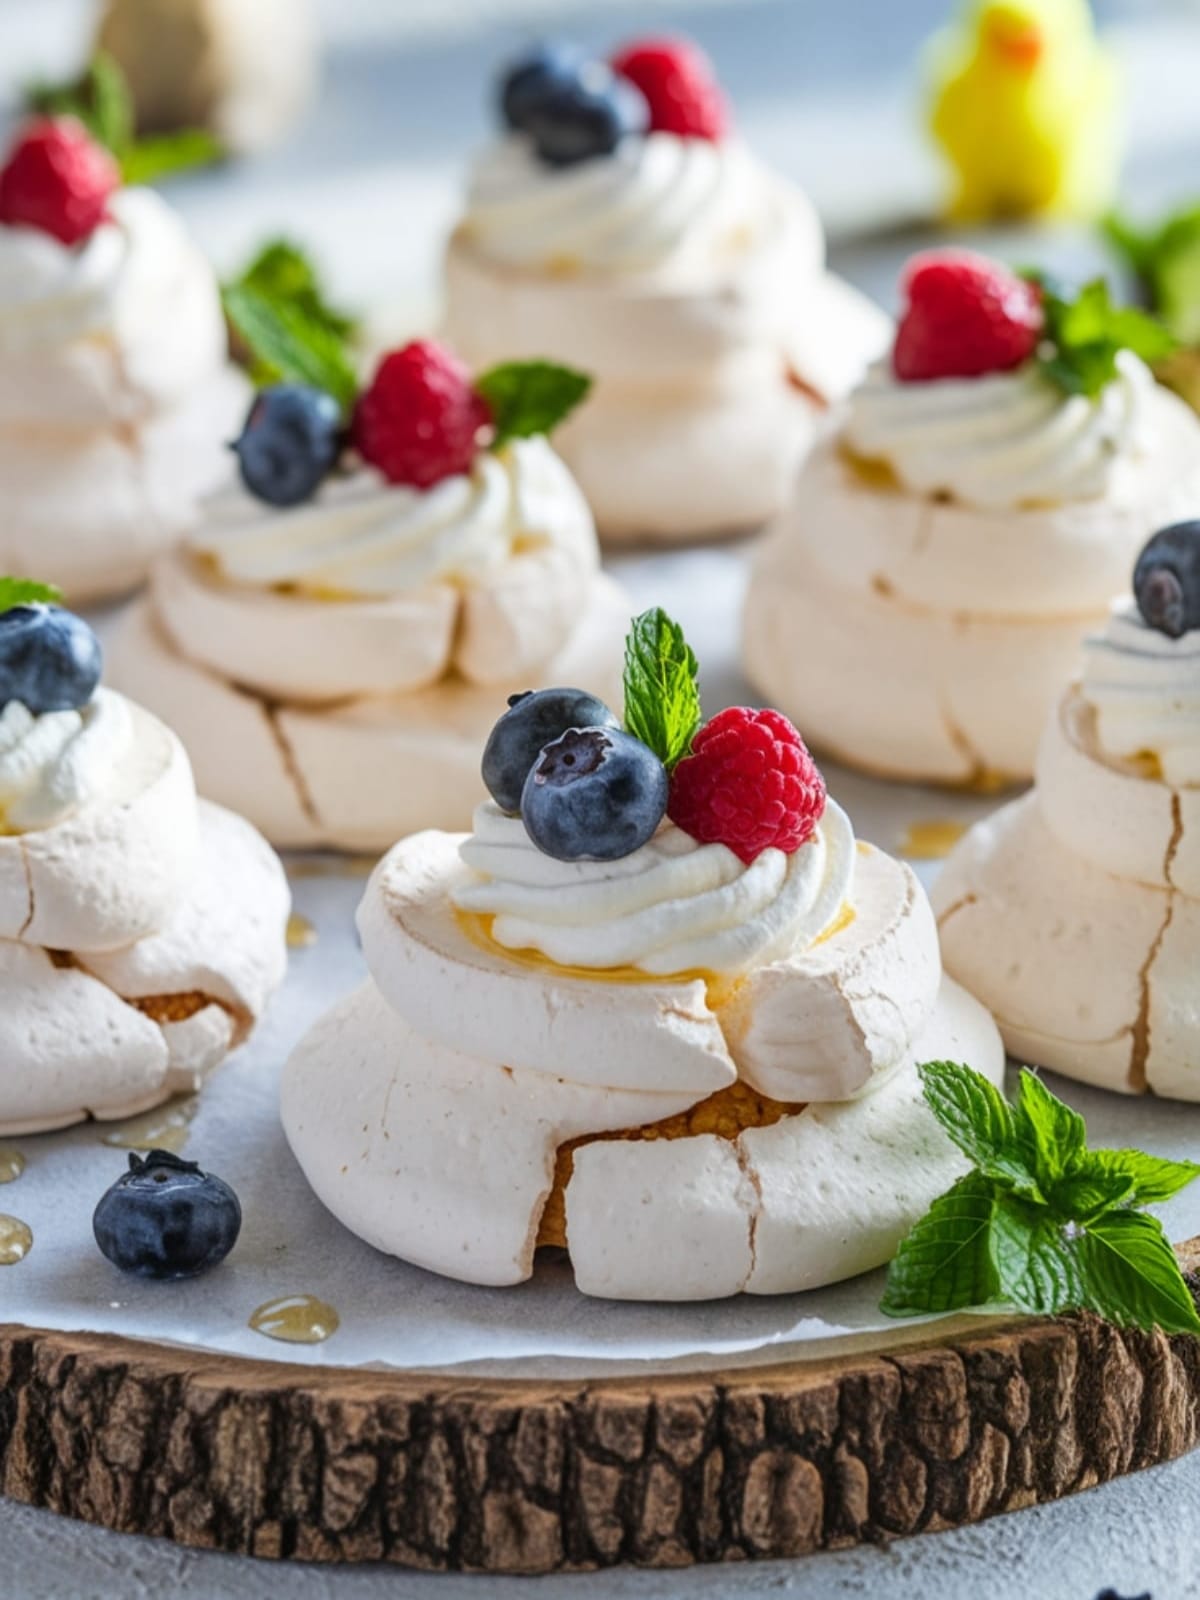
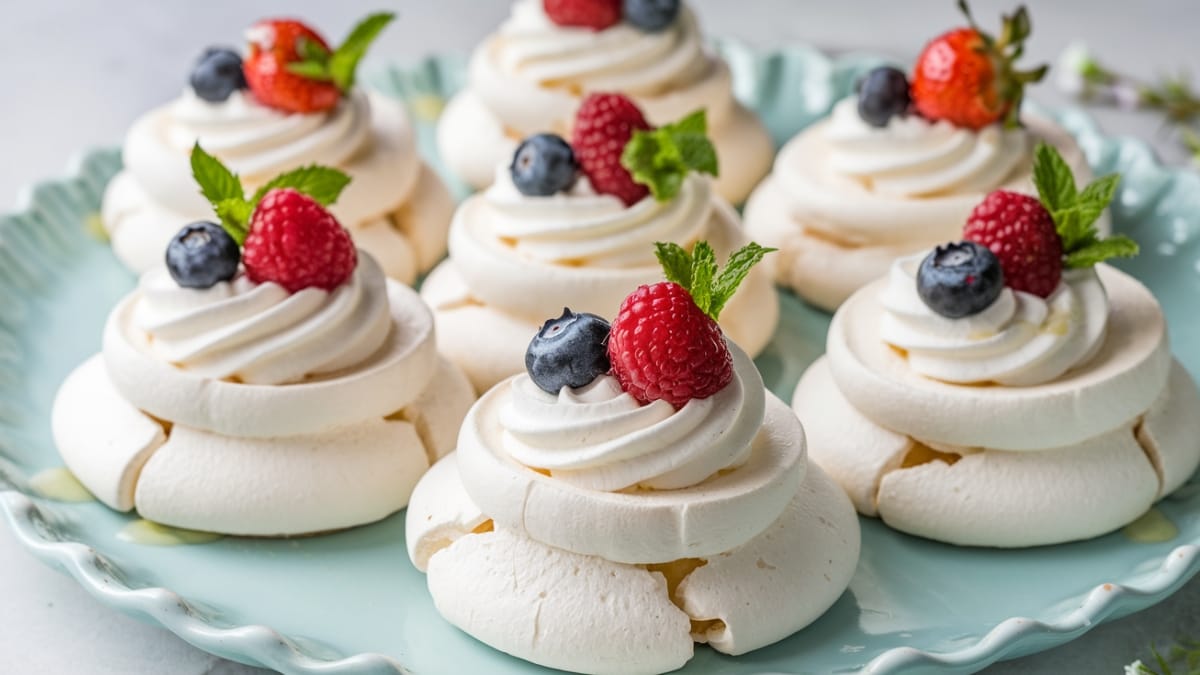
Ever had that moment when you need a dessert that makes people think you’re a culinary genius without actually having to be one? Enter my Easter Mini Pavlovas with Fresh Berries. These cloud-like meringue nests topped with whipped cream and vibrant berries are basically the dessert equivalent of putting on a tuxedo t-shirt – fancy enough to impress, but way less effort than you’d think.
Why These Mini Pavlovas Will Be Your Easter Hero
Let’s be honest – Easter desserts often fall into two categories: chocolate overload or those weird jelly bean-studded cakes your aunt brings every year. These pavlovas? They’re light, springy, and actually refreshing after a big holiday meal. Plus, they’re naturally gluten-free (hello, inclusive hosting points) and provide the perfect backdrop for those gorgeous spring berries that are just coming into season.
And can we talk presentation? These little meringue clouds look like you spent hours when – between us – they mostly just hang out in the oven while you do literally anything else. Win-win!
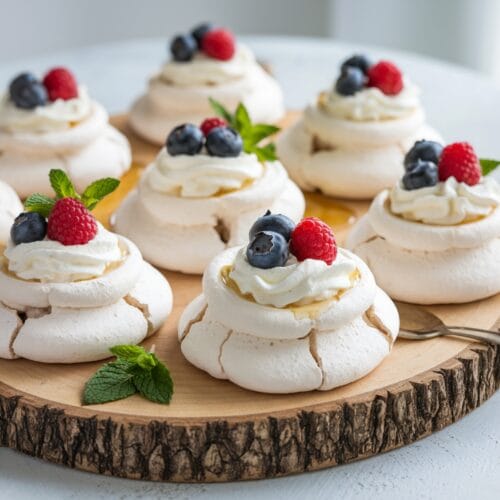
Mini Pavlovas with Fresh Berries
Equipment
- Stand mixer or hand mixer
- Baking sheet
- Parchment paper
- Piping bag (optional but helpful)
- Rubber spatula
- Measuring cups and spoons
Ingredients
For the meringue bases
- 4 large egg whites (room temperature is crucial!)
- 1 cup granulated sugar
- 1 teaspoon vanilla extract
- 1 teaspoon white vinegar or lemon juice
- 1 teaspoon cornstarch
For the topping
- 1 cup heavy whipping cream
- 2 tablespoons powdered sugar
- 1/2 teaspoon vanilla extract
- 2 cups mixed fresh berries (strawberries, blueberries, raspberries)
- 2 tablespoons honey or pure maple syrup
- Fresh mint leaves (optional, for garnish)
- Optional: 1-2 teaspoons lemon zest
Instructions
- Prep your setup. Preheat your oven to 250°F (130°C). Line a baking sheet with parchment paper. Draw six 3-inch circles on the parchment as guides for your pavlovas, then flip the paper over (so you don't get pen on your meringues – rookie mistake I've definitely made before).
- Make that meringue shine. In a completely clean and dry bowl (seriously, even a drop of yolk or water will ruin this), beat the egg whites on medium speed until soft peaks form. Think of it like a little white mountain range starting to appear.
- Now, the crucial part: gradually add sugar, about a tablespoon at a time, while continuing to beat. After each addition, beat for about 10 seconds before adding more. This patience is what separates good pavlovas from great ones. Keep beating until the mixture is glossy and holds stiff peaks. When you rub a little between your fingers, it should feel smooth (not gritty).
- The secret stabilizers. Sprinkle the cornstarch over your glossy peaks, then add the vanilla and vinegar. Fold everything together gently with a rubber spatula. Think of it as tucking the meringue into bed – gentle and with care.
- Shape your clouds. Spoon or pipe the mixture onto your prepared baking sheet, following those circles you drew. Use the back of a spoon to create a small well in the center of each meringue (this is where your berries will sit later – think ahead!).
- The low and slow bake. Bake for 1 hour to 1 hour and 15 minutes. The outside should be crisp and very pale (not brown!), while the inside remains marshmallowy. Turn off the oven and leave the pavlovas inside with the door slightly ajar until completely cool. This prevents the dreaded crack-attack from sudden temperature changes.
- Whip it good. When you're ready to serve, whip the heavy cream with powdered sugar and vanilla until soft peaks form. Don't overwhip unless you're trying to make butter (which, different recipe altogether).
- Make it pretty. Top each cooled pavlova with a dollop of whipped cream, a generous pile of fresh berries, a drizzle of honey, and a tiny sprinkle of lemon zest if you're feeling fancy. Add a mint leaf for that "I'm a professional" touch.
Notes
- Meringues can be made a day ahead and stored in an airtight container. Just don’t add toppings until right before serving.
- The vinegar or lemon juice isn’t for flavor – it stabilizes the egg whites. Science is delicious!
- For extra Easter flair, you can tint the meringue with a drop of pastel food coloring before baking.
Common Mistakes to Avoid
- Using cold eggs – Room temperature whites whip up much better. Plan ahead, people!
- Any trace of yolk or fat – Even a tiny bit will prevent your whites from whipping properly. Be ruthless in your separation skills.
- Opening the oven door during baking – I know you’re curious, but resist! Sudden temperature changes cause collapse and cracks.
- Topping too far in advance – Unless soggy pavlova is your thing (it shouldn’t be), only add cream and fruit just before serving.
Variations & Customizations
- Chocolate Lover’s Version: Fold 2 tablespoons of unsweetened cocoa powder into the meringue, then top with chocolate shavings and berries.
- Tropical Twist: Top with mango, passion fruit, and kiwi instead of berries, and add a touch of coconut extract to the whipped cream.
- Low-Sugar Option: Reduce the sugar in the meringue to 3/4 cup and use unsweetened whipped cream with naturally sweet berries.
FAQs About Mini Pavlovas
Why did my pavlovas crack?
The most common culprits are baking at too high a temperature or cooling too quickly. The slow cool-down in the turned-off oven is your best friend here.
Can I make these ahead of time?
The meringue bases can be made 1-2 days ahead and stored in an airtight container. Just don’t add the toppings until serving time or you’ll have a soggy situation.
My meringue won’t whip to stiff peaks. What went wrong?
Any trace of fat (like egg yolk) or a dirty bowl can prevent egg whites from whipping properly. Also, make sure your eggs are room temperature for best volume.
Final Thoughts
These Easter Mini Pavlovas with Fresh Berries are basically spring on a plate – light, bright, and guaranteed to make you look like you have your life together in the kitchen. They’re the perfect ending to your Easter feast, giving everyone that light-but-satisfied feeling instead of the traditional chocolate coma. Plus, there’s something oddly satisfying about creating something so beautiful that people will definitely Instagram before devouring. Hashtag food goals, am I right?


