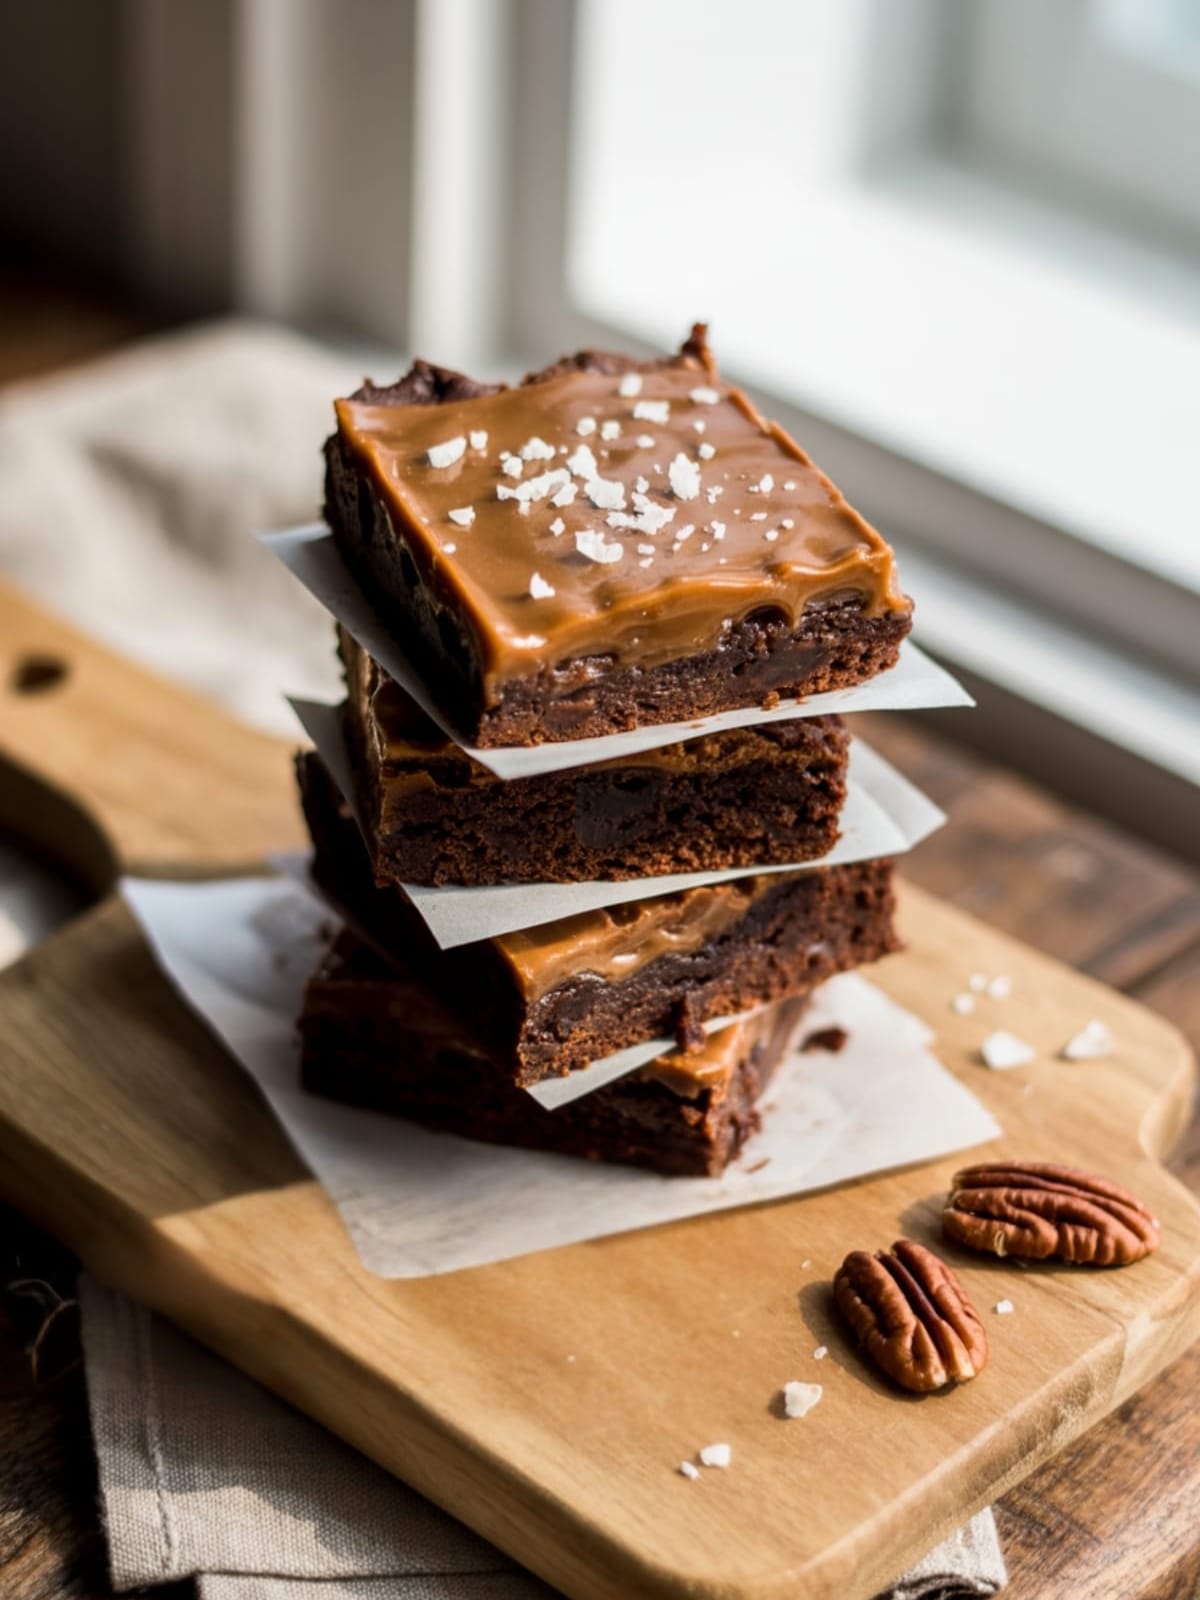
Let’s talk about chocolate’s perfect partner – salt. There’s something magical about that first bite of a Salted Caramel Brownie when the rich chocolate meets buttery caramel and that pop of sea salt hits your taste buds. It’s that unexpected contrast that makes these brownies not just good, but memorably delicious.
This isn’t just another brownie recipe—it’s the brownie recipe that friends will text you for at midnight after they’ve been thinking about it all day.
Why This Recipe is Awesome
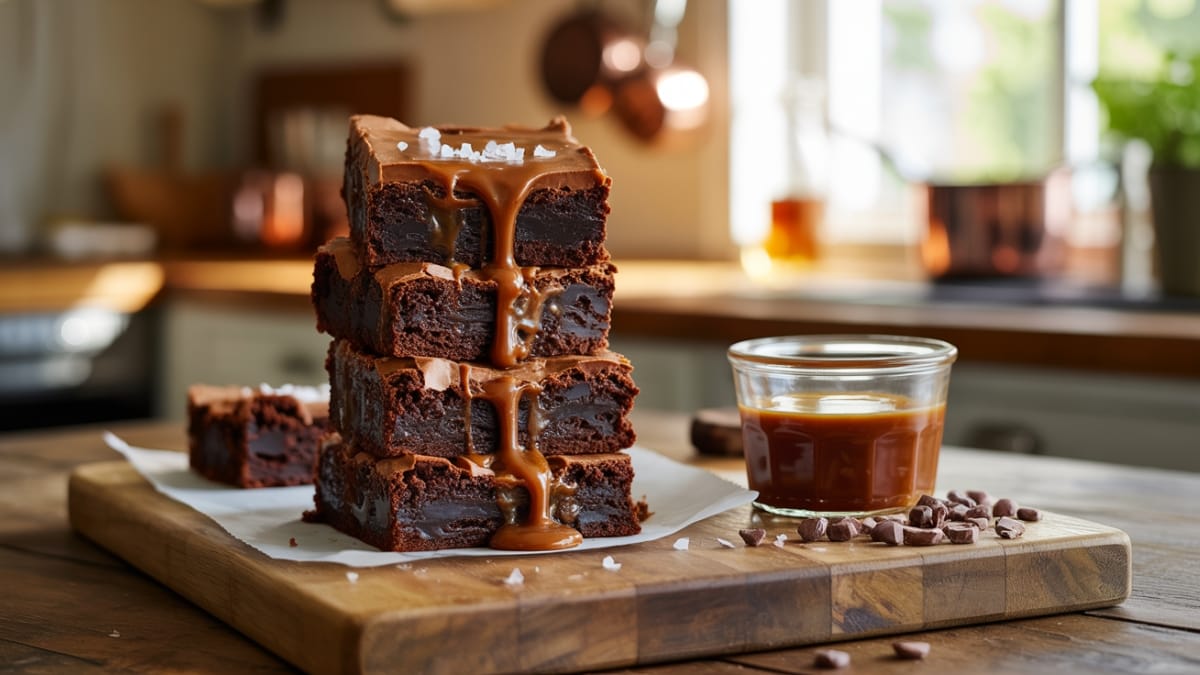
What makes these Salted Caramel Brownies truly special is their perfect balance of flavors and textures. The brownies themselves are fudgy and dense—not cakey—with deep chocolate intensity that stands up beautifully to the sweet caramel layer. The sea salt doesn’t just add flavor; it actually enhances both the chocolate and caramel notes, making everything taste more vibrant.
Unlike many caramel brownie recipes that use store-bought caramels or pre-made sauce, we’re making a quick homemade caramel that takes just minutes but delivers authentic, buttery richness. The result is a dessert that feels both sophisticated and comforting—perfect for everything from dinner parties to midnight snacking sessions.
Equipment needed: 8×8 baking pan, parchment paper, mixing bowls, whisk, rubber spatula, small saucepan

Salted Caramel Brownies
Ingredients
- For the Brownies:
- ½ cup 113g unsalted butter
- 6 oz 170g dark chocolate (60-70% cacao), chopped
- 1 cup 200g granulated sugar
- 2 large eggs room temperature
- 1 teaspoon vanilla extract
- ¾ cup 90g all-purpose flour
- 2 tablespoons unsweetened cocoa powder
- ¼ teaspoon salt
- For the Salted Caramel:
- ½ cup 100g granulated sugar
- 3 tablespoons unsalted butter cubed
- ¼ cup 60ml heavy cream
- ½ teaspoon flaky sea salt plus more for sprinkling
Instructions
- Prepare your baking pan by lining an 8×8 inch pan with parchment paper, leaving overhang on the sides for easy removal. Preheat your oven to 350°F (175°C).
- Make the brownie batter by melting butter and chocolate together in a heatproof bowl set over simmering water (or microwave in 30-second bursts), stirring until smooth. Remove from heat and let cool slightly.
- Whisk sugar into the chocolate mixture until well combined, then add eggs one at a time, whisking well after each addition. Stir in vanilla extract.
- Sift the dry ingredients (flour, cocoa powder, and salt) directly over the chocolate mixture and fold gently with a rubber spatula just until no flour streaks remain. Do not overmix.
- Transfer the batter to the prepared pan, spreading it evenly into the corners with your spatula. Bake for 20 minutes—the brownies should be partly set but still slightly soft in the center.
- Meanwhile, prepare the caramel by heating sugar in a small saucepan over medium heat. Watch carefully as the sugar melts and turns amber (about 4-5 minutes), swirling the pan occasionally but not stirring.
- Remove caramel from heat once it reaches a deep amber color and carefully add butter (it will bubble vigorously). Whisk until butter is incorporated, then slowly add cream while continuing to whisk.
- Return the caramel to low heat for 1 minute, stirring constantly until smooth. Stir in ½ teaspoon sea salt and set aside to cool slightly while brownies continue baking.
- Remove partially baked brownies from the oven and pour the warm caramel over the top, spreading it evenly. Sprinkle with additional sea salt.
- Return to the oven and bake for an additional 15-20 minutes, until a toothpick inserted in the center comes out with a few moist crumbs.
- Cool completely in the pan on a wire rack for at least 2 hours before cutting. For cleanest cuts, refrigerate for 1 hour after cooling.
- Lift brownies out of the pan using the parchment paper overhang and cut into 16 squares with a sharp knife, wiping the blade between cuts.
Notes
- For the richest flavor, use high-quality dark chocolate with 60-70% cacao content.
- The caramel can be made a day ahead and gently reheated before pouring over the brownies.
- If you’re nervous about making caramel, keep a pastry brush dipped in water handy to brush down any sugar crystals that form on the sides of the pan.
- These brownies actually taste better the next day, as the flavors have time to meld.
- Store in an airtight container at room temperature for up to 3 days, or refrigerate for up to a week.
Calories & Nutritional Info
- Calories: Approximately 245 calories per brownie
- Fat: 14g (8g saturated)
- Carbohydrates: 28g (24g sugar)
- Protein: 2g
- Allergens: Contains dairy, eggs, and wheat (gluten)
Common Mistakes to Avoid
- Overbaking the brownies – This is the #1 brownie crime! They should still be slightly soft in the center when you add the caramel.
- Stirring the caramel while it’s melting – This can cause crystallization. Swirl the pan instead.
- Not allowing enough cooling time – Cutting too soon will give you a gooey mess instead of clean squares.
- Skimping on the salt – The contrast between sweet and salty is what makes these brownies special. Use flaky sea salt, not table salt, for the topping.
- Overworking the brownie batter – This develops gluten and results in tough, cakey brownies instead of fudgy ones.
Alternatives & Substitutions
- Gluten-free option: Substitute the all-purpose flour with a 1:1 gluten-free flour blend.
- Dairy-free variation: Use coconut oil instead of butter and full-fat coconut cream instead of heavy cream (note: this will add a slight coconut flavor).
- Add-ins: Fold ½ cup chopped toasted pecans or walnuts into the brownie batter for added texture.
- Chocolate options: If you prefer milk chocolate, you can substitute, but reduce the sugar to ¾ cup in the brownie base.
- Caramel shortcut: In a pinch, you can use 1/3 cup high-quality store-bought caramel sauce mixed with ¼ teaspoon flaky sea salt.
FAQs
How do I know when my caramel is the right color?
Look for a deep amber color similar to maple syrup. If it’s too light, the flavor will be weak; too dark, and it will taste burnt. Trust your nose—it should smell nutty and rich, not acrid.
Can I double this recipe for a larger batch?
Absolutely! Double all ingredients and use a 9×13 inch pan. The baking time will need to be adjusted slightly—start checking about 5 minutes earlier than the recipe suggests.
Why did my caramel seize up when I added the butter?
This usually happens when there’s a large temperature difference. Make sure your butter isn’t ice-cold from the refrigerator, and add it gradually while whisking constantly.
How can I tell when the brownies are done?
A toothpick inserted in the center should come out with a few moist crumbs, not completely clean (which would indicate overbaking) or wet with batter (underbaking).
Can I freeze these brownies?
Yes! Wrap individual brownies tightly in plastic wrap, then aluminum foil, and freeze for up to 3 months. Thaw at room temperature for 1-2 hours before serving.
Final Thoughts
These Salted Caramel Brownies are the perfect example of how a few extra minutes of care can transform a simple dessert into something truly memorable. The interplay of rich chocolate, buttery caramel, and that perfect hit of salt creates a dessert experience that’s worth every calorie. Whether you’re baking to impress or simply treating yourself, these brownies deliver that rare combination of homemade comfort and gourmet flair.


