Sapo: Mastering how to grind deer meat, venison, elk, wild turkey, wild hog, and rabbit at home delivers fresher flavor and complete control over your wild game processing. This comprehensive guide walks you through equipment selection, preparation techniques, and step-by-step grinding instructions for creating perfect burgers, sausages, and more from your hunting harvest.
Benefits of Grinding Your Own Wild Game Meat
Choosing to grind your own wild game meat represents a significant step toward self-sufficiency and food quality control. When you process deer meat, venison, elk, and other wild game yourself, you create a direct connection between field and table that few food experiences can match. This practice offers numerous advantages that make the effort worthwhile for both seasoned hunters and those new to wild game processing.
The nutritional benefits of grinding your own wild game cannot be overstated. Wild deer, elk, and other game meats are naturally leaner than their commercially raised counterparts, containing significantly less fat while offering more protein per ounce. Venison provides approximately 26 grams of protein per 3-ounce serving while containing only about 2 grams of fat—a dramatic difference compared to beef’s average of 18 grams of protein and 15 grams of fat in the same portion size.
Beyond nutrition, grinding your own game meat offers exceptional cost efficiency. With professional processing services often charging $75-150 per deer, doing it yourself can save hundreds of dollars annually for active hunters. This financial advantage compounds when considering larger game like elk, which can cost upwards of $300 for commercial processing.
Perhaps most importantly, grinding your own wild game provides unparalleled quality control. You determine exactly what cuts go into your ground meat, the cleanliness of the operation, and the precise fat-to-lean ratio. This control extends to customization options that commercial processors simply cannot match—you can create specialized blends for different recipes, adjust seasoning levels to your taste, and even create variety packs of differently ground textures for diverse cooking applications.
Essential Equipment for Grinding Wild Game
Successful wild game grinding starts with having the right tools for the job. Your equipment choices for grinding deer meat, venison, and other wild game will significantly impact both the quality of your final product and the efficiency of your processing efforts.
Meat Grinders: The Heart of Your Processing System

The most critical piece of equipment is, unsurprisingly, the grinder itself. You have several options based on your budget and the volume of meat you typically process:
- Manual Grinders: These traditional hand-crank models ($30-80) are affordable but require significant physical effort. They’re suitable for processing small amounts of wild game meat (under 10 pounds) or as backup systems.
- Electric Grinders: Available in various size classifications, electric grinders form the backbone of most home wild game processing setups:
- Entry-level models (#8 or #10 size, 300-500 watts, $80-150): Good for processing 1-2 deer annually
- Mid-range models (#12 size, 500-800 watts, $150-300): Suitable for 3-5 deer annually
- Heavy-duty models (#22 or #32 size, 750+ watts, $300-1,000+): Best for serious hunters processing multiple animals or combining meat processing with friends and family
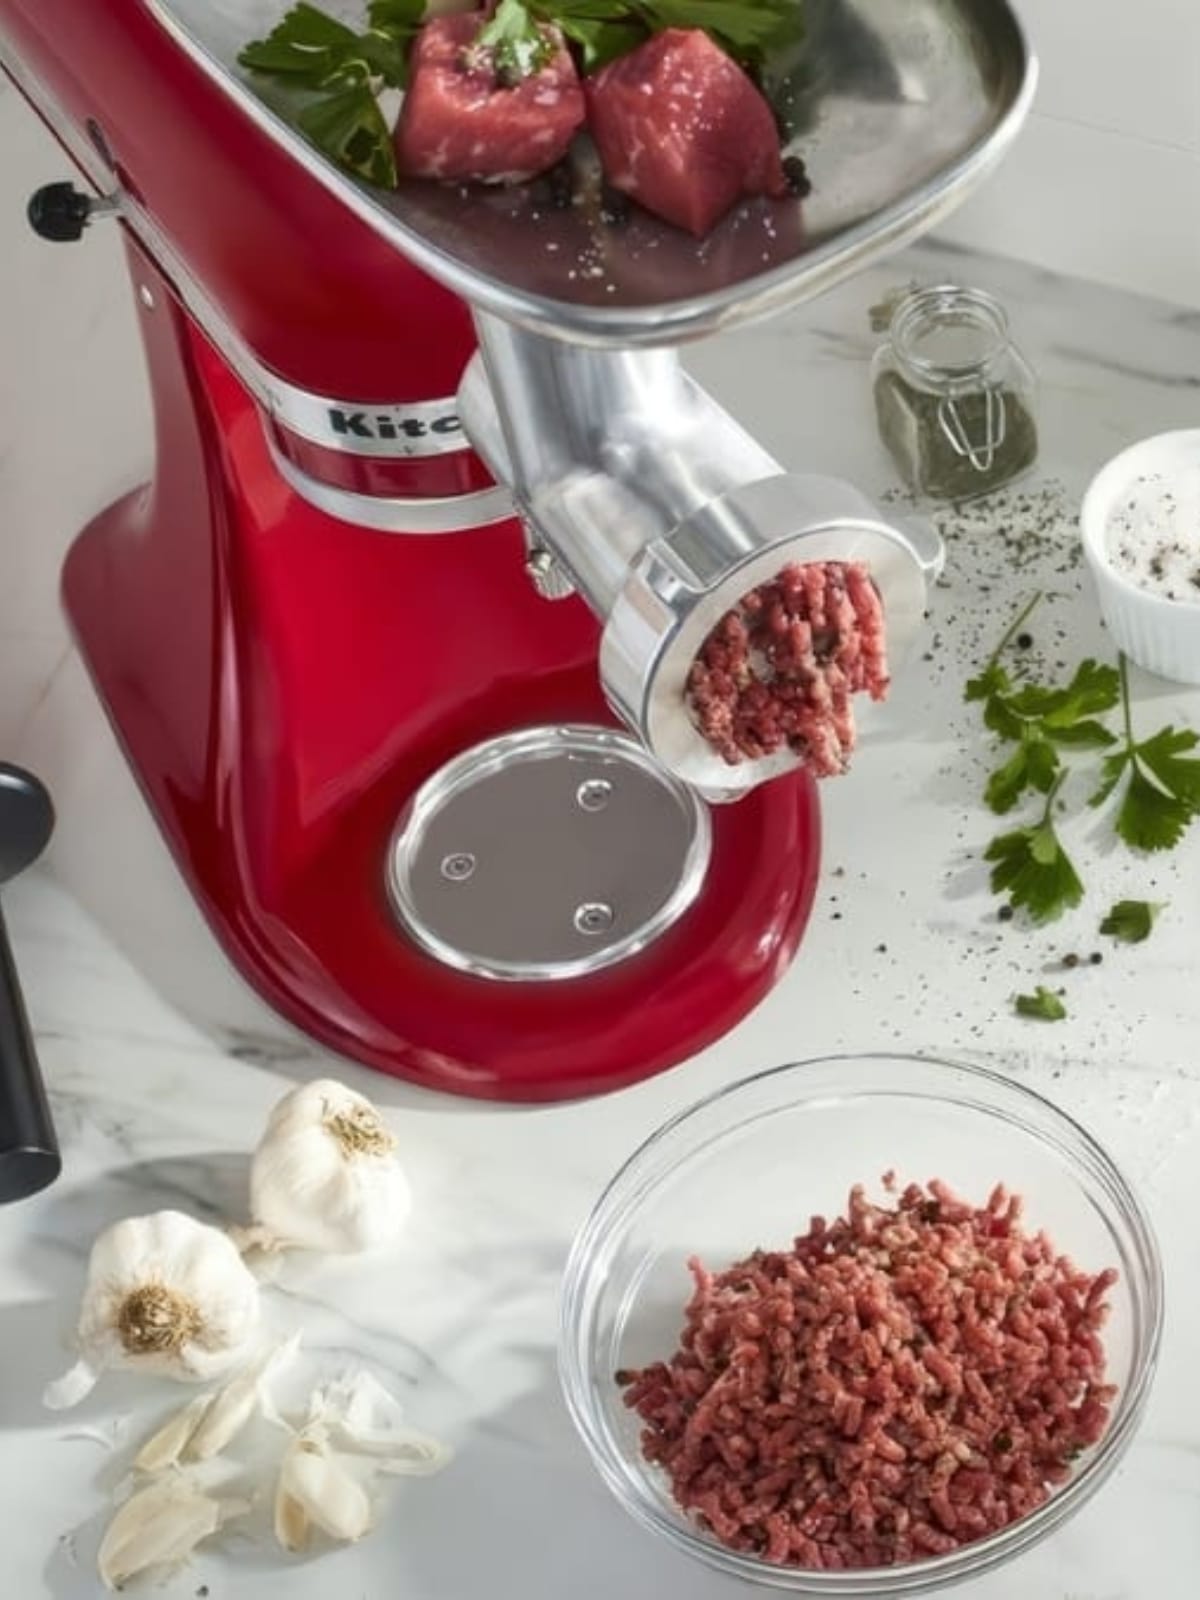
- Stand Mixer Attachments: If you already own a quality stand mixer like a KitchenAid, attachments (usually $50-150) can provide adequate grinding capability for smaller batches.
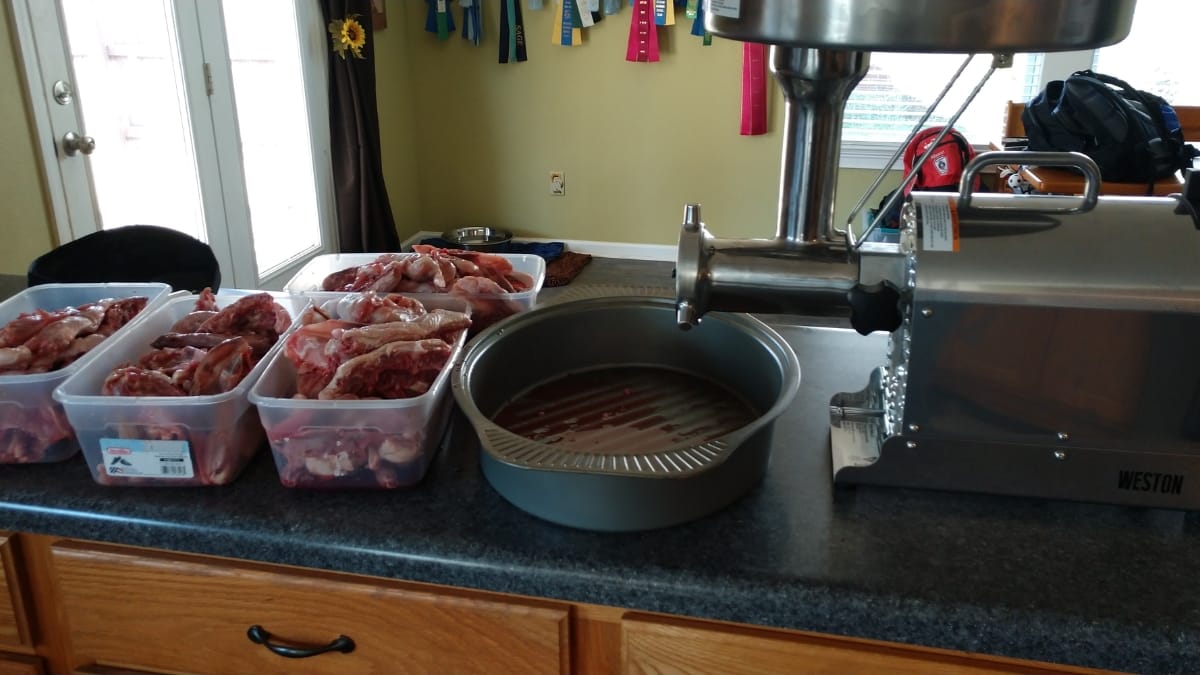
The LEM Products #8 Electric Meat Grinder represents an excellent entry point for those new to grinding venison and wild game, offering good performance at a reasonable price point. For more serious processors, models like the Weston Pro Series #22 provide commercial-grade durability with impressive throughput.
Beyond the grinder itself, you’ll need several additional tools for efficient wild game processing:
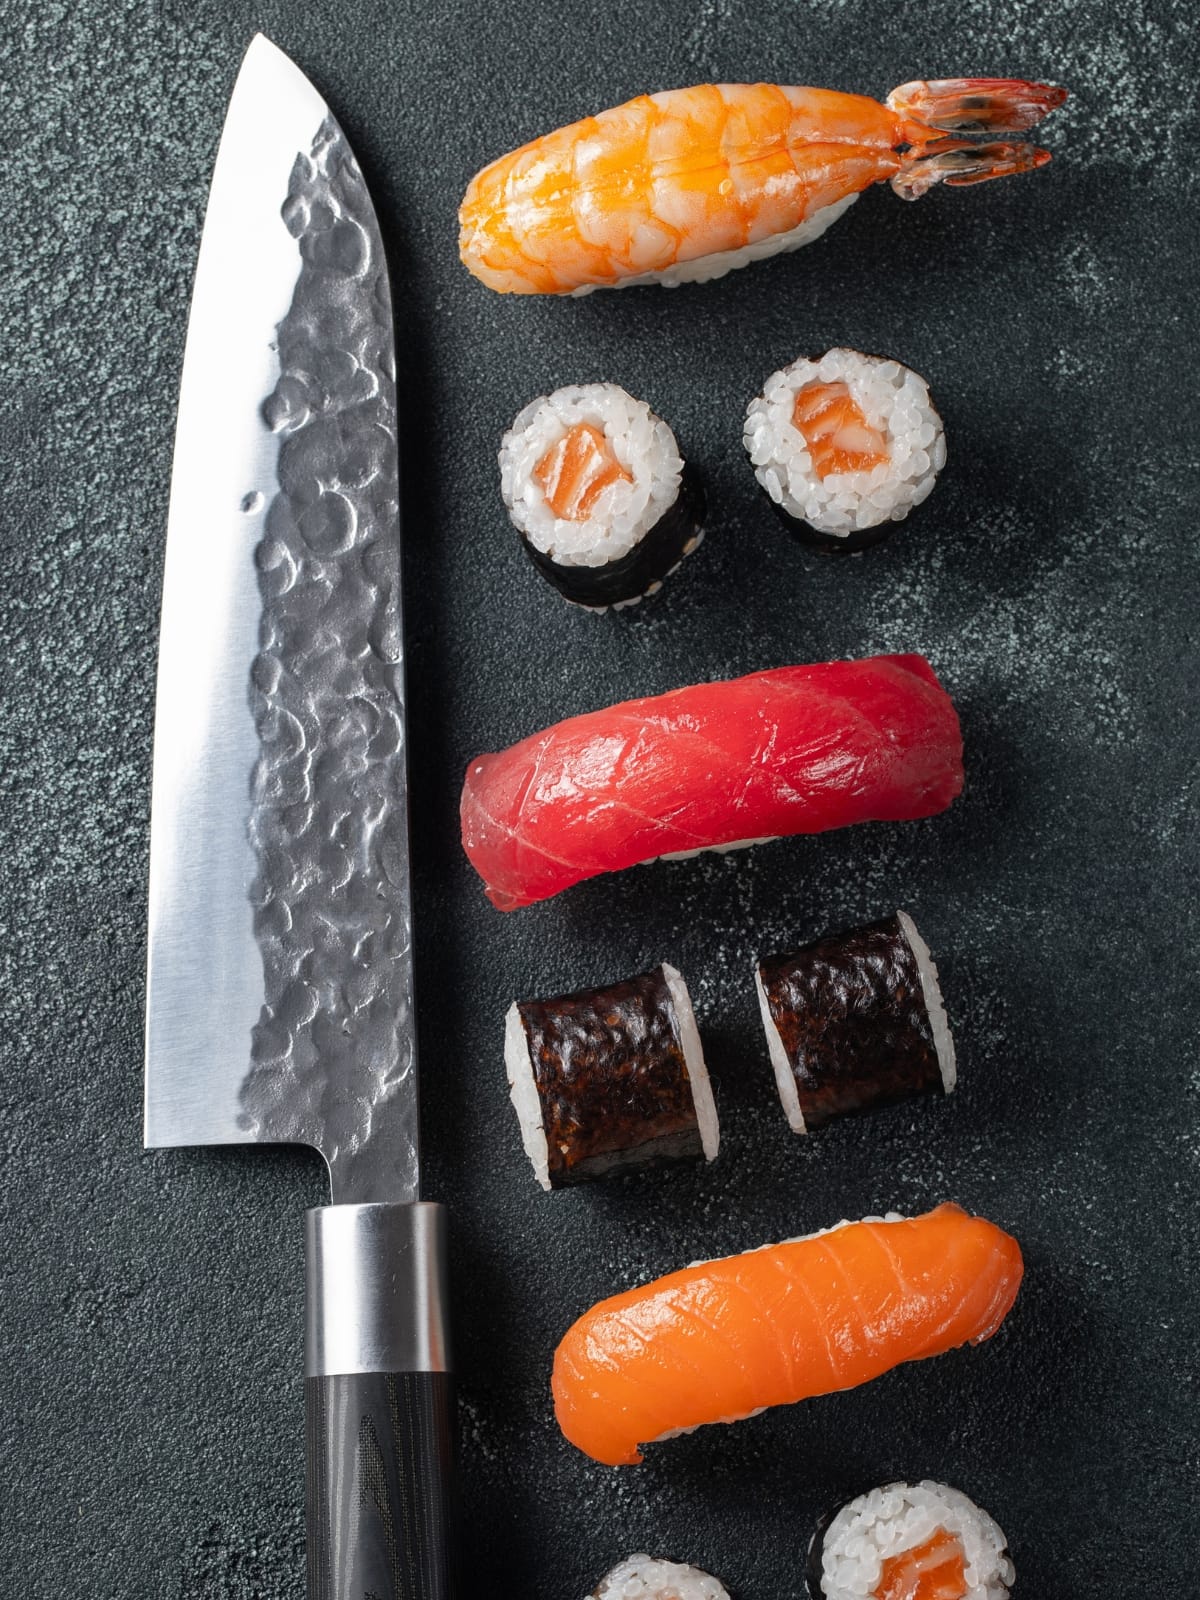
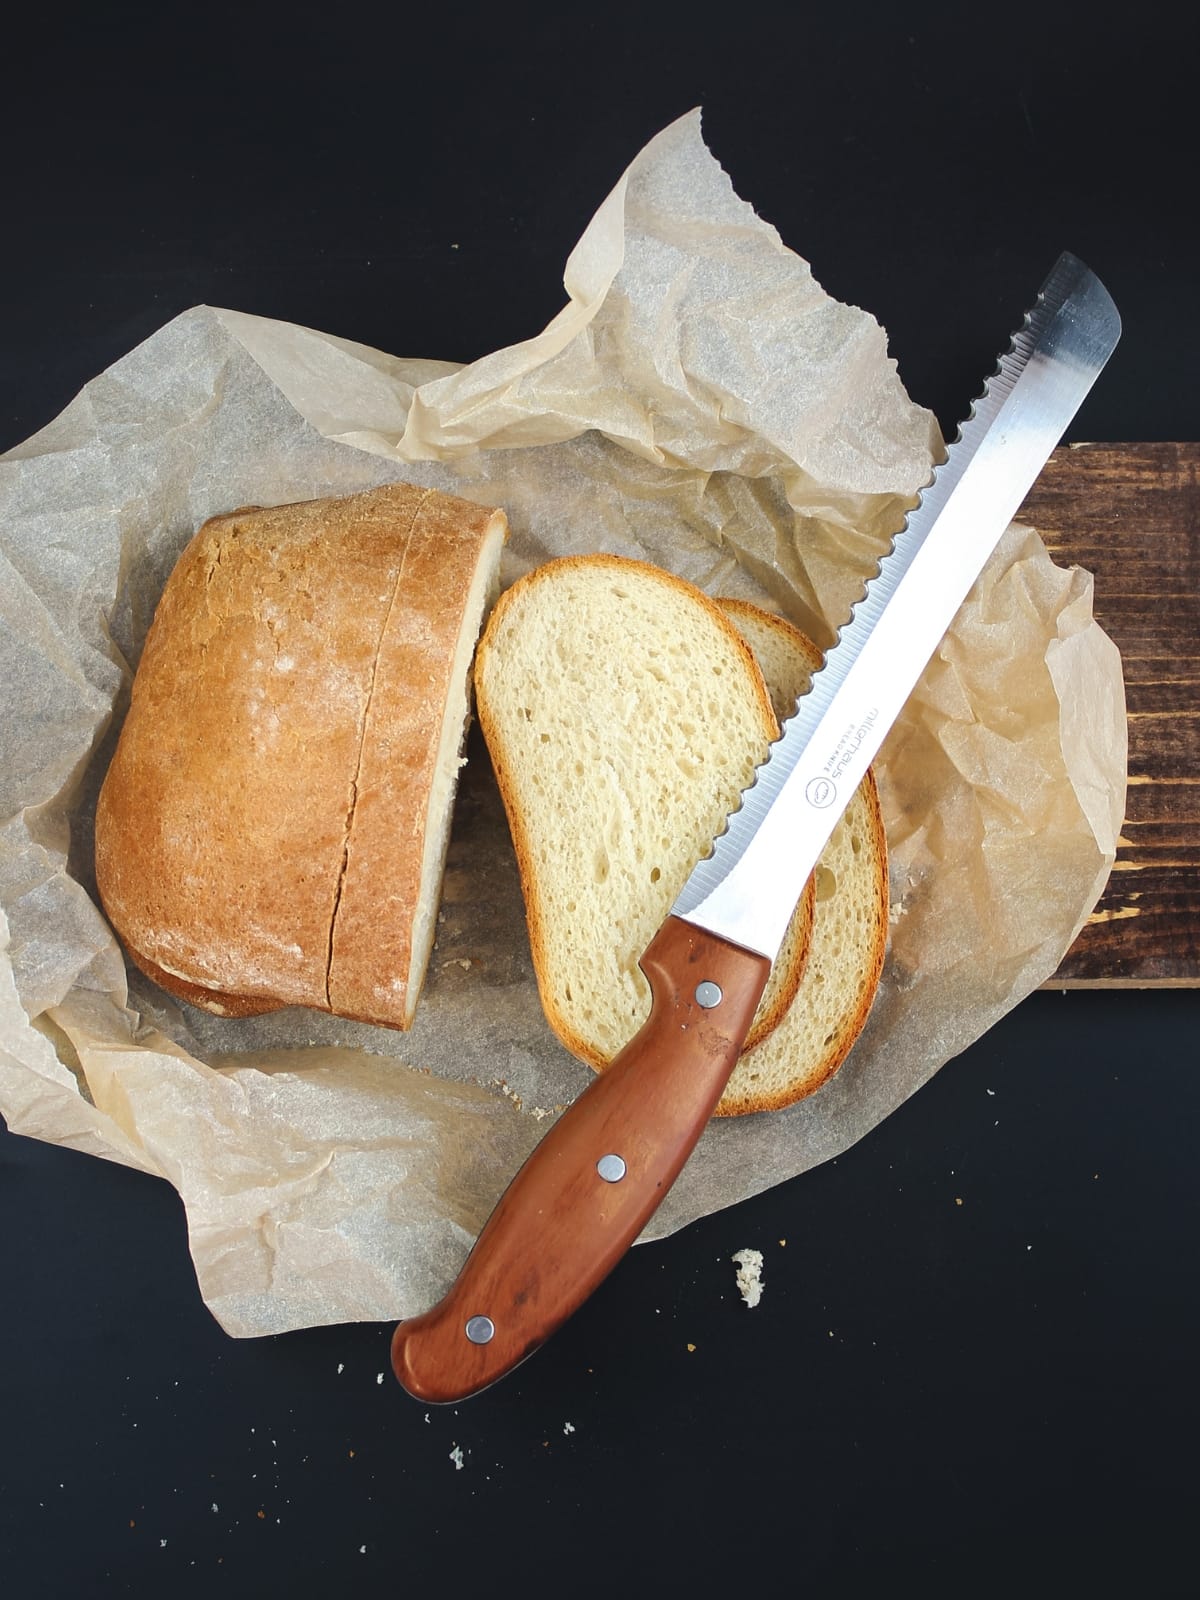
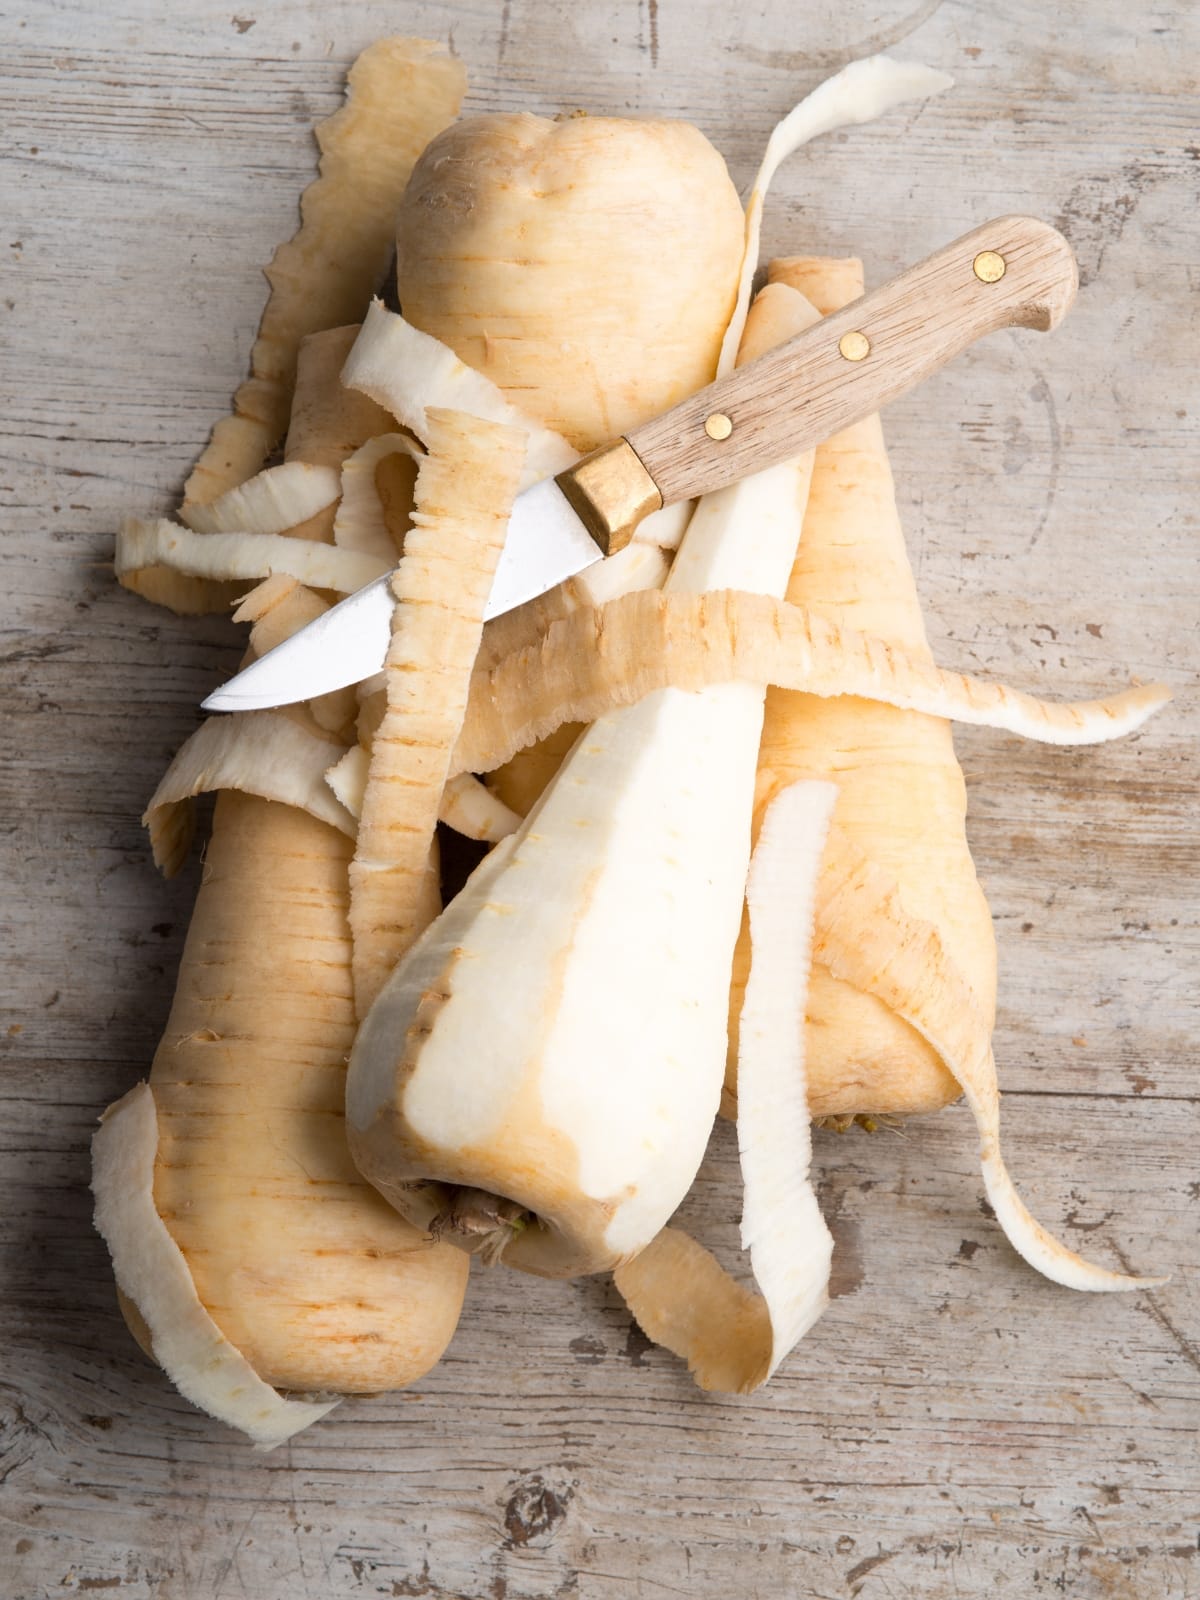
- Sharp knives: A quality boning knife and butcher knife are essential
- Large cutting board: Preferably commercial-grade plastic for sanitation
- Meat lugs or large containers for holding cut meat
- Grinding plates: Most grinders come with 3/8″ (coarse) and 3/16″ (fine) plates; a 1/4″ (medium) plate is also useful
- Vacuum sealer: Critical for proper storage and preventing freezer burn
- Digital scale: For precise mixture calculations, especially important when adding fat
- Meat mixer: While optional, dedicated meat mixers significantly improve fat integration and seasoning distribution
The investment in quality equipment pays dividends in both time saved and product quality. As MeatEater, a trusted resource for hunters, notes: “A quality grinder is a lifetime investment that transforms the way you process and enjoy your wild game.”
Preparation Before Grinding
Proper preparation is crucial when learning how to grind deer meat, venison, elk, and other wild game successfully. The steps you take before the meat touches your grinder significantly impact flavor, texture, and food safety.
The preparation process begins in the field with proper field dressing. Clean field dressing minimizes bacterial contamination and prevents off-flavors in your ground meat. Once the animal is at your processing location, aging the meat becomes an important consideration. Aging wild game, typically 7-14 days at 34-38°F, allows natural enzymes to break down muscle fibers, enhancing tenderness and flavor complexity. Experienced hunters and wildlife management experts recommend aging venison for at least 5-7 days for optimal results.
Before grinding begins, you must properly prepare your meat through these critical steps:
- Temperature control: Keep all meat and equipment thoroughly chilled. Wild game should be near freezing (32-34°F) before grinding. Many experienced processors partially freeze meat until it’s firm but not solid, making it easier to cut and preventing smearing during grinding.
- Meat preparation: Cut meat into appropriate-sized strips or cubes (1-2 inches) that will feed easily into your grinder. Remove as much silver skin, connective tissue, and damaged meat as possible. These tough elements can wrap around grinder components and create an unpleasant texture in the final product.
- Equipment preparation: Sanitize all surfaces and equipment with a food-safe sanitizer solution. Keep grinder parts (especially the die, knife, and auger) in the freezer for at least 30 minutes before grinding.
- Workflow organization: Set up a logical workflow that moves from preparation to grinding to packaging without bottlenecks. Have all packaging materials ready before grinding begins.
A critical but often overlooked preparation step involves separating different quality cuts. Not all parts of the animal are created equal for grinding:
| Cut Type | Characteristics | Best Use in Ground Meat |
|---|---|---|
| Premium (backstrap, tenderloin) | Very tender, minimal connective tissue | Typically reserved for whole-muscle cooking |
| Good (shoulder, neck, rounds) | Good flavor, moderate connective tissue | Primary grinding meat for most applications |
| Marginal (flank, brisket, ribs) | More connective tissue, may have fat | Suitable for grinding when trimmed well |
| Trim (pieces from other butchering) | Variable quality | Add to grinding pile if clean |
By taking the time to properly prepare your wild game before grinding, you set yourself up for a more efficient process and a superior end product. As the saying goes among experienced wild game processors: “The quality of your ground meat is determined before it ever touches the grinder.”
How to Grind Deer Meat
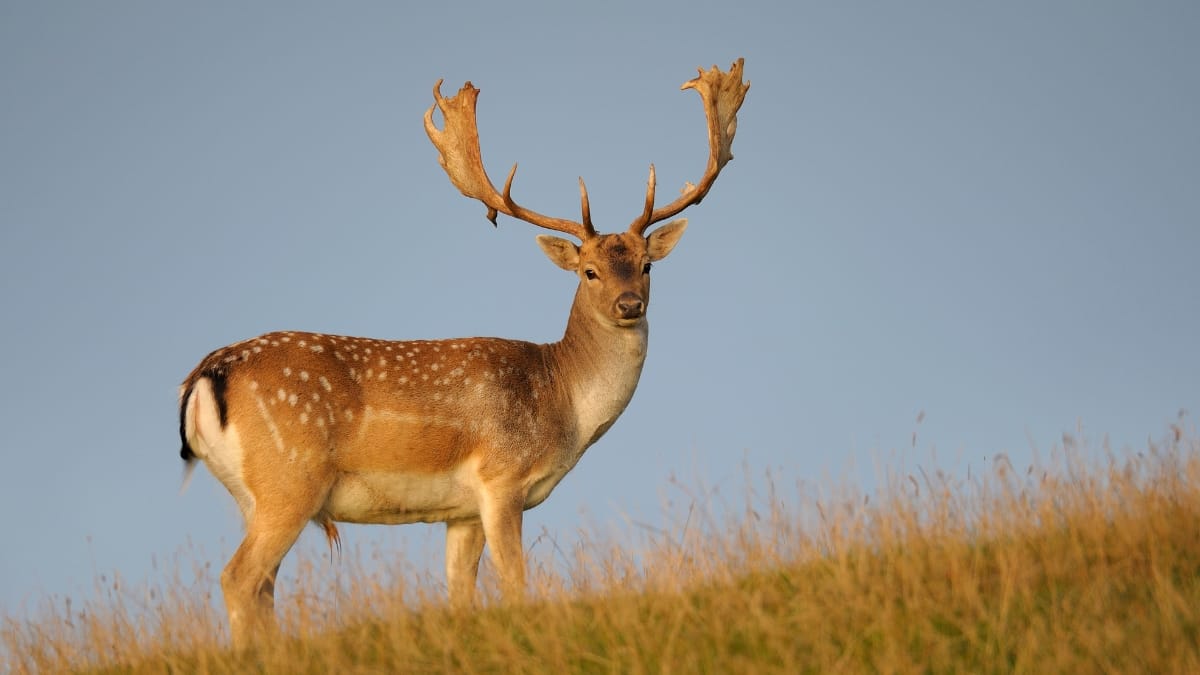
Deer meat (venison) is often the first wild game many hunters learn to process, making it the perfect starting point for mastering the grinding process for wild game meat. Whitetail deer, mule deer, and blacktail deer all yield excellent ground meat when processed correctly.
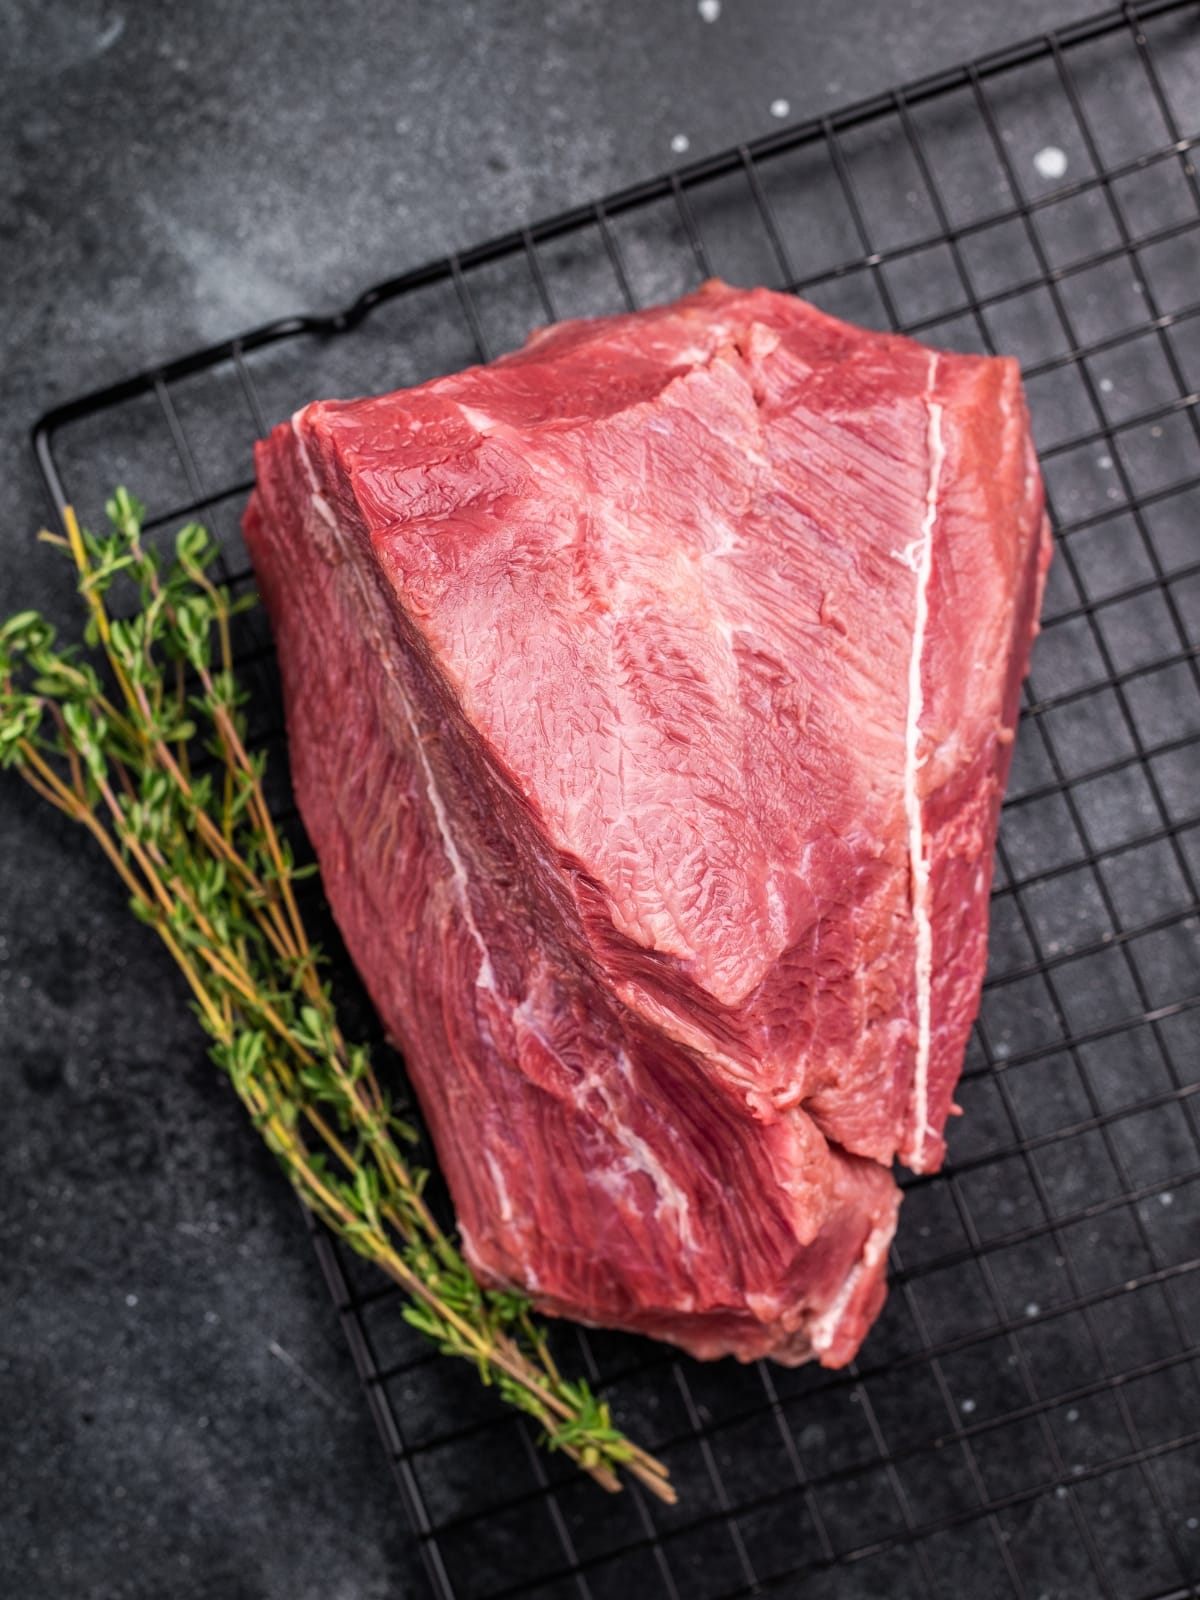
When selecting cuts of deer for grinding, focus on shoulders, neck, shanks, flank, and trim from other cuts. While premium cuts like backstrap and tenderloins can be ground, most hunters prefer to reserve these for steaks and roasts. The remainder of the deer provides plenty of excellent grinding meat.
Before grinding deer meat, thorough preparation is essential:
- Remove all silver skin and connective tissue: This tough, silvery membrane won’t break down during cooking and can cause binding issues in your grinder. Use a sharp, flexible knife to carefully remove as much as possible.
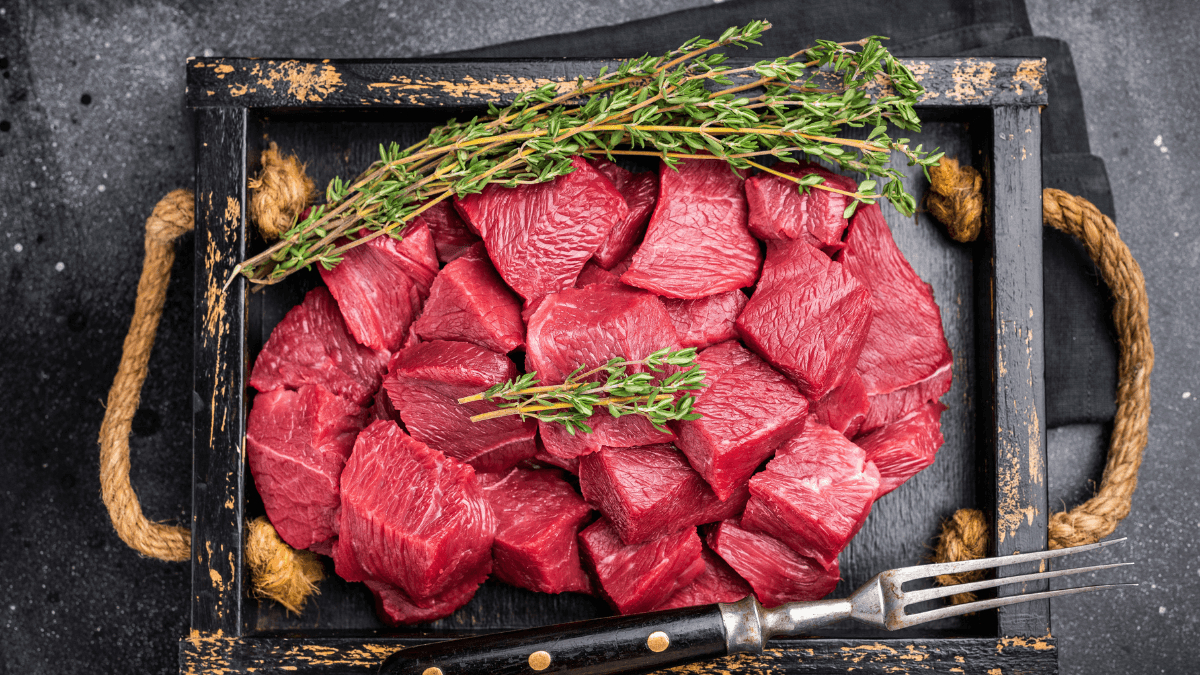
- Cut meat into manageable pieces: Create strips approximately 1-inch wide and 3-4 inches long, or cubes about 1-inch square. This size feeds easily into most grinders while maintaining good texture.
- Partially freeze the meat: Chill meat until it’s firm but not frozen solid (about 30 minutes in the freezer). This crucial step prevents smearing during grinding and maintains distinct meat particles for better texture.
Now for the actual grinding process for deer meat:
- Assemble your chilled grinder: With thoroughly chilled components, assemble your grinder according to manufacturer instructions. For the first grind of deer meat, use a coarse grinding plate (typically 3/8-inch).
- Feed meat through gradually: Don’t force or overload the grinder. Let the auger naturally pull the meat in, using the pusher only when necessary. Rushing this process generates heat and can damage your grinder.
- Monitor temperature constantly: The meat must remain cold throughout grinding. If it begins to warm or look smeared rather than distinctly ground, stop and chill everything again.
- Consider a second grind: For burger patties and most recipes, a second grind through a finer plate (typically 1/4-inch) produces ideal texture. Allow the meat to chill again before this second grind.
- Add fat during final grind: Because deer meat is extremely lean (typically 2-3% fat), adding fat during the final grind is essential for most applications. A ratio of 10-20% fat to 80-90% deer meat creates optimal moisture and texture.
Professional wild game processors emphasize, “The key to perfect ground venison is temperature control—keep everything cold enough that you can’t comfortably hold the meat in your bare hand for more than a few seconds.”
For those concerned about “gamey” flavor in ground deer meat, proper field dressing, aging, and fat selection play crucial roles. Removing all tallow (deer fat), which carries much of the strong flavor, and replacing it with milder pork or beef fat produces ground meat that even those sensitive to game flavors find enjoyable.
How to Grind Venison
While “venison” technically refers to deer meat, many culinary traditions use the term more broadly to include elk, moose, antelope, and other cervids. For this section, we’ll focus on the specific considerations when grinding venison from various deer species, with attention to the subtle differences that influence grinding techniques.
Venison from different deer species presents varying characteristics that impact grinding:
- Whitetail deer: Typically smaller animals with meat that tends to be more delicately flavored than other deer species, especially when harvested from agricultural areas.
- Mule deer: Often have a slightly stronger flavor profile, with meat that may require more attention to fat addition during grinding.
- Blacktail deer: Similar to mule deer but with regional flavor influences based on their Pacific coastal diets.
- Axis deer: For those fortunate enough to hunt these introduced species, their meat offers exceptionally mild flavor that grinds beautifully.
Understanding the unique properties of venison is essential for successful grinding. Venison is extremely lean, typically containing less than 3% fat compared to commercial beef’s 15-30%. This leanness creates both health benefits and processing challenges.
The most critical elements when grinding venison include:
- Managing oxidation: Venison’s high iron content makes it particularly susceptible to oxidation, which accelerates off-flavor development. Grinding exposes more surface area to oxygen, potentially enhancing this effect. Minimize this by:
- Working quickly once meat is ground
- Keeping meat as cold as possible
- Adding antioxidant ingredients like rosemary extract or vitamin C (if making seasoned blends)
- Vacuum sealing promptly after grinding
- Creating proper texture: Venison’s dense muscle structure can create a different mouth feel than beef when ground. To achieve ideal texture:
- Ensure meat is partially frozen before grinding
- Consider a double-grind approach, starting with a coarse plate followed by a medium plate
- Mix thoroughly but gently after grinding to avoid compacting
- Fat integration: Unlike beef, which has marbling throughout, added fat for venison must be thoroughly incorporated. For optimal integration:
- Cut fat into similar-sized pieces as your venison before grinding
- Consider grinding meat and fat separately, then combining in a final grind
- For best results, use a dedicated meat mixer for even distribution
Wild game processing experts advocate a precise approach to fat selection when grinding venison: “For burgers and sausages, pork fat provides ideal flavor and texture, while beef fat works better for dishes where a firmer texture is desirable.”
A professional technique used by experienced venison processors involves temperature staging – keeping your venison at different temperature stages for different parts of the process:
- Initial cutting: 32-34°F (firm but not frozen)
- First grind: 28-30°F (slightly crystallized for clean grinding)
- Mixing with seasonings/fat: 32-34°F (pliable enough to mix thoroughly)
- Final grind: 28-30°F (cold enough for distinct particle definition)
This temperature management produces ground venison with exceptional texture and flavor while maximizing food safety throughout the process.
How to Grind Elk Meat
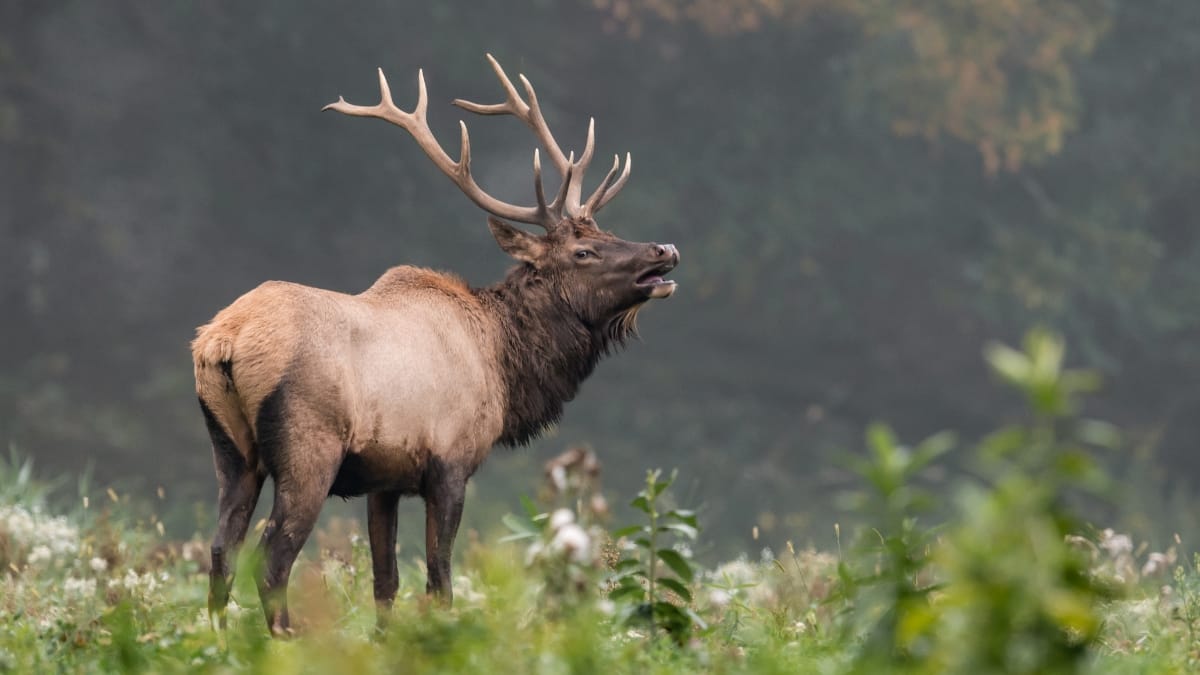
Elk represents one of the most prized wild game meats in North America, and grinding elk meat properly preserves its exceptional flavor and nutritional profile. As a larger game animal, elk presents both opportunities and challenges in the grinding process.
Elk meat offers an outstanding combination of rich flavor with a milder profile than many other wild game species. Its exceptional protein content (approximately 30% higher than beef) and extremely low fat content (typically 2% or less) make it a nutritional powerhouse. However, these same characteristics require special consideration during grinding.
The specific cuts of elk best suited for grinding include:
- Neck: Rich in flavor with sufficient connective tissue that benefits from grinding
- Shoulder (chuck): Excellent flavor with good meat-to-connective-tissue ratio
- Shanks: Too tough for steaks but perfect for grinding
- Trim from premium cuts: Maximizes use of the animal
- Flanks and lower ribs: Good grinding candidates when properly trimmed
When preparing to grind elk meat, additional considerations beyond those for deer include:
- Size management: Elk muscles are substantially larger than deer, requiring more careful cutting into appropriately sized pieces before grinding. Cut across the grain when possible, and aim for consistently sized pieces to ensure even grinding.
- Sinew handling: Elk contain more substantial sinew (tendon) that can wrap around grinder blades. Take extra time to remove as much visible sinew as possible before grinding.
- Temperature control: Elk’s large muscle mass retains heat longer, requiring more attention to keeping the meat cold throughout processing. Consider working with smaller batches and returning meat to the refrigerator more frequently.
For the actual elk grinding process, follow these specialized steps:
- Use the right grinder: Elk’s density demands more power than deer processing. A #12 size grinder with at least 500 watts is recommended as a minimum, with commercial-grade #22 or #32 grinders being ideal for serious elk hunters.
- Initial coarse grind: Begin with a 3/8″ plate for the first grind, monitoring closely for any sinew wrapping around the auger or knife.
- Chill thoroughly after first grind: Elk meat heats up quickly during grinding due to its density. After the first grind, return the meat to the refrigerator until properly chilled (28-30°F) before proceeding.
- Fat addition considerations: Due to elk’s extremely lean nature, fat addition is even more critical than with deer. For elk burgers, consider:
- 15-20% fat for juicy, flavorful burgers
- 10-15% for general purpose ground elk
- 5-10% for very lean preparations like meat sauce
Properly ground elk meat delivers exceptional flavor while providing nearly twice the protein per calorie compared to commodity beef, making it one of nature’s perfect proteins. This nutritional advantage makes elk an outstanding choice for health-conscious hunters and their families.
A technique particularly effective with elk is “grinding by temperature gradient,” where you keep the meat at progressively colder temperatures as you move through the grinding process. This approach accounts for the heat generated during grinding and delivers a superior final product:
- Cut meat at 34°F
- Initial grind at 30°F
- Mix with fat/seasonings at 32°F
- Final grind at 28°F
This methodical approach produces ground elk with exceptional particle definition, moisture retention, and flavor preservation.
How to Grind Wild Turkey Meat
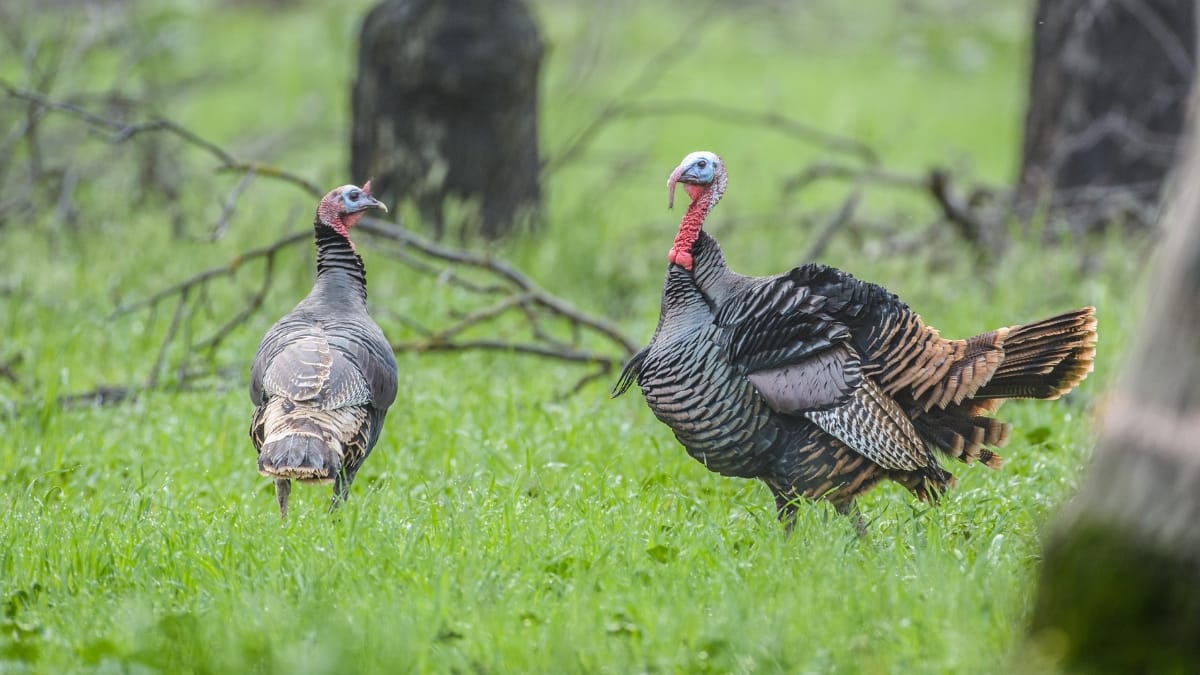
While most hunters primarily associate grinding with big game, grinding wild turkey meat offers a fantastic way to utilize this delicious bird beyond the traditional breast preparations. Wild turkey provides unique opportunities and challenges compared to grinding red meat game species.
Wild turkey stands apart from other game in several ways:
- Lower fat content: Even leaner than deer or elk, typically containing less than 1% fat
- Different muscle structure: More fine-grained and less dense than red meat game
- Multiple meat types: Dark meat (legs, thighs) and light meat (breast) with different flavors and textures
- Smaller overall yield: A typical wild turkey provides 3-5 pounds of grindable meat
The best parts of wild turkey for grinding include:
- Legs and thighs: Excellent flavor but too tough for whole-muscle cooking
- Wings: Small amount of meat but adds good flavor to grinds
- Trim from breast: Any pieces left from breast preparation
- Back and neck meat: Small amounts but worth including
When preparing wild turkey for grinding, follow these specialized steps:
- Remove all skin: Unlike domestic poultry, wild turkey skin can impart a strong flavor to ground meat. Remove it completely before grinding.
- Address tendons carefully: Wild turkey legs contain substantial tendons that must be removed or they’ll wrap around grinder components. For leg meat:
- Simmer legs in water for 2-3 hours until meat easily pulls from tendons
- Once cooled, separate meat from tendons by hand
- Chill thoroughly before grinding
- Properly handle different meat types: Consider grinding dark and light meat separately, as they cook at different rates. This allows custom blending for specific recipes later.
The actual turkey grinding process requires adjustments compared to red meat:
- Use a finer grinding plate: Wild turkey benefits from a finer grind than deer or elk. After an initial coarse grind (if needed), finish with a 3/16″ or 1/8″ plate.
- Add fat differently: Turkey’s extremely lean nature requires fat addition, but it integrates differently than with red meat. Options include:
- Ground pork fat (traditional option, 20-30% by weight)
- Olive oil (2-3 tablespoons per pound for moisture without changing flavor profile)
- Butter (adds richness, 2-4 tablespoons per pound depending on application)
- Consider moisture addition: Unlike red meat, ground wild turkey benefits from moisture addition:
- Broth (1-2 tablespoons per pound)
- Finely minced vegetables like onions and peppers (up to 1/4 cup per pound)
- Breadcrumbs soaked in milk (2-3 tablespoons per pound)
Wild turkey legs and thighs, when properly ground, create a product with more flavor depth than commercially ground turkey, making them perfect for chili, tacos, and meat sauces. This remarkable difference comes from the bird’s natural diet and active lifestyle.
Safety considerations are particularly important with wild turkey:
- Always maintain proper temperature control (below 40°F) throughout processing
- Cook ground wild turkey to an internal temperature of 165°F
- Process promptly after hunting, as wild turkey doesn’t benefit from aging
- Consider targeted freezing before grinding to kill any potential parasites
A creative approach many hunters take with wild turkey is creating specialized blends:
| Blend Type | Composition | Best Used For |
|---|---|---|
| Turkey Burger | 70% turkey, 30% pork fat | Grilling, burgers |
| Turkey Italian | 80% turkey, 20% pork fat + Italian seasonings | Pasta sauces, meatballs |
| Turkey Breakfast | 70% turkey, 30% pork fat + sage, maple, brown sugar | Breakfast sausage |
| Turkey Taco | 90% turkey, 10% olive oil + Mexican spices | Tacos, enchiladas |
How to Grind Wild Hog Meat
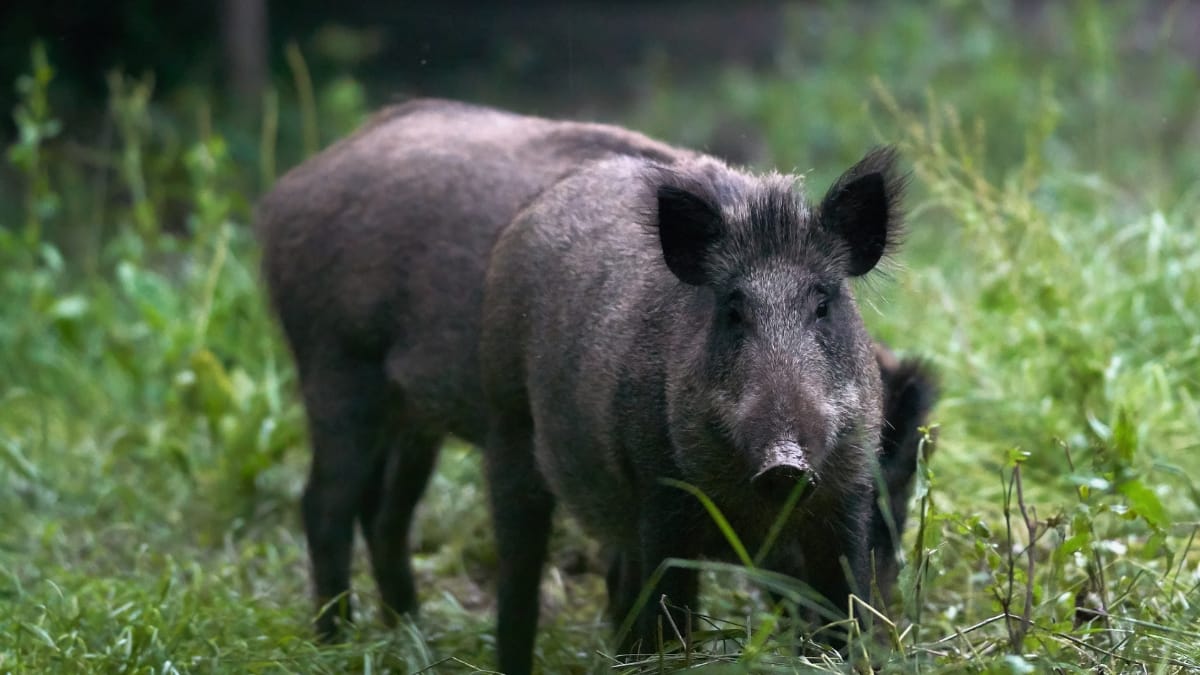
Wild hog (feral pig) populations have exploded across North America, creating both environmental challenges and hunting opportunities. Learning how to grind wild hog meat properly allows hunters to create delicious products while helping manage this invasive species.
Wild hog meat differs significantly from both domestic pork and other wild game:
- Variable fat content: Depending on diet, age, and sex, wild hogs can range from very lean (5% fat) to moderately fatty (15%+)
- Stronger flavor profile: More pronounced than domestic pork but less gamey than venison
- Denser muscle structure: Results from the animal’s active lifestyle
- Special safety considerations: Requires particular attention to food safety practices
The best cuts of wild hog for grinding include:
- Shoulder: Excellent flavor with good fat distribution
- Neck: Rich flavor but requires careful trimming
- Hams (hindquarters): Large muscles that grind well
- Belly and ribs: Higher fat content, good for leaner blends
- Trim from other cuts: Maximizes utilization
Before grinding wild hog meat, several critical preparation steps are necessary:
- Temperature control: Wild hog requires even stricter temperature management than other game. Always keep below 40°F and preferably around 34°F during processing.
- Trichinella prevention: Wild hogs can carry Trichinella spiralis, a parasite eliminated by proper cooking. As a safety measure:
- Freeze meat at 0°F or below for at least 20 days before grinding, or
- Ensure all ground products will be cooked to 160°F internal temperature
- Age and diet assessment: The animal’s age and diet significantly impact fat quality and flavor:
- Younger hogs (under 125 pounds) typically have milder flavor
- Hogs from agricultural areas often have better-tasting fat
- Older boars may require more seasoning or fat replacement
The actual process for grinding wild hog meat includes:
- Fat evaluation: Unlike deer or elk where you typically add fat, with wild hog you must decide whether to:
- Use the animal’s natural fat (if younger and diet was good)
- Remove most fat and add pork fat from another source
- Create a hybrid approach based on quality assessment
- Grinding technique: Wild hog benefits from a two-stage grinding approach:
- Initial grind with 3/8″ plate
- Final grind through 1/4″ plate for most applications
- Temperature monitoring: Wild hog fat softens quickly during grinding, potentially causing smearing. Keep everything very cold and work efficiently.
Hunting experts widely agree that properly processed wild hog can rival or exceed the quality of commercial pork while offering the satisfaction of harvesting a sustainable protein source and helping manage an invasive species.
A unique aspect of wild hog processing is the versatility in final products. The natural flavor profile works exceptionally well for:
- Breakfast sausage (traditional with sage and maple)
- Italian sausage (with fennel and garlic)
- Chorizo (with paprika and chili peppers)
- Traditional pork applications (meatballs, burgers, etc.)
How to Grind Rabbit Meat
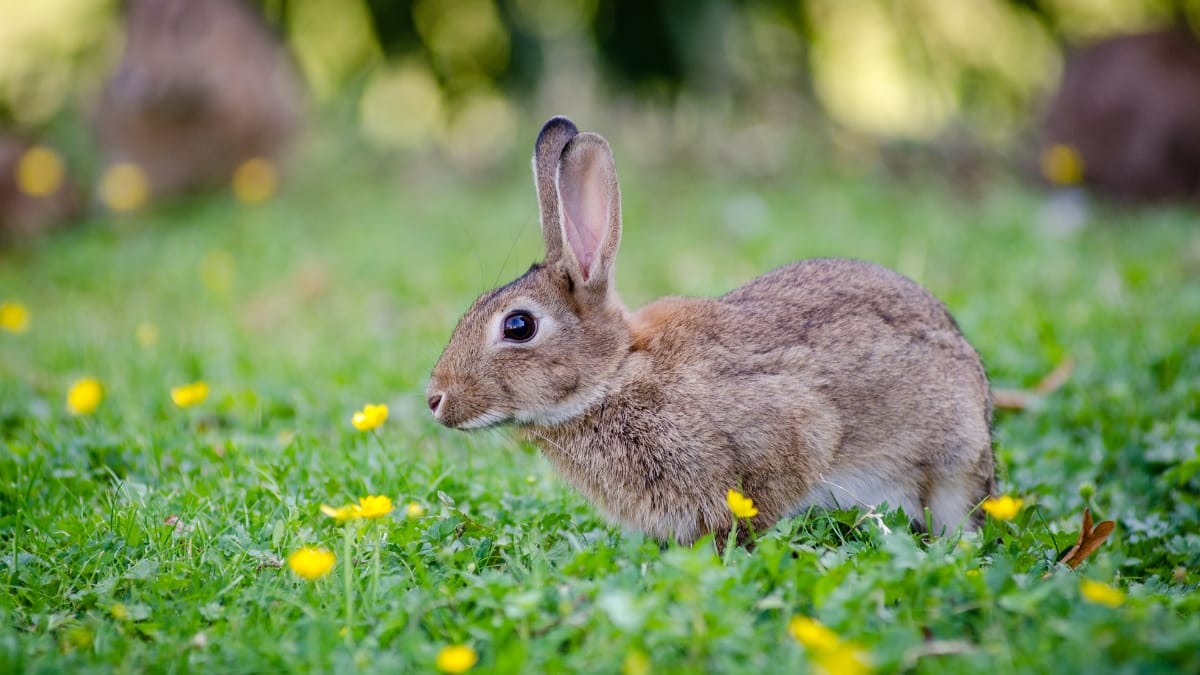
Rabbit hunting offers sustainable protein with exceptional flavor, and grinding rabbit meat provides versatility beyond traditional cooking methods. Whether from wild cottontails, jackrabbits, or domestic rabbits, ground rabbit meat offers unique culinary properties.
Rabbit meat presents distinct characteristics:
- Extremely lean: With less than 1% fat content, rabbit is among the leanest meats available
- Mild flavor profile: More subtle than other wild game, often described as a cross between chicken and pork
- Fine-grained texture: Creates a unique mouthfeel when ground
- Small overall yield: A typical wild rabbit provides 1-2 pounds of meat
The best approach for preparing rabbit for grinding involves:
- Complete bone removal: Unlike larger game where bones are naturally separated during butchering, rabbit requires careful attention to remove small bones that could damage grinder components.
- Connective tissue management: Rabbits have proportionally more connective tissue than larger animals. Take time to remove silver skin and visible tendons.
- Size consideration: The small amount of meat from a rabbit leads many processors to save meat from multiple rabbits in the freezer until they have enough for an efficient grinding session (typically 5+ pounds).
- Meat categorization: Consider separating:
- Loin and hindquarters (premium meat)
- Shoulders and ribs (good grinding candidates)
- Trim and smaller pieces (perfect for grinding)
The actual process for grinding rabbit meat requires specific adaptations:
- Use the right grinding plate: Rabbit benefits from a finer grind than deer or elk:
- Initial grind: Use a 1/4″ or 3/16″ plate
- Second grind (if desired): Use a 1/8″ plate
- Fat addition is critical: Due to rabbit’s extremely lean nature, adding fat is essential:
- Pork fat: 20-30% by weight creates optimal texture and moisture
- Butter: For specialty applications, adds richness (2-4 tablespoons per pound)
- Olive oil: For leaner applications (1-2 tablespoons per pound)
- Cold chain management: Rabbit meat warms quickly during grinding due to its fine texture:
- Freeze grinder parts before starting
- Work with small batches
- Return meat to refrigerator if it begins to warm
Wild game experts consistently note that ground rabbit offers the perfect introduction to wild game for those unaccustomed to stronger flavors, while providing experienced wild game cooks with a versatile protein for sophisticated dishes.
Rabbit’s mild flavor makes it ideal for complex seasoning profiles:
| Seasoning Profile | Key Ingredients | Best Applications |
|---|---|---|
| Herbal French | Thyme, rosemary, lavender | Patties, meatballs, stuffing |
| Mediterranean | Garlic, oregano, lemon zest | Meatballs, pasta fillings |
| Southwest | Cumin, chili, cilantro | Tacos, chili, empanadas |
| Asian Fusion | Ginger, scallion, sesame | Dumplings, lettuce wraps |
Storage and Preservation Methods
Proper storage is the final critical step after grinding deer, venison, elk, and other wild game meat. The effort invested in harvesting, processing, and grinding deserves equally careful preservation to maintain quality and safety.
Wild game presents unique storage challenges compared to commercial meat:
- Higher bacterial load potential from field processing
- Lower fat content that can lead to freezer burn more quickly
- Greater susceptibility to oxidation due to higher iron content
- More variable moisture content
The cooling process after grinding demands immediate attention:
- Initial cooling: After grinding, cool meat as rapidly as possible:
- Spread in thin layers on chilled cookie sheets
- Place in refrigerator uncovered until internal temperature reaches 35-38°F
- Avoid covering hot meat, which can trap heat and create bacterial growth conditions
- Short-term refrigeration: Ground wild game can be safely refrigerated:
- Maximum 1-2 days at 34-38°F
- Store in airtight containers
- Place in coldest part of refrigerator (usually back bottom shelf)
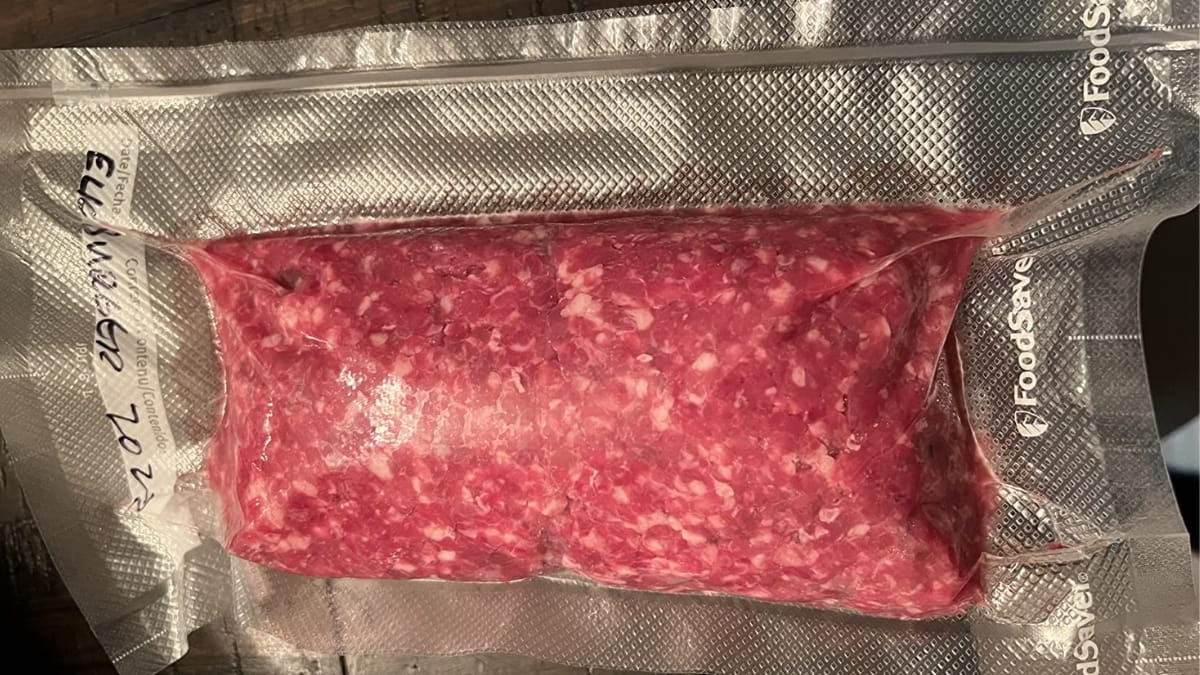
For long-term freezer storage, follow these best practices:
- Packaging options:
- Vacuum sealing: The gold standard, reducing oxidation and freezer burn.
- Freezer paper: Wrap tightly with freezer paper, shiny side toward the meat, then tape securely.
- Plastic wrap plus freezer bag: Double-protection method involving tightly wrapping with plastic wrap followed by heavy-duty freezer bags with air removed.
- Portion sizing: Package in meal-ready portions:
- 1-pound packages work for most family meals
- Patty-ready packaging (separated by parchment) for burgers
- Recipe-specific quantities for specialty preparations
- Labeling system: Create a clear, consistent labeling system including:
- Type of meat and fat percentage
- Cut used and grind size
- Seasonings added (if any)
- Packaging date
- “Use by” date (typically 6-12 months from packaging)
Food preservation specialists confirm that properly packaged ground wild game can maintain high quality for 6-9 months in a standard freezer and 12+ months in a deep freezer maintained at 0°F or below.
For those seeking alternative preservation methods:
- Pressure canning: Requires strict adherence to safe pressure canning procedures:
- Must use tested recipes from reliable sources
- Requires proper pressure canner (not water bath)
- Process at 10-11 pounds pressure (varies by altitude)
- Typical processing time: 75-90 minutes for pint jars
- Dehydration: Creating shelf-stable jerky or meat crumbles:
- Must first treat meat to eliminate bacteria (heating or curing)
- Requires thorough drying to safe moisture levels
- Store in oxygen-free environment for maximum shelf life
- Freeze-drying: For those with access to freeze-drying equipment:
- Results in lightweight, shelf-stable product
- Maintains excellent flavor and nutrition
- Rehydrates well for use in recipes
Temperature fluctuations significantly impact storage life. Each time a freezer cycles or doors open, slight thawing and refreezing damage meat quality. Deep freezers with less temperature variation preserve quality longer than refrigerator-freezer combinations.
FAQs
How fine should I grind deer meat?
The ideal grind size for deer meat and other venison depends on your intended use. For burgers and general cooking, a medium grind (1/4-inch plate) creates optimal texture. For sausages, start with a coarse grind (3/8-inch) followed by a fine grind (3/16-inch) for binding. Meat sauces and fillings benefit from a fine grind (1/8-inch). Many processors use a two-stage approach: initial coarse grind followed by a second grind at the desired final size.
Can I mix different wild game meats when grinding?
Yes, mixing different game meats often creates superior products. Combining deer meat with elk, wild hog, or other game balances flavors and textures. Leaner meats (venison, elk) pair well with slightly fattier options (wild hog). When mixing game meats, ensure all are equally fresh and properly handled. Keep good records of your combinations to replicate successful blends.
What’s the best fat-to-meat ratio for venison burgers?
For optimal venison and deer burgers, aim for 15-20% fat content (80-85% lean meat). This ratio provides juiciness and flavor while maintaining the health benefits of wild game. Less than 10% fat often results in dry, crumbly burgers, while more than 25% can cause excessive shrinkage and flare-ups when cooking. Pork fat typically works best for venison burgers, with beef fat as a good alternative.
Is it necessary to add fat to wild game meat?
For most applications, yes. Without added fat, ground wild game like venison, elk, and rabbit will be extremely dry and can develop a crumbly texture when cooked. The exception is wild hog, which sometimes contains adequate natural fat. Beyond moisture, fat carries flavor compounds and improves mouthfeel. Even when cooking very lean for health reasons, a minimum of 5-7% fat significantly improves quality.
How do I remove the gamey taste from ground wild game?
Several effective techniques can reduce perceived gaminess in ground deer, elk, and other wild game:
- Proper field dressing and prompt cooling minimize gamey flavors from the start
- Remove all silver skin, fat, and glands before grinding
- Soak meat in milk overnight before grinding
- Add complementary seasonings like juniper, rosemary, or sage
- Incorporate umami-rich ingredients like mushrooms or Worcestershire sauce
- Mix with milder meats (like pork) for balanced flavor
Can I grind wild game that’s been frozen?
Yes, but with some considerations. For best results, thaw frozen venison or other wild game in the refrigerator until pliable but still partially frozen (ideally 28-30°F). Completely thawed meat tends to smear during grinding, while fully frozen meat stresses grinder components. If grinding previously frozen meat, work quickly and keep everything very cold. The quality will be slightly reduced compared to fresh meat but still excellent when handled properly.
How long can I store ground wild game in the freezer?
Properly packaged ground deer meat, venison, and wild game maintains high quality for 6-9 months in a regular freezer and up to 12 months in a deep freezer. Vacuum-sealed packages last significantly longer than those wrapped in freezer paper or plastic. Quality gradually declines with time; while safe to eat beyond these timeframes, flavor and texture will deteriorate. Label packages with dates and follow a first-in, first-out usage system.
What grinder plate size should I use for different recipes?
Choose grinder plate sizes based on your recipe needs:
- Burgers and meatloaf: 1/4″ (medium) plate
- Chili and meat sauces: 1/8″ (fine) plate
- Sausage: Initial 3/8″ (coarse) followed by 3/16″ (fine)
- General purpose: 1/4″ (medium) plate
- Meatballs: 1/4″ (medium) or mixed 3/8″ and 1/8″ for texture
Should I grind wild game once or twice?
For most applications, grinding wild game meat twice produces superior texture. The first grind with a coarse plate (3/8″) breaks down the meat, while the second grind with a medium plate (1/4″) creates consistent particle size. This double-grinding approach also allows better integration of fat and seasonings between grinds. Single grinding works for very tender cuts or when a rustic texture is desired. Always chill meat between grinds.
How do I sanitize my grinder between different meat types?
Thorough sanitization between processing different types of wild game meat is essential for food safety:
- Disassemble grinder completely
- Rinse parts with hot water to remove visible meat particles
- Wash all parts with hot, soapy water
- Sanitize with food-safe sanitizer solution (follow product directions)
- Rinse with clean water if required by sanitizer instructions
- Air dry completely or dry with clean paper towels
- Reassemble only when ready to use again
Conclusion
Mastering how to grind deer meat, venison, elk, and other wild game transforms your hunting experience by connecting the field to table in the most direct way possible. The journey from harvest to perfectly ground wild game requires attention to detail, proper equipment, and technique—but the results are well worth the effort.
The rewards of grinding your own wild game extend beyond the excellent meals you’ll create. There’s profound satisfaction in completely processing your own harvest, honoring the animal by utilizing every possible cut. You’ll gain confidence in your self-sufficiency skills while creating nutritious, clean protein for your family.
Remember these key principles as you develop your wild game grinding expertise:
- Temperature is critical: Keep meat and equipment cold throughout the process
- Quality grinding requires quality preparation: Take time to properly clean and trim meat
- Fat addition transforms wild game: Learn to balance fat ratios for different applications
- Proper storage preserves your hard work: Invest in quality packaging systems
- Experimentation leads to excellence: Keep records of your processes and results
As you continue refining your skills, share your knowledge with new hunters and processors. The traditions of wild game utilization depend on passing techniques to the next generation of conservation-minded hunters.
Whether you’re grinding your first deer or processing your twentieth elk, remember that each animal deserves respect through careful, thoughtful processing. The connection between hunter, harvest, and table represents one of the most authentic food experiences possible in our modern world.