Grinding meat at home is a game-changer for home cooks seeking superior flavor, customized fat content, and enhanced food safety. This comprehensive guide walks you through equipment options, meat selection, proper techniques, and creative recipes to help you master the art of home meat grinding and elevate your culinary creations to restaurant quality.
Why Grind Your Own Meat?
Store-bought ground meat is convenient, but grinding meat at home delivers a remarkable upgrade to your cooking. Once you experience the difference in taste and texture, you’ll understand why culinary enthusiasts and professional chefs prefer freshly ground meat.
Superior Flavor and Freshness
Pre-packaged ground meat from grocery stores often sits for days after grinding, resulting in oxidation that impacts both flavor and color. This exposure to air causes the fat to develop rancid notes and the meat to lose its natural sweetness. When you grind meat at home, you’re working with freshly cut surfaces that haven’t had time to oxidize, preserving the meat’s true flavor profile. Freshly ground meat contains significantly higher levels of volatile compounds that contribute to pleasant aromas and flavors compared to meat that’s been ground and stored for even 24 hours.
Complete Control Over Quality
Commercial ground meat frequently comes from multiple animals and various cuts, sometimes including less desirable trimmings. When grinding at home, you select specific cuts of meat – allowing you to choose grass-fed, organic, or locally raised options if desired.
Additionally, store-bought ground meat often contains preservatives like sodium phosphate or additives to enhance color preservation. Home grinding eliminates these additives, giving you pure meat without unwanted chemicals.
Customizable Fat Content
One of the most significant advantages of grinding meat at home is the ability to control fat content precisely. Rather than being limited to “lean” or “regular” options at the store, you can:
- Create ultra-lean blends for health-conscious recipes
- Add extra fat for juicier burgers
- Mix different fat sources (like adding bacon to lean cuts)
- Adjust fat percentages for specific dishes
This level of customization is particularly valuable for specialized diets or when perfecting recipe development.
Food Safety Advantages
According to the USDA Food Safety and Inspection Service, ground meat poses a higher food safety risk than whole cuts because any bacteria present on the surface gets distributed throughout the product during grinding. When you grind meat at home, you:
- Reduce the number of surface areas exposed to potential contamination
- Eliminate the risk of cross-contamination from multiple animal sources
- Control the cleanliness of grinding equipment
- Minimize the time between grinding and cooking
These factors significantly reduce your risk of foodborne illness compared to commercially ground products.
Equipment Options for Home Meat Grinding
Selecting the right equipment for grinding meat at home depends on your budget, frequency of use, and volume needs. Here’s a comprehensive breakdown of your options:
Dedicated Meat Grinders

Manual Meat Grinder require physical effort but offer advantages like:
- No electricity needed
- Often more affordable ($30-100)
- Simple mechanics with fewer breakable parts
- Good for small batches
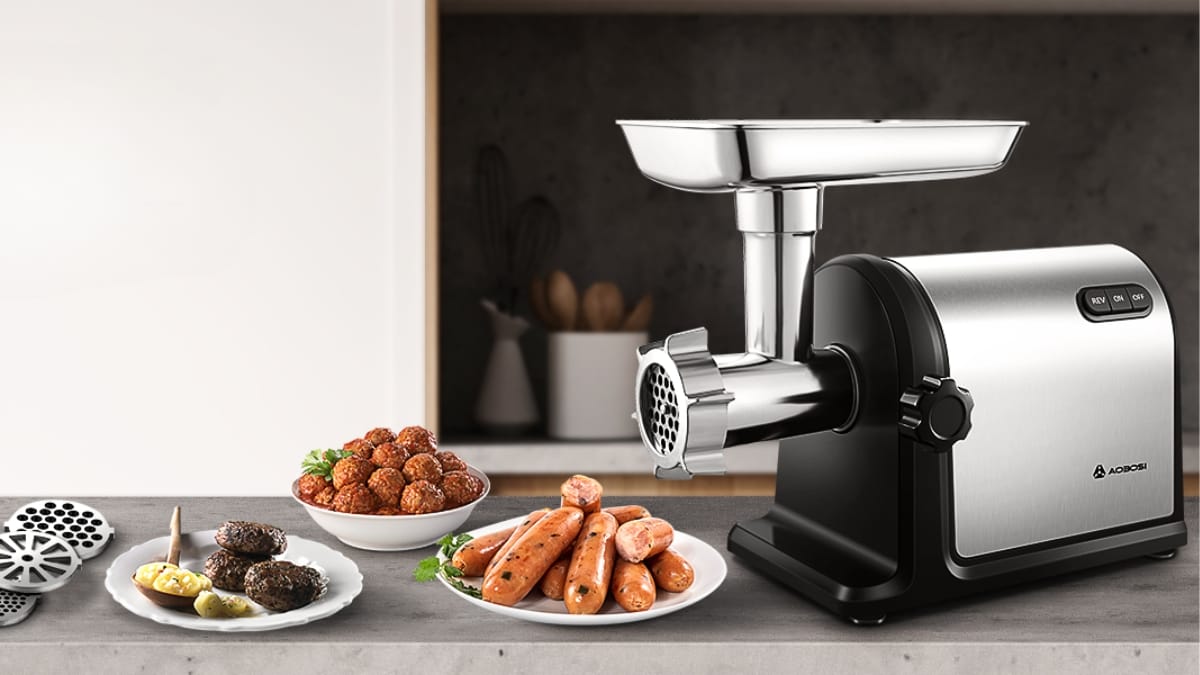
Electric Meat Grinder models range from basic home versions to commercial-grade equipment:
- Entry-level models ($60-150): Suitable for occasional grinding of softer meats
- Mid-range models ($150-300): Handle regular use and tougher cuts
- Professional models ($300+): Process large volumes quickly with durable components
When shopping for an electric grinder, look for:
- Metal gears rather than plastic
- Motor power (higher wattage handles tough cuts better)
- Reverse function for clearing clogs
- Multiple grinding plates
- Ease of disassembly for cleaning
A quality entry-level electric grinder should handle at least 2-3 pounds of meat per minute without overheating.
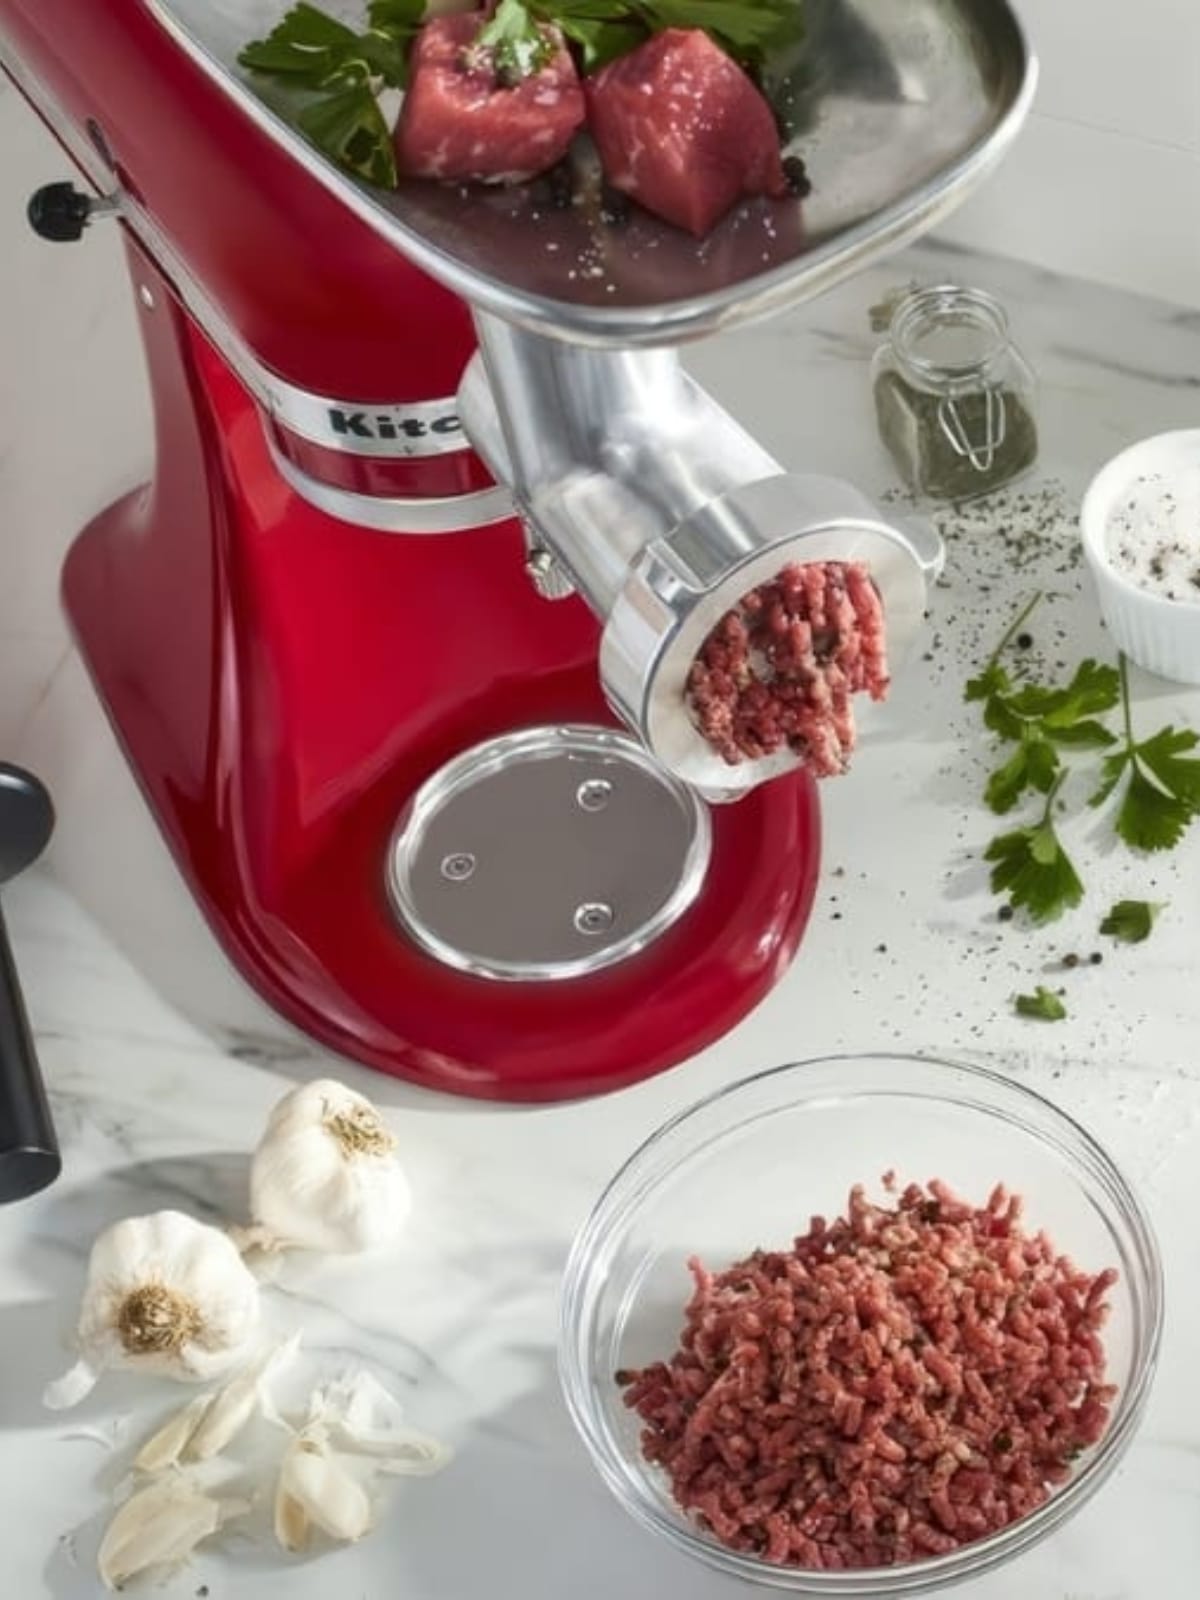
Kitchen Aid Attachments
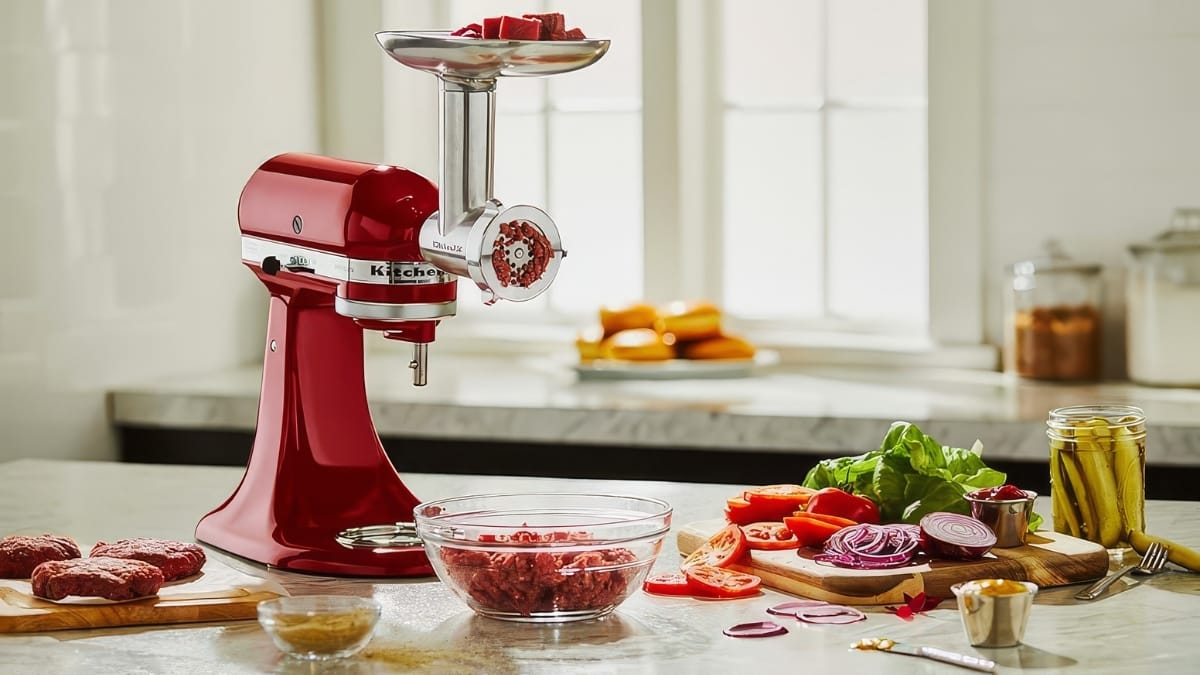
If you already own a KitchenAid stand mixer, the meat grinder attachment provides a cost-effective entry point:
- Typically costs $50-80
- Uses your mixer’s motor to power the grinding mechanism
- Good for small to medium batches
- Easy storage compared to a dedicated grinder
While convenient, KitchenAid attachments have limitations:
- Lower power than dedicated grinders
- May struggle with tougher cuts or larger batches
- Motor can heat up with extended use
Food Processors and Alternatives
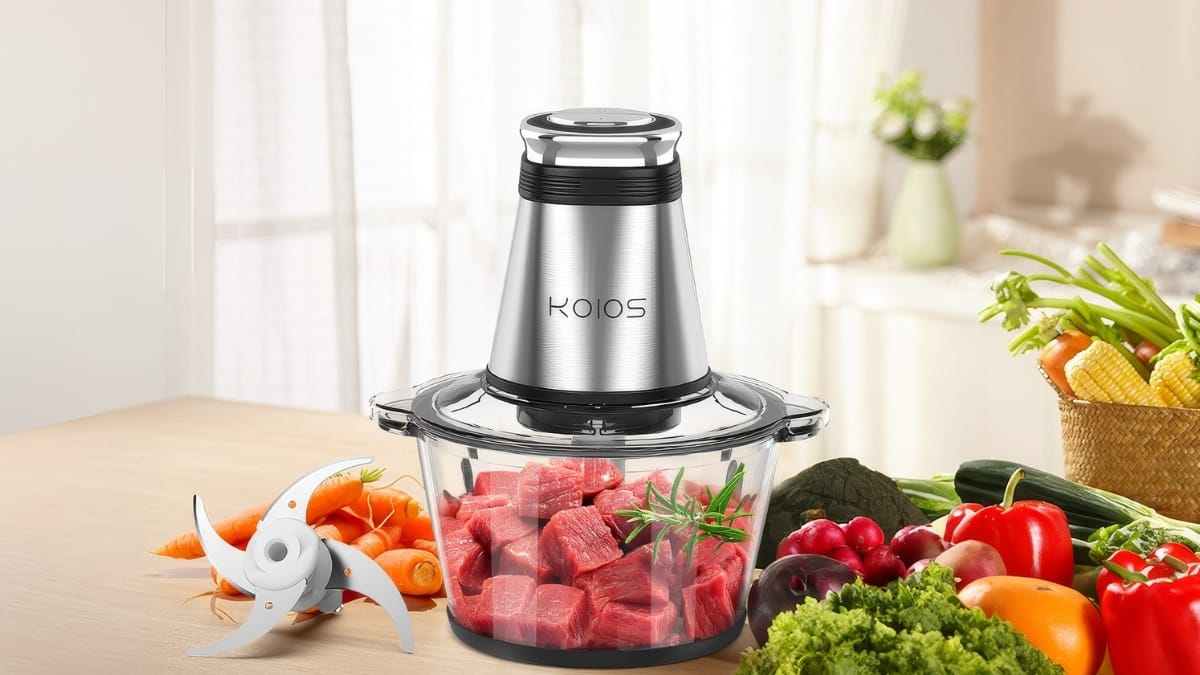
Yes, you can grind meat in a food processor, though the results differ from a proper grinder:
Food Processor Method:
- Cut meat into 1-inch cubes
- Partially freeze meat until firm but not solid (about 20-30 minutes)
- Work in small batches (no more than half-full)
- Pulse in short bursts rather than continuous processing
- Expect a less uniform texture than with a grinder
Other Improvised Methods:
- High-powered blenders (like Vitamix) using the pulse function
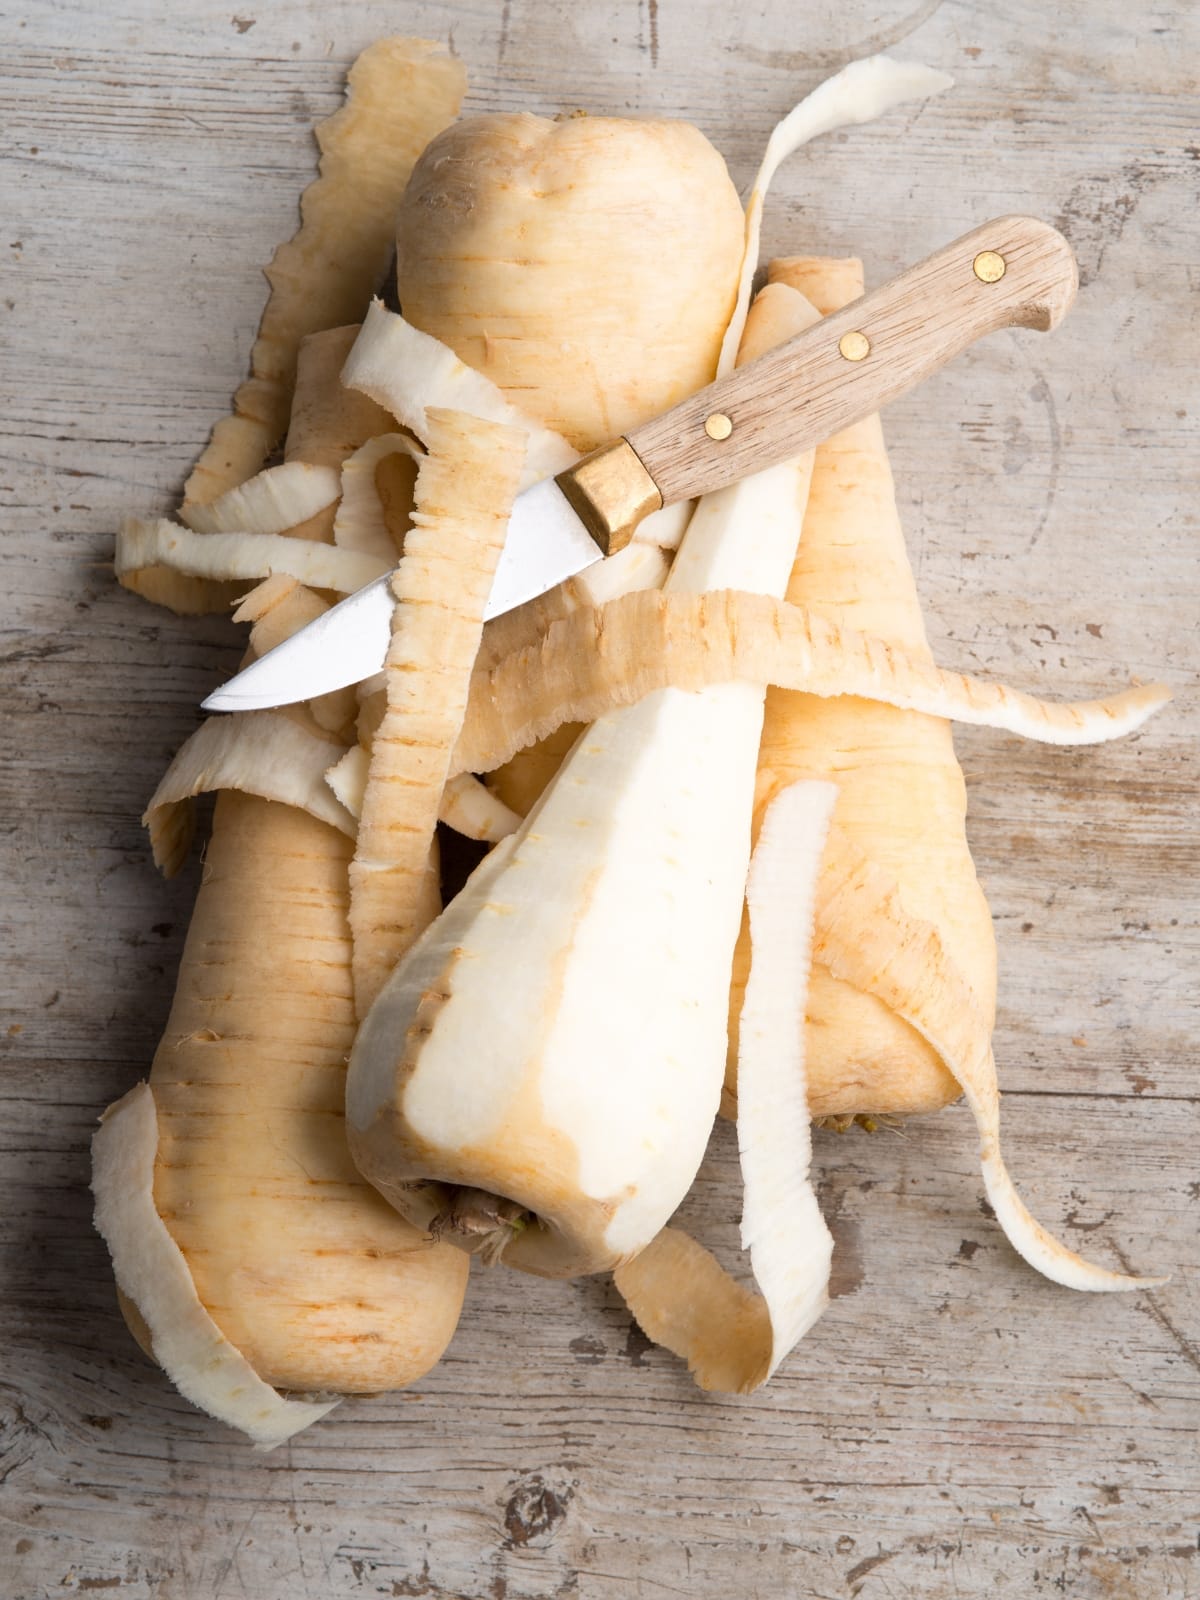
- Hand-chopping with a sharp knife (time-consuming but effective)
- Meat grinder attachments for hand mixers
| Grinding Method | Pros | Cons | Best For |
|---|---|---|---|
| Dedicated Electric Grinder | Best texture, handles all meats, volume capacity | Cost, storage space, cleaning time | Regular use, various meats, larger batches |
| Manual Grinder | Affordable, no electricity needed, simple maintenance | Physical effort, slower process | Occasional use, smaller batches, budget option |
| KitchenAid Attachment | Space-saving, moderate cost, decent performance | Less powerful, can strain mixer motor | Those who already own a stand mixer, medium batches |
| Food Processor | No additional equipment needed | Uneven texture, limited capacity, can overheat | Emergency situations, very occasional use |
Best Cuts of Meat for Home Grinding
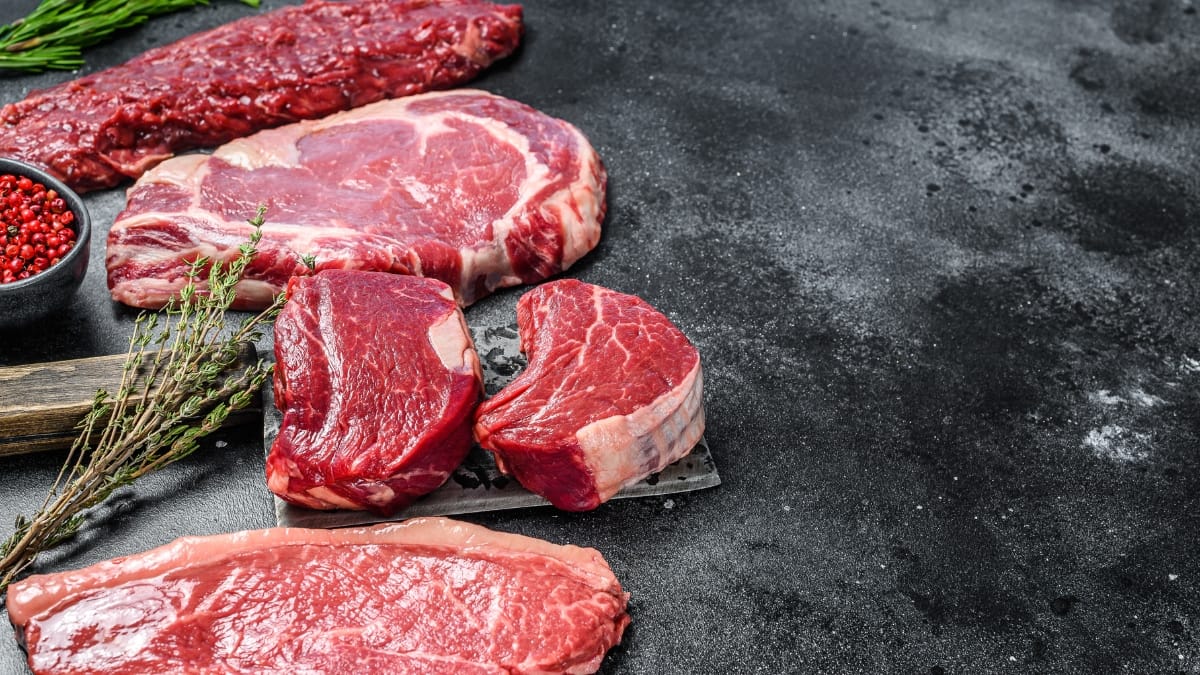
The quality of your ground meat begins with selecting the right cuts. Different meats and cuts offer varying fat content, flavor profiles, and grinding properties.
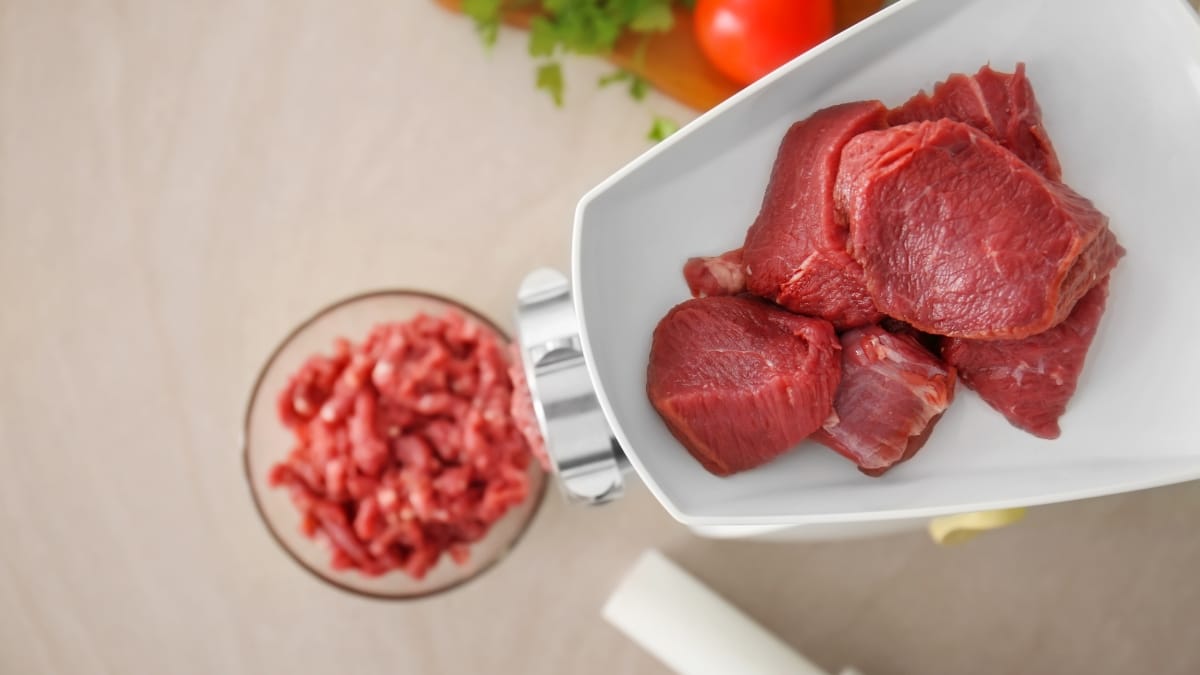
Beef Cuts Ideal for Grinding
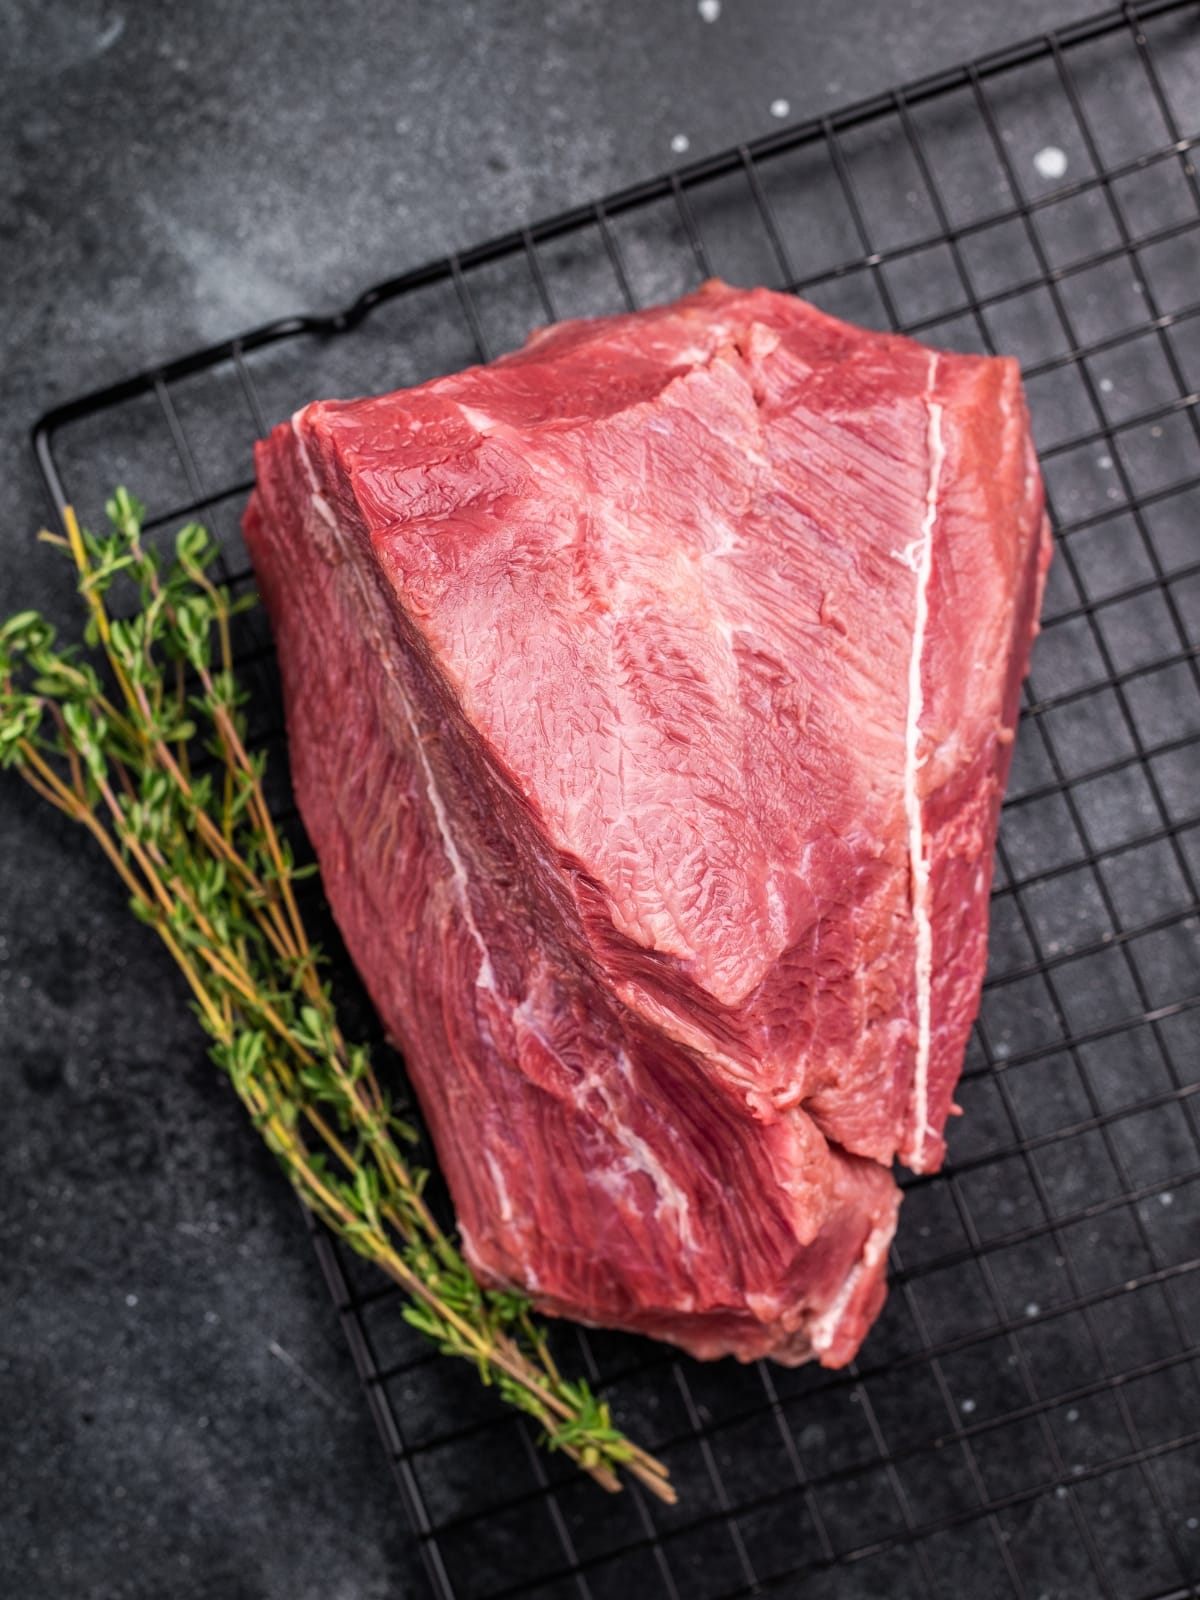
Chuck Roast: The gold standard for ground beef, chuck (shoulder) offers an ideal balance of fat (15-20%) and flavor. Its rich beefy taste and excellent texture make it perfect for all-purpose ground beef.
Sirloin: Leaner than chuck (10-15% fat) with a pronounced beefy flavor. Excellent for recipes where you want defined meat flavor without excessive fat, like meat sauces or leaner burgers.
Round: Very lean (5-10% fat) and economical. Works well when mixed with fattier cuts or when a lean grind is specifically required. On its own, it can be somewhat dry.
Brisket: Higher fat content (20-30%) with distinctive flavor. Adds juiciness and richness when mixed with leaner cuts.
Short Ribs: Premium option with abundant marbling and intense flavor. Often mixed with leaner cuts to create gourmet burger blends.
For the best all-around ground beef, many chefs recommend a blend of 80% chuck and 20% sirloin, which provides excellent flavor while maintaining juiciness.
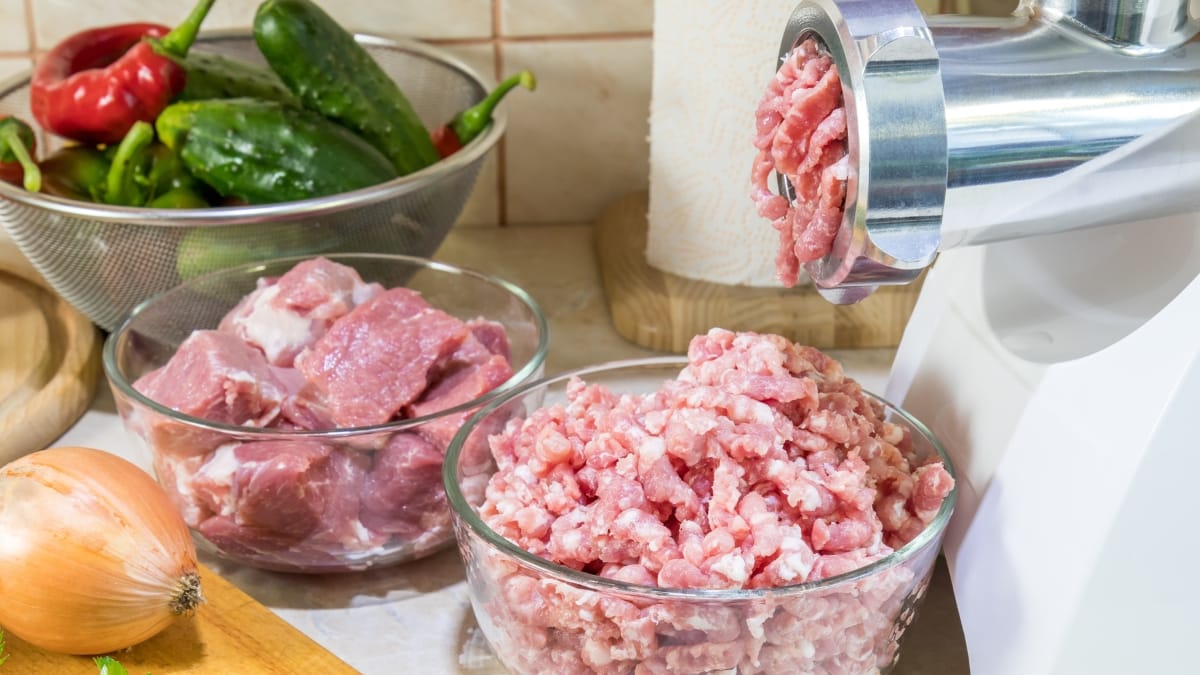
Pork Options for Home Grinding
Shoulder (Boston Butt): The ideal cut for ground pork, with 20-30% fat content and excellent flavor. Versatile enough for most recipes requiring ground pork.
Picnic Shoulder: Slightly leaner than Boston butt but still flavorful. Good economical option.
Country-style Ribs: Actually cut from the shoulder region, these offer good marbling and flavor for grinding.
Pork Belly: Extremely fatty (50%+) but can be mixed with leaner cuts to add richness to sausages and specialty blends.
According to The National Pork Board, the ideal fat content for most ground pork applications is between 20-30%, making shoulder cuts ideal for home grinding.
Poultry and Alternative Meats
Chicken Thighs: Dark meat provides more flavor and moisture than breast meat. The ideal choice for ground chicken, with about 10-15% fat.
Turkey Thighs: Similar to chicken, dark meat is preferred for grinding. Leaner than chicken but still more flavorful than breast meat.
Game Meats: Venison, bison, and other game meats are extremely lean and often benefit from:
- Adding pork fat (10-15% by weight)
- Grinding with a sharper blade
- Processing while colder than other meats
Lamb: Shoulder and leg cuts work well for grinding. Lamb has a distinctive flavor and often higher fat content than beef.
Creating Custom Meat Blends
Experimenting with meat blends opens up a world of unique flavor profiles that elevate your cooking beyond standard grocery store options. By combining different cuts and meat types, you can craft signature blends tailored to specific dishes and personal preferences.
For the perfect burger, consider starting with the classic 80% chuck and 20% sirloin combination, which balances rich flavor with ideal fat content. For something more adventurous, try the “Umami Bomb” blend of 60% chuck, 20% sirloin, and 20% brisket—the added brisket introduces a deeper, more complex beef flavor. Bacon enthusiasts might prefer the indulgent mixture of 70% chuck with 30% bacon ends, creating an intensely smoky, juicy patty that requires no additional seasoning.
Traditional Italian meatballs benefit from the “Italian Classic” trinity of 60% beef chuck, 20% pork shoulder, and 20% veal. This combination delivers the perfect balance of richness from the beef, moisture from the pork, and tenderness from the veal that has made this blend a staple in Italian-American kitchens for generations.
For homemade sausages, begin with the breakfast standard of 80% pork shoulder and 20% pork belly, which provides ideal texture and moisture. When preparing chorizo, adjust to a slightly fattier ratio of 70% pork shoulder and 30% pork belly to accommodate the robust spices while ensuring the finished product remains juicy after cooking.
Step-by-Step: How to Grind Meat at Home
Grinding your own meat delivers superior quality and remarkable versatility. When you control the grinding process, you eliminate unwanted fillers and additives while customizing fat content exactly to your preferences. You’ll also select the precise quality of meat—whether select, choice, or prime—and potentially save money despite the initial grinder investment.
Home grinding offers additional advantages including control over grind size (fine, medium, or coarse), the ability to prepare exact quantities needed, and the freedom to create unique flavor combinations by blending different meats like beef with pork or venison.
Step-by-Step Process for Perfect Ground Meat
- Select the ideal cut – Choose well-marbled options like brisket for flavorful results. For highly marbled cuts, consider trimming excess fat; for leaner cuts, retain more fat. Aim for approximately 80/20 lean-to-fat ratio for optimal flavor and moisture.
- Prepare meat properly – Cut into thin, long strips (approximately 1-inch thick) that fit your grinder’s feed tube. Many professionals recommend cutting with the grain, allowing the grinder to naturally cut across the grain during processing.
- Chill thoroughly – Place cut meat in the freezer for 30-40 minutes until firm but not completely frozen. This critical step ensures clean grinding rather than smearing.
- Set up your grinder – Install your preferred grinding plate based on your recipe needs. A ¼-inch plate produces standard medium grind ideal for most applications, while larger 10mm plates create coarser textures perfect for chili or rustic preparations.
- Begin grinding – Turn on the grinder and feed chilled meat strips gradually into the hopper. A quality grinder with sharp blades will naturally draw the meat in with minimal pressure needed.
- Evaluate your first grind – After completing the initial grind, assess texture and consistency. For many recipes, a single grind provides excellent results.
- Consider a second grind – For finer texture (ideal for sausages or smooth patties), run the meat through a second time, possibly using a smaller plate. This second pass produces noticeably finer, more uniform results.
- Package properly – For extended storage (beyond one month), vacuum seal in 1-2 pound portions. For shorter storage, heavy-duty freezer bags work well. Pre-forming hamburger patties before freezing offers additional convenience.
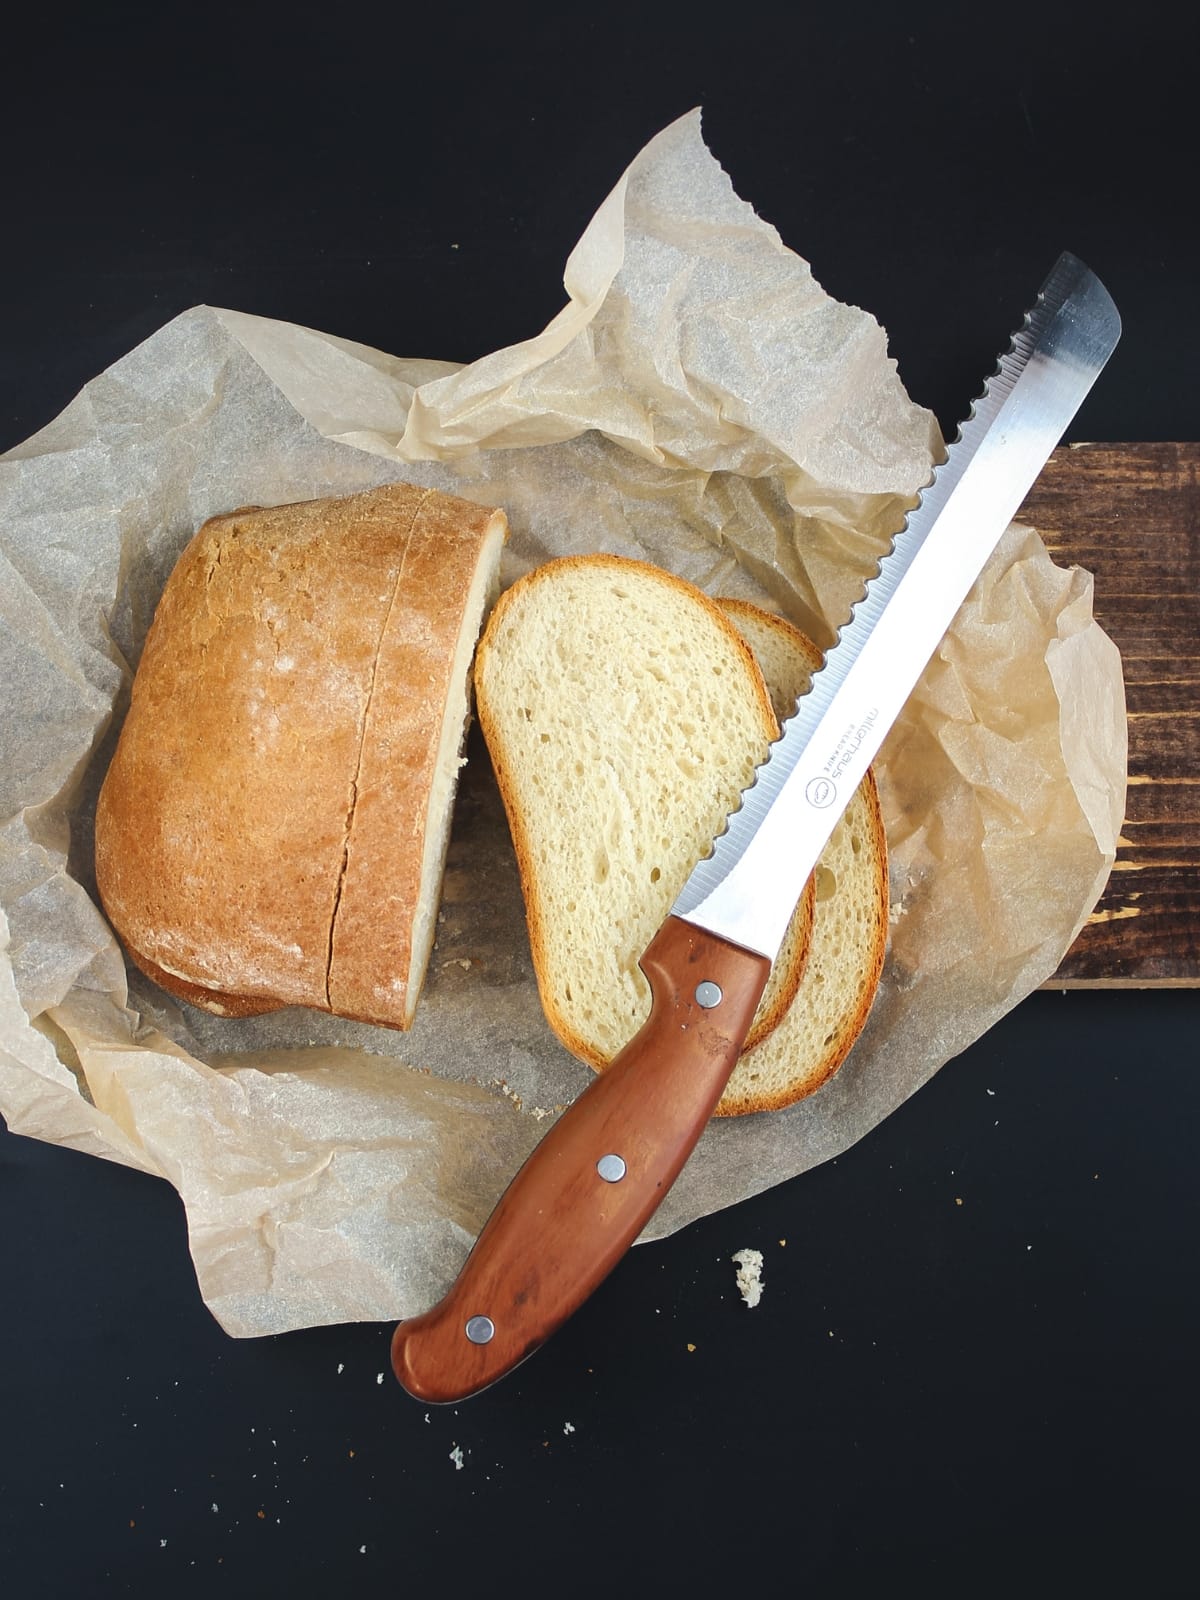
- Clean thoroughly – Immediately disassemble and clean your grinder after use. A professional tip: run pieces of plain bread through the grinder as a final step to push remaining meat through the system, simplifying cleanup.
Grind Your Own Meat: Essential Pro Tips for Home Grinders

Grinding your own meat at home revolutionizes your cooking by providing unmatched freshness and complete quality control. These professional tips, gathered from seasoned experts, will help you achieve butcher-quality results with your home grinder:
Temperature Management
- Deep-Chill All Metal Components: For optimal cutting performance, ensure your grinder’s metal parts are thoroughly cold. Place them in the freezer for a full 24 hours or at minimum overnight before grinding day—this critical step prevents meat from smearing.
- Re-Chill After Cutting: Once you’ve portioned your meat into grinding-sized pieces, return them to the freezer for approximately one hour before beginning your first grind. This ensures the meat maintains ideal firmness for clean cutting.
Technique Optimization
- Properly Size Your Meat Chunks: Match your cut size to your grinder’s capacity for maximum efficiency. For medium-duty grinders like the Cabela’s three-quarter horsepower model, aim for chunks approximately 1¼ to 1½ inches thick.
- Lubricate Your Blade: Immediately before assembly, apply a small amount of food-safe lubricant to your cutting blade. This reduces friction during grinding and improves cutting efficiency.
- Follow the Two-Stage Grinding Process: Always begin with a coarse grind before proceeding to finer plates. This sequential approach dramatically speeds up the entire process and prevents frustrating clogs.
Troubleshooting & Prevention
- Avoid Overloading the Hopper: Despite having a large capacity, resist the temptation to overfill your grinder. Maintain meat levels just at the front of the feeding screw for optimal cutting action—overfeeding causes backpressure and inefficient grinding.
- Recognize Clogging Signals: Monitor your output closely. When meat begins squishing rather than cleanly extruding, and the texture changes noticeably, your cutter is likely plugged. Immediately disassemble to remove sinew or connective tissue causing the blockage.
- Salvage Jammed Material: If meat becomes stuck and must be removed, don’t automatically discard it. Carefully inspect for tough sinew or gristle, remove these problematic pieces, then gradually reintroduce the good meat alongside fresh cuts.
Customization Considerations
- Adjust Grinding Passes for Desired Texture: While the standard approach is one coarse grind followed by one fine grind, experiment based on your preferences. Two passes through a fine plate creates a more thoroughly blended texture ideal for certain recipes like emulsified sausages.
By implementing these professional techniques, you’ll dramatically improve grinding efficiency, achieve superior texture and quality, and bypass common frustrations that plague novice grinders. The result? Restaurant-quality ground meat customized precisely to your specifications.
Storing Homemade Ground Meat Safely
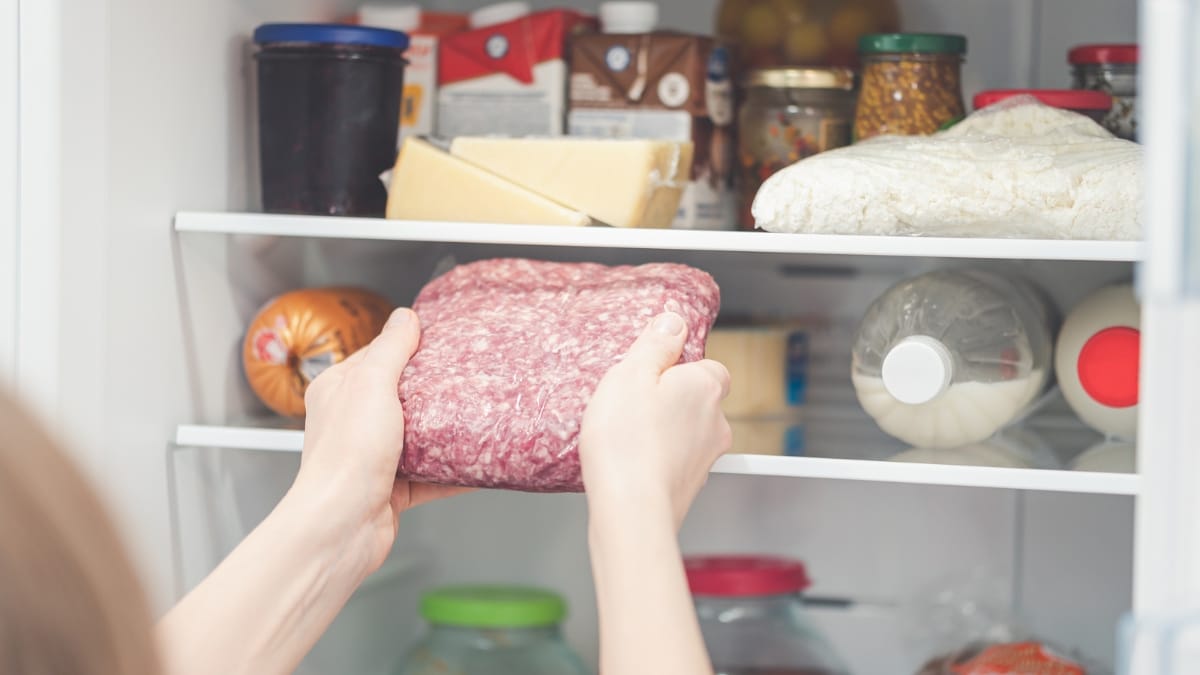
Immediate Use Guidelines
Freshly ground meat is more perishable than whole cuts due to increased surface area:
- Use within 24 hours: For optimal quality and safety, use ground meat the same day
- Maximum refrigeration: If necessary, store up to 2 days at 34-36°F (1-2°C)
- Temperature monitoring: Use refrigerator thermometer to ensure proper temperature
Ground meat should be used or frozen within 1-2 days of grinding, compared to 3-5 days for whole cuts.
Freezing Methods
Proper freezing extends the usable life of your ground meat:
| Vacuum Sealing | Press-and-Seal Method | Portioning Strategies |
|---|---|---|
| – Best method for long-term storage – Prevents freezer burn and oxidation – Maintains quality for 6-12 months | – Form meat into 1-inch thick flat packages – Wrap tightly in plastic wrap, pressing out air – Double-wrap with freezer paper or foil – Label with date and contents – Quality maintained for 3-4 months | – Freeze in recipe-ready portions – Form burger patties and freeze with parchment between – Freeze in 1/2 or 1 pound portions for flexibility |
Thawing Best Practices
Safe thawing prevents bacteria growth while preserving quality:
| Refrigerator Thawing | Cold Water Method |
|---|---|
| – Safest method – Place on plate to catch any drips – Allow 24 hours for 1-2 pounds – Cook within 1-2 days of thawing | – Place in leakproof bag – Submerge in cold water – Change water every 30 minutes – Cook immediately after thawing |
Never thaw at room temperature: According to food safety experts, room temperature thawing allows dangerous bacterial growth in the outer layers while the center remains frozen.
Identifying Spoilage
| Fresh ground meat | Signs of spoilage |
|---|---|
| – Pleasant or neutral smell – Bright color (varies by meat type) – Firm texture that springs back when pressed | – Sour, ammonia-like, or sulfurous odor – Sticky or slimy texture – Grayish-brown color (for beef) – Greenish or grayish color (for pork/poultry) |
FAQs
Can I grind meat without a dedicated meat grinder?
Yes, you can use a food processor as an alternative to a dedicated meat grinder. For best results, cut meat into 1-inch cubes, freeze until firm but not solid (20-30 minutes), then process in small batches using the pulse function. Avoid overprocessing to maintain a chopped texture rather than a puree. While the texture will be less uniform than with a proper grinder, a food processor works adequately for most recipes except burgers and sausages.
Is grinding meat at home safer than buying pre-ground?
Home-ground meat is typically safer than store-bought ground meat. Commercial grinders process thousands of pounds between cleanings, and pre-ground products often combine cuts from multiple animals, increasing contamination risk. Home grinding provides complete control over sanitization, and freshly ground meat has less time for bacterial growth. Research from Consumer Reports confirms lower bacteria counts in home-ground meat, though proper hygiene practices remain essential.
How long does homemade ground meat last?
Freshly ground meat has a relatively short shelf life: when refrigerated, raw ground meat should be used within 1-2 days (stored at 34-36°F), while cooked ground meat lasts 3-4 days. For longer storage, freezing is recommended, with vacuum-sealed packages maintaining quality for 6-12 months, properly wrapped meat for 3-4 months, and loosely wrapped portions for 1-2 months.
Can I grind frozen meat?
Grinding completely frozen meat isn’t recommended as it strains your grinder motor, dulls blades quickly, creates uneven texture, and may damage plastic components. The ideal temperature is partially frozen (firm but not solid), which you can achieve by freezing cut meat for approximately 20-30 minutes. This partial freezing helps maintain structure while allowing the meat to process smoothly through the grinder.
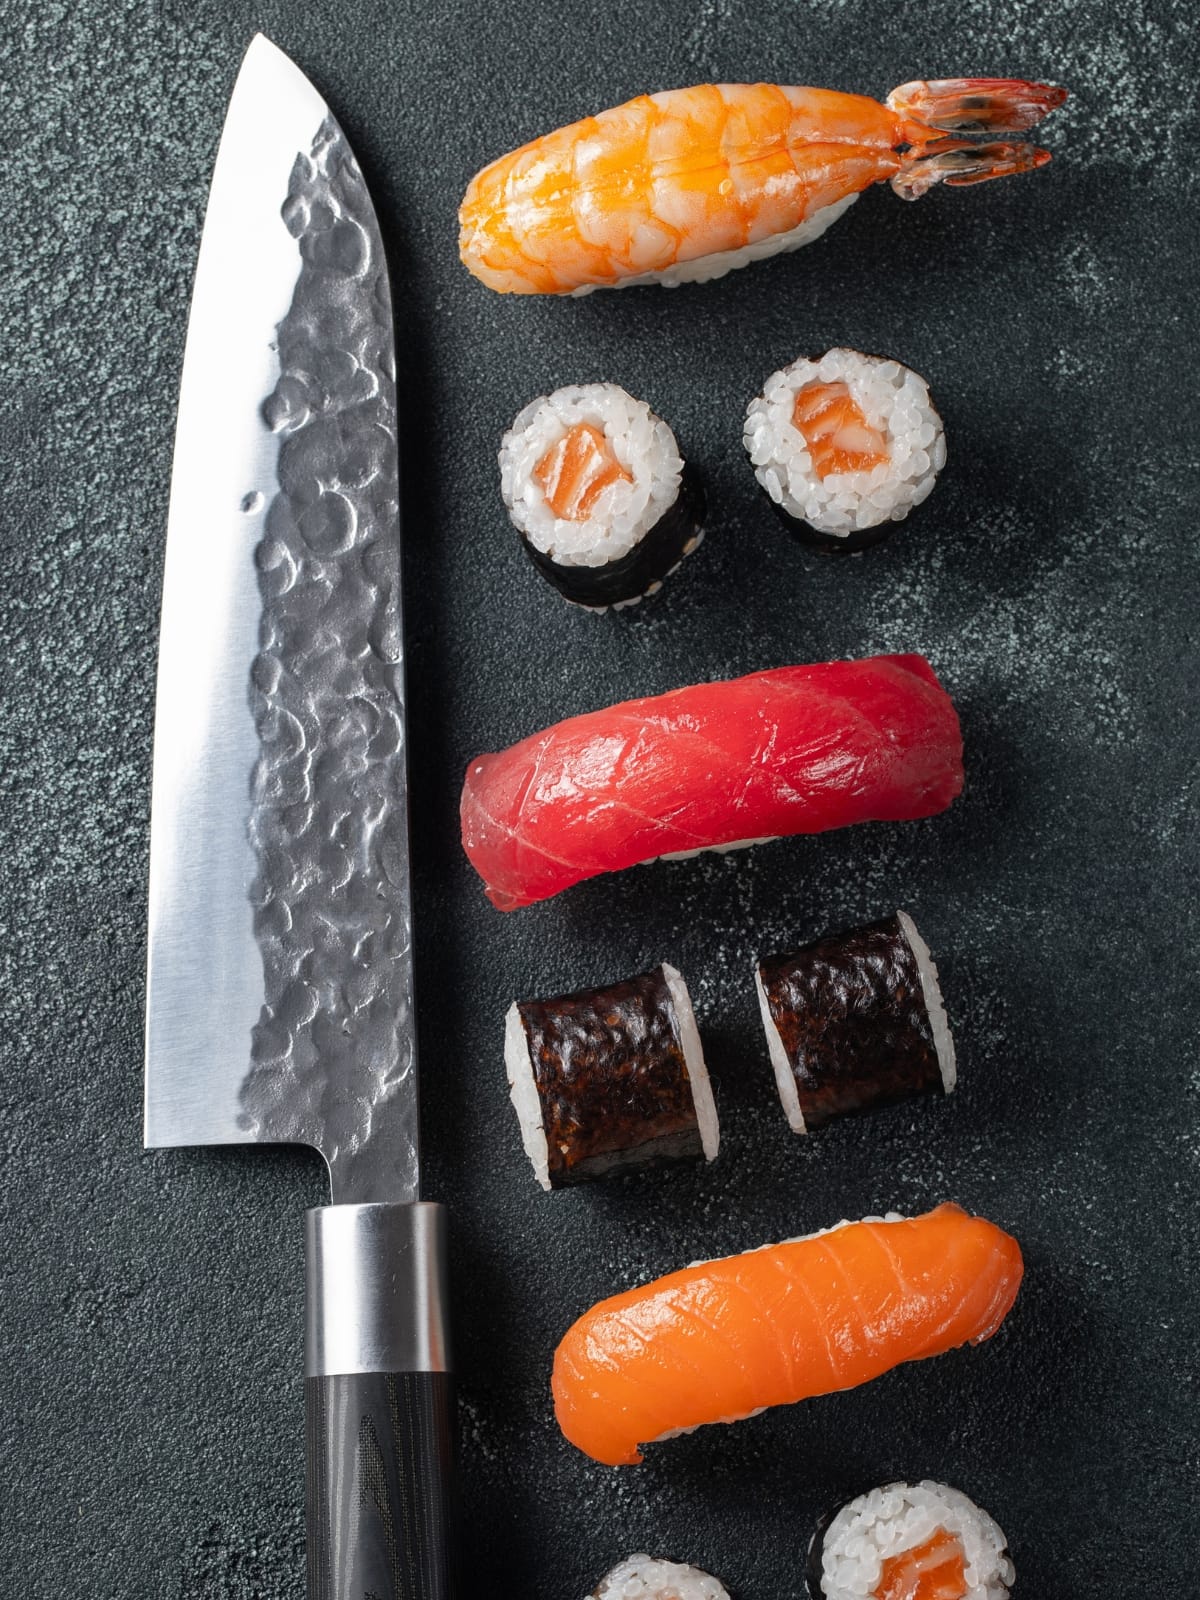
Can I grind fish and seafood at home?
Yes, you can grind fish and seafood at home with some special considerations. Use dedicated plates and blades to prevent cross-contamination, ensure fish is very cold but not frozen, and clean equipment immediately after use to prevent lingering odors. A food processor works well for delicate fish, while firm-fleshed varieties like salmon, tuna, and swordfish grind best. Common applications include fish cakes, burgers, and seafood sausages.
Conclusion
Grinding meat at home transforms ordinary dishes into extraordinary meals while giving you complete control over quality, flavor, and food safety. Remember the essentials: keep everything cold, choose appropriate cuts, maintain proper hygiene, be patient, and experiment with blends to discover your perfect combinations. Whether crafting gourmet burgers or artisanal sausages, this fundamental process dramatically expands your culinary possibilities, empowering you to achieve professional-level results in your home kitchen.