Ever had that moment when you’re hosting a gathering and suddenly realize you’ve got nothing crowd-worthy to serve? That was me last Super Bowl Sunday. In a panic, I threw together these cheeseburger sliders, and let me tell you—they vanished faster than my team’s chances of winning that game! Everyone was hovering around the kitchen asking for the recipe, and I was just standing there thinking, “Did I really just throw this together in 15 minutes?” Spoiler alert: I did, and now they’re requested at every get-together I host. Want to be the hero of your next party? These sliders are about to become your secret weapon.
Why These Sliders Will Make You Famous
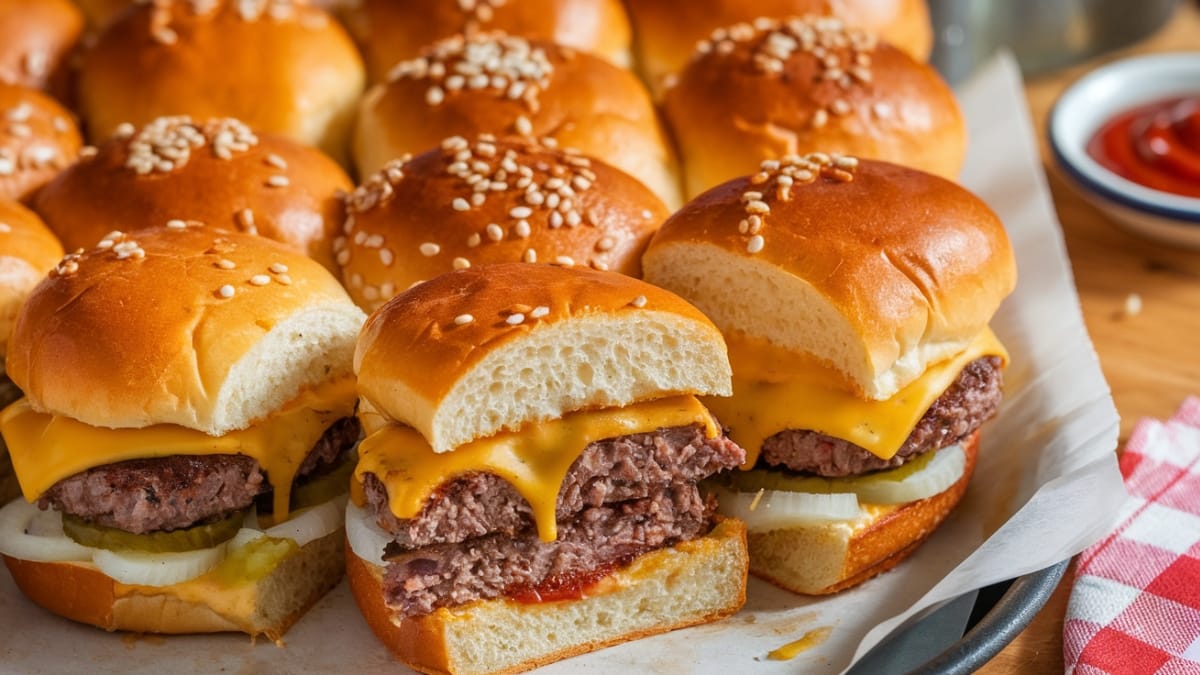
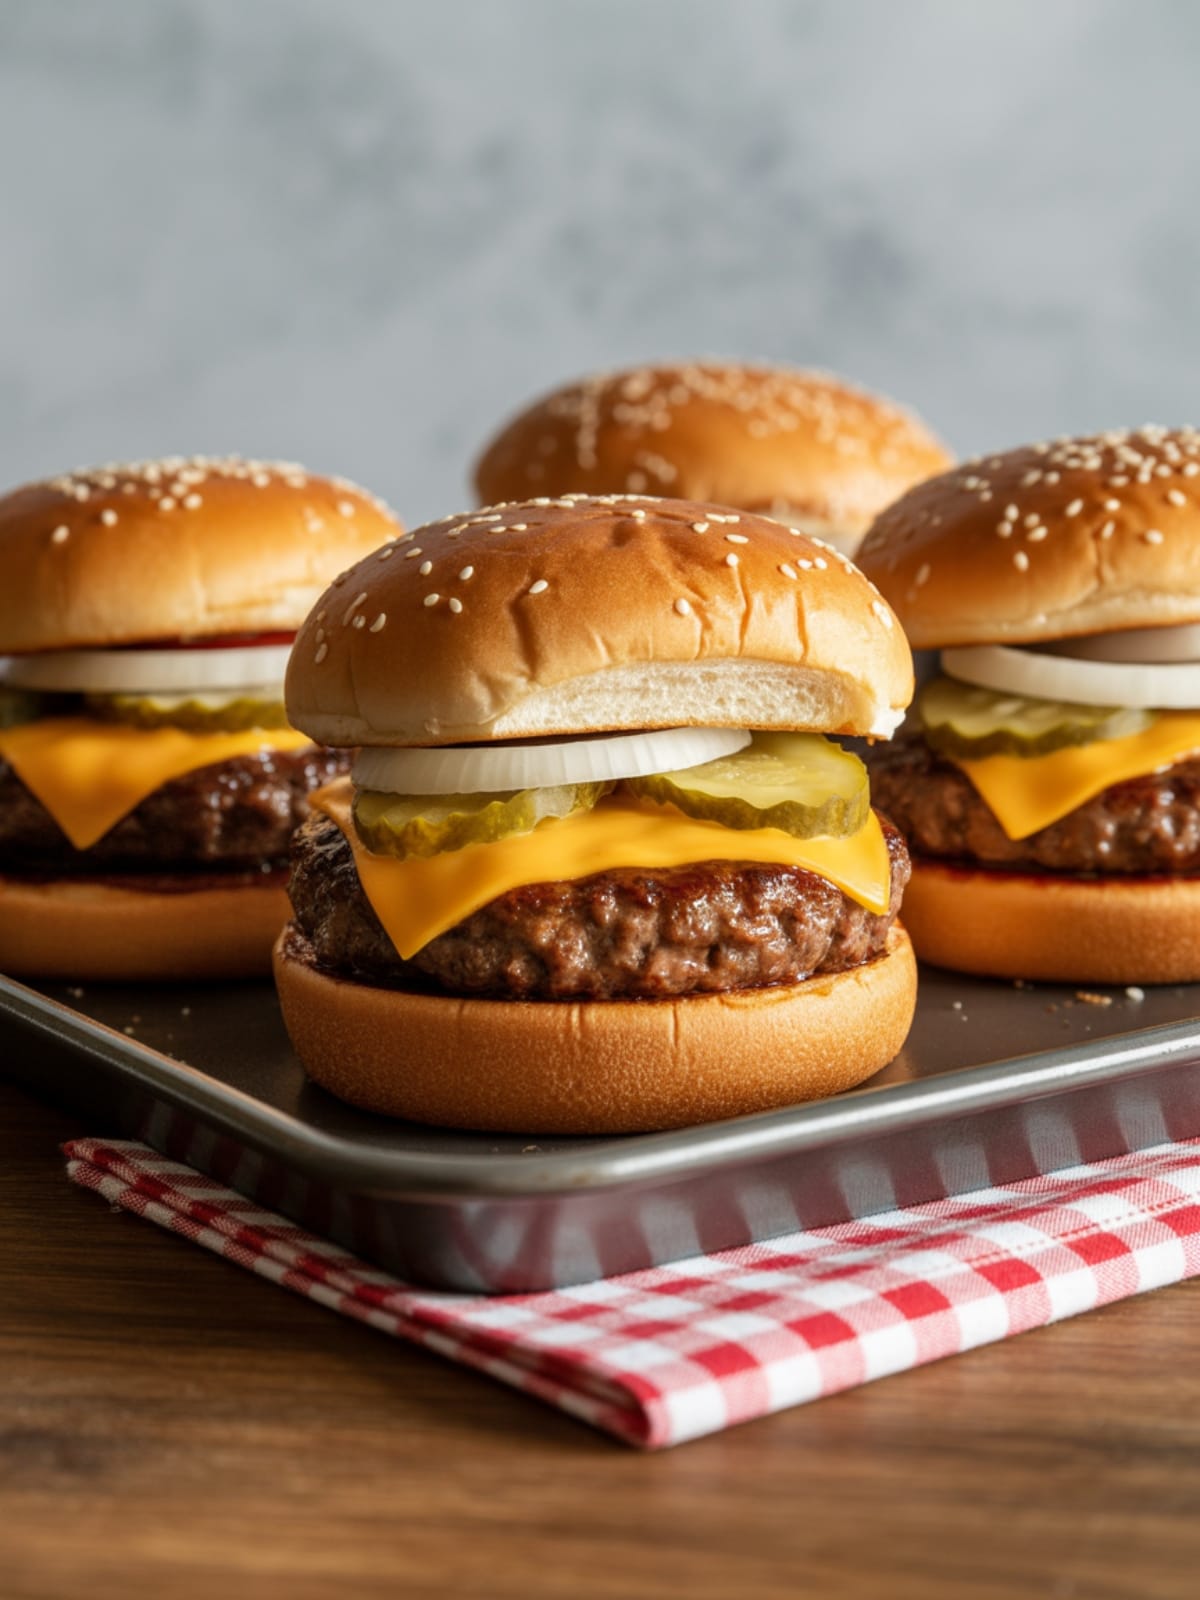
These aren’t just miniature burgers—they’re flavor bombs that combine all the best parts of a cheeseburger into perfectly portioned, handheld bites of joy. The beef is juicy and seasoned just right, the cheese gets all melty and gooey, and the buttery, slightly sweet rolls develop this gorgeous golden crust that’s absolutely irresistible. Plus, they feed a crowd with minimal effort, which means you spend less time in the kitchen and more time actually enjoying your own party. Did I mention they’re customizable? Because they totally are. Think of them as your canvas for burger creativity!
Cheeseburger Sliders
Equipment
- Baking dish (9×13)
- Skillet
- Mixing bowl
Ingredients
- 1 package (12 count) Hawaiian sweet rolls or slider buns
- 1.5 pounds ground beef (80/20 lean-to-fat ratio works best)
- 1 tablespoon Worcestershire sauce
- 1 tablespoon ketchup
- 1 teaspoon garlic powder
- 1 teaspoon onion powder
- 1 teaspoon salt
- 1/2 teaspoon black pepper
- 6-8 slices American, cheddar, or pepper jack cheese
- 1/4 cup diced white onion (optional)
- 1/4 cup dill pickle chips
- 3 tablespoons butter, melted
- 1 tablespoon sesame seeds
- 1 teaspoon garlic salt
Optional toppings
- lettuce, tomato slices, bacon, avocado
Instructions
- Preheat your oven to 350°F (175°C). While it's heating up, grab a 9×13 baking dish and give it a quick spray with cooking spray. Nothing ruins sliders like having them stick to the pan!
- Without separating the rolls, slice the entire package in half horizontally with a serrated knife. Think of it as creating one giant top bun and one giant bottom bun. Place the bottom half in your baking dish.
- In a large bowl, combine the ground beef with Worcestershire sauce, ketchup, garlic powder, onion powder, salt, and pepper. Mix with your hands until just combined. Don't overwork it – that's how you get tough burgers!
- Heat a large skillet over medium-high heat. When hot, add the beef mixture and cook for about 5-7 minutes, breaking it up with a wooden spoon as it cooks. You want it to look like taco meat when you're done – small, even crumbles that are no longer pink.
- Drain off excess fat if necessary. Nobody wants soggy slider buns!
- Evenly spread the cooked beef over the bottom half of the rolls in the baking dish. Is your mouth watering yet? Because mine is.
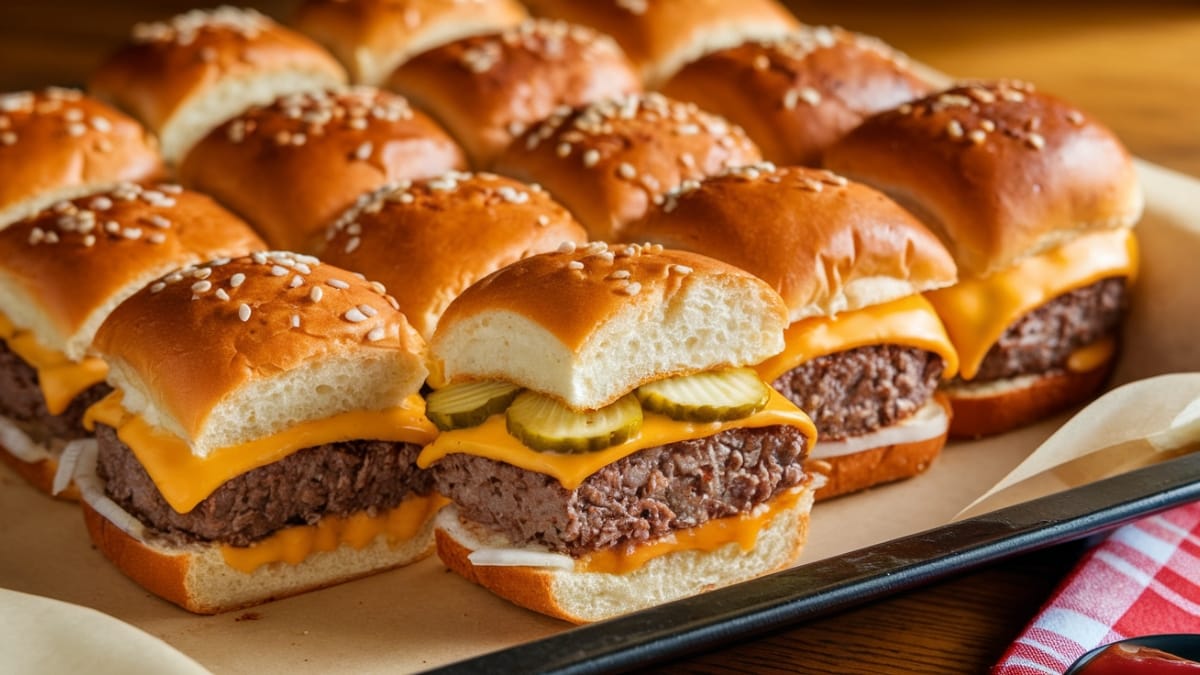
- Layer the cheese slices to completely cover the beef. Feel free to overlap them – there's no such thing as too much cheese here.
- Sprinkle diced onions (if using) and arrange pickle chips over the cheese layer.
- Place the top half of the rolls over everything to complete your sliders.
- In a small bowl, mix the melted butter with garlic salt and brush it all over the tops of the rolls. Sprinkle with sesame seeds.
- Cover with foil and bake for 10 minutes, then remove the foil and bake for another 5 minutes until the tops are golden brown and the cheese is completely melted.
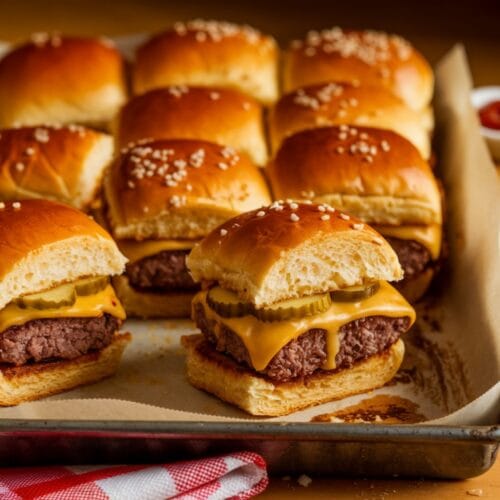
- Let cool for 2-3 minutes, then use a sharp knife to cut along the lines of the rolls to separate into individual sliders. Serve immediately and prepare for the compliments!
Notes
- Make ahead option: You can prepare the beef mixture up to a day ahead and refrigerate. When ready to assemble, reheat the beef slightly before continuing with the recipe.
- Bun selection matters: Hawaiian sweet rolls add a hint of sweetness that contrasts beautifully with the savory beef, but any slider buns will work.
- Cheese strategy: For super gooey, melty goodness, use sliced cheese instead of shredded. It creates that perfect cheese pull when you take a bite!
- Don’t skip the butter topping: That garlic butter on top isn’t just for flavor – it helps the buns get perfectly golden and prevents them from drying out.
Common Mistakes to Avoid
- Overworking the meat. When mixing your beef with seasonings, less is more! Mix just until combined for the juiciest results. Treat your meat like it’s delicate, because texture-wise, it is!
- Skipping the drainage step. Nobody, and I mean nobody, wants to bite into a soggy slider. Take the extra 30 seconds to drain that beef properly!
- Cutting the sliders too soon. I know it’s tempting to dive right in, but giving them 2-3 minutes to rest allows the cheese to set just enough so it doesn’t all ooze out on the first bite. Patience = better sliders.
Variations & Customizations
- Bacon Cheeseburger Sliders: Mix 8 slices of cooked, crumbled bacon into the beef mixture or layer them on top of the cheese for an extra layer of flavor.
- Mushroom Swiss Sliders: Sauté 8 ounces of sliced mushrooms until golden and layer them between the beef and Swiss cheese instead of American.
- BBQ Cowboy Sliders: Add 1/4 cup BBQ sauce to the beef mixture, use cheddar cheese, and top with crispy fried onions before adding the top buns.
FAQs
Can I use turkey or chicken instead of beef?
Absolutely! Ground turkey or chicken works great. Just add an extra tablespoon of Worcestershire sauce and maybe a teaspoon of olive oil to the mixture since these leaner meats tend to be drier.
How do I keep leftover sliders from getting soggy?
Store any leftovers with the components separated if possible. If that’s not an option, reheat them in the oven rather than the microwave to help crisp up the buns again.
Can I freeze these?
You can freeze the cooked beef mixture, but I don’t recommend freezing the assembled sliders as the buns won’t hold up well. Better to make a fresh batch!
Final Thoughts
These cheeseburger sliders might just be the easiest way to achieve food hero status at your next gathering. They’re the perfect mashup of convenience and crowd-pleasing flavor that’ll have everyone thinking you spent way more time in the kitchen than you actually did. And isn’t that the dream? A recipe that makes you look like a culinary genius while actually giving you more time to enjoy the party. Just don’t be surprised when these become your most requested contribution to every potluck, game day, and family gathering from now on!


