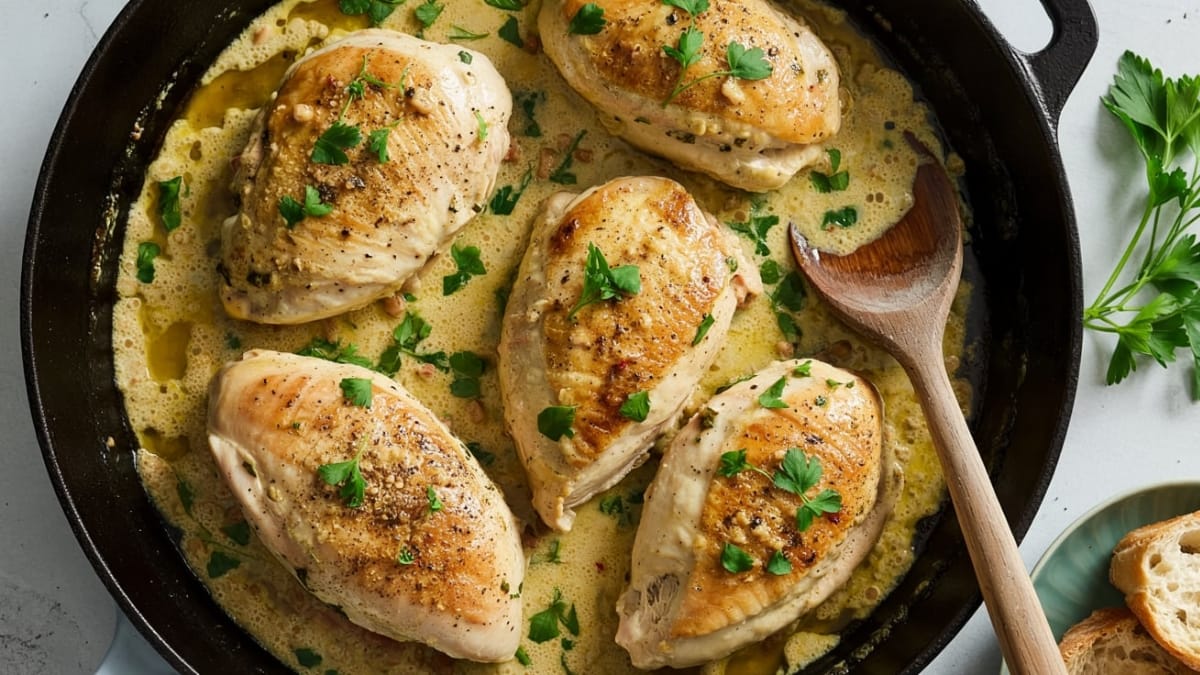
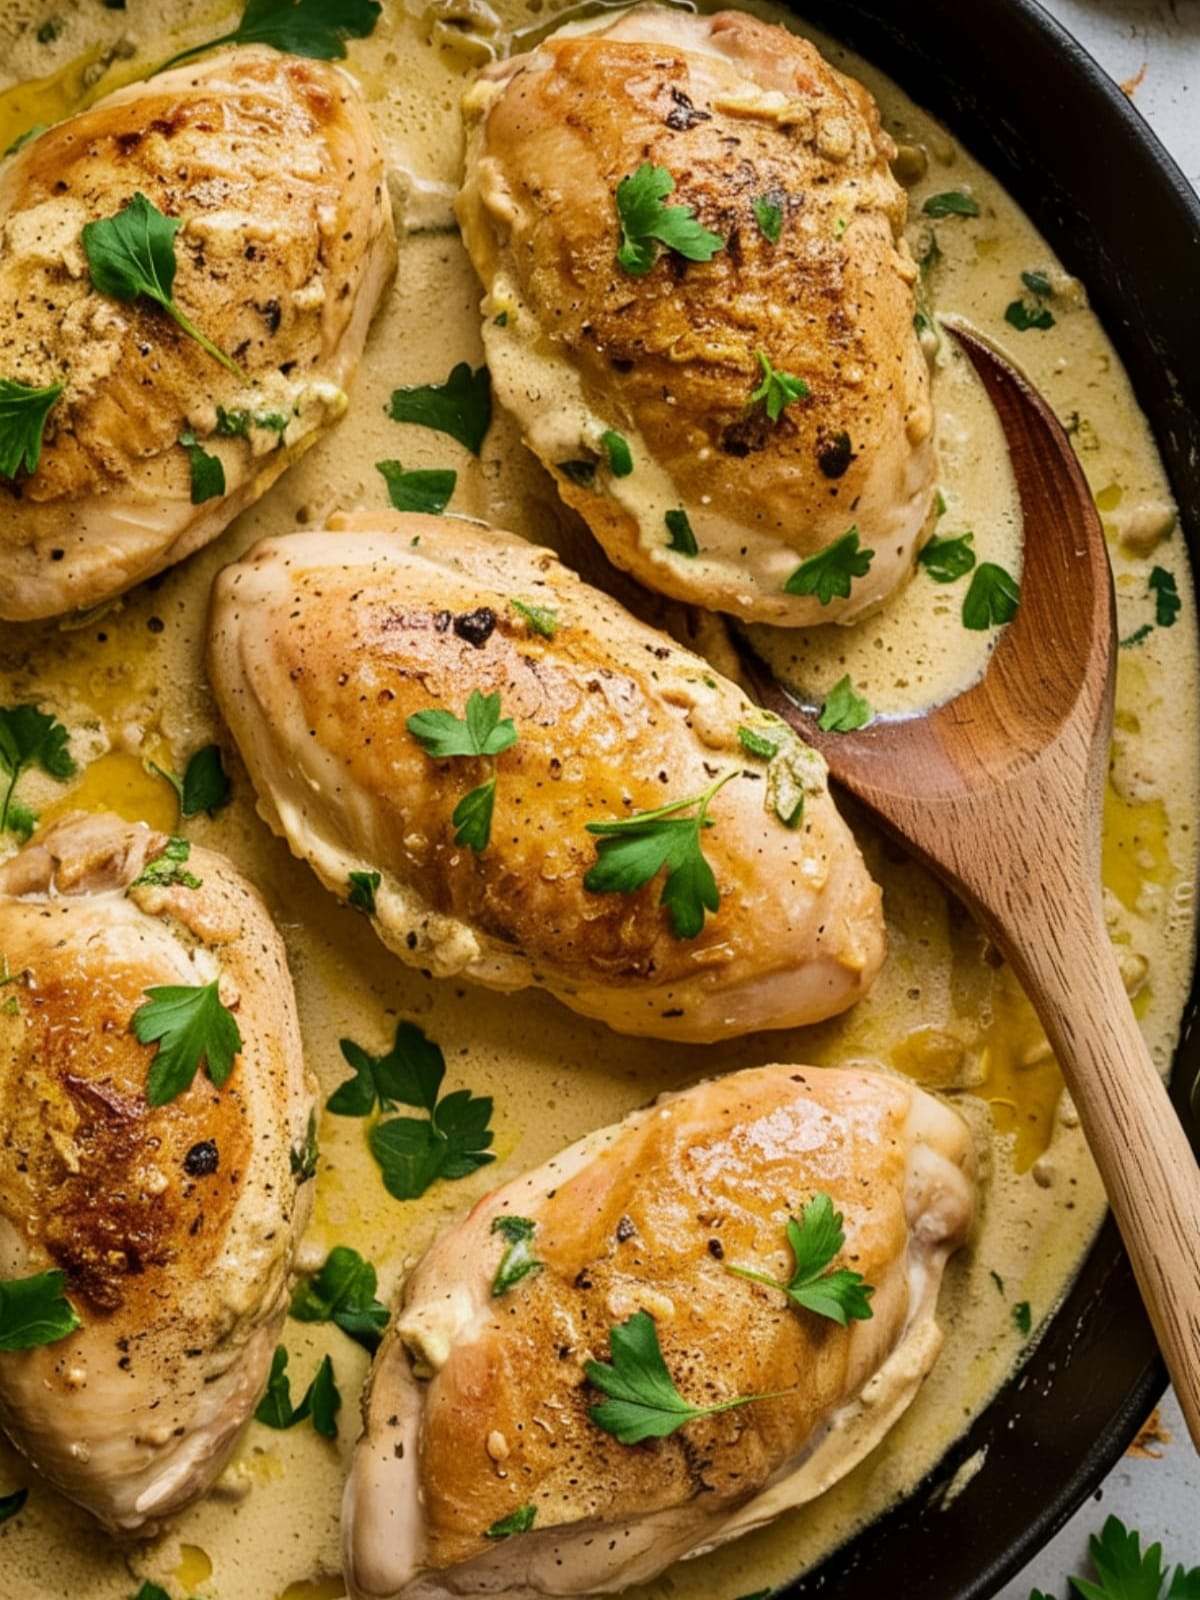
Let’s be honest – we’ve all had those nights when we’re staring into the fridge, holding a package of chicken breasts, and thinking “not again.” Well, friend, I’m about to rescue those chicken breasts from boring dinner purgatory with this Creamy Garlic Chicken recipe that’s about to become your new obsession.
This isn’t just any chicken recipe. This is the “why have I been making dry chicken all these years when THIS existed?” recipe. The “my kitchen smells like a fancy Italian restaurant” recipe. The “I might lick the plate when no one’s looking” recipe. You get the idea.
Why This Creamy Garlic Chicken Will Make Monday Feel Like Friday Night

First things first – this dish creates a sauce so good you’ll want to bathe in it (please don’t). It’s creamy without being heavy, garlicky without burning your taste buds, and ready faster than delivery pizza. Plus, it all happens in ONE PAN, which means less cleanup and more time for you to bask in the glory of your culinary achievement.
The magic lies in building layers of flavor with ingredients you probably already have, then letting them mingle into a velvety sauce that transforms ordinary chicken into something that feels restaurant-worthy. And the best part? It’s nearly impossible to mess up. Even if you’re cooking for just yourself, this recipe is worth the (minimal) effort – though be warned that you’ll want seconds.

Creamy Garlic Chicken
Equipment
- Large skillet with lid
- Tongs
- Sharp knife
- Cutting board
- Measuring cups and spoons
- Wooden spoon or silicone spatula
Ingredients
- 4 boneless skinless chicken breasts (about 1.5 lbs)
- 2 tablespoons olive oil
- 2 tablespoons butter
- 6 cloves garlic minced (yes, six – we’re not playing around here)
- 1 shallot finely diced (or 1/4 red onion)
- 1 cup chicken broth
- 1 cup heavy cream
- 1/2 cup freshly grated Parmesan cheese
- 1 teaspoon fresh thyme leaves or 1/4 teaspoon dried
- 1 teaspoon fresh rosemary chopped (or 1/4 teaspoon dried)
- 2 tablespoons fresh parsley chopped, divided
- 1 tablespoon all-purpose flour
- 1/2 teaspoon red pepper flakes optional, for heat
- 1 tablespoon lemon juice
- Salt and freshly ground black pepper to taste
- Optional for serving: mashed potatoes pasta, or crusty bread
Instructions
- Prep the chicken. If the breasts are very thick, slice them horizontally to create thinner cutlets (or pound them to even thickness). Pat dry with paper towels and season generously with salt and pepper on both sides. Wet chicken = sad, non-browned chicken, so don't skip the drying step!
- Get that golden sear. Heat olive oil in a large skillet over medium-high heat until shimmering. Add chicken and cook for 4-5 minutes per side until golden brown and almost cooked through (it will finish cooking in the sauce). Transfer to a plate and cover loosely with foil. Look at that beautiful color you just created!
- Build your flavor base. In the same pan (don't you dare wash it – those brown bits are flavor gold!), reduce heat to medium and add butter. Once melted, add minced garlic and shallot, cooking for 1-2 minutes until fragrant and softened but not browned. Burnt garlic is bitter garlic, and we're going for delicious here.
- Create the roux. Sprinkle flour over the garlic and shallots, stirring constantly for about 1 minute to cook out the raw flour taste. This will help thicken our sauce without lumps.
- Make it saucy. Slowly pour in chicken broth while whisking continuously to prevent lumps. Bring to a simmer and let it reduce for 2-3 minutes, scraping up all those delicious browned bits from the bottom of the pan.
- Bring on the cream. Pour in the heavy cream and add thyme, rosemary, half the parsley, and red pepper flakes if using. Stir to combine and let simmer for 2-3 minutes until it starts to thicken slightly.
- Cheese, please! Stir in the Parmesan cheese until melted and smooth. Add lemon juice to brighten all the flavors. Taste and adjust seasonings – need more salt? Pepper? Add it now.
- Reunite the chicken with its sauce. Return the chicken and any accumulated juices to the pan, nestling it into the sauce. Reduce heat to low, cover, and simmer for 5-7 minutes until chicken is completely cooked through (internal temperature of 165°F/74°C).
- Finish with flair. Sprinkle with remaining fresh parsley and serve directly from the skillet for a rustic presentation, or transfer to plates. Spoon plenty of that liquid gold sauce over each piece of chicken!
Notes
- For a lighter version, substitute half-and-half for heavy cream (it won’t be quite as thick but still delicious).
- Chicken thighs work beautifully in this recipe if you prefer dark meat – just cook them a bit longer.
- Make-ahead tip: The sauce can be made a day ahead and stored in the refrigerator. Reheat gently and add chicken to finish cooking.
- For extra flavor, add 1/4 cup white wine before the chicken broth and let it reduce for 2 minutes.
- This sauce is fabulous with a handful of fresh spinach stirred in at the end to wilt.
Common Mistakes to Avoid
- Skipping the chicken drying step. Wet chicken steams rather than sears. Pat those breasts dry for a beautiful golden crust!
- Cooking the garlic too long. There’s a fine line between fragrant and burnt when it comes to garlic. Once it’s sizzling and aromatic, move forward with the recipe.
- Making the sauce too hot when adding cheese. If your sauce is boiling when you add the Parmesan, it might break and become grainy. Keep it at a gentle simmer.
- Not tasting as you go. The amounts of salt and pepper needed will vary based on your chicken broth and personal preference. Taste and adjust!
Variations & Customizations
- Tuscan Twist: Add 1/2 cup sun-dried tomatoes and a handful of fresh spinach to the sauce for a Tuscan-inspired version.
- Mushroom Madness: Sauté 8 oz of sliced mushrooms after the shallots for an earthy flavor boost that pairs beautifully with the creamy sauce.
- Herby Heaven: Add a tablespoon of fresh basil and oregano along with the other herbs for an even more aromatic experience.
FAQs
Can I use milk instead of heavy cream?
You can, but with some adjustments. Milk alone will result in a much thinner sauce that might curdle more easily. For best results when substituting, use whole milk and increase the flour to 2 tablespoons for more thickening power. Another good option is evaporated milk, which has a creamier consistency than regular milk. Whatever you choose, make sure to keep the heat low after adding it and avoid boiling the sauce. The result won’t be quite as luxurious as with cream, but it’ll still be delicious!
What sides pair well with Creamy Garlic Chicken?
This dish is incredibly versatile when it comes to sides! For a classic comfort meal, serve it over mashed potatoes, which soak up the amazing sauce beautifully. Other excellent options include:
- Pasta (fettuccine or penne work particularly well)
- Rice or risotto
- Roasted vegetables like asparagus, Brussels sprouts, or green beans
- A simple green salad with vinaigrette
- Crusty bread for sauce-mopping (a critical component!)
- Cauliflower mash for a lower-carb option
How do I reheat leftovers without separating the sauce?
Cream sauces can be finicky when reheated, but with some care, you can enjoy this dish the next day too! The key is gentle, low heat. Place leftovers in a skillet over medium-low heat and add a splash of chicken broth or cream to revitalize the sauce. Stir occasionally but gently as it warms. Avoid the microwave if possible, as high heat will cause the sauce to separate. If you must use a microwave, use 50% power and stop to stir every 30 seconds. The texture might not be exactly the same as when freshly made, but the flavor will still be delicious!
Final Thoughts
This Creamy Garlic Chicken isn’t just dinner—it’s a mood-lifter in food form. It’s the kind of meal that makes you slow down and appreciate each bite, even on the busiest weeknight. The beauty of this dish lies in its simplicity and how it transforms basic ingredients into something that feels special. Whether you’re cooking for yourself after a long day, impressing a date, or feeding a family, this recipe delivers maximum flavor with minimum fuss. And that sauce? You might find yourself making “just the sauce” to put on everything from pasta to roasted vegetables. I won’t judge—I’ve been there.


