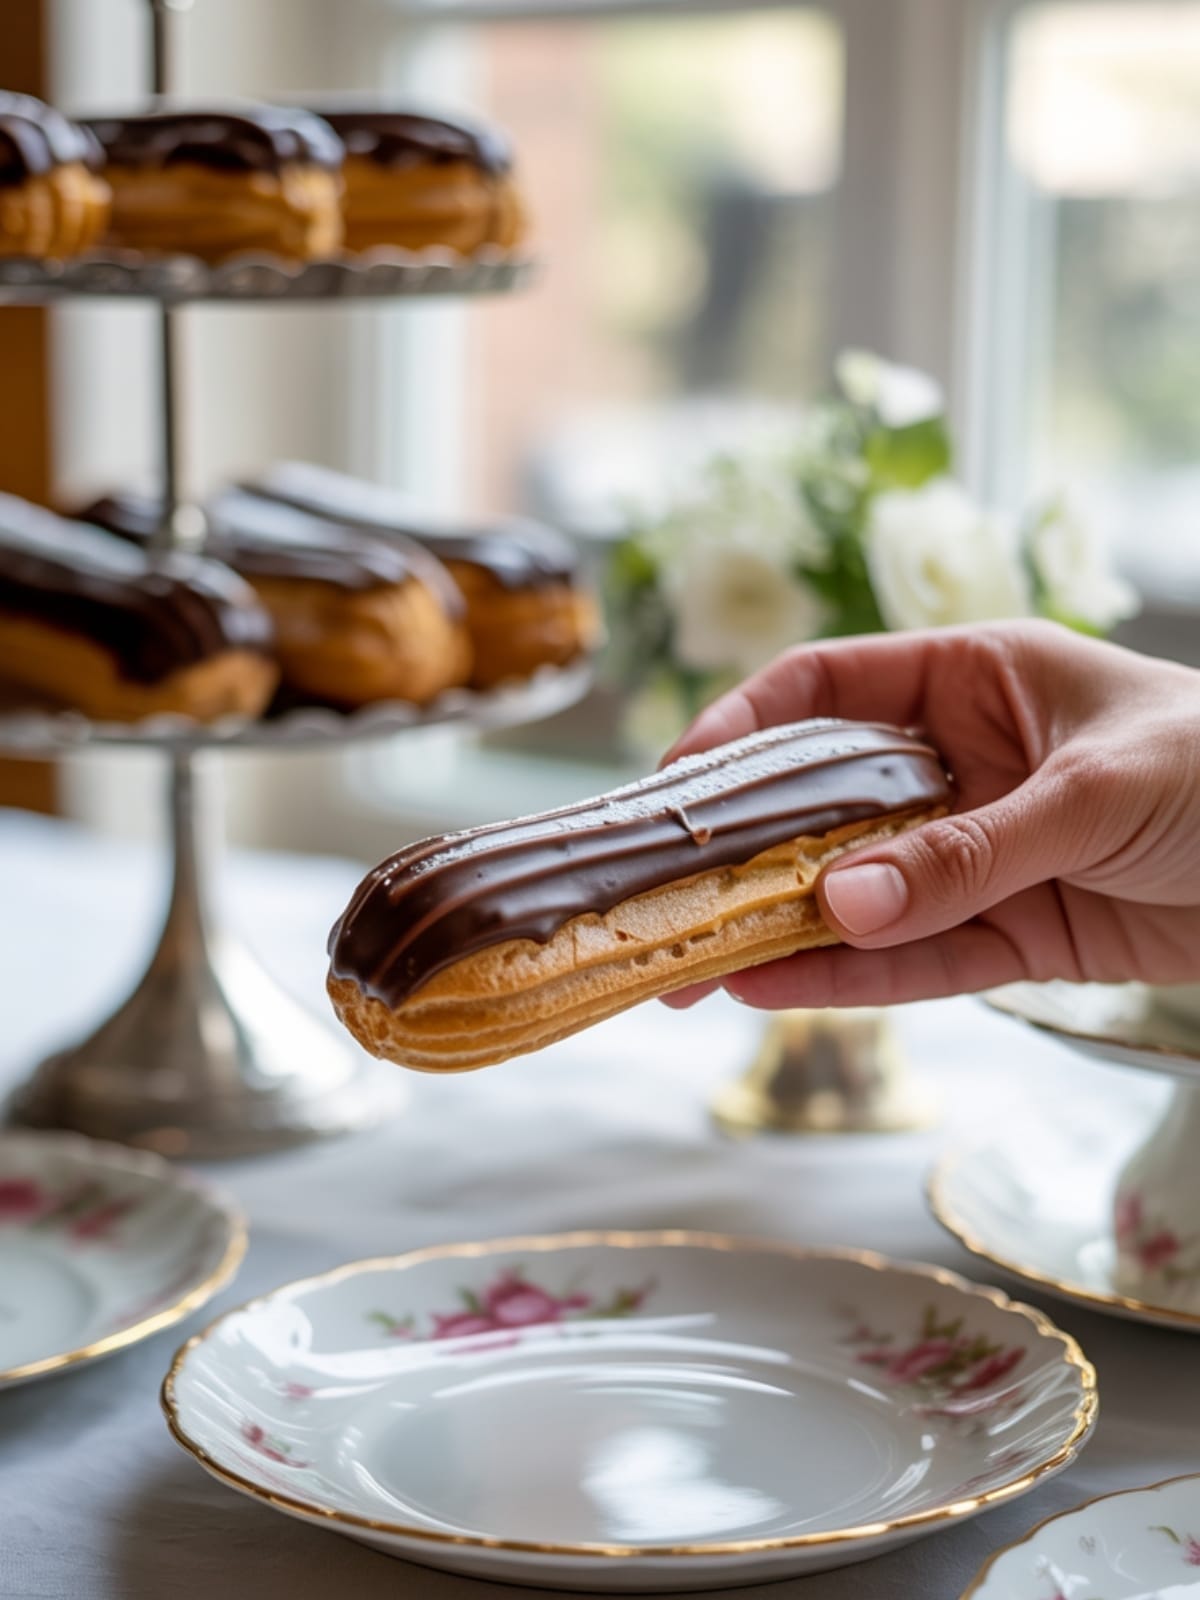
There’s something almost magical about biting into a perfectly made Classic Chocolate Eclair. That delicate balance of crisp choux pastry giving way to silky pastry cream, all topped with a glossy chocolate glaze that shatters slightly with each bite. While they might seem intimidating at first glance, these elegant French pastries are absolutely within your reach as a home baker.
I still remember my first attempt at making these beauties – watching the simple butter-flour-egg mixture transform in the oven into those signature hollow shells felt like pure kitchen alchemy. Let me guide you through creating these impressive treats that will have everyone thinking you’ve been secretly training at a Parisian patisserie.
Why This Recipe is Awesome

What makes Classic Chocolate Eclairs truly special is their impressive versatility. They can be an elegant dessert for dinner parties, a showstopping afternoon tea offering, or an indulgent weekend project that delivers professional-level results.
The beauty of this recipe lies in its perfect balance of textures – crisp exterior, tender interior, creamy filling, and that irresistible chocolate topping. While many assume eclairs require professional equipment or years of training, my straightforward approach breaks it down into manageable steps anyone can master. Unlike store-bought versions that often sit too long and become soggy, homemade eclairs offer that perfect contrast between the elements that makes this French classic so beloved.
Plus, there’s an undeniable sense of accomplishment when you pull these golden pastries from your oven and transform them into stunning desserts.
Equipment needed: Pastry bag, large round piping tip, medium saucepan, wooden spoon, baking sheets, parchment paper, small offset spatula

Classic Chocolate Eclair
Ingredients
For the Choux Pastry
- 1 cup water
- ½ cup 1 stick unsalted butter
- 1 tablespoon granulated sugar
- ¼ teaspoon salt
- 1 cup all-purpose flour sifted
- 4 large eggs at room temperature
For the Vanilla Pastry Cream
- 2 cups whole milk
- ½ cup granulated sugar divided
- 4 large egg yolks
- ¼ cup cornstarch
- 2 teaspoons vanilla extract or 1 vanilla bean split and scraped
- 2 tablespoons unsalted butter
For the Chocolate Glaze
- 4 oz semi-sweet or dark chocolate finely chopped
- ½ cup heavy cream
- 1 tablespoon unsalted butter
- 1 tablespoon corn syrup for shine
Instructions
- Prepare your baking sheets by lining them with parchment paper and preheating your oven to 400°F (200°C). Draw 12 4-inch lines on the parchment as piping guides, then flip the paper over so the ink doesn’t touch the pastry.
- Make the choux pastry by combining water, butter, sugar, and salt in a medium saucepan over medium heat until the butter completely melts and the mixture comes to a rolling boil.
- Add the flour all at once and stir vigorously with a wooden spoon until the mixture forms a ball and pulls away from the sides of the pan. Continue cooking and stirring for another 1-2 minutes to dry out the dough.
- Transfer the dough to a bowl and let it cool for about 5 minutes until it’s warm but not hot to the touch – this prevents cooking the eggs when added.
- Incorporate the eggs one at a time, beating thoroughly after each addition until the dough is smooth and glossy. The correct consistency is reached when the dough falls from the spoon in a V-shape.
- Fill a pastry bag fitted with a large round tip with the choux dough and pipe 4-inch long strips onto the prepared baking sheets, leaving 2 inches between each eclair.
- Bake for 25-30 minutes until the eclairs are puffed, golden brown, and feel hollow when tapped. Do not open the oven door during the first 20 minutes of baking.
- Remove from oven and immediately poke a small hole in one end of each eclair to release steam. Allow to cool completely on a wire rack.
- Prepare the pastry cream by heating milk and half the sugar in a saucepan until simmering. Meanwhile, whisk egg yolks with remaining sugar and cornstarch in a bowl until pale.
- Temper the egg mixture by slowly pouring about 1/3 of the hot milk while whisking constantly, then pour this mixture back into the remaining hot milk in the saucepan.
- Cook the pastry cream over medium heat, whisking constantly, until it thickens and comes to a boil. Continue cooking for 1-2 minutes more to cook out the cornstarch flavor.
- Remove from heat and stir in the vanilla and butter. Transfer to a bowl, press plastic wrap directly onto the surface to prevent a skin from forming, and refrigerate until cold.
- Make the chocolate glaze by heating the cream until just simmering, then pour over the chopped chocolate. Let sit for 2 minutes, then stir until smooth. Add butter and corn syrup, stirring until glossy.
- Assemble the eclairs by cutting three small holes in the bottom of each shell with a small knife. Fill a pastry bag fitted with a small round tip with the pastry cream and pipe into each hole until the eclair feels heavy.
- Dip the top of each filled eclair into the chocolate glaze, allowing excess to drip off. Place on a wire rack to set for at least 30 minutes before serving.
Notes
- For the crispest eclairs, after baking, turn off the oven, crack the door open, and let them cool inside for 10 minutes to dry out further.
- Choux pastry works best when all ingredients are at room temperature, especially the eggs.
- You can make the pastry cream a day ahead and store it covered in the refrigerator.
- For extra stability in hot weather, add 1 teaspoon of gelatin (bloomed in 1 tablespoon water) to the pastry cream while it’s hot.
- Filled eclairs are best eaten the same day, but unfilled shells can be stored in an airtight container for up to 2 days or frozen for a month.
Calories & Nutritional Info
- Calories: Approximately 325 calories per eclair
- Carbohydrates: 35g
- Protein: 6g
- Fat: 18g
- Contains common allergens: Milk, eggs, wheat
- Not suitable for vegan or dairy-free diets without significant modifications
Common Mistakes to Avoid
- Opening the oven too early – This causes the eclairs to collapse. Keep that door closed for at least the first 20 minutes of baking.
- Undermixing the choux dough – Each egg must be fully incorporated before adding the next for proper structure.
- Underbaking the shells – Pale eclairs will be soggy and collapse when cooled. They should be deeply golden brown.
- Making the pastry cream too thin – Always bring it to a full boil to activate the cornstarch properly.
- Assembling too far in advance – Fill eclairs no more than 4-6 hours before serving to prevent soggy shells.
Alternatives & Substitutions
- Flavor variations: Add espresso powder, almond extract, or citrus zest to the pastry cream for different flavor profiles.
- Dairy-free option: Use coconut milk and dairy-free butter alternatives for both the pastry and filling (texture will be slightly different).
- Gluten-free adaptation: A cup-for-cup gluten-free flour blend can work for the choux, though the texture may be slightly less airy.
- Filling alternatives: Try chocolate pastry cream, coffee-flavored cream, or even lightly sweetened whipped cream for variety.
- Topping options: Beyond chocolate, try a white chocolate glaze, caramel, or even a simple dusting of powdered sugar.
FAQs
Why did my eclairs deflate after baking?
Deflating usually happens when the oven temperature isn’t high enough or when you remove them before they’re fully cooked. The exterior needs to set completely before cooling. Make sure your oven is properly preheated and avoid opening the door during baking.
Can I make eclairs ahead of time for a party?
Yes, with some planning! Bake the shells up to 2 days ahead and store in an airtight container. Make the pastry cream 1 day ahead. Assemble no more than 4-6 hours before serving for the best texture and eating experience.
Why is my choux pastry too runny or too thick?
Choux consistency depends on egg size and flour absorption. If too runny, add a bit more flour (1 tablespoon at a time). If too thick, beat in a little more egg (1 teaspoon at a time). The perfect consistency should form a V-shape when lifted with a spoon.
How do I know when my pastry cream is thick enough?
Properly cooked pastry cream should coat the back of a spoon and hold a clean line when you run your finger through it. It should also come to a full boil to activate the cornstarch, which gives it stability when cooled.
Can I freeze completed eclairs?
While you can freeze unfilled eclair shells for up to a month, I don’t recommend freezing fully assembled eclairs as the filling and shell have different thawing properties, leading to a soggy result. Enjoy them fresh for the best experience!
Final Thoughts
There’s such satisfaction in mastering these Classic Chocolate Eclairs – they represent that perfect intersection of technique and indulgence. Don’t be discouraged if your first batch isn’t perfect; each time you make them, you’ll gain confidence in handling the choux pastry. The wonder of transforming simple ingredients into something so elegant never fades, and the delighted reactions from friends and family make every step worthwhile.


