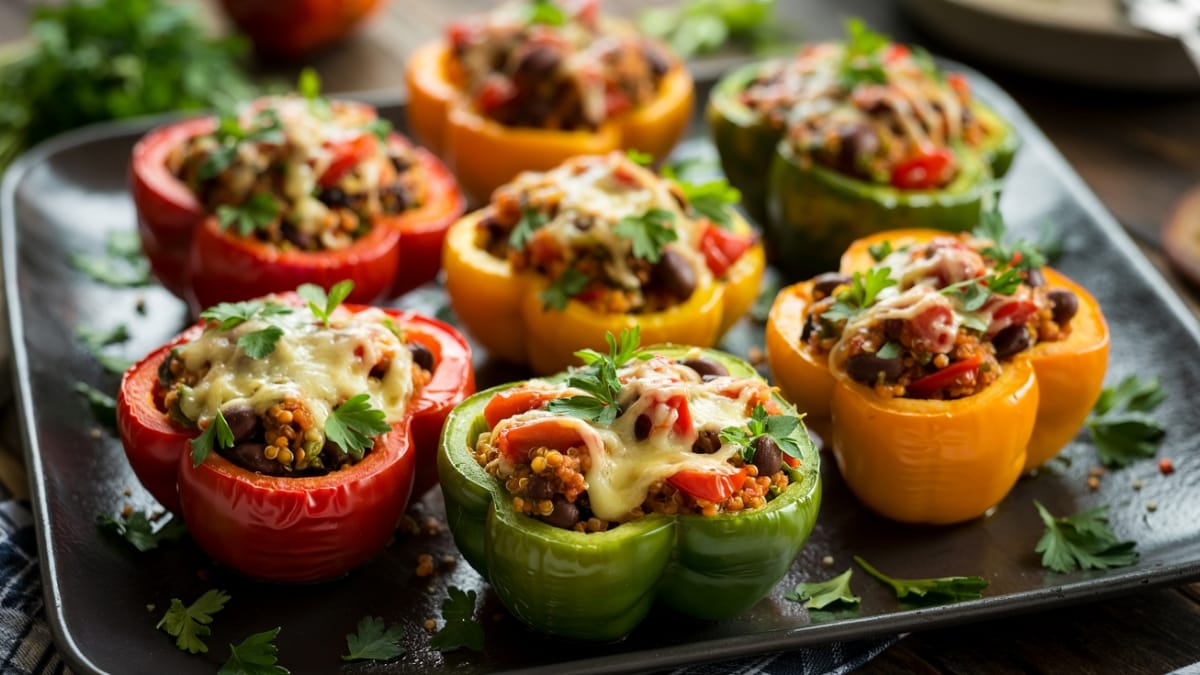
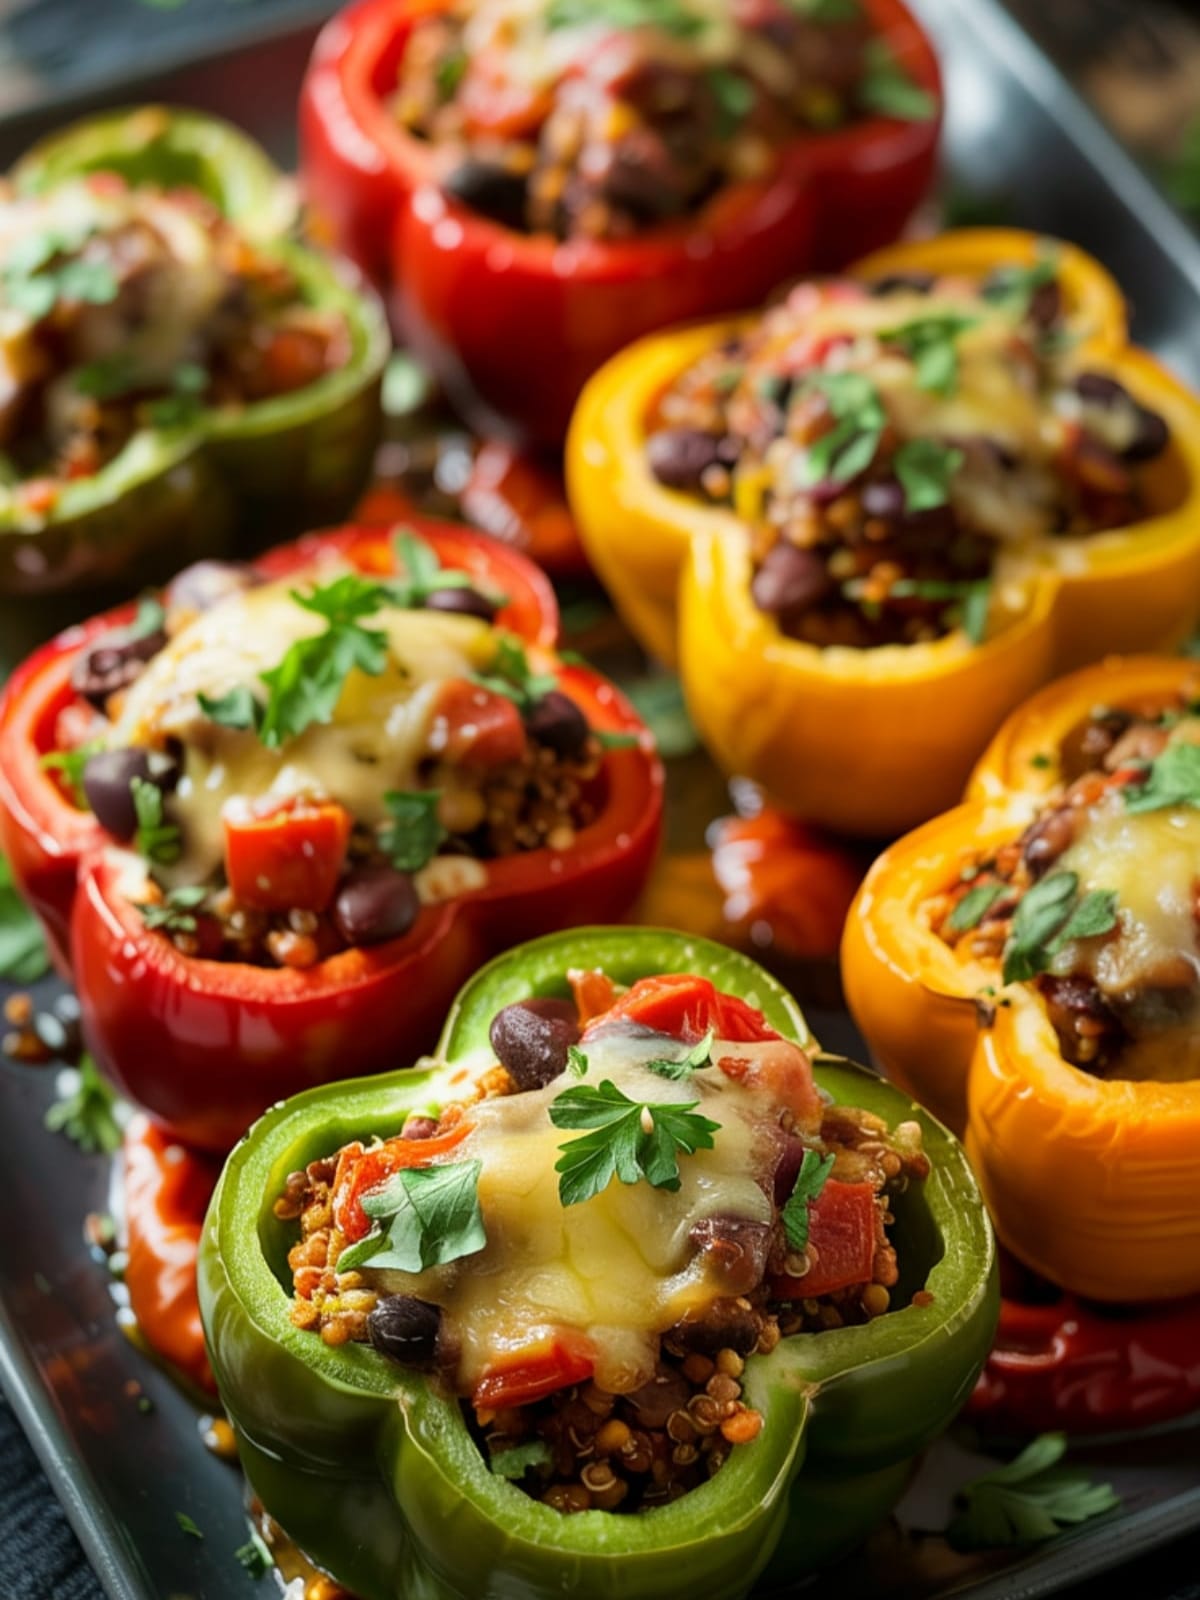
Last night I served these rainbow-bright stuffed peppers to my “I-could-never-go-vegetarian” brother-in-law. Halfway through dinner, he paused, looked down at his empty pepper shell, and said, “Wait, there’s no meat in this?” That’s when I knew this recipe was a keeper. These aren’t your grandmother’s bland stuffed peppers – they’re vibrant, nutritious flavor bombs that’ll make you forget meat was ever an option.
Why These Stuffed Bell Peppers Will Change Your Dinner Game

These quinoa-stuffed bell peppers are the ultimate kitchen MVP – they’re healthy yet hearty, impressive yet easy, and can be prepped ahead (hello, weeknight dinner solution!). The combination of fluffy quinoa and savory black beans creates a protein powerhouse that’ll keep you full for hours, while the roasted peppers develop a sweet, caramelized flavor that transforms them from simple vegetable to edible flavor vessel.
Did I mention they’re a complete meal in one adorable edible package? Protein, complex carbs, veggies – it’s all there. Plus, don’t they look Instagram-worthy with their rainbow colors and that golden cheese crust? Wait until your dinner guests discover they’re as nutritious as they are delicious.

Quinoa And Black Bean Stuffed Bell Peppers
Equipment
- Baking dish large enough for 6 peppers
- Medium saucepan for quinoa
- Large skillet
- Cutting board and knife
- Measuring cups and spoons
- Aluminum foil
- Mixing spoon
Ingredients
For the Stuffed Peppers
- 6 bell peppers mix of red, yellow, orange, and green for color
- 1 cup uncooked quinoa rinsed
- 2 cups vegetable broth
- 1 tablespoon olive oil
- 1 medium onion diced
- 3 cloves garlic minced
- 1 zucchini diced small
- 1 can 15 oz black beans, drained and rinsed
- 1 can 14.5 oz diced tomatoes (fire-roasted adds great flavor)
- 1 cup corn kernels fresh or frozen
- 1 teaspoon ground cumin
- 1 teaspoon chili powder
- 1/2 teaspoon smoked paprika
- 1/4 teaspoon cayenne pepper optional, for heat
- 1/2 cup fresh cilantro chopped (plus more for garnish)
- 1 cup shredded cheese Mexican blend, pepper jack, or cheddar
- Salt and pepper to taste
For the Topping (Optional)
- 1/2 cup additional shredded cheese
- 1/4 cup crushed tortilla chips or panko breadcrumbs
- Sliced avocado sour cream, or Greek yogurt for serving
Instructions
- Prep your kitchen station: Preheat your oven to 375°F (190°C). Grab a baking dish large enough to hold all your peppers standing upright. If you don't have one, just call it "rustic style" and lay them on their sides.
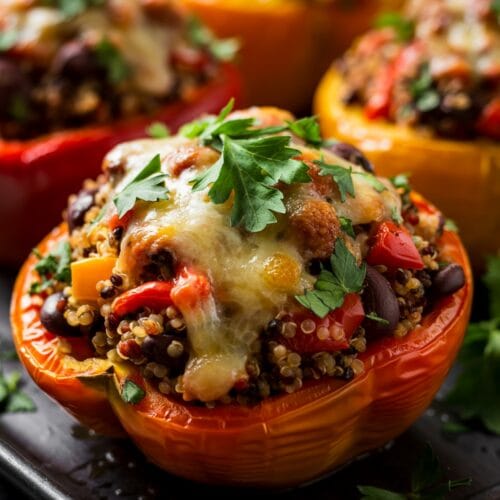
- Cook the quinoa: In a medium saucepan, combine the rinsed quinoa and vegetable broth. Bring to a boil, then reduce heat to low, cover, and simmer for about 15 minutes until the liquid is absorbed and quinoa is fluffy. Fluff with a fork and set aside. (Pro tip: See those little tails on the quinoa? That's how you know it's done!)
- Prep the peppers: Cut the tops off the bell peppers and remove the seeds and membranes. If they wobble too much, slice a tiny bit off the bottom to create a flat surface – just don't cut all the way through, unless you enjoy cleaning quinoa off the bottom of your oven.
- Pre-cook the peppers: Place the hollowed peppers in your baking dish, add about 1/4 inch of water to the bottom of the dish, cover with foil, and bake for about 15 minutes. This pre-cooking step ensures your peppers won't be raw while your filling is perfect. Nobody likes that disappointing crunch when you're expecting tender.
- Make the filling: While the peppers are pre-cooking, heat olive oil in a large skillet over medium heat. Add the onion and sauté until translucent, about 5 minutes. Add garlic and cook until fragrant, about 30 seconds. (Burn the garlic and you'll be starting over – no pressure!)
- Build the flavor: Add the zucchini and cook for another 3-4 minutes until it begins to soften. Stir in the drained black beans, diced tomatoes, corn, and all the spices. Let this mixture simmer for about 5 minutes, stirring occasionally.
- Complete the filling: Remove the skillet from heat and stir in the cooked quinoa, fresh cilantro, and 1 cup of shredded cheese. Season with salt and pepper to taste. The filling should be moist but not soupy – if it seems too wet, let it sit for a few minutes to absorb the excess liquid.
- Stuff those peppers: Remove the pre-cooked peppers from the oven and carefully pour out any water from the baking dish. Fill each pepper with the quinoa mixture, packing it in gently but not squishing it down too much. Top with additional cheese and crushed tortilla chips or breadcrumbs if using.
- Bake to perfection: Return the stuffed peppers to the oven, uncovered, and bake for 15-20 minutes until the peppers are tender and the cheese is melted and bubbly. For a golden top, broil for the last 2-3 minutes – but watch closely! The difference between "beautifully browned" and "call the fire department" is about 30 seconds.
- Serve and enjoy: Let the peppers cool for about 5 minutes before serving. Garnish with additional fresh cilantro, sliced avocado, and a dollop of sour cream or Greek yogurt if desired. Prepare for the "mmms" and recipe requests.
Notes
- The key to perfect stuffed peppers is balancing the cooking time – you want tender peppers without mushy filling. The pre-cooking step helps achieve this balance.
- For extra flavor, toast the dry quinoa in a skillet before cooking it in the broth.
- Don’t rinse the black beans if you want a slightly saucier filling.
- If you’re short on time, use pre-cooked quinoa or microwaveable quinoa packets.
- These peppers taste even better the next day after the flavors have had time to meld.
- For meal prep, you can prepare the filling and clean the peppers up to 2 days ahead, then assemble and bake when ready to eat.
-
Consider:
- This recipe is vegetarian but can easily be made vegan by omitting the cheese or using plant-based cheese
- Naturally gluten-free (just ensure your vegetable broth is certified GF if you have celiac disease)
- Contains common allergens: dairy (in the cheese)
- For those with bean sensitivities, chickpeas can be substituted for black beans
- Perfect for meal prep – these peppers reheat beautifully for lunches
- Freezer-friendly for up to 3 months
Common Mistakes to Avoid
- Skipping the pepper pre-cook: Raw peppers with cooked filling is a textural nightmare. Those 15 minutes of pre-baking make all the difference between perfect peppers and a dental workout.
- Overstuffing your peppers: I know it’s tempting to create pepper mountains, but unless you want a bubbling quinoa volcano erupting in your oven, leave about 1/4 inch of space at the top. The filling will expand slightly during baking.
- Not draining the beans and tomatoes properly: Nobody wants soggy stuffed peppers. Make sure to drain your beans well, and if your canned tomatoes seem particularly juicy, you might want to drain them slightly too.
- Cooking quinoa in water instead of broth: This is a missed flavor opportunity! Vegetable broth adds so much more depth to your quinoa than plain water ever could. It’s the difference between “meh” and “wow.”
- Under-seasoning the filling: Quinoa and beans need assertive seasoning. Taste your filling before stuffing the peppers and adjust the salt, pepper, and spices. Remember that the peppers themselves are mild, so the filling needs to carry the flavor load.
Variations & Customizations
- Meaty Quinoa-Beef Stuffed Peppers: Add 1/2 pound of lean ground beef or turkey to the skillet after sautéing the onions. Cook until browned, then continue with the recipe as written. This version will satisfy carnivores while still keeping the nutritional benefits of quinoa and beans.
- Mediterranean-Style: Swap the black beans for chickpeas, use feta instead of Mexican cheese, and replace the cumin and chili powder with 1 tablespoon of dried oregano and 1 teaspoon of dried thyme. Add some chopped kalamata olives and substitute fresh parsley for the cilantro.
- Southwest Fiesta Peppers: Amp up the heat with 1 diced jalapeño added with the onions, use pepper jack cheese, and add 1/2 teaspoon of ground coriander to the spice mix. Top with crushed Doritos instead of plain tortilla chips for an extra flavor punch, and serve with a lime wedge for squeezing over the top.
FAQs Section
Can I make these stuffed peppers ahead of time?
Absolutely! These peppers are meal-prep champions. You have several options: 1) Prepare the entire dish up to the final baking step, cover, and refrigerate for up to 2 days. When ready to eat, simply bake for an additional 5-10 minutes since they’ll be cold from the fridge. 2) Make just the filling ahead and store separately from the hollowed peppers, then assemble and bake when needed. 3) Fully cook the stuffed peppers, cool completely, and freeze individually wrapped in foil, then placed in a freezer bag. To reheat from frozen, bake covered at 350°F for about 30-35 minutes until heated through.
How do I know when the bell peppers are perfectly cooked?
The perfect stuffed pepper should be tender enough to cut easily with a fork, but still hold its shape when served. You don’t want crunchy peppers (undercooked) or peppers that collapse when touched (overcooked). After the pre-cooking and final baking, test by gently pressing the side of a pepper with a fork – it should give slightly with little resistance. The color also offers clues: peppers will become more vibrant initially, then slightly dulled when fully cooked. If you’re unsure, it’s better to err on the side of slightly firmer peppers, as they’ll continue to soften slightly while resting.
Can I use a different grain instead of quinoa?
Yes, this recipe is incredibly versatile when it comes to grain choices. Brown rice is the most common substitute and works wonderfully, though it has a longer cooking time than quinoa. Bulgur wheat offers a nice chewy texture and cooks quickly. Farro or barley add a delightful nutty flavor but note they aren’t gluten-free. Cauliflower rice works for a lower-carb option, though you’ll want to reduce the cooking time significantly and possibly add an extra binding ingredient like a beaten egg. Whatever grain you choose, the key is to make sure it’s fully cooked before mixing into your filling, as it won’t cook much more once inside the peppers.
Final Thoughts
These quinoa and black bean stuffed peppers prove that healthy eating doesn’t mean sacrificing flavor or satisfaction. They’re vibrant in both color and taste, offering that perfect balance of nutritious ingredients and comfort-food appeal. Whether you’re a dedicated vegetarian or just trying to incorporate more plant-based meals into your routine, this dish deserves a spot in your regular rotation. So grab those colorful peppers and get stuffing – your Instagram feed and your taste buds will thank you.


