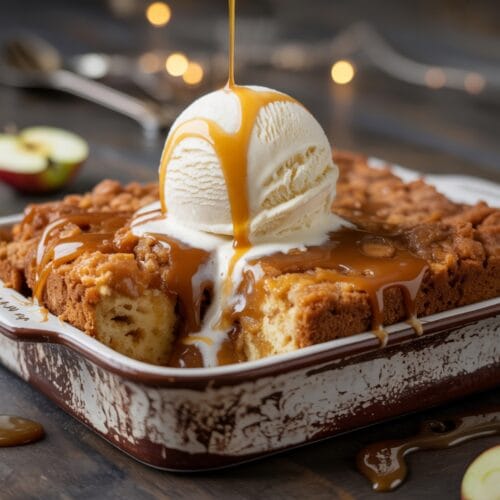
Imagine the heavenly aroma of caramel, cinnamon, and baked apples filling your kitchen with just 5 minutes of effort. That’s the magic of Caramel Apple Dump Cake—a dessert that combines the nostalgic flavors of apple pie with the ease of, well, dumping ingredients into a pan! This cozy treat embodies everything wonderful about fall baking without any of the fuss or technique typically required.
When the craving for something sweet hits but the thought of measuring, mixing, and multiple steps feels overwhelming, this recipe swoops in like a superhero wearing an apron. It’s the dessert equivalent of a warm hug on a chilly autumn afternoon.
Why This Recipe is Awesome
Caramel Apple Dump Cake stands in a league of its own for several compelling reasons. First, the ridiculously simple preparation—literally dumping layers of ingredients—makes it accessible to anyone, regardless of baking experience.
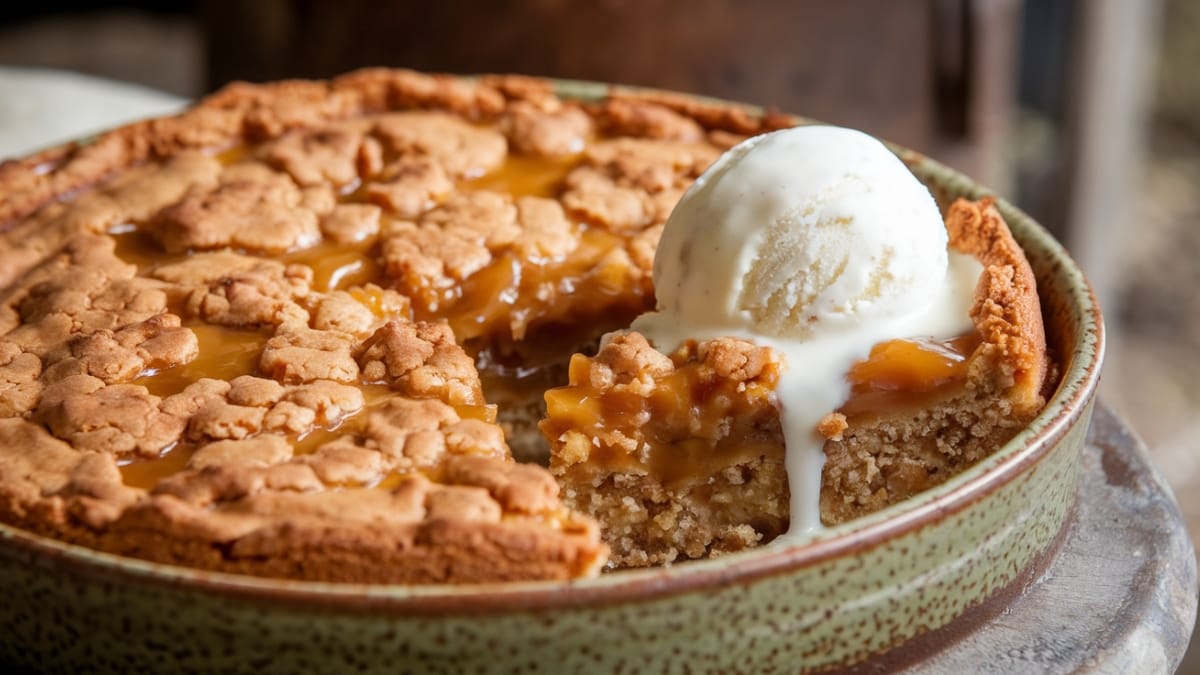
Yet the result tastes like you spent hours crafting a gourmet dessert. The genius lies in how the ingredients transform during baking. The cake mix creates a buttery, crumbly topping while soaking into the apple filling below, creating distinct textures in every bite.
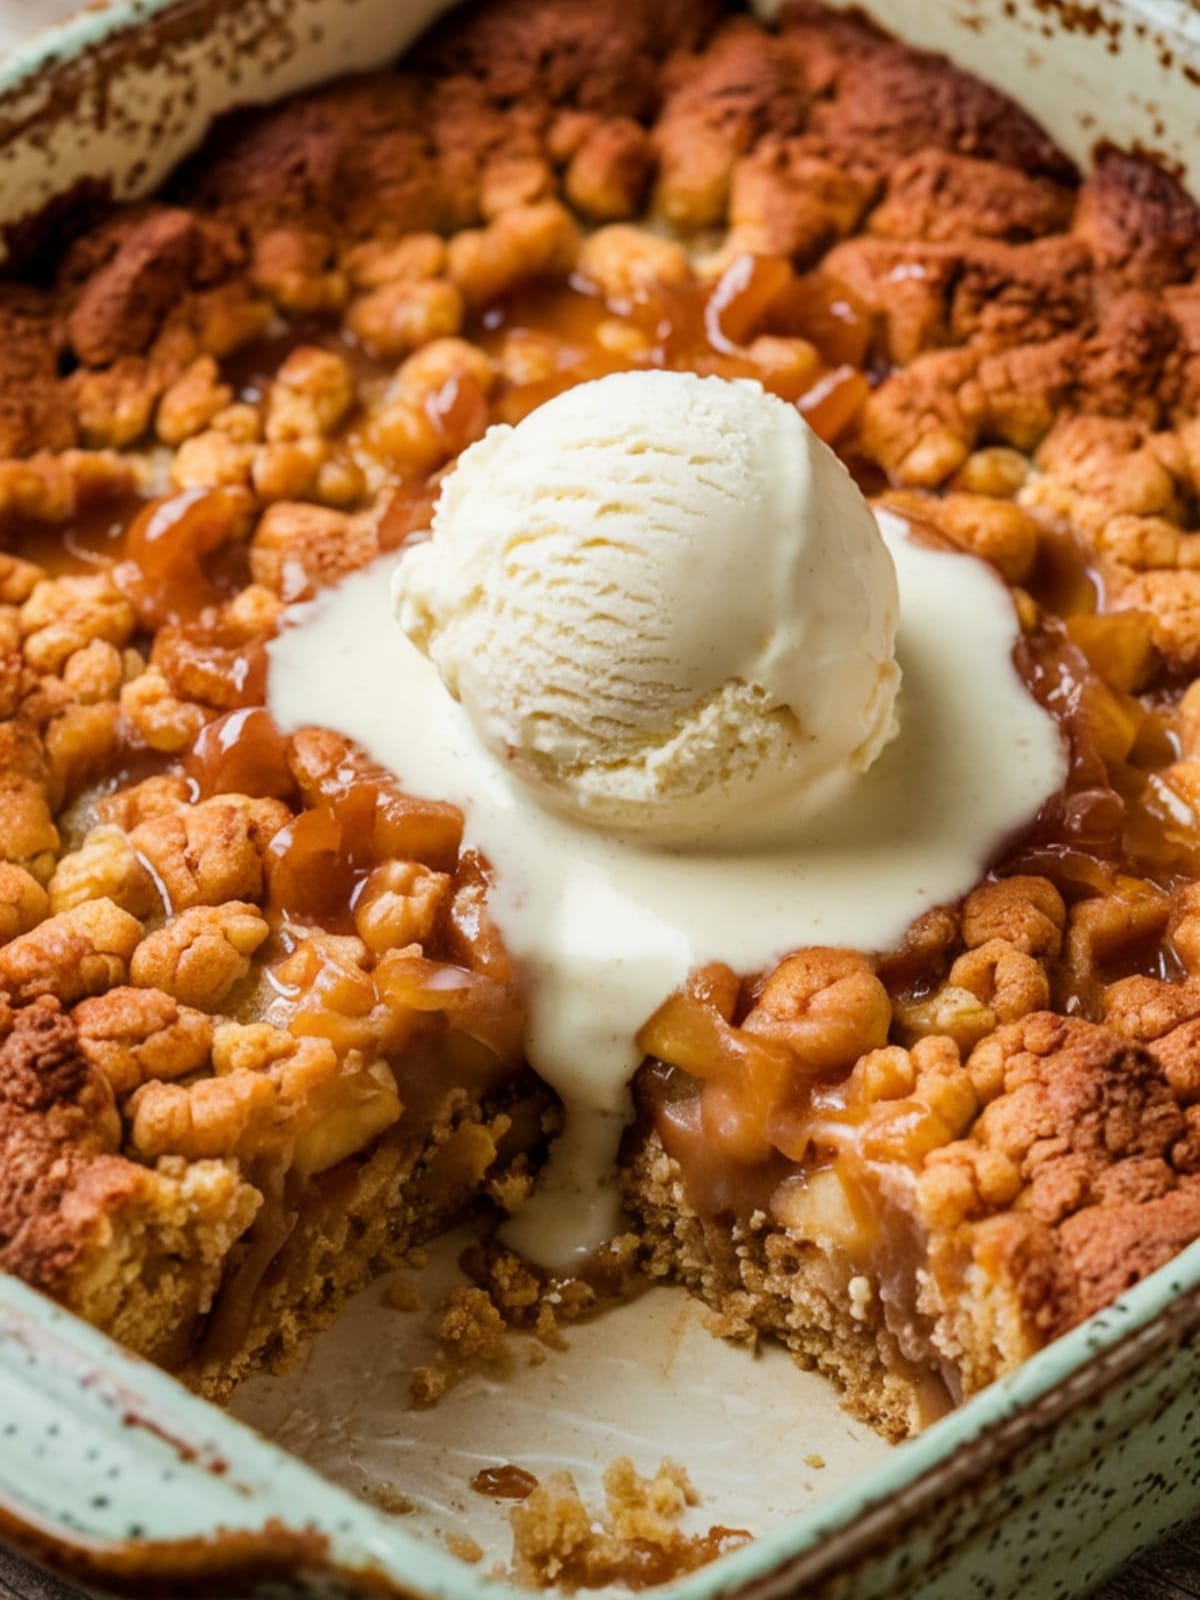
Meanwhile, the caramel weaves throughout, creating pockets of gooey sweetness that elevate this from a simple cake to an indulgent treat. What truly sets this recipe apart is its versatility. It can be dressed up with vanilla ice cream for guests or enjoyed straight from the pan on a cozy night in.
The balance of tart apples with sweet caramel creates a perfect harmony that appeals to nearly everyone.
Equipment needed: 9×13 baking dish, can opener, knife
Caramel Apple Dump Cake
Ingredients
- 2 cans 21 oz each apple pie filling
- 1 cup caramel sauce store-bought or homemade
- 1 box yellow cake mix 15.25 oz
- 1 tablespoon ground cinnamon
- 1/2 teaspoon nutmeg optional but recommended
- 3/4 cup unsalted butter 1 1/2 sticks, thinly sliced
- 1/2 cup chopped pecans or walnuts optional
- Vanilla ice cream or whipped cream for serving optional
Instructions
- Preheat your oven to 350°F (175°C) and lightly grease a 9×13 inch baking dish with cooking spray or butter.
- Spread the apple pie filling evenly across the bottom of the prepared baking dish, making sure to distribute the apple pieces uniformly.
- Drizzle the caramel sauce over the apple layer in a zigzag pattern, covering as much surface area as possible.
- Sprinkle the cinnamon and nutmeg evenly over the caramel and apple layers to enhance the warm, fall flavors.
- Evenly distribute the dry cake mix over the previous layers, ensuring complete coverage with no gaps.
- Arrange the thin slices of butter across the entire surface of the cake mix, placing them as close together as possible to ensure even melting.
- Scatter the chopped nuts (if using) across the top for added texture and flavor.
- Bake uncovered for 40-45 minutes until the top is golden brown and the edges are bubbling with caramel goodness.
- Allow to cool for at least 15 minutes before serving to let the caramel set slightly and avoid burns.
- Serve warm with a scoop of vanilla ice cream or a dollop of whipped cream if desired.
Notes
- For a more intense apple flavor, choose apple pie filling that contains cinnamon or apple pie spice.
- If you prefer a less sweet version, use fresh sliced apples tossed with a tablespoon of lemon juice and 2 tablespoons of sugar instead of pie filling.
- This dessert keeps well at room temperature for up to 2 days, covered with foil, or refrigerated for up to 5 days.
- To reheat, microwave individual portions for 30-45 seconds or warm the entire dish in a 300°F oven for 15 minutes.
- The recipe can be prepared up to 24 hours in advance and refrigerated before baking—just add an extra 5-10 minutes to the baking time.
Calories & Nutritional Info
- Calories: Approximately 380 calories per serving (without ice cream)
- Fat: 18g (primarily from butter)
- Carbohydrates: 56g
- Protein: 2g
- Dietary Considerations: Contains gluten, dairy, and possibly nuts. Can be made nut-free by omitting pecans/walnuts.
Common Mistakes to Avoid
- Melting the butter before adding: This creates a soggy, dense cake instead of the desirable crisp, buttery topping. Always use cold, sliced butter.
- Using too few butter slices: Insufficient butter coverage results in dry patches of cake mix that won’t properly incorporate with the other ingredients.
- Stirring the layers together: The magic happens when the ingredients remain in distinct layers before baking—resist the urge to mix!
- Serving immediately after baking: The caramel becomes molten-hot during baking and needs time to cool slightly to avoid burns and achieve the right consistency.
- Covering while still warm: This traps steam and makes the topping soggy. Allow the cake to cool completely before covering for storage.
Alternatives & Substitutions
- For a spice cake variation: Substitute spice cake mix for yellow cake mix to enhance the autumn flavors.
- Dairy-free option: Replace butter with solid coconut oil, cut into thin slices.
- Lower sugar version: Use unsweetened applesauce with 1 tablespoon of cornstarch and extra cinnamon instead of pie filling.
- Add texture: Mix 1/2 cup of quick oats with the cake mix for a heartier, cobbler-like topping.
- Fruity twist: Add 1 cup of fresh or frozen cranberries or blueberries to the apple layer for tartness and color.
- Boozy adult version: Stir 2 tablespoons of bourbon or spiced rum into the caramel sauce before drizzling.
FAQs
Can I make Caramel Apple Dump Cake ahead of time?
Absolutely! You can assemble it up to 24 hours in advance and refrigerate until you’re ready to bake. Just add 5-10 extra minutes to the baking time if it’s going straight from the refrigerator to the oven.
Why is my cake mix still powdery on top?
This typically happens when the butter slices don’t cover enough surface area. Make sure your butter slices are thin and arranged to cover as much of the cake mix as possible. Alternatively, you can melt the butter and mix it with the cake mix before sprinkling on top.
Can I use homemade apple pie filling?
Definitely! Homemade filling often tastes even better. Aim for about 4-5 cups of sliced apples cooked with sugar, cinnamon, and a bit of cornstarch to thicken.
How do I know when the dump cake is fully baked?
The top should be golden brown, and you’ll see caramel bubbling around the edges. If you insert a knife into the center, the cake portion should be set and not doughy.
Can I freeze leftovers?
Yes! Caramel Apple Dump Cake freezes surprisingly well. Cut into portions, wrap individually in plastic wrap, then foil, and freeze for up to 3 months. Thaw overnight in the refrigerator and reheat in the microwave or oven.
Final Thoughts
Caramel Apple Dump Cake is proof that extraordinary desserts don’t require extraordinary effort. This humble yet decadent treat celebrates the beautiful simplicity of baking—sometimes the most unassuming recipes deliver the most heartwarming results. Whether you’re a novice baker or simply someone craving the comforting flavors of fall without the fuss, this recipe promises to deliver joy by the spoonful.


