
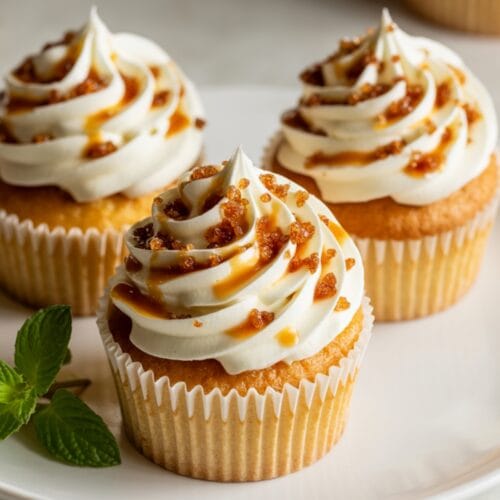
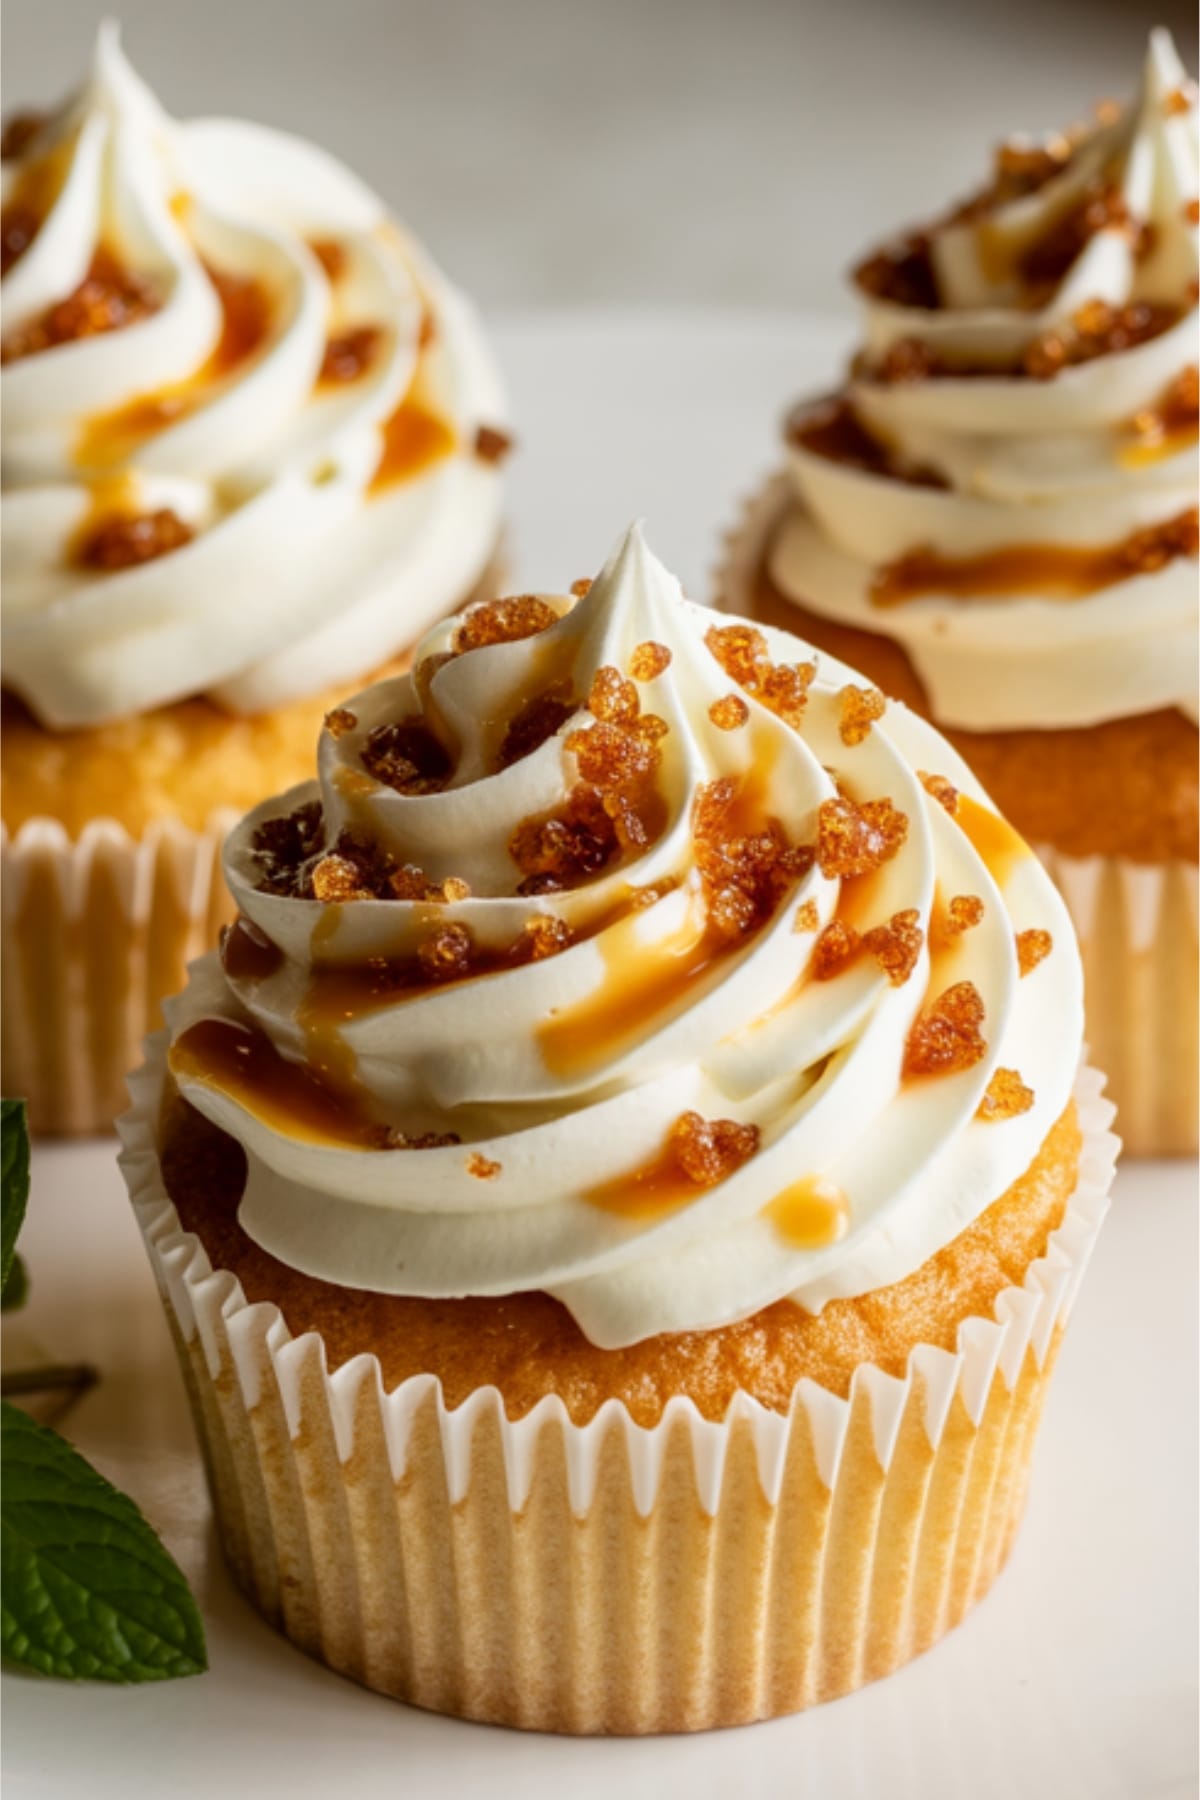
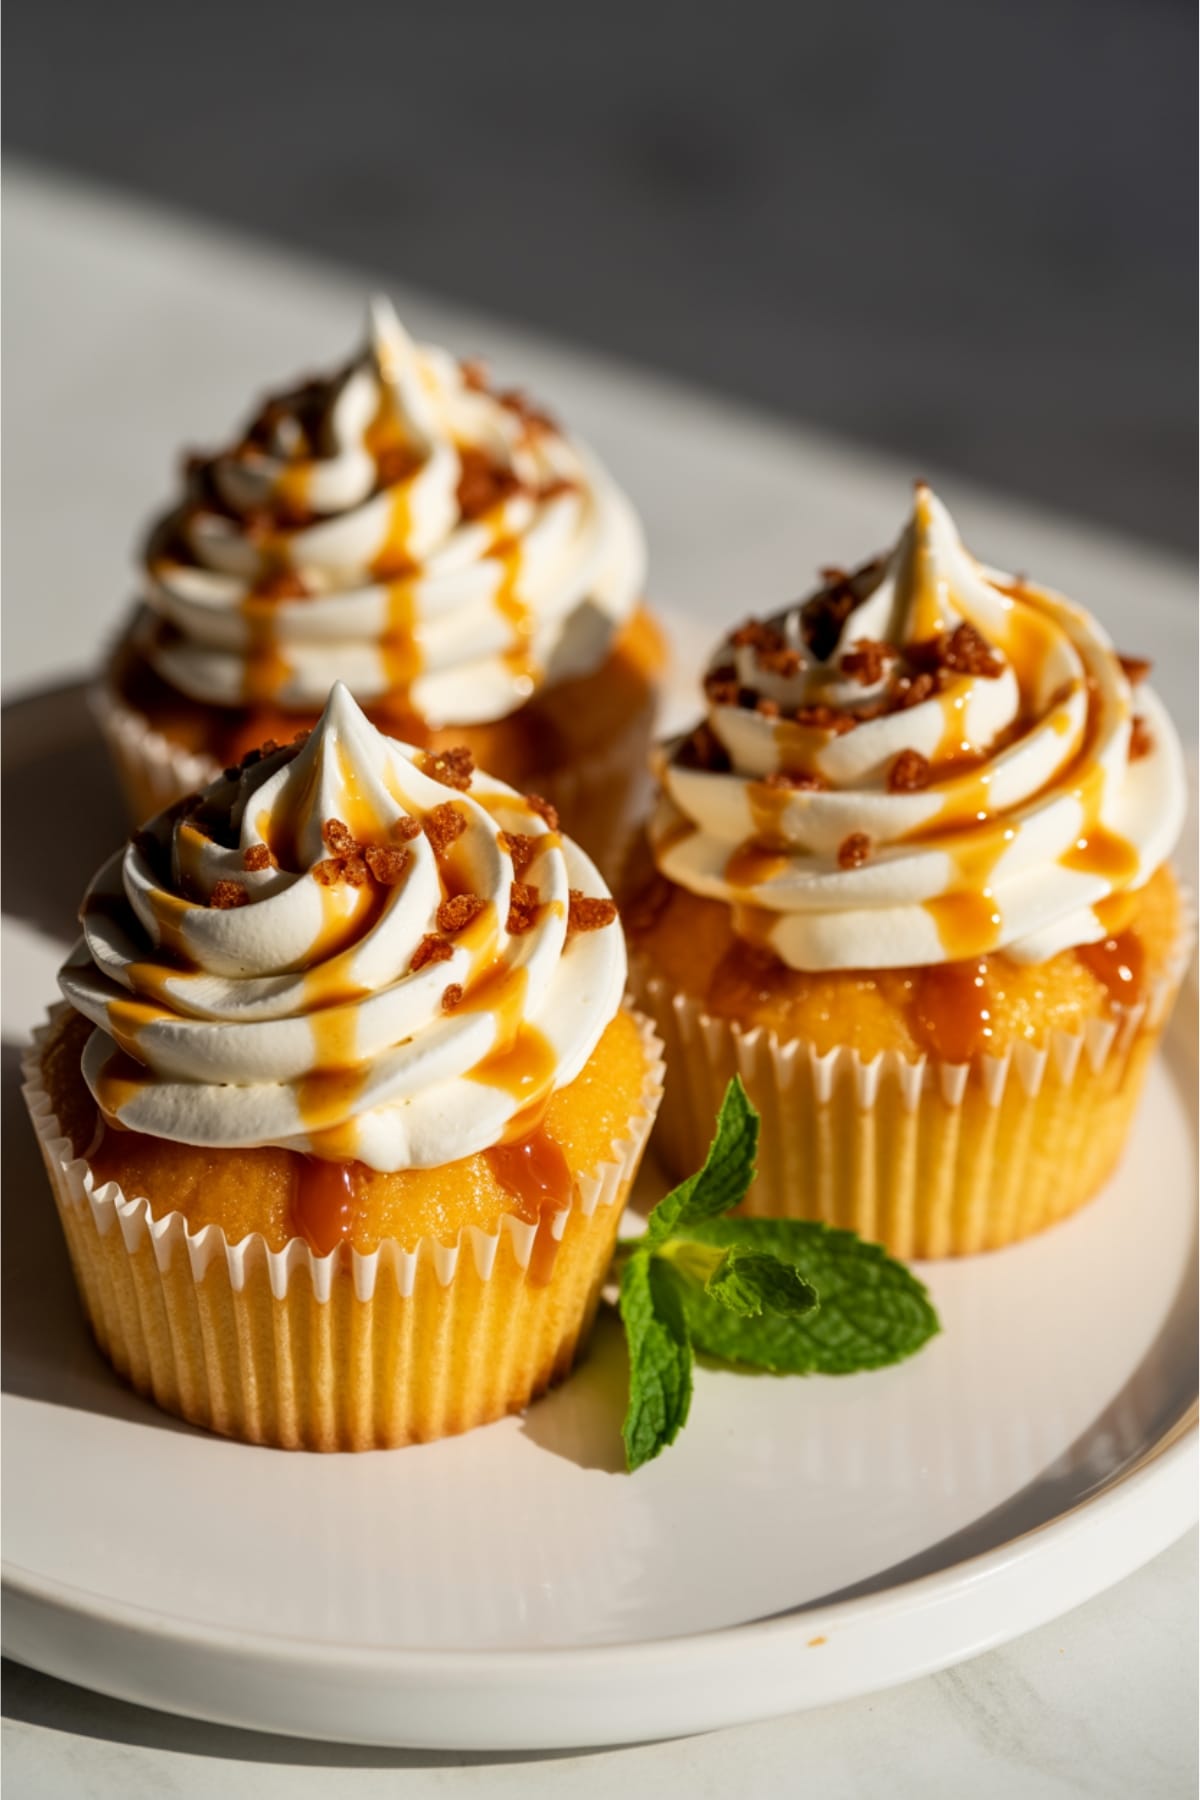
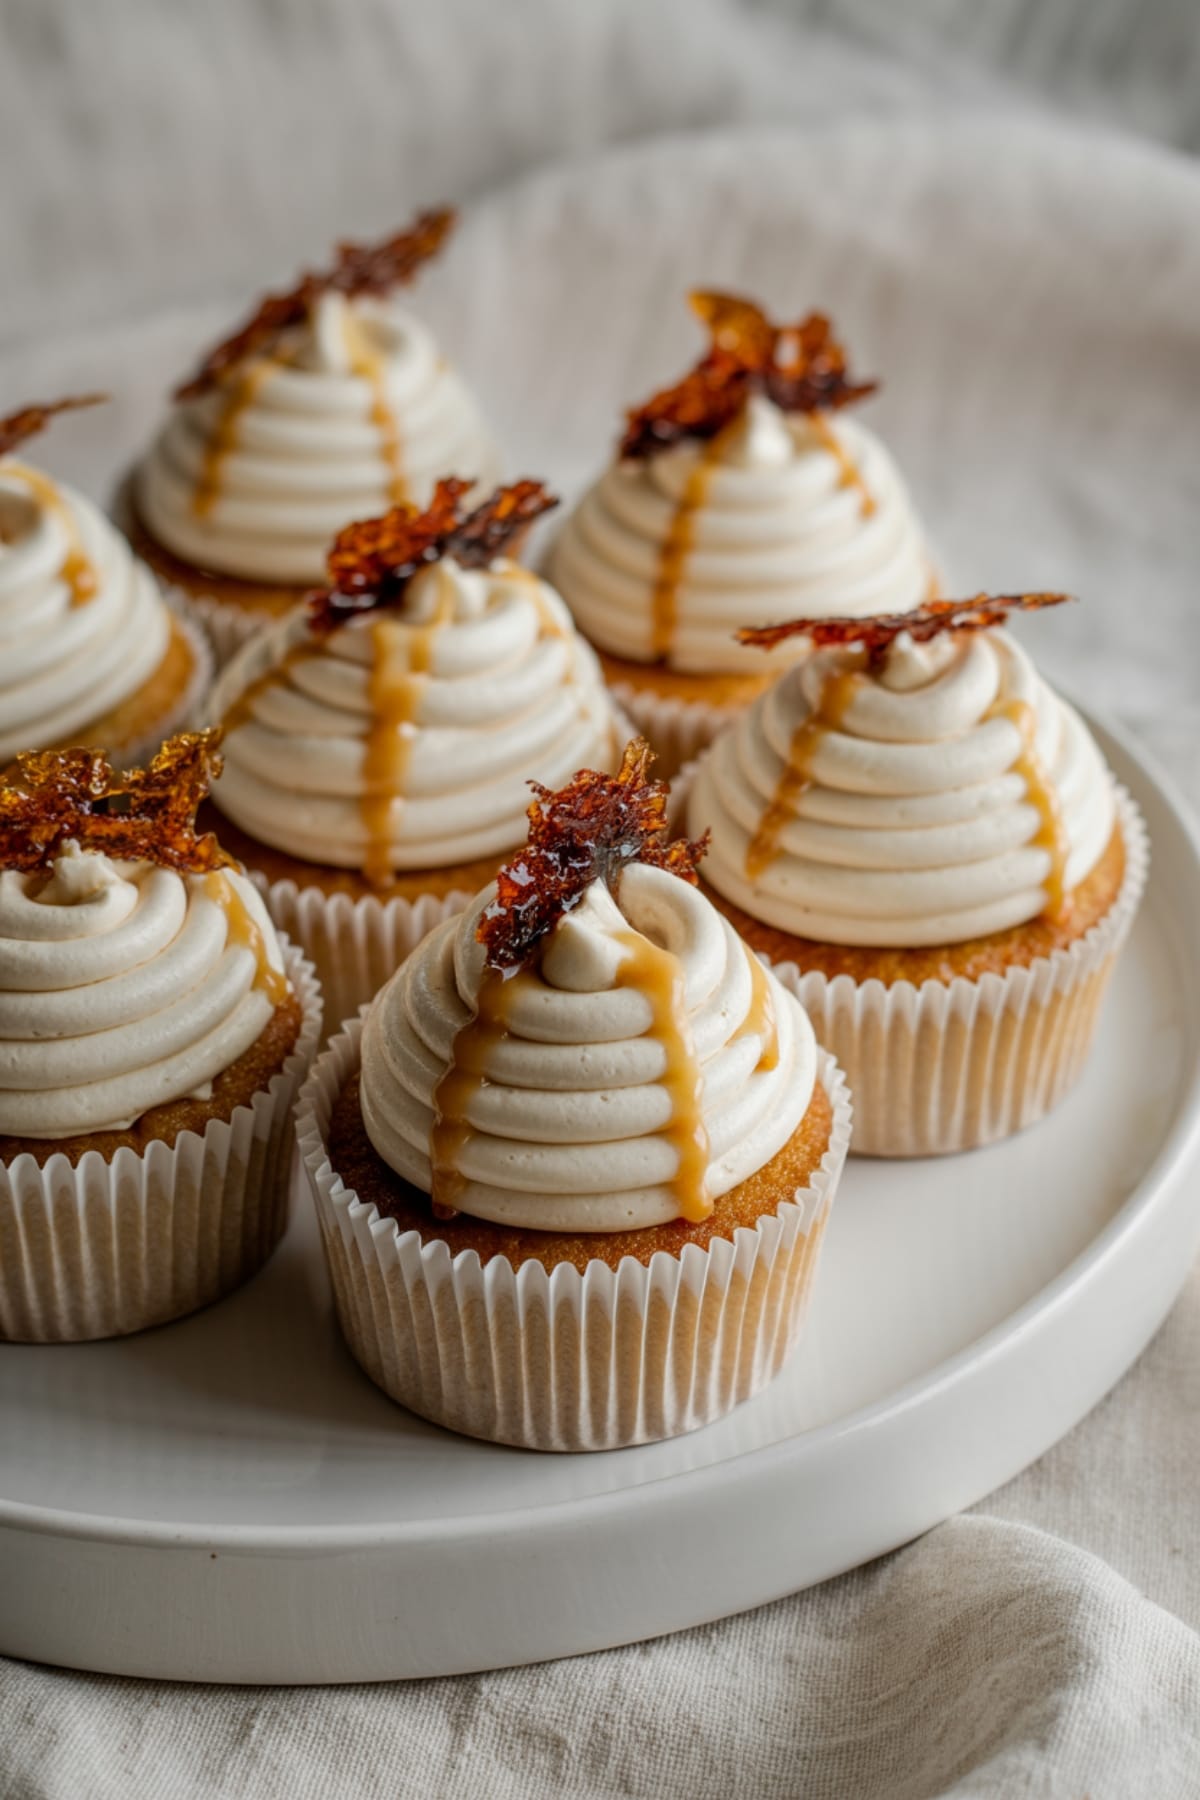
There’s something magical about cracking through that glassy, caramelized sugar top on a classic crème brûlée. Now imagine that same delightful experience, but in cupcake form! These Crème Brûlée Cupcakes bring together the best of both worlds – fluffy vanilla cake with a silky custard center, topped with a perfect layer of torched sugar that gives that signature “crack” we all love.
I discovered this recipe during a French pastry phase and have been perfecting it ever since.
The beauty lies in how these cupcakes transform a traditionally fussy dessert into something you can eat with your hands at a party, yet still maintain that “wow” factor when you serve them.
Why This Recipe is Awesome

What makes these Crème Brûlée Cupcakes truly special is how they honor both classics without compromising either. The vanilla cupcake base is light and tender, not just a vehicle for the filling. The custard center stays creamy even after baking – something that took me several test batches to perfect!
These cupcakes bring restaurant-quality dessert experience to your home kitchen.
That moment when your guests tap their spoons on the sugar crust and discover the custard hiding underneath the cake? Absolutely priceless. Plus, unlike traditional crème brûlée that must be made and served immediately after torching, these cupcakes can be prepared ahead and finished just before serving.
The technique isn’t as intimidating as it might seem.
If you don’t own a kitchen torch, I’ve included a broiler method that works wonderfully too. It’s the perfect recipe to impress without stressing.
Equipment needed: Muffin tin, cupcake liners, mixing bowls, electric mixer, kitchen torch (optional), instant-read thermometer
Crème Brûlée Cupcakes
Ingredients
- For the Cupcakes:
- 1½ cups all-purpose flour
- 1½ teaspoons baking powder
- ¼ teaspoon salt
- ½ cup unsalted butter room temperature
- 1 cup granulated sugar
- 2 large eggs room temperature
- 2 teaspoons vanilla extract or vanilla bean paste for enhanced flavor
- ½ cup whole milk
- For the Custard Filling:
- 4 large egg yolks
- ⅓ cup granulated sugar
- 1 cup heavy cream
- 1 teaspoon vanilla extract
- Pinch of salt
- For the Frosting and Topping:
- ½ cup unsalted butter softened
- 2 cups powdered sugar
- 1 teaspoon vanilla extract
- 2-3 tablespoons heavy cream
- ¼ cup granulated sugar for brûlée topping
Instructions
- Prepare your workspace and ingredients. Preheat oven to 350°F (175°C) and line a 12-cup muffin tin with cupcake liners. Allow butter, eggs, and milk to come to room temperature for best results.
- Make the custard filling first. In a heatproof bowl, whisk together egg yolks and sugar until pale and slightly thickened. Heat the heavy cream in a saucepan until it just begins to simmer (do not boil), then slowly pour into the egg mixture while constantly whisking.
- Cook the custard properly. Return the mixture to the saucepan and cook over low heat, stirring constantly, until it reaches 175°F on an instant-read thermometer and coats the back of a spoon. Immediately strain through a fine-mesh sieve, stir in vanilla and salt, then cover with plastic wrap directly on the surface and refrigerate.
- Prepare the cupcake batter. In a medium bowl, whisk together flour, baking powder, and salt. In a separate large bowl, beat butter and sugar with an electric mixer until light and fluffy, about 3 minutes. Add eggs one at a time, beating well after each addition, then mix in vanilla.
- Combine wet and dry ingredients carefully. Gradually add the flour mixture to the butter mixture in three additions, alternating with the milk, beginning and ending with the flour. Mix just until incorporated after each addition – overbeating will result in tough cupcakes.
- Bake the cupcakes until just done. Divide batter evenly among the cupcake liners, filling each about ⅔ full. Bake for 18-20 minutes or until a toothpick inserted in the center comes out clean. Allow to cool in the tin for 5 minutes, then transfer to a wire rack to cool completely.
- Create space for the filling. Once cooled, use a small knife or cupcake corer to remove the center of each cupcake, creating a well about 1 inch in diameter and 1 inch deep. Save the cake tops for later.
- Fill each cupcake generously. Remove custard from refrigerator and spoon or pipe it into the wells of each cupcake. Cut the reserved cake tops to create a thin “lid” and place over the filling.
- Make the vanilla frosting. Beat butter until creamy, then gradually add powdered sugar, vanilla, and enough heavy cream to achieve a smooth, spreadable consistency. Pipe or spread a thin layer on top of each cupcake.
- Create the signature brûlée topping. Just before serving, sprinkle each frosted cupcake with a thin, even layer of granulated sugar. Use a kitchen torch to carefully caramelize the sugar until it melts and turns amber (alternatively, place under a broiler for 1-2 minutes, watching carefully to prevent burning).
- Allow the sugar to harden before serving. Wait 1-2 minutes for the caramelized sugar to cool and form a crisp, crackable top before serving.
Notes
- The custard filling can be made up to 2 days in advance and kept refrigerated.
- For best results, torch the sugar topping just before serving to maintain the crisp texture.
- If you don’t have a kitchen torch, place the sugar-topped cupcakes under a broiler for 1-2 minutes, but watch them very carefully to prevent burning.
- To enhance the vanilla flavor, use vanilla bean paste instead of extract in both the cake and custard.
- These cupcakes are best enjoyed the same day they’re made, but unfrosted cupcakes can be stored in an airtight container for up to 2 days.
Calories & Nutritional Info
- Calories: Approximately 385 calories per cupcake
- Fat: 23g (14g saturated)
- Carbohydrates: 43g (35g sugars)
- Protein: 4g
- Allergens: Contains dairy, eggs, wheat
- Dietary notes: Not suitable for vegans or those with lactose intolerance
Common Mistakes to Avoid
- Overcooking the custard: This results in a scrambled egg texture rather than smooth custard. Always use a thermometer and strain afterward.
- Overfilling the cupcake liners: Fill only ⅔ full to prevent overflow during baking.
- Rushing the cooling process: Cupcakes must be completely cooled before filling or the custard will melt.
- Using too much sugar for the brûlée top: A thin, even layer caramelizes better than a thick one.
- Torching too long: Move the flame continuously to prevent burning the sugar or melting the frosting underneath.
Alternatives & Substitutions
- Gluten-free option: Substitute all-purpose flour with a 1:1 gluten-free baking blend.
- Flavor variations: Add 1 tablespoon of espresso powder to the batter for mocha crème brûlée cupcakes, or 2 teaspoons of orange zest for a citrus twist.
- Dairy alternatives: Substitute butter with high-quality plant-based butter and heavy cream with full-fat coconut cream (note: texture may differ slightly).
- Time-saving option: Use a quality boxed vanilla cake mix for the cupcake base if you’re short on time.
- No torch method: Mix 2 tablespoons of brown sugar with 1 tablespoon granulated sugar for topping and place under broiler for a similar effect.
FAQs
Can I make these cupcakes ahead of time?
Yes! You can prepare the cupcakes, filling, and frosting up to 2 days ahead. Store filled and frosted cupcakes in the refrigerator, but add and torch the sugar topping just before serving for that fresh crack experience.
Why did my custard turn lumpy?
Your heat was likely too high or the custard cooked too long. For silky custard, cook over low heat, stir constantly, use a thermometer to monitor temperature, and strain immediately after cooking to remove any small lumps.
Do I really need a kitchen torch?
While a kitchen torch gives you the most control, your oven’s broiler works too. Place sugar-topped cupcakes 4 inches under the broiler for 1-2 minutes, watching constantly to prevent burning. The sugar may not caramelize as evenly, but you’ll still get that delicious crackly top.
Can I freeze these cupcakes?
I don’t recommend freezing the completed cupcakes as the custard texture will change when thawed. However, you can freeze unfilled cupcakes for up to 1 month, then thaw, fill, and finish them when ready to serve.
How do I know when the sugar is properly caramelized?
The sugar should melt completely and turn a medium amber color – think maple syrup. Too light and it won’t have that distinctive crème brûlée flavor; too dark and it will taste burnt. Look for bubbling across the surface followed by a smooth, glassy appearance.
Final Thoughts
These Crème Brûlée Cupcakes are truly the best of both worlds – the elegance of a classic French dessert with the convenience and charm of a cupcake. Don’t be intimidated by the multiple components; take it step by step, and you’ll create something truly spectacular. The look on your guests’ faces when they crack through that sugar top is worth every minute spent in the kitchen!


