Let me tell you about the time my beef and bean chili saved a disastrous dinner party. Picture this: snowed in, unexpected guests, and a fridge with just the basics. Panic? Nope. I whipped out my trusty Dutch oven, rummaged through my pantry, and an hour later had everyone fighting over the last spoonful of this magical chili. It’s my go-to recipe for impressing people with minimal effort (which, let’s be honest, is the best kind of cooking). Ready to add this secret weapon to your own culinary arsenal? Thought so.
Why This Chili Will Rock Your World
This isn’t just any beef and bean chili – it’s the perfect balance of smoky, spicy, and savory that makes you close your eyes and sigh after the first bite. It’s hearty enough to satisfy the hungriest guests but complex enough to impress food snobs. The best part? It’s practically foolproof. Even better, it actually tastes better the next day, making it perfect for meal prep or when you want to seem super organized (even if you’re not). Plus, that moment when your house fills with the aroma of simmering chili? Pure magic.

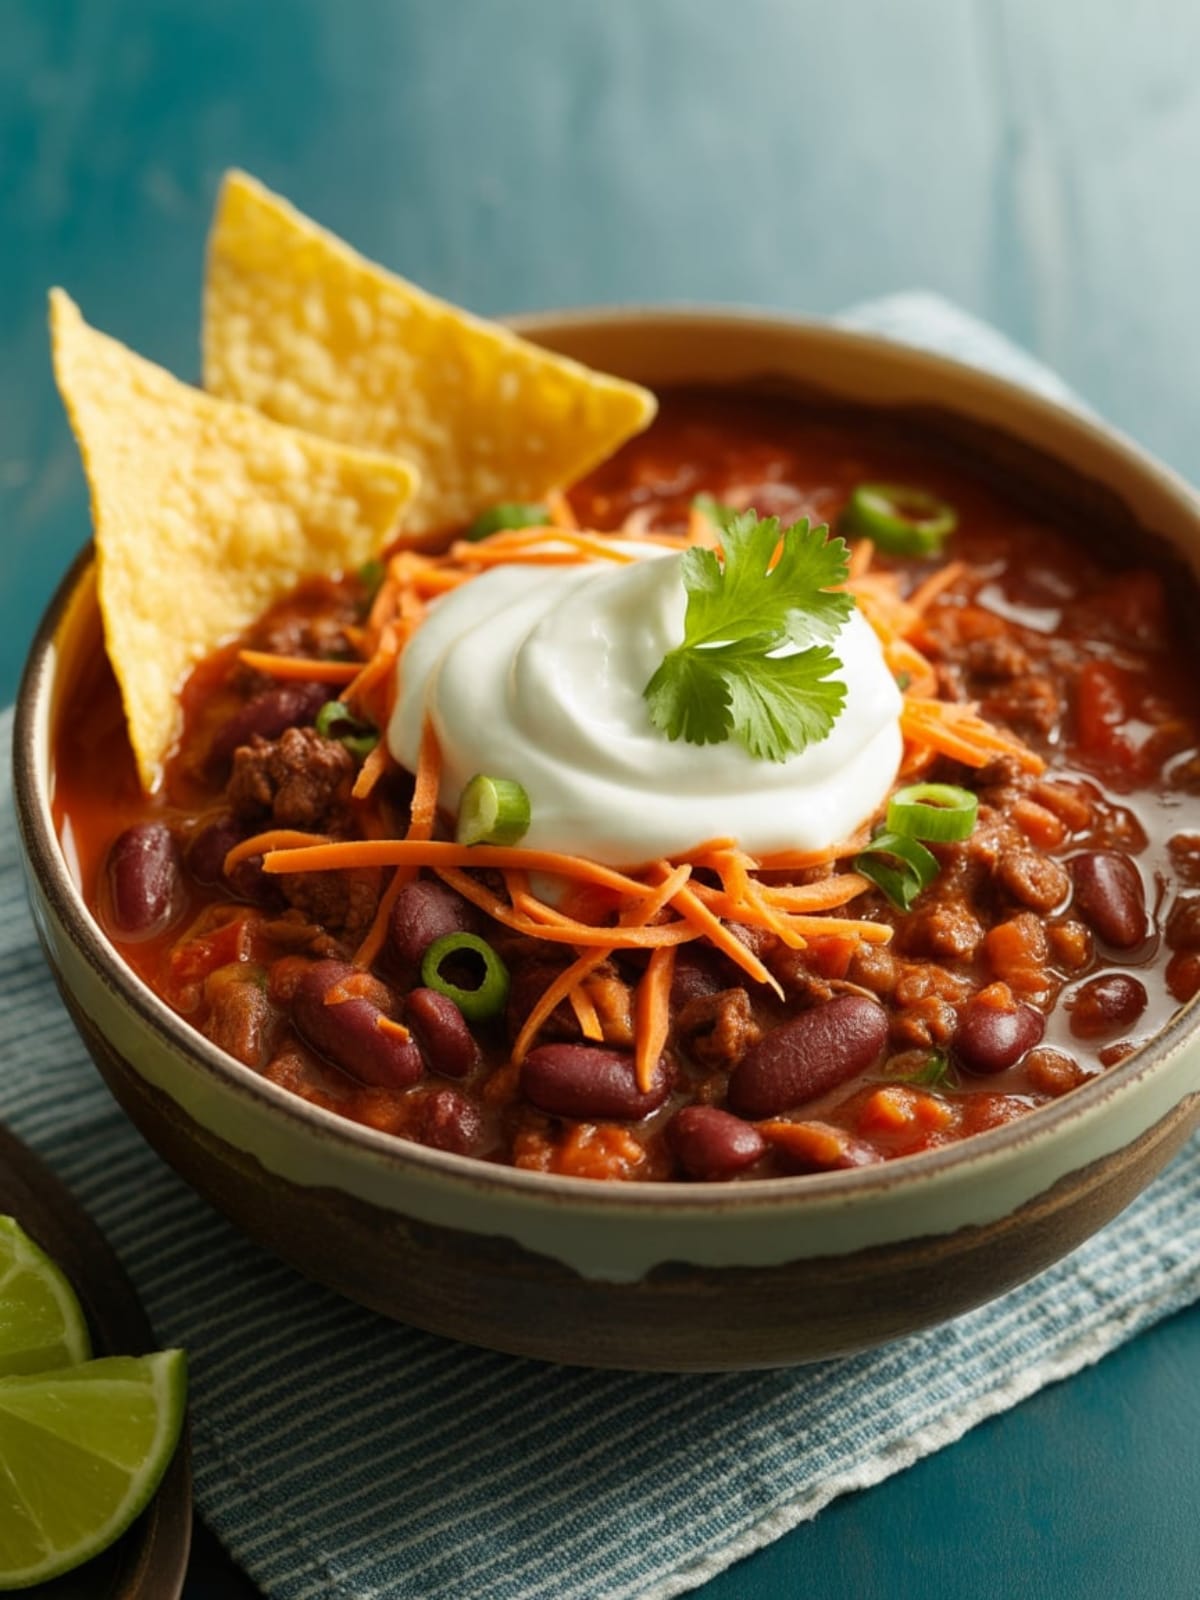
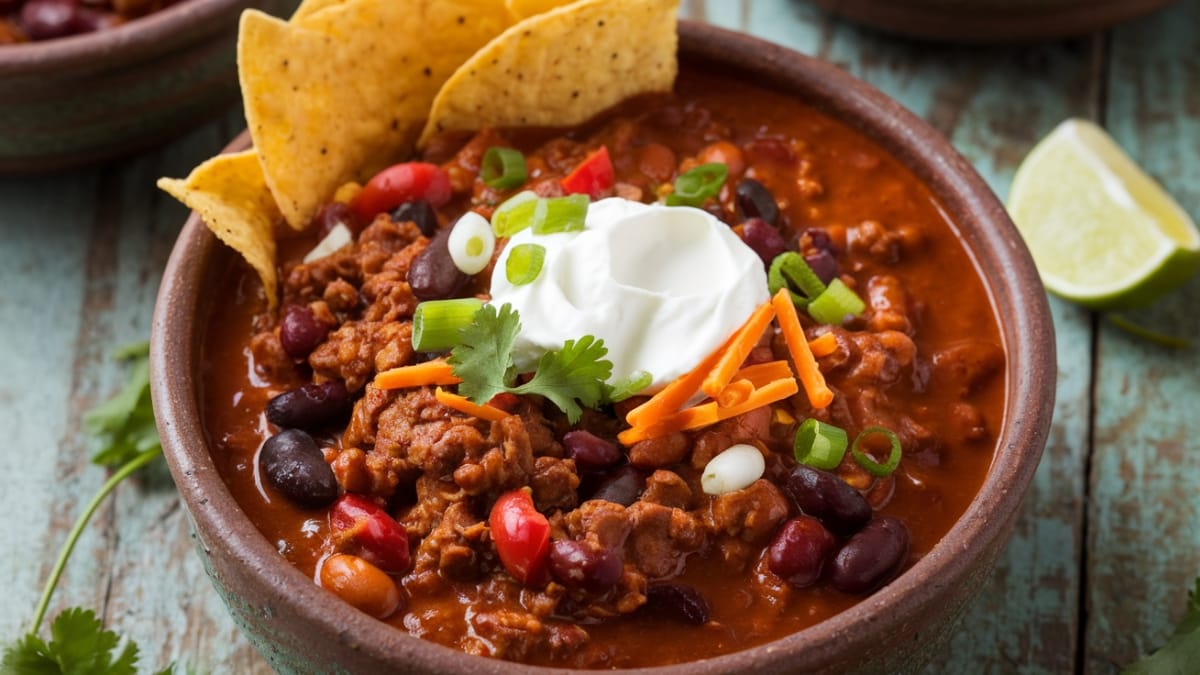
Beef and Bean Chili
Equipment
- Large Dutch oven or heavy pot
- Wooden spoon
Ingredients
- 2 pounds ground beef (80/20 lean-to-fat ratio)
- 2 tablespoons olive oil
- 1 large onion, diced
- 1 red bell pepper, diced
- 1 green bell pepper, diced
- 4 garlic cloves, minced
- 2 tablespoons chili powder
- 1 tablespoon ground cumin
- 1 tablespoon smoked paprika
- 1 teaspoon dried oregano
- 1/2 teaspoon cayenne pepper (adjust to your spice preference)
- 1/4 teaspoon cinnamon (my secret ingredient!)
- 2 teaspoons salt (adjust to taste)
- 1 teaspoon black pepper
- 1 can (6 oz) tomato paste
- 1 can (14.5 oz) fire-roasted diced tomatoes
- 1 can (15 oz) kidney beans, drained and rinsed
- 1 can (15 oz) black beans, drained and rinsed
- 1 can (15 oz) pinto beans, drained and rinsed
- 2 cups beef broth
- 1 tablespoon brown sugar
- 1 tablespoon Worcestershire sauce
- 2 bay leaves
- 1 cup beer (optional but recommended – use a dark ale or lager)
For serving (all optional but highly recommended):
- Shredded cheddar cheese
- Sour cream
- Diced avocado
- Sliced green onions
- Fresh cilantro
- Lime wedges
- Fritos or tortilla chips
Instructions
- Heat the olive oil in a large Dutch oven or heavy pot over medium-high heat. When it shimmers (but before it smokes), you're good to go.
- Add the ground beef and break it apart with a wooden spoon. Season with a teaspoon of salt and half a teaspoon of pepper. Brown the meat thoroughly, about 6-8 minutes. Don't stir constantly – let it develop some crusty brown bits for maximum flavor. Those little crispy parts? Pure gold.
- Using a slotted spoon, transfer the browned beef to a plate lined with paper towels. Leave about 2 tablespoons of fat in the pot (drain excess if there's too much).
- Add the onions and bell peppers to the pot. Cook until softened, about 5 minutes. Your kitchen should start smelling amazing right about now.
- Add the garlic and cook for another 30 seconds until fragrant. Don't let it burn – nobody wants bitter chili!
- Time for the spice party! Add the chili powder, cumin, smoked paprika, oregano, cayenne, cinnamon, remaining salt, and pepper. Stir constantly for 1 minute until the spices are toasted and fragrant. This step blooms the spices and is non-negotiable for flavor depth.
- Stir in the tomato paste and cook for 2 minutes, allowing it to caramelize slightly. It should darken in color – this develops a rich, umami base for your chili.
- Return the browned beef to the pot and add the fire-roasted tomatoes (with their juice), all three types of beans, beef broth, brown sugar, Worcestershire sauce, and bay leaves.
- Pour in the beer if using. (And maybe pour yourself one while you're at it. Cook's privilege!)
- Bring everything to a boil, then reduce heat to maintain a gentle simmer. Partially cover the pot and let it work its magic for at least 30-45 minutes, stirring occasionally. The longer it simmers, the better it gets, honestly.
- Taste and adjust seasoning as needed. If it's too thick, add a splash more broth. Too thin? Simmer uncovered for a few more minutes.
- Remove bay leaves before serving. Ladle into bowls and let everyone customize with their favorite toppings. Watch the compliments roll in.
Notes
- Don’t skip the bean rinse: Always drain and rinse canned beans to remove excess sodium and starch.
- Make ahead magic: This chili actually improves overnight as the flavors meld. Make it a day ahead for even better results.
- Freezer friendly: Freeze portions in airtight containers for up to 3 months. Future you will be very grateful.
- Spice control: The heat level is medium as written. Adjust the cayenne up or down to suit your preference.
- The cinnamon secret: It sounds weird, but that pinch of cinnamon adds mysterious depth without making the chili taste like a cookie. Trust me on this one.
Common Mistakes to Avoid
- Rushing the beef browning. I get it, you’re hungry. But properly browning the beef creates those delicious caramelized flavors that make the difference between “meh” chili and “WOW” chili. Give it time!
- Under-seasoning. Beans and beef need plenty of salt to shine. Taste as you go, and don’t be shy with the seasonings. Remember – you can always add more, but you can’t take it away.
- Skipping the simmer time. The magic happens during that gentle simmer when all the flavors get to know each other. At least 30 minutes, please! An hour is even better if you can manage the wait.
Variations & Customizations
- Meat Lover’s Version: Add 1/2 pound of cooked, crumbled bacon or 1 pound of browned ground pork along with the beef for extra richness.
- Veggie Boost: Add 2 cups of diced mushrooms when cooking the onions and peppers, and stir in 2 cups of frozen corn during the last 10 minutes of cooking.
- Vegetarian Adaptation: Skip the beef entirely and double up on beans, or substitute 2 pounds of finely chopped mushrooms or plant-based ground “meat.” Use vegetable broth instead of beef broth and add 1 tablespoon of soy sauce for umami.
FAQs
Can I make this in a slow cooker?
Absolutely! Brown the meat and sauté the vegetables as directed, then transfer everything to a slow cooker. Cook on low for 6-8 hours or high for 3-4 hours.
What’s the best way to reheat leftover chili?
Gently reheat on the stovetop over medium-low heat, adding a splash of broth if needed to loosen it up. Microwave works too, but stir halfway through to ensure even heating.
My chili is too spicy! Help!
Add a dollop of sour cream to your bowl – the dairy helps neutralize the heat. For the whole pot, a tablespoon or two of additional brown sugar can help balance the spice.
Final Thoughts

There’s something wonderfully comforting about a big pot of chili simmering on the stove. It’s the kind of meal that brings people together, starts conversations, and creates memories. Whether you’re feeding a crowd on game day, meal prepping for the week ahead, or just craving something hearty on a cold evening, this beef and bean chili has got your back. And when someone asks for your secret? Well, that’s entirely up to you. I won’t tell if you don’t.


