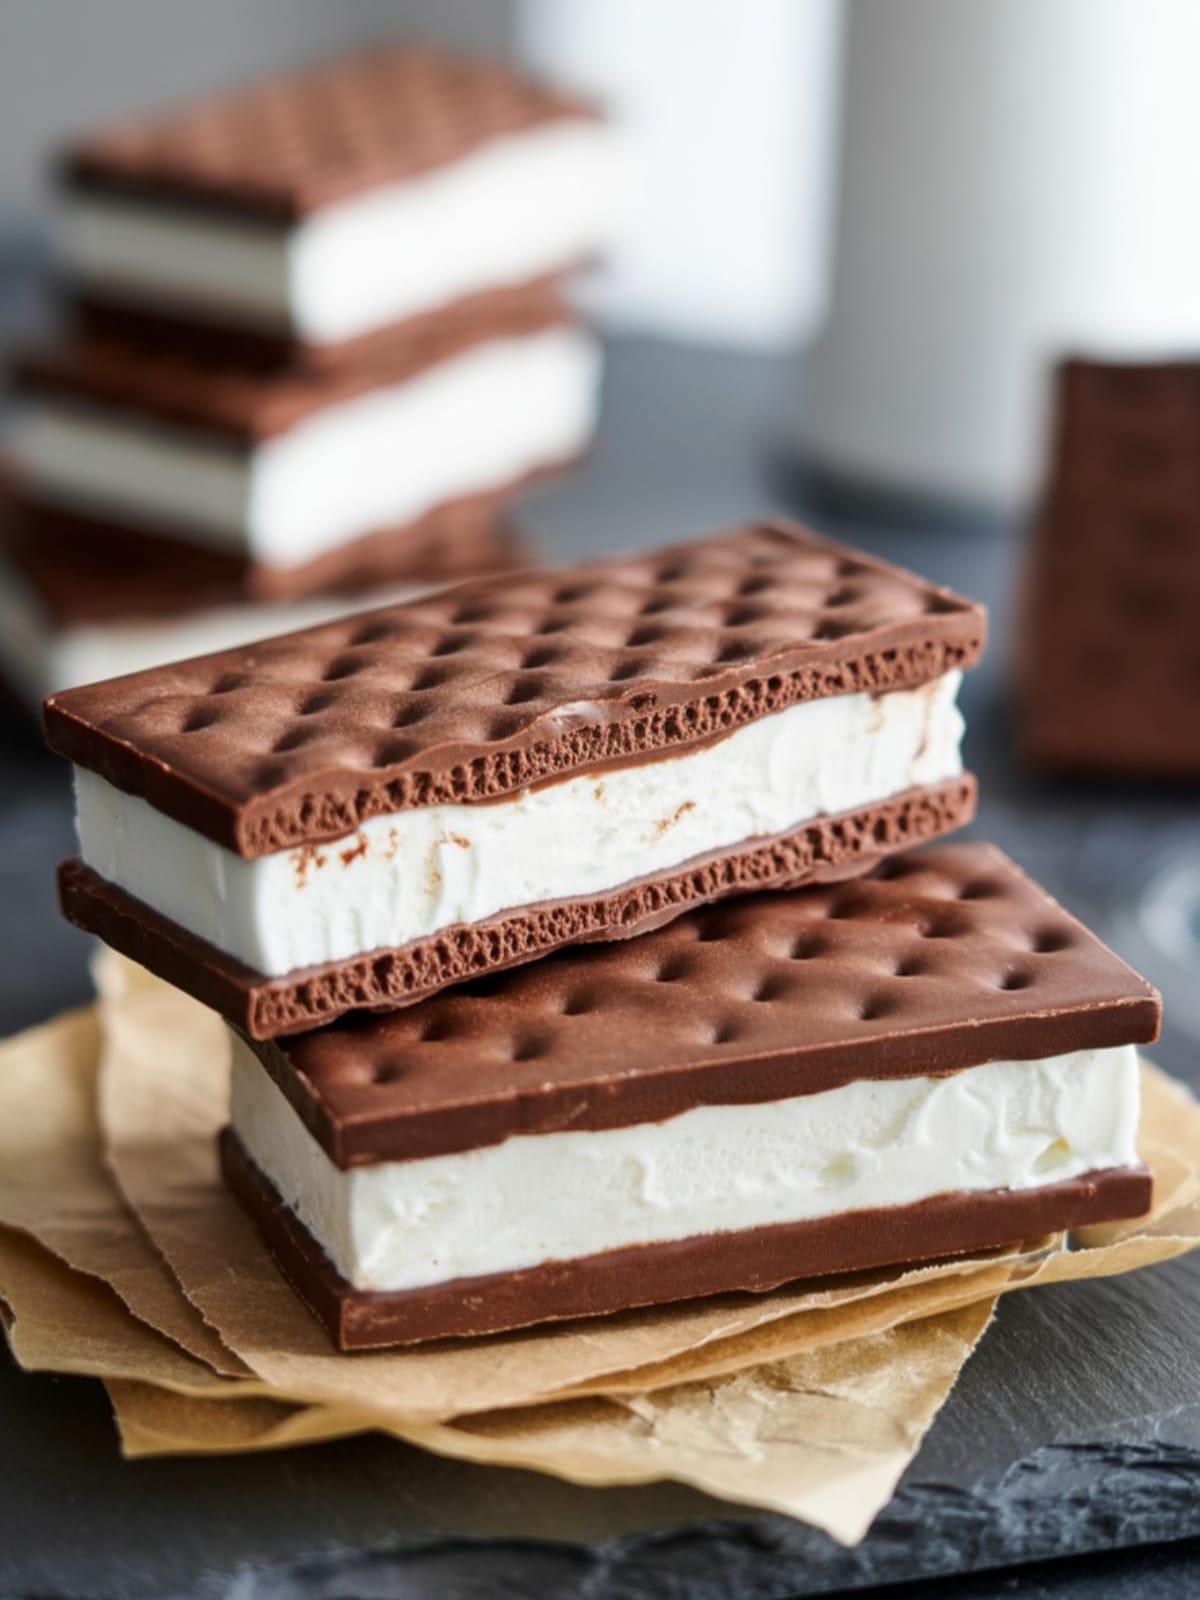
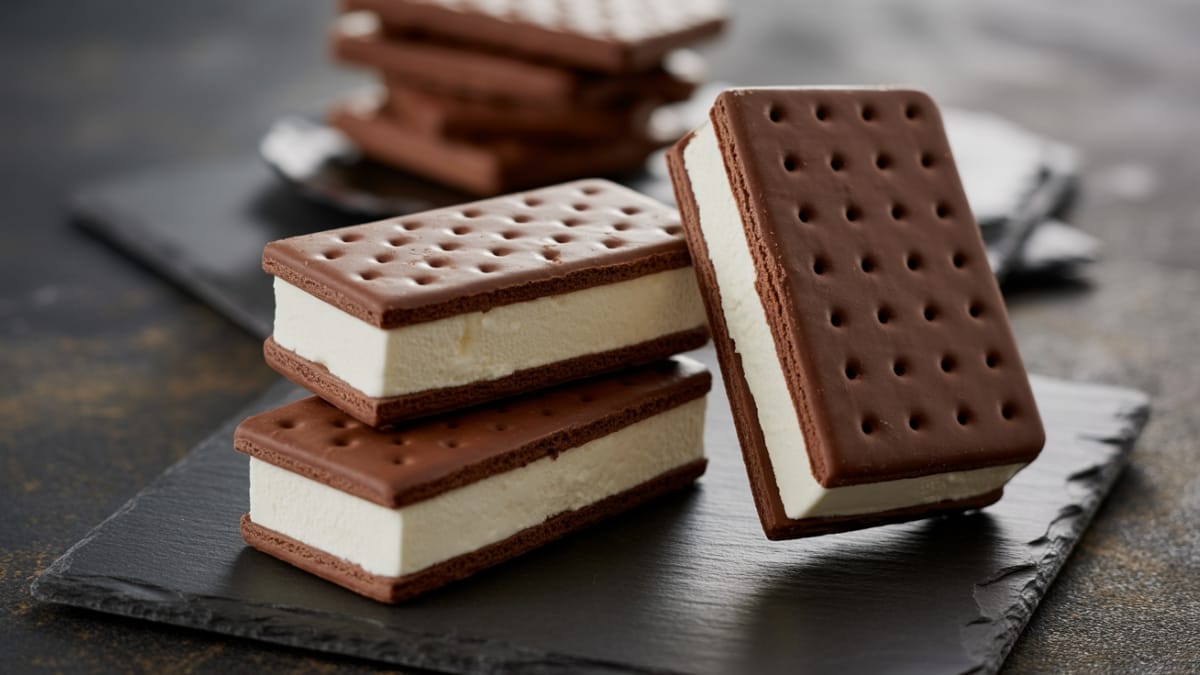
Remember the unmistakable joy of biting into an ice cream sandwich on a scorching summer day? That perfect combination of soft chocolate cookies embracing cool, creamy ice cream as it slightly melts between your fingers? Well, prepare to recreate that nostalgic bliss right in your kitchen—only better, fresher, and completely customized to your taste preferences.
These homemade ice cream sandwiches aren’t just a treat; they’re a small revelation.
When you make them yourself, something magical happens: the cookies stay soft-but-sturdy, the ice cream tastes richer, and suddenly, that childhood favorite transforms into a sophisticated dessert that still manages to bring out your inner kid.
Why This Recipe is Awesome
What makes these homemade ice cream sandwiches truly special is the perfect balance between simplicity and customization. Unlike store-bought versions with their mysterious ingredients and sometimes cardboard-like cookies, these sandwiches feature real, recognizable ingredients that you control completely.
The chocolate cookies in this recipe are specifically designed to remain soft even when frozen—a crucial detail that many homemade versions get wrong. They have just the right amount of chewiness without turning rock-hard when they meet the ice cream.
Perhaps the best part?
This is essentially two recipes in one. The cookies are excellent on their own, and the sandwich-making technique works with any flavor combination you can dream up. Make them mini for a party, giant for a celebration, or classic-sized for everyday indulgence—they’re endlessly adaptable.
Equipment needed: Mixing bowls, baking sheets, parchment paper, cookie scoop or spoon, spatula, shallow container for freezing

Homemade Ice Cream Sandwiches
Ingredients
- 1 cup all-purpose flour
- 1/2 cup unsweetened cocoa powder Dutch-processed for deeper color
- 1/2 teaspoon baking soda
- 1/4 teaspoon salt
- 1/2 cup 1 stick unsalted butter, softened
- 3/4 cup granulated sugar
- 1 large egg
- 1 teaspoon vanilla extract
- 1.5 quarts ice cream of choice vanilla works beautifully, but any flavor works
- Optional toppings: mini chocolate chips sprinkles, crushed nuts for edges
Instructions
- Prepare your workspace by lining two baking sheets with parchment paper and taking your ice cream out of the freezer to soften slightly (about 10 minutes).
- In a medium bowl, whisk together the flour, cocoa powder, baking soda, and salt until well combined and no cocoa lumps remain.
- Using an electric mixer, cream the butter and sugar together in a large bowl until light and fluffy, about 2-3 minutes. This incorporation of air is crucial for the right cookie texture.
- Add the egg and vanilla to the butter mixture and beat until fully incorporated, scraping down the sides of the bowl as needed.
- Gradually add the dry ingredients to the wet ingredients, mixing on low speed just until combined. Overmixing will result in tough cookies.
- Cover the dough and refrigerate for at least 30 minutes. This prevents excessive spreading during baking.
- Preheat your oven to 350°F (175°C) while the dough is chilling.
- Using a cookie scoop or tablespoon, portion the dough into 24 equal balls and place them on the prepared baking sheets, spacing them about 2 inches apart.
- Gently flatten each cookie with the bottom of a glass or measuring cup to about 1/4-inch thickness. For perfectly shaped sandwiches, use a round cookie cutter as a guide.
- Bake for 8-10 minutes until the edges are set but the centers still appear slightly soft. They should not be crispy!
- Cool completely on the baking sheets for 5 minutes, then transfer to wire racks to finish cooling.
- Once cookies are completely cooled, scoop slightly softened ice cream onto the flat side of one cookie, then top with another cookie, flat side down, and gently press to create a sandwich.
- Immediately wrap each sandwich in plastic wrap and place in the freezer. If adding edge toppings, roll the exposed ice cream edges in your chosen topping before freezing.
- Freeze for at least 2 hours or until the ice cream is firm again.
Notes
- Make sure your cookies are completely cooled before assembling to prevent the ice cream from melting too quickly.
- For uniformly-sized sandwiches, use a round cookie cutter or glass to trim cookies after baking if needed.
- Working in batches of 2-3 sandwiches at a time keeps the ice cream from melting while you assemble.
- These can be made up to a week in advance—just keep them well-wrapped in the freezer.
- For easier assembly, you can spread softened ice cream into a parchment-lined square pan, refreeze, then cut rounds with the same cutter used for cookies.
Calories & Nutritional Info
- Calories: Approximately 320 per sandwich (varies based on ice cream choice)
- Carbohydrates: 42g
- Fat: 16g
- Protein: 4g
- Contains: Dairy, eggs, wheat (gluten)
- Not suitable for vegans or those with dairy/gluten allergies without substitutions
Common Mistakes to Avoid
- Overbaking the cookies – They should remain soft to prevent them from becoming too hard when frozen.
- Using ice cream that’s too hard or too soft – If too firm, it won’t mold properly; if too soft, it will leak out the sides.
- Rushing the freezing process – Give your assembled sandwiches enough time to set up properly before serving.
- Making the cookies too thin – They need some substance to hold up to the ice cream and handling.
- Forgetting to wrap individual sandwiches – This prevents freezer burn and keeps them fresh.
Alternatives & Substitutions
- Cookie variations: Try adding mini chocolate chips, substituting some brown sugar for white, or adding a pinch of cinnamon to the cookie dough.
- Gluten-free option: Substitute a 1-to-1 gluten-free flour blend in place of all-purpose flour.
- Dairy-free possibility: Use plant-based butter and dairy-free ice cream alternatives.
- Ice cream alternatives: Try gelato, sorbet, or frozen yogurt for different flavor profiles.
- Fun additions: Roll the exposed edges in mini chocolate chips, crushed cookies, toasted coconut, or colorful sprinkles.
FAQs
Can I make these ice cream sandwiches ahead of time?
Absolutely! These homemade ice cream sandwiches actually benefit from being made in advance. They can be stored in the freezer for up to a week when wrapped individually in plastic wrap and placed in an airtight container.
Why are my cookies too hard when frozen?
If your cookies become too hard when frozen, you likely overbaked them. For homemade ice cream sandwiches, the cookies should be slightly underbaked—they’ll firm up as they cool but remain soft even when frozen.
How do I prevent the ice cream from melting too quickly during assembly?
Work in a cool kitchen, keep your ice cream in the freezer between sandwiches, and assemble only 2-3 sandwiches at a time. Return each sandwich to the freezer immediately after assembly.
Can I use store-bought cookies to make these?
While you can use store-bought cookies in a pinch, they often become too hard when frozen. This recipe creates cookies specifically designed to maintain the perfect texture in homemade ice cream sandwiches.
How can I make perfectly round ice cream sandwiches?
For professional-looking homemade ice cream sandwiches, spread softened ice cream into a parchment-lined baking dish to your desired thickness, freeze solid, then use the same cookie cutter you used for the cookies to cut ice cream rounds.
Final Thoughts
These homemade ice cream sandwiches are more than just a dessert—they’re a small celebration you can create in your kitchen any time. There’s something wonderfully satisfying about making something from scratch that many of us only know as a packaged treat. The first bite will convince you that the small effort was absolutely worth it. Now go make some memories alongside these delicious frozen treats!


