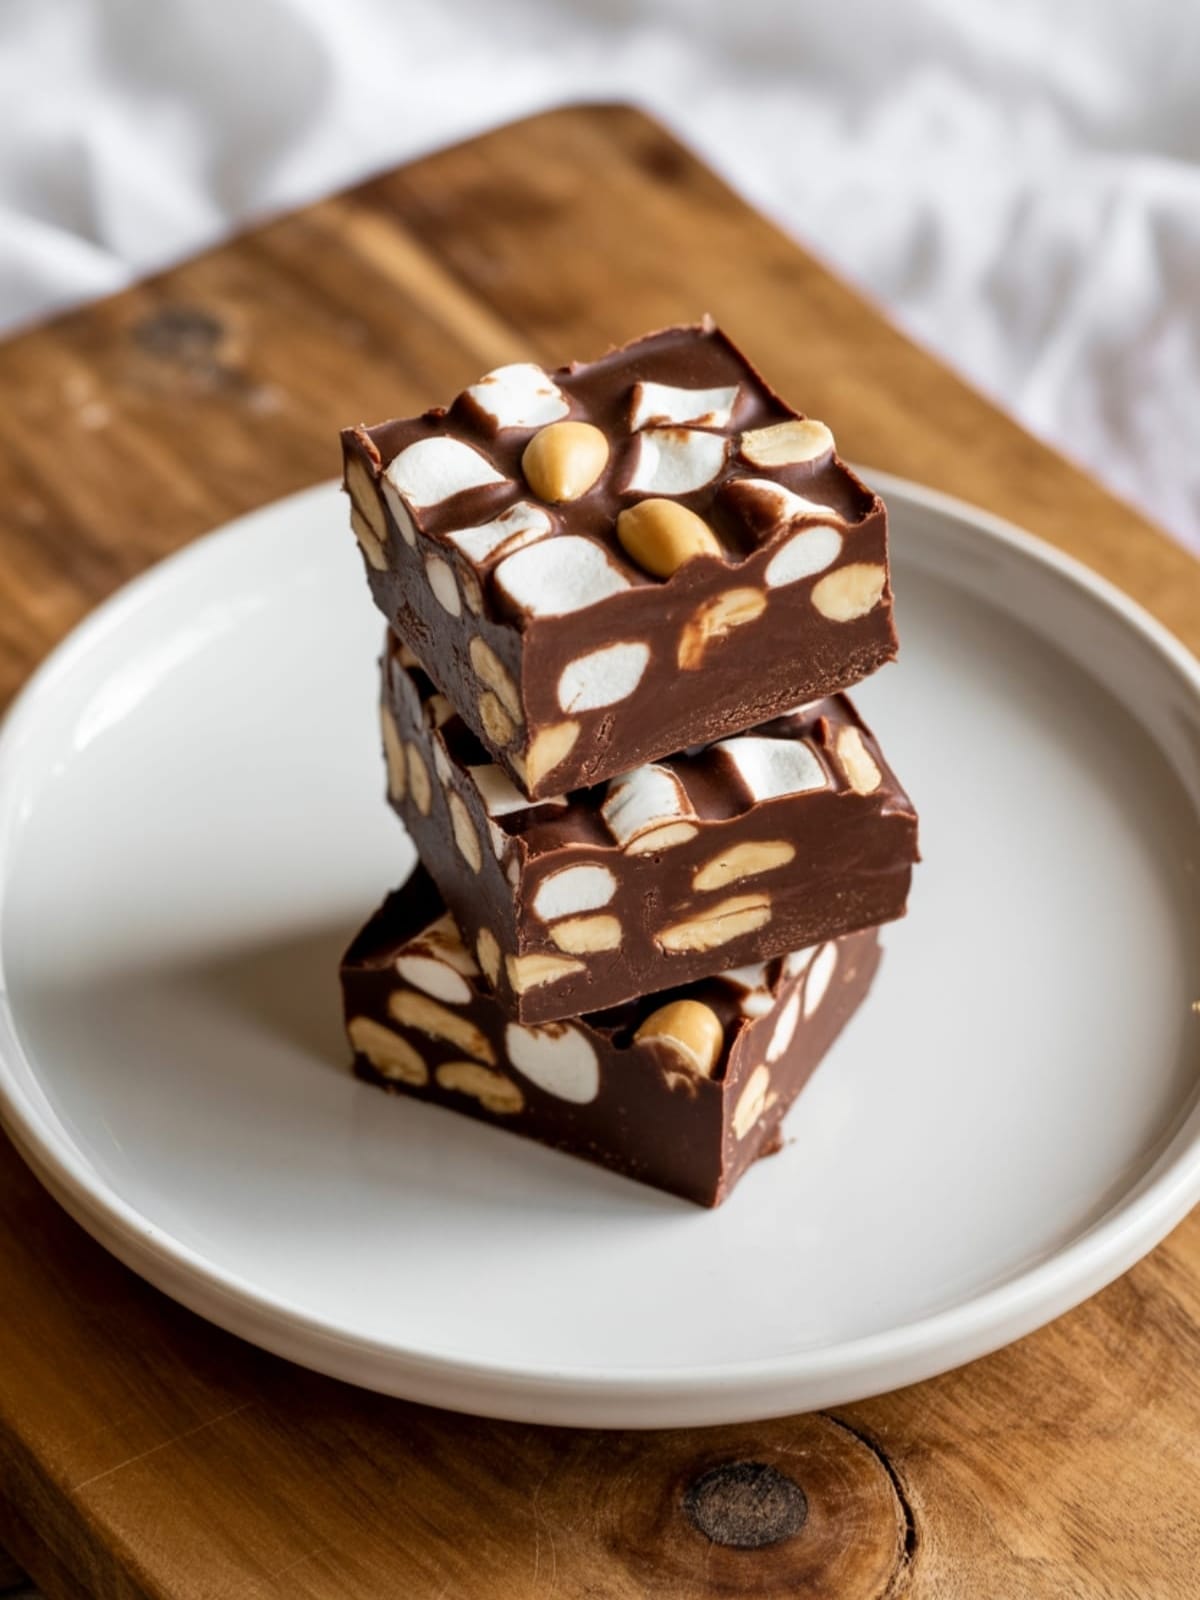
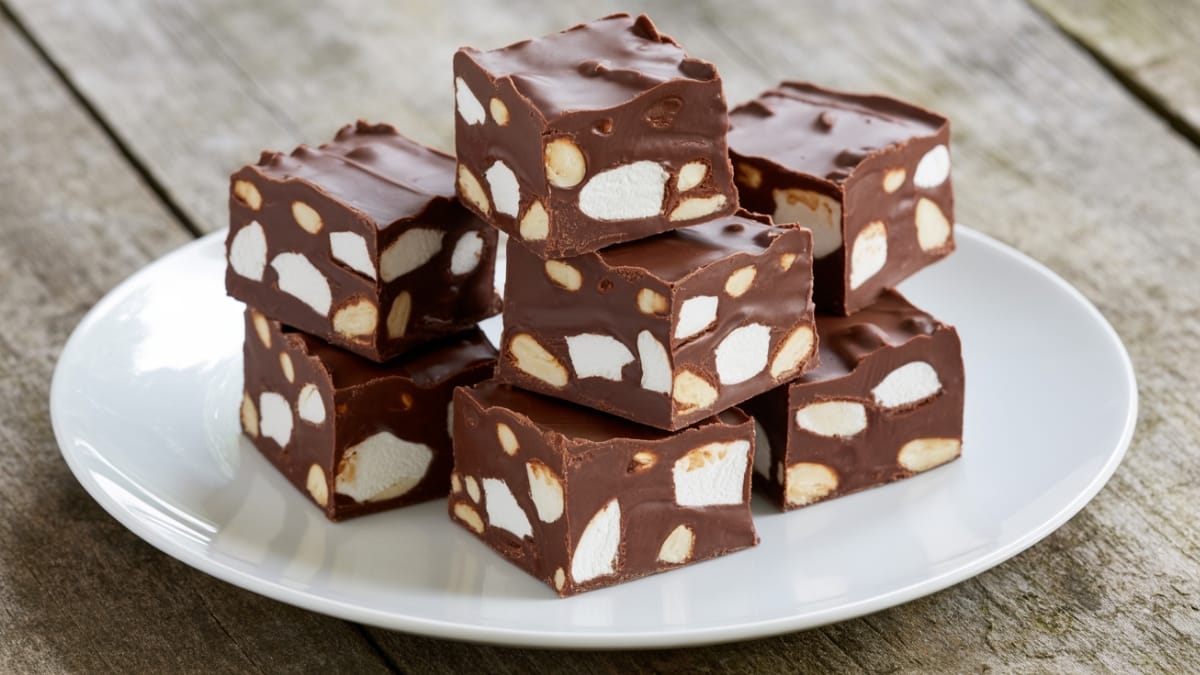
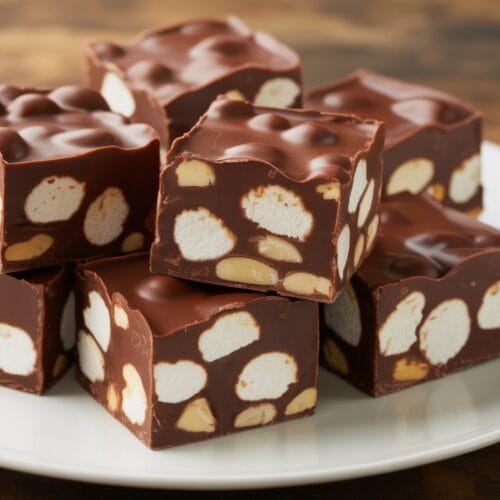
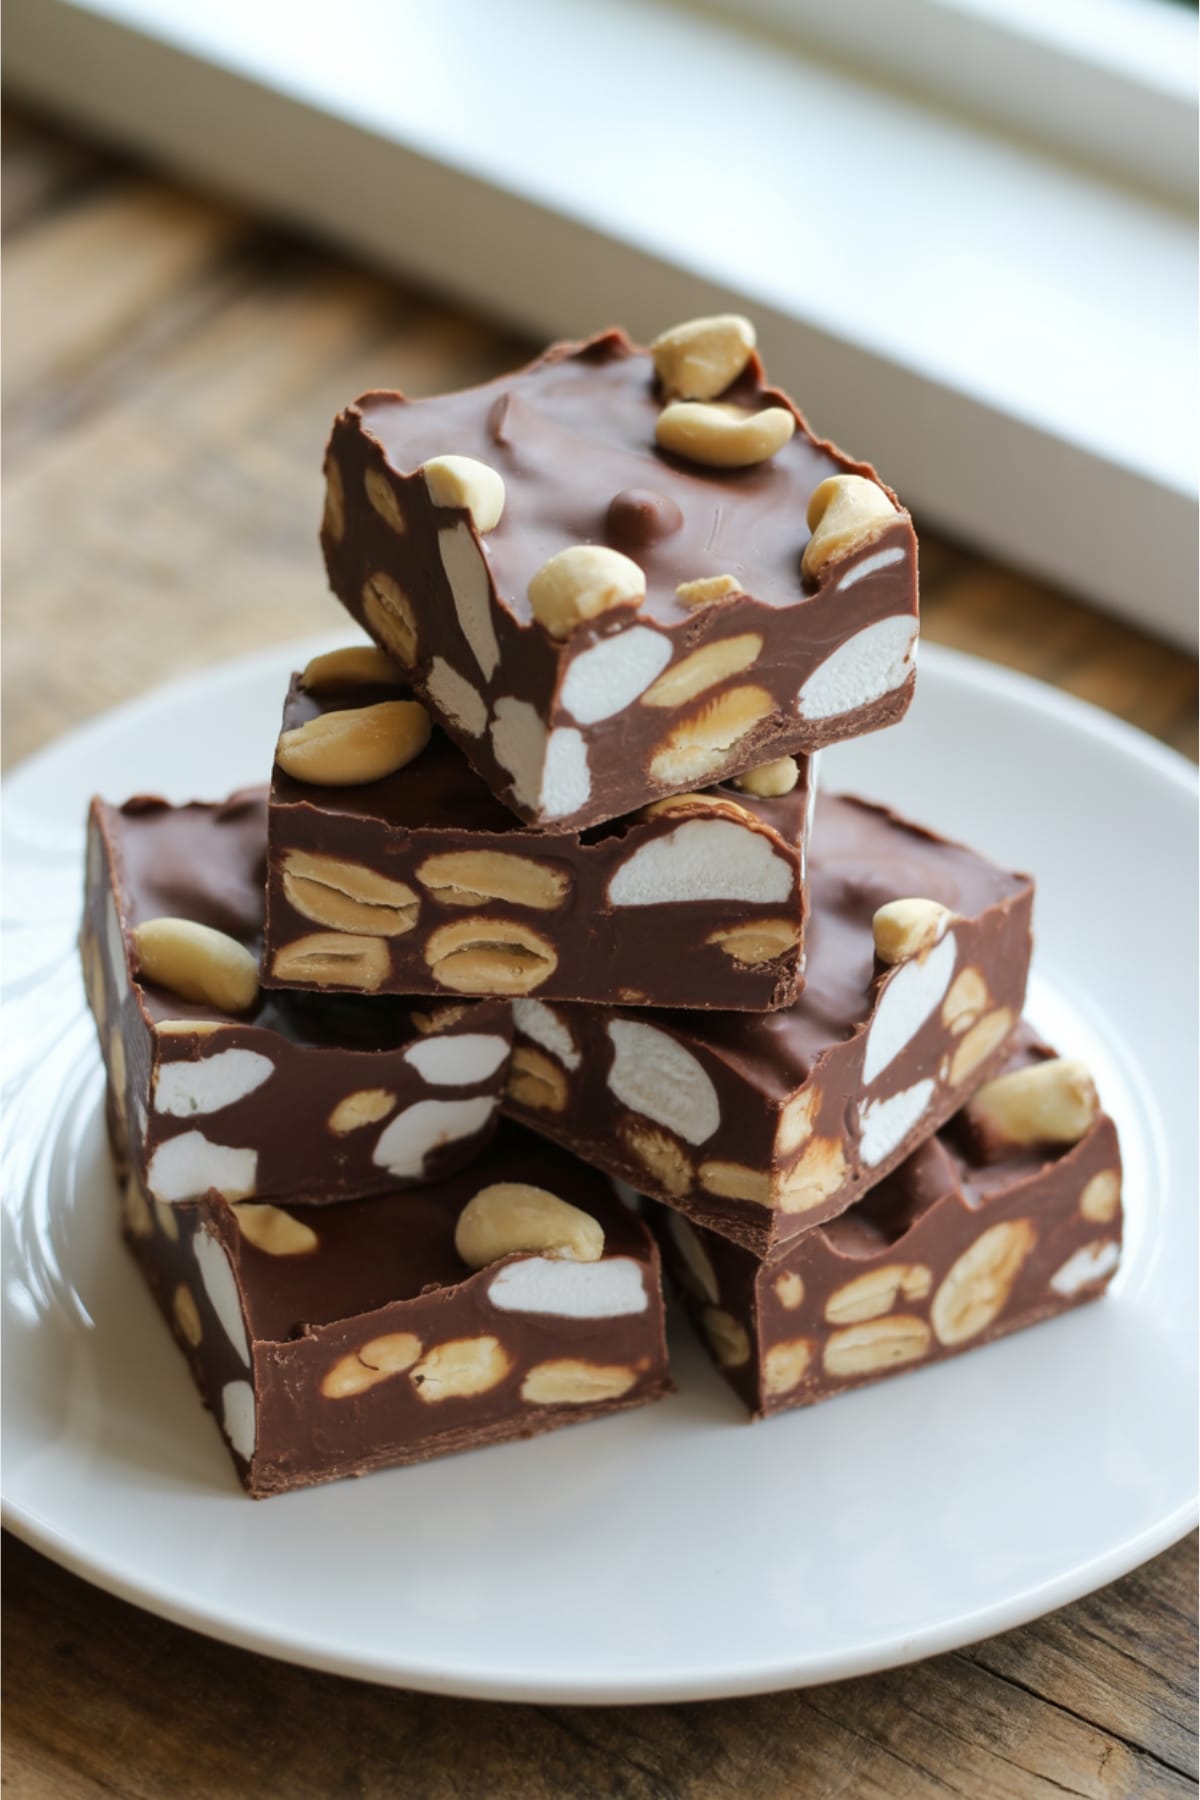
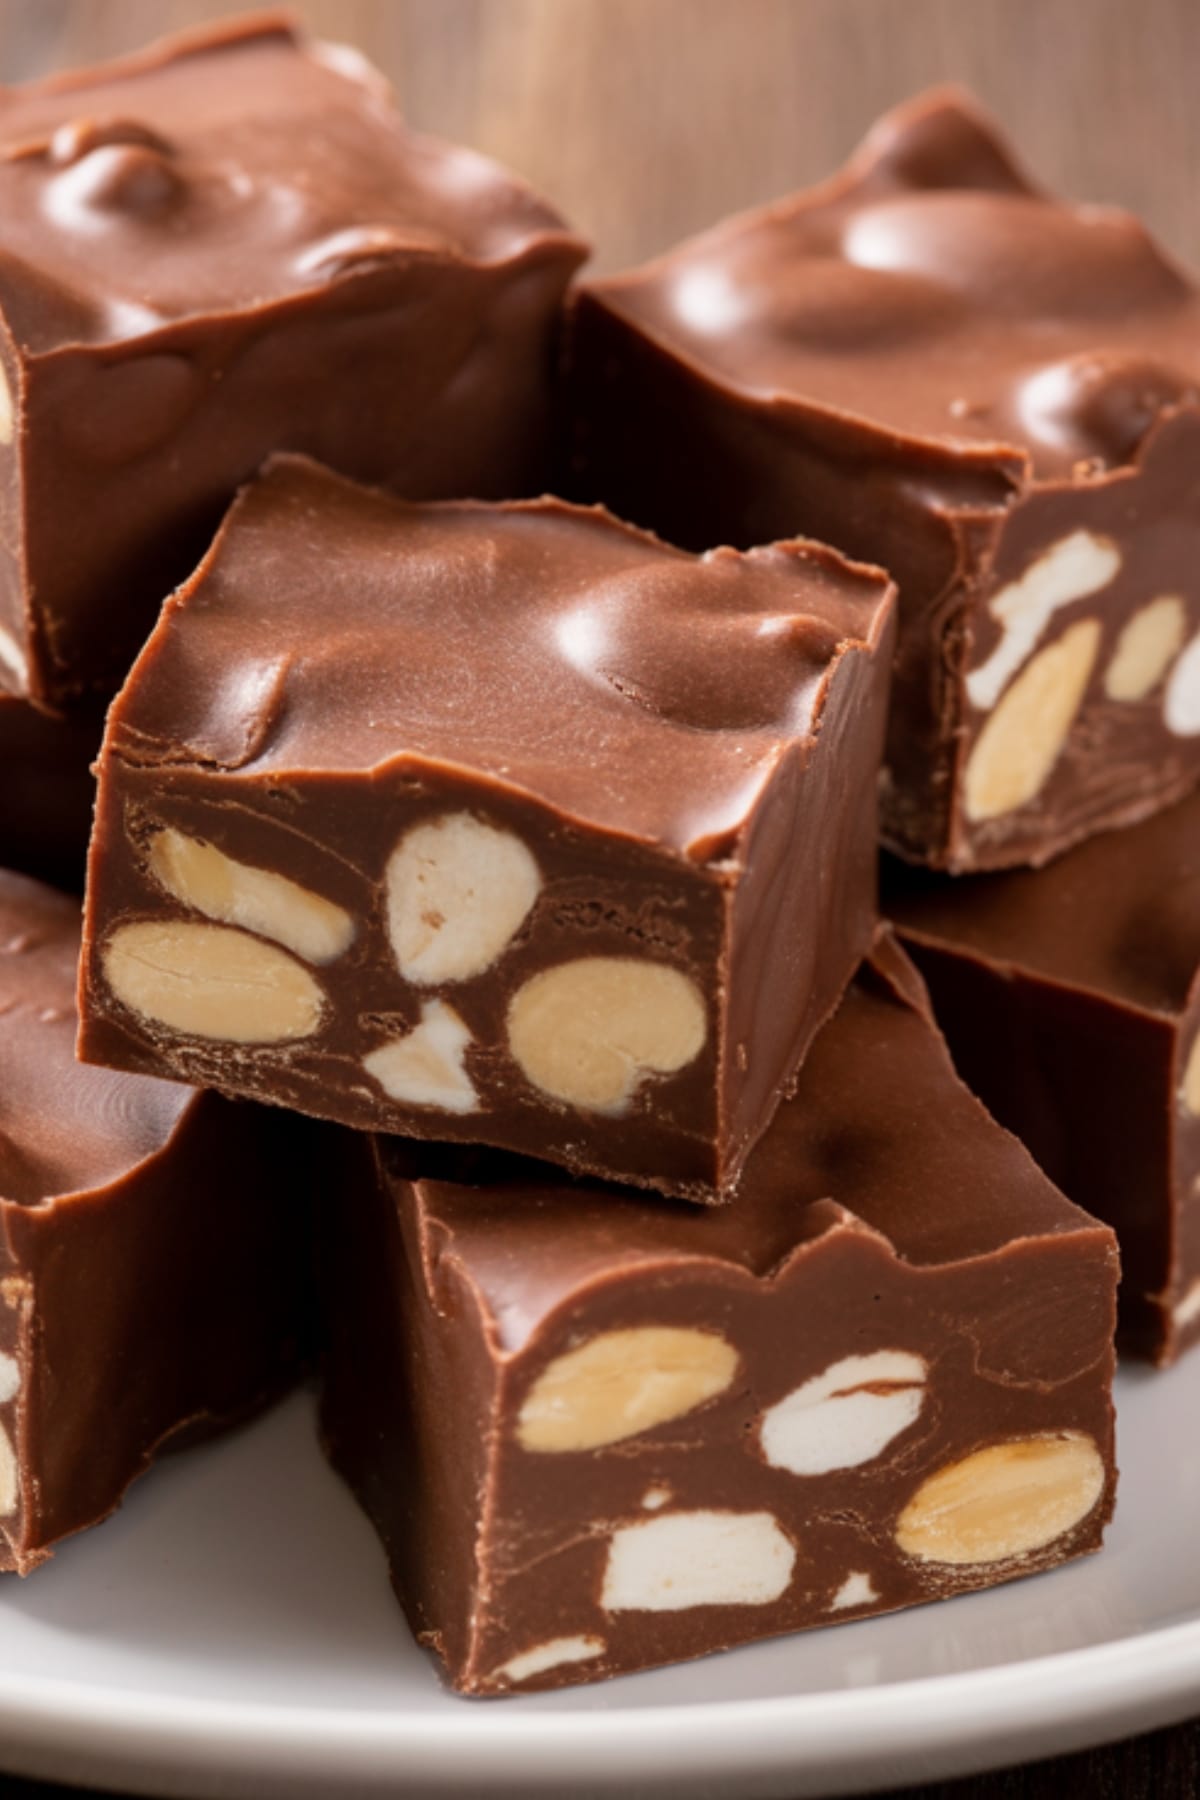
There’s something almost magical about that first bite of Rocky Road Fudge – the way the rich chocolate melts against your tongue, the surprising crunch of nuts, and the pillowy softness of marshmallows. It’s a dessert that somehow manages to be both nostalgic and exciting with every single square. Whether you’re looking for a crowd-pleasing holiday gift or simply craving a decadent treat for yourself, this recipe delivers serious chocolate satisfaction without requiring professional pastry skills.
Why This Recipe is Awesome
What makes this Rocky Road Fudge recipe truly special is its perfect balance of simplicity and indulgence.
Unlike temperamental candy recipes that demand precise temperatures and specialized equipment, this fudge is remarkably forgiving for beginners while still impressing seasoned bakers. The contrasting textures create an experience that’s far more interesting than plain chocolate fudge – each bite offers something different. This recipe has been refined to ensure the chocolate sets with that perfect fudge consistency: firm enough to hold its shape but soft enough to melt in your mouth.
The marshmallows stay gloriously pillowy instead of dissolving, and the nuts maintain their satisfying crunch. It’s also incredibly adaptable – once you master the base, you can customize it endlessly to suit your taste preferences or what you have in your pantry.
Equipment needed: 8×8 inch baking pan, parchment paper, heavy saucepan, wooden spoon, measuring cups, rubber spatula
Rocky Road Fudge
Ingredients
- 3 cups semi-sweet chocolate chips or 18 ounces good quality chocolate, chopped
- 1 can 14 oz sweetened condensed milk
- ¼ cup unsalted butter
- 1 teaspoon pure vanilla extract
- ¼ teaspoon salt
- 2 cups mini marshmallows or regular marshmallows cut into quarters
- 1 cup toasted walnuts or almonds roughly chopped (pecans work wonderfully too)
- Optional: ½ cup additional mix-ins like dried cherries crushed pretzels, or chopped cookie pieces
Instructions
- Prepare your pan by lining an 8×8 inch baking dish with parchment paper, leaving overhang on at least two sides to create handles for easy fudge removal later. Lightly grease the parchment with butter or cooking spray.
- Toast the nuts in a dry skillet over medium heat for 5-7 minutes, stirring frequently until fragrant and slightly darkened. This enhances their flavor significantly – don’t skip this step! Allow them to cool completely before chopping.
- Create a double boiler by placing a heatproof bowl over a pot with about an inch of simmering water (the bowl shouldn’t touch the water). Add chocolate chips, sweetened condensed milk, and butter to the bowl.
- Melt the chocolate mixture gently, stirring occasionally with a wooden spoon or silicone spatula until completely smooth and glossy. This should take about 5 minutes – be patient and don’t rush with high heat.
- Remove from heat and stir in the vanilla extract and salt until fully incorporated. Allow the mixture to cool slightly for about 5 minutes – this prevents the marshmallows from melting when added.
- Fold in the mix-ins by gently incorporating the marshmallows and toasted nuts (plus any optional ingredients) with a rubber spatula. Work quickly but gently to maintain the distinct textures.
- Transfer the mixture to your prepared pan, spreading it evenly into the corners. Tap the pan gently on the counter a few times to release any air bubbles.
- Chill the fudge uncovered in the refrigerator for at least 4 hours or ideally overnight until completely set and firm to the touch.
- Cut into squares after lifting the fudge out of the pan using the parchment paper handles. Use a large sharp knife, wiping the blade clean between cuts for neat edges.
- Store properly in an airtight container with parchment paper between layers. The fudge will keep at room temperature for 1 week, in the refrigerator for 2-3 weeks, or in the freezer for up to 3 months.
Notes
- For the smoothest texture, melt the chocolate mixture slowly and gently – avoid overheating which can cause the chocolate to seize.
- If you prefer a less sweet fudge, use dark chocolate chips (60-70% cacao) instead of semi-sweet.
- For the best marshmallow texture, add them when the chocolate has cooled slightly but is still pourable.
- Line your cutting board with parchment when slicing the fudge to make cleanup easier.
- For gifting, cut fudge into squares and place in mini cupcake liners before packaging.
Calories & Nutritional Info

- Calories: Approximately 175 calories per square (1-inch piece)
- Fat: 10g (5g saturated)
- Carbohydrates: 20g (17g sugar)
- Protein: 2g
- Allergen notes: Contains dairy and tree nuts (can omit nuts for nut allergies)
- Dietary suitability: Vegetarian, gluten-free (verify marshmallow ingredients)
Common Mistakes to Avoid
- Rushing the chocolate melting process – High heat can cause chocolate to seize and become grainy. Always melt slowly and gently.
- Adding marshmallows while the chocolate is too hot – This will cause them to melt completely instead of maintaining their distinct texture.
- Skipping the parchment paper – Without it, removing the fudge from the pan becomes extremely difficult and may ruin your beautiful creation.
- Cutting the fudge before it’s fully set – This results in messy, uneven edges. Patience yields the cleanest cuts.
- Using cold butter or condensed milk – Cold ingredients can cause the chocolate to seize; bring them to room temperature first.
Alternatives & Substitutions
- Chocolate variations: Try milk chocolate for a sweeter fudge, dark chocolate for a more intense flavor, or white chocolate for a completely different twist.
- Nut alternatives: Cashews, macadamia nuts, or peanuts can replace traditional walnuts or almonds. For nut-free versions, use toasted sunflower seeds or crushed pretzels.
- Marshmallow options: Colored mini marshmallows add visual appeal for holiday versions. For vegans, use plant-based marshmallows.
- Flavor enhancers: Add ½ teaspoon espresso powder to deepen the chocolate flavor, or 1-2 tablespoons of liqueur (like Kahlúa or Grand Marnier) for adult variations.
- Dietary adaptations: For a dairy-free version, use coconut condensed milk and dairy-free chocolate chips with coconut oil instead of butter.
FAQs
Why did my fudge turn out grainy or crumbly?
This typically happens when chocolate overheats or seizes. Always melt chocolate slowly over gentle, indirect heat. If using a microwave, heat in 20-second increments, stirring between each interval. The addition of butter and condensed milk helps prevent graininess.
Can I make Rocky Road Fudge without condensed milk?
While condensed milk creates that classic fudge texture, you can substitute 1 cup heavy cream + 1 cup granulated sugar (simmered together until slightly reduced). The texture will be slightly different but still delicious.
How do I know when my fudge is properly set?
Properly set fudge should feel firm to the touch with no sticky residue on your finger.
When cut, it should hold its shape cleanly without being too hard or too soft. This typically takes at least 4 hours in the refrigerator.
Can I make this recipe in advance for gifting?
Absolutely! This fudge actually improves after 24 hours as the flavors meld.
Make it up to two weeks ahead and store in the refrigerator, or freeze for up to three months. Just thaw overnight in the refrigerator before gifting.
Why do you recommend toasting the nuts first?
Toasting nuts significantly enhances their flavor by releasing essential oils and creating a deeper, more complex taste. It also improves their texture, providing a more satisfying crunch that contrasts beautifully with the soft fudge and marshmallows.
Final Thoughts
There’s something wonderfully nostalgic about a perfect batch of Rocky Road Fudge that brings people together.
Whether you’re making it as a thoughtful homemade gift or treating yourself after a long week, this recipe delivers that perfect balance of chocolate decadence and textural interest. Remember, the beauty of fudge-making is that even “imperfect” batches still taste amazing – so relax and enjoy the process.


