Ever had one of those days when your sweet tooth is screaming for attention, but turning on the oven feels like climbing Mount Everest? I’ve got your back with this No-Bake Peanut Butter Pie. This dreamy dessert combines the beloved comfort of peanut butter with a silky-smooth texture that melts on your tongue—all without requiring a single minute of bake time.
It’s the dessert equivalent of finding money in your pocket you didn’t know was there: unexpected joy that makes your day instantly better.
Why This Recipe is Awesome
What makes this No-Bake Peanut Butter Pie truly special is its perfect balance of simplicity and wow-factor. While it tastes like you spent hours crafting a gourmet dessert, it actually comes together in minutes with surprisingly few ingredients. The contrast between the crunchy graham cracker crust and the velvety peanut butter filling creates a texture paradise that even fancy restaurant desserts struggle to achieve.
The pie’s versatility is another winning point—it’s elegant enough for dinner parties but homey enough for a family movie night. As someone who’s tested countless peanut butter pie recipes, I can confidently say this version hits the sweet spot between rich and light, decadent and refreshing. Plus, make-ahead desserts are a lifesaver, and this one actually improves after chilling overnight!
Equipment needed: Food processor or rolling pin, 9-inch pie dish, mixing bowls, electric mixer, spatula, refrigerator
No-Bake Peanut Butter Pie
Ingredients
- 1½ cups graham cracker crumbs about 10 full sheets
- ¼ cup granulated sugar
- 6 tablespoons unsalted butter melted
- 1 cup creamy peanut butter not the natural kind that separates
- 8 oz cream cheese softened
- 1 cup powdered sugar sifted
- 1 teaspoon vanilla extract
- 1 cup heavy whipping cream
- ½ cup semi-sweet chocolate chips optional, for topping
- ¼ cup chopped peanuts optional, for garnish
Instructions
- Prepare the crust by combining graham cracker crumbs and sugar in a medium bowl, then pour in melted butter. Mix until the mixture resembles wet sand and holds together when pressed.
- Press the crust mixture firmly into a 9-inch pie dish, using the bottom of a measuring cup to compact it evenly across the bottom and up the sides. Place in refrigerator to set while preparing the filling.
- Beat cream cheese and peanut butter together in a large bowl using an electric mixer until completely smooth and no lumps remain, about 2 minutes. Scrape down the sides of the bowl as needed.
- Add powdered sugar and vanilla to the peanut butter mixture and beat until fully incorporated and fluffy, about 1-2 minutes.
- In a separate bowl, whip the heavy cream until stiff peaks form. This usually takes 3-4 minutes on medium-high speed.
- Gently fold the whipped cream into the peanut butter mixture using a spatula. Work in thirds, adding one portion at a time and folding with a light hand to maintain fluffiness.
- Spoon the filling into the prepared crust and smooth the top with a spatula. Refrigerate for at least 4 hours or overnight.
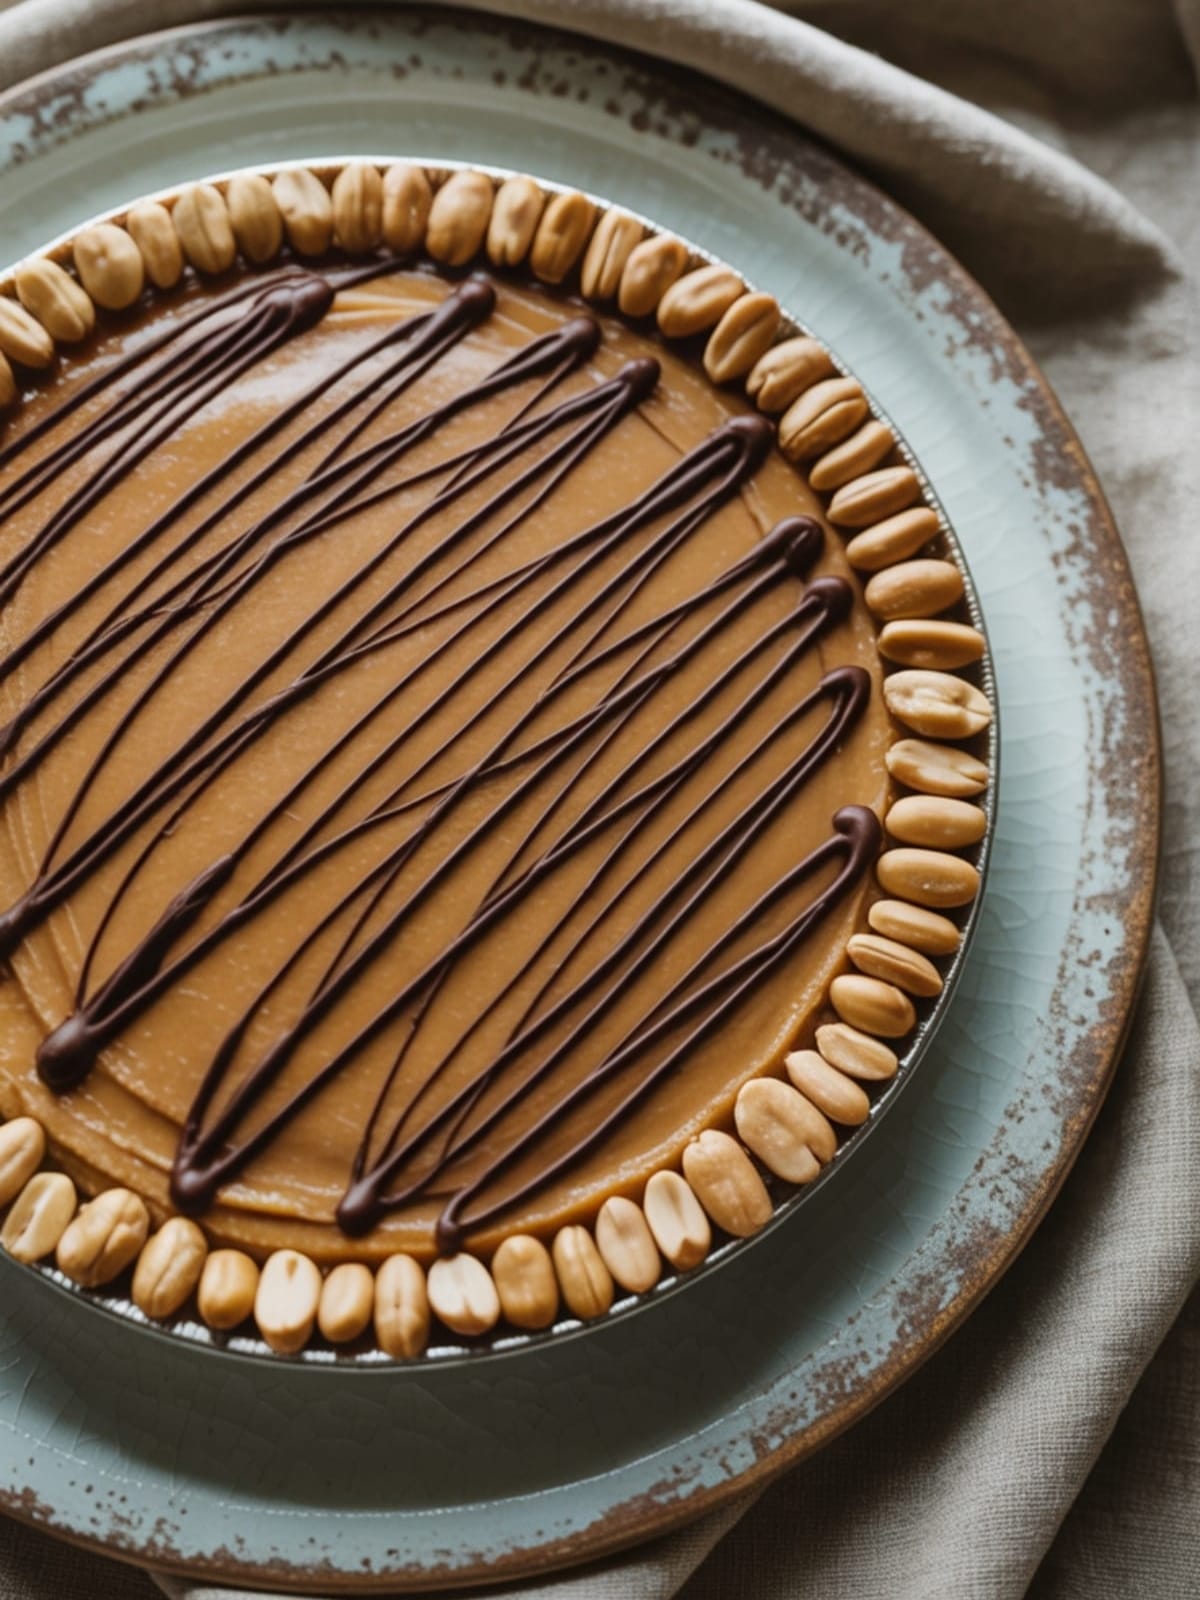
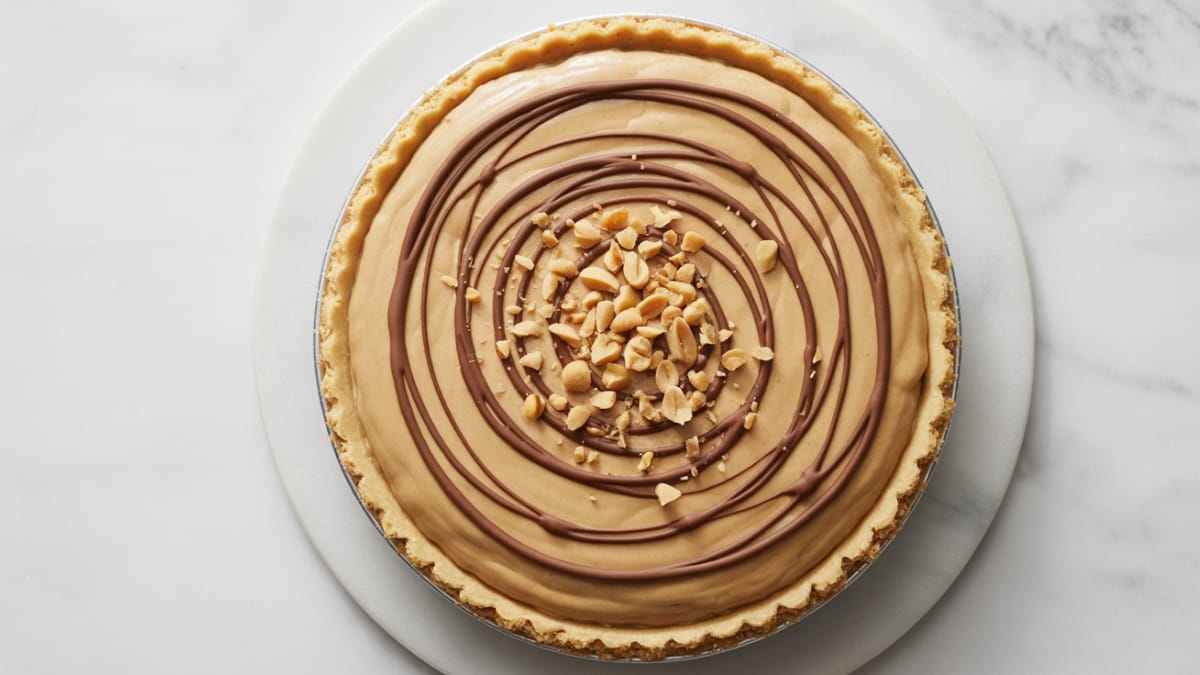
- Optional: Before serving, melt chocolate chips in the microwave in 30-second intervals, stirring between each, until smooth. Drizzle over the pie and sprinkle with chopped peanuts if desired.
Notes
- For a more pronounced peanut flavor, use crunchy peanut butter instead of creamy.
- The pie needs at least 4 hours to set properly, but overnight is ideal for the best texture and flavor development.
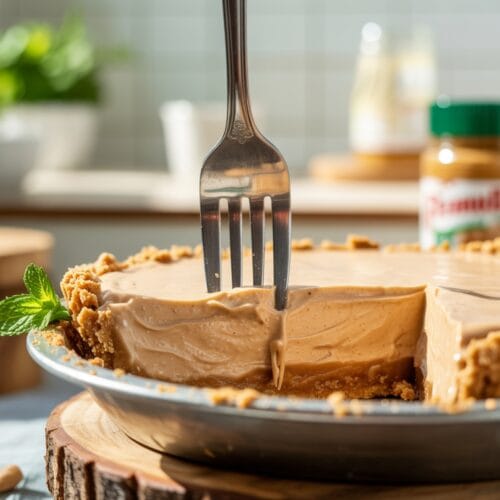
- To create picture-perfect slices, dip your knife in hot water and wipe clean between cuts.
- This pie freezes beautifully for up to 3 months—just thaw overnight in the refrigerator before serving.
- For a quick shortcut, you can use a pre-made graham cracker crust from the store.
Calories & Nutritional Info
- Calories: Approximately 520 calories per slice (1/8 of pie)
- Fat: 38g (15g saturated)
- Carbohydrates: 38g (24g sugar)
- Protein: 9g
- Contains: Dairy, peanuts, wheat (in graham crackers)
- Not suitable for: Vegan, dairy-free, gluten-free, or nut-free diets
Common Mistakes to Avoid
- Using natural peanut butter: The oils separate and can make your filling grainy or oily. Stick with conventional creamy peanut butter for best results.
- Not properly softening the cream cheese: Cold cream cheese will create lumps in your filling. Allow it to come to room temperature for at least 30 minutes.
- Overmixing the whipped cream into the filling: This deflates the air bubbles that create that luxurious mousse-like texture. Fold gently!
- Rushing the chilling time: The pie needs sufficient time to set. Trying to serve it too soon will result in a soft, messy filling that doesn’t hold its shape.
- Covering with plastic wrap that touches the surface: This can pull off the top layer of your beautiful pie. If covering, tent it slightly.
Alternatives & Substitutions
- Graham cracker crust alternatives: Try Oreo cookies, vanilla wafers, or chocolate graham crackers for different flavor profiles.
- Cream cheese substitutes: Mascarpone cheese works beautifully for an even richer filling.
- Lower-calorie option: Use Neufchâtel cheese (1/3 less fat than cream cheese) and light whipped topping instead of heavy cream.
- Dairy-free version: Substitute with dairy-free cream cheese and coconut cream (the solid part from a refrigerated can of coconut milk).
- Flavor variations: Add 2 tablespoons of cocoa powder to the filling for a chocolate-peanut butter pie, or fold in 1/2 cup of mini chocolate chips for texture.
FAQs
How far in advance can I make this No-Bake Peanut Butter Pie?
This pie can be made up to 3 days in advance and kept refrigerated. In fact, making it a day ahead allows the flavors to develop more fully, resulting in an even more delicious dessert.
Can I freeze this peanut butter pie?
Absolutely! This pie freezes beautifully for up to 3 months. Simply wrap it tightly with plastic wrap and aluminum foil. Thaw overnight in the refrigerator before serving.
Why is my filling not firm enough?
If your filling seems too soft, there are a few possible culprits: the cream wasn’t whipped to stiff peaks, the filling wasn’t chilled long enough, or your kitchen was too warm during preparation. Chill it longer or even place it in the freezer for 30 minutes before serving.
Can I use crunchy peanut butter instead of creamy?
Yes! Crunchy peanut butter will give your pie a bit of texture and more pronounced peanut flavor. Just be aware that the filling won’t be quite as smooth.
What can I use instead of graham crackers for a gluten-free version?
For a gluten-free crust, use gluten-free graham crackers or cookies, or try a mixture of almond flour (1 cup), melted butter (5 tablespoons), and sugar (3 tablespoons) pressed into the pie dish.
Final Thoughts
This No-Bake Peanut Butter Pie isn’t just a dessert; it’s a reminder that sometimes the simplest recipes bring the most joy. There’s something magical about transforming a handful of everyday ingredients into something so luxurious without breaking a sweat. Whether you’re a seasoned baker or just starting your culinary adventures, this pie offers a foolproof path to dessert glory. So go ahead—slice, share, and savor every creamy, dreamy bite.


