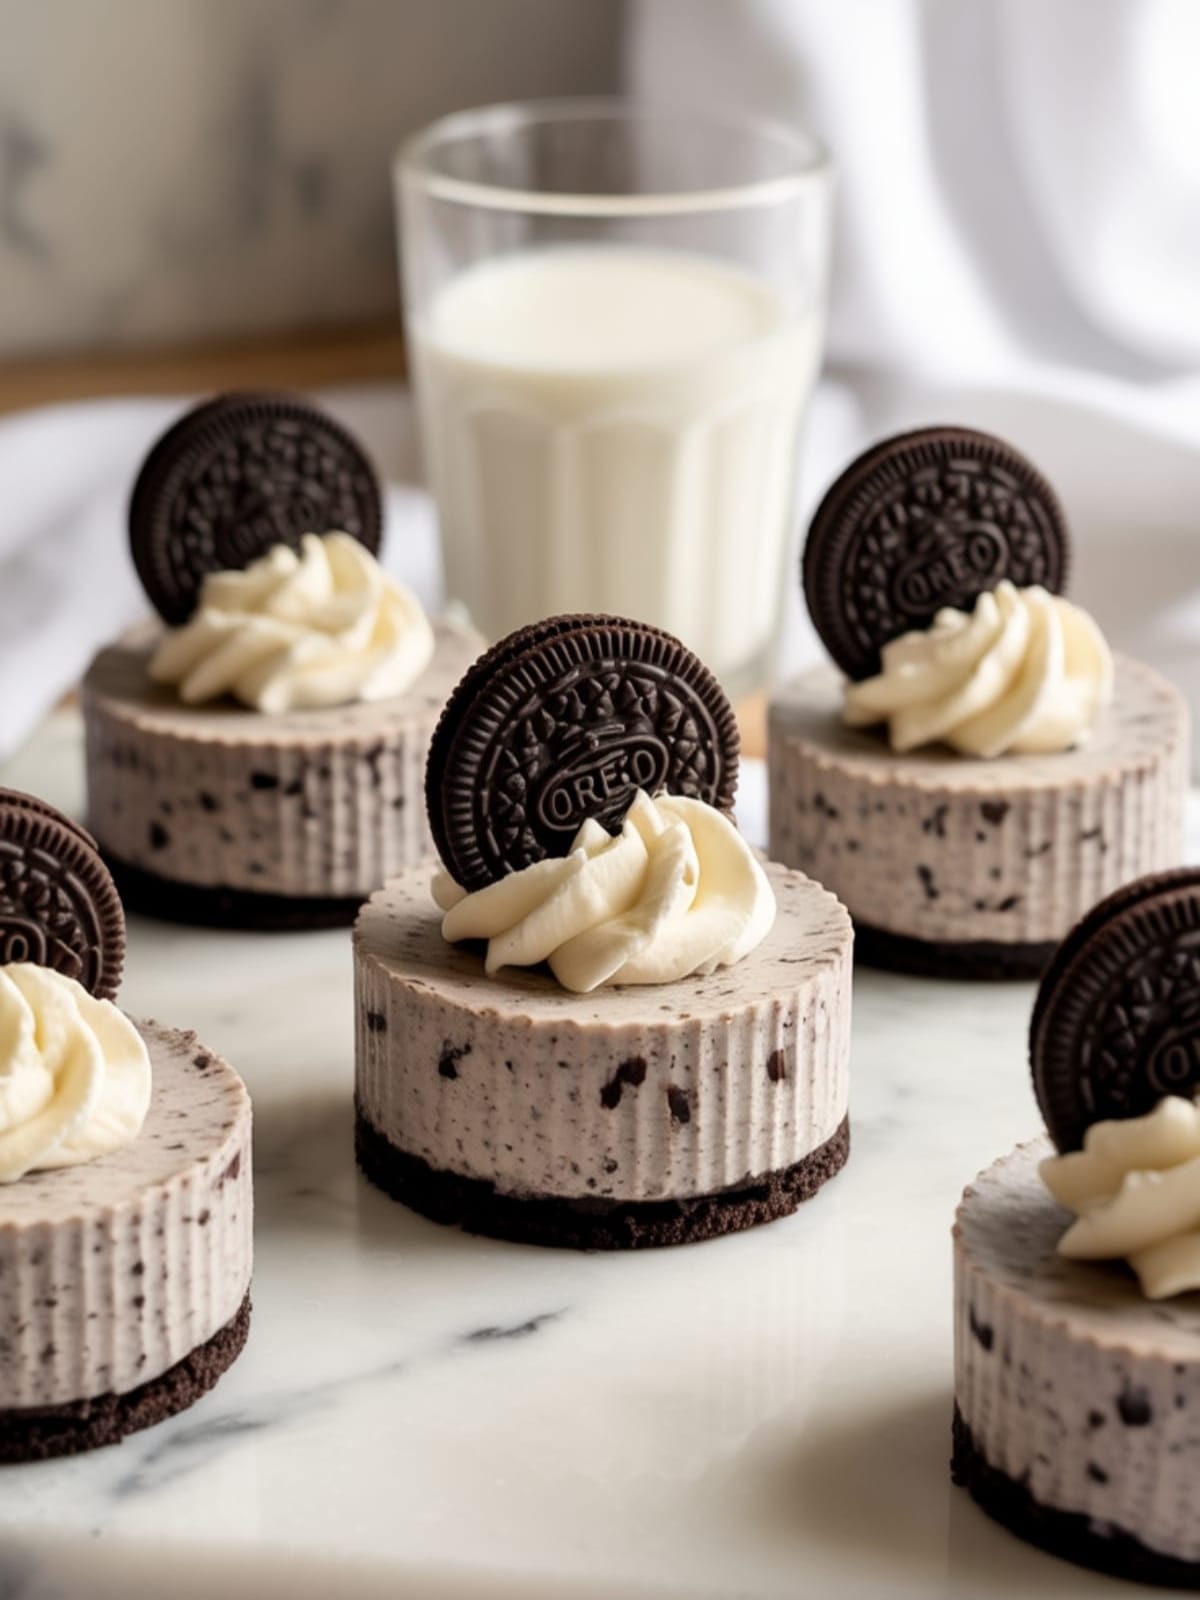
Imagine creating a dessert so effortlessly delicious that your friends won’t believe you didn’t spend hours in the kitchen. These Oreo No-Bake Cheesecake Cups are exactly that magic in a glass. The contrast of crunchy chocolate cookies against velvety cream cheese filling creates that perfect moment when your spoon breaks through layers of pure indulgence.
No oven required, minimal ingredients, and ready in minutes—these individual treats deliver all the satisfaction of a traditional cheesecake without any of the fuss. Whether you’re hosting an impromptu gathering or simply treating yourself after a long day, these cups are about to become your new secret weapon.
Why This Recipe is Awesome

What makes these Oreo No-Bake Cheesecake Cups truly special is their perfect balance of simplicity and wow-factor. You’re getting all the decadent flavor of a bakery-quality cheesecake without turning on your oven or waiting hours for something to set.
The individual portions eliminate the stress of perfect slicing, making them ideal for gatherings. The contrasting textures are what elevate this dessert—buttery, crunchy Oreo base, silky cream cheese center, and crushed cookies folded throughout create something far greater than the sum of its parts. I’ve refined this recipe through countless variations to hit that sweet spot where impressive meets effortless.
Plus, these cups can be made up to two days ahead, which means you can focus on enjoying your company rather than rushing around the kitchen at the last minute.
Equipment Needed: Food processor or zip-top bag with rolling pin, mixing bowl, electric mixer, glasses or dessert cups, spoon
No-Bake Oreo Cheesecake Cups
Ingredients
- 24 Oreo cookies 18 for crust, 6 for filling/topping
- 4 tablespoons unsalted butter melted
- 16 oz cream cheese softened to room temperature
- 2/3 cup granulated sugar
- 1 teaspoon vanilla extract
- 1 cup heavy whipping cream
- 2 tablespoons powdered sugar
- Extra Oreos for garnish optional
Instructions
- Prepare the crust: Place 18 Oreos in a food processor and pulse until finely crushed. (No food processor? Place cookies in a sealed zip-top bag and crush with a rolling pin.) Transfer crumbs to a bowl and mix thoroughly with melted butter until the mixture resembles wet sand.
- Form the base: Divide the Oreo mixture evenly among 6 glasses or dessert cups, pressing firmly with the back of a spoon to create a compact base. Set aside while preparing the filling.
- Make the cheesecake filling: In a large mixing bowl, beat the softened cream cheese, granulated sugar, and vanilla extract with an electric mixer on medium speed until completely smooth and no lumps remain, about 2-3 minutes. Stop to scrape down the sides of the bowl as needed.
- Whip the cream: In a separate bowl, whip the heavy cream and powdered sugar until stiff peaks form. The cream should hold its shape when you lift the beaters.
- Combine the mixtures: Gently fold the whipped cream into the cream cheese mixture using a rubber spatula, maintaining as much air as possible for a light, fluffy texture. Continue folding until just combined with no white streaks.
- Add Oreo pieces: Crush the remaining 6 Oreos into chunky pieces and gently fold about two-thirds of them into the cheesecake mixture, reserving the rest for topping.
- Assemble the cups: Spoon or pipe the cheesecake mixture over the Oreo crusts, dividing equally among the glasses. Smooth the tops with the back of a spoon.
- Garnish and chill: Sprinkle the reserved Oreo pieces over the tops of each cup. Cover with plastic wrap and refrigerate for at least 2 hours or overnight until set and thoroughly chilled.
Notes
- For extra stability in the crust, refrigerate the cups for 15 minutes after adding the cookie base before filling.
- Make sure your cream cheese is truly at room temperature to avoid lumps in your filling.
- For a more dramatic presentation, use clear glasses to showcase the distinct layers.
- These can be prepared up to 2 days in advance and kept refrigerated.
- To make mini versions for a party, use 2-oz shot glasses and reduce chilling time to 1 hour.
Calories & Nutritional Info
- Calories: Approximately 550 calories per serving
- Fat: 42g (25g saturated)
- Carbohydrates: 38g (28g sugars)
- Protein: 6g
- Contains: Dairy, wheat, soy (from cookies)
- Not suitable for: Vegan, gluten-free, or lactose-free diets without modifications
Common Mistakes to Avoid

- Using cold cream cheese – This creates lumps that are impossible to smooth out. Always let it soften at room temperature for at least 30 minutes.
- Overbeating the whipped cream – If you go past stiff peaks, you’ll get a grainy texture that can turn buttery. Stop whipping as soon as firm peaks form.
- Rushing the chilling process – The filling needs adequate time to set. Cutting the chilling time short results in a runny dessert rather than a sliceable one.
- Not crushing the base cookies finely enough – Large chunks won’t hold together well. Aim for fine, even crumbs for the crust.
- Adding hot melted butter to the cream cheese – This can melt your filling. Let the butter cool slightly after melting before mixing with the cookie crumbs.
Alternatives & Substitutions

- Cookie varieties: Substitute with chocolate graham crackers, Biscoff cookies, or chocolate wafers for different flavor profiles.
- Lighter version: Use Neufchâtel cheese (1/3 less fat than cream cheese) and light whipped topping instead of heavy cream.
- Dairy-free option: Substitute vegan cream cheese, dairy-free butter, and coconut cream (chilled and whipped) for a plant-based version.
- Flavor variations: Add 1 tablespoon of coffee liqueur or 1/2 teaspoon of mint extract to the filling for a flavor twist.
- Topping ideas: Drizzle with chocolate sauce, caramel, or add fresh berries for extra dimension and freshness.
FAQs
Can I make Oreo No-Bake Cheesecake Cups ahead of time?
Absolutely! These cups actually benefit from being made ahead. You can prepare them up to 2 days in advance and keep them covered in the refrigerator. The flavors meld and the texture improves with a good overnight chill.
Why is my cheesecake filling too runny?
This usually happens when the heavy cream isn’t whipped to stiff peaks before folding into the cream cheese mixture. Make sure your cream is thoroughly whipped, and your cream cheese mixture isn’t too warm. Always chill the cups for the full recommended time.
Can I freeze these Oreo cheesecake cups?
Yes, they freeze surprisingly well! Freeze uncovered until solid, then wrap individually in plastic wrap and store in freezer bags for up to 1 month. Thaw overnight in the refrigerator before serving.
How do I know when the whipped cream is at “stiff peaks”?
When you lift your beater straight up, the cream should stand up in firm peaks that maintain their shape without flopping over. If the peaks curl at the tip, you need to keep whipping a bit longer.
Can I use Double Stuf or flavored Oreos for this recipe?
Absolutely! Double Stuf works beautifully and creates an even creamier crust. Flavored Oreos like mint, peanut butter, or golden can create delicious variations—just make sure to adjust any additional flavorings accordingly.
Final Thoughts
These Oreo No-Bake Cheesecake Cups represent everything I love about home dessert-making—impressive results without complicated techniques. The beauty lies in their simplicity and adaptability. Don’t be surprised if friends start requesting “those amazing cheesecake cups” at every gathering. The hardest part might just be saving one for yourself!


