
Let’s be honest – nothing says “spring is here” quite like a perfectly tangy lemon dessert. And if you’ve ever watched Food Network, scrolled through Pinterest, or, you know, existed on the internet, you’ve probably heard of the Pioneer Woman’s legendary lemon bars. They’re basically sunshine in dessert form – bright, cheerful, and guaranteed to wake up your taste buds after a long winter hibernation. Plus, they’re the perfect Easter dessert when you’re tired of staring at chocolate bunnies.
Why These Pioneer Woman Lemon Bars Will Make You Famous at Easter Dinner
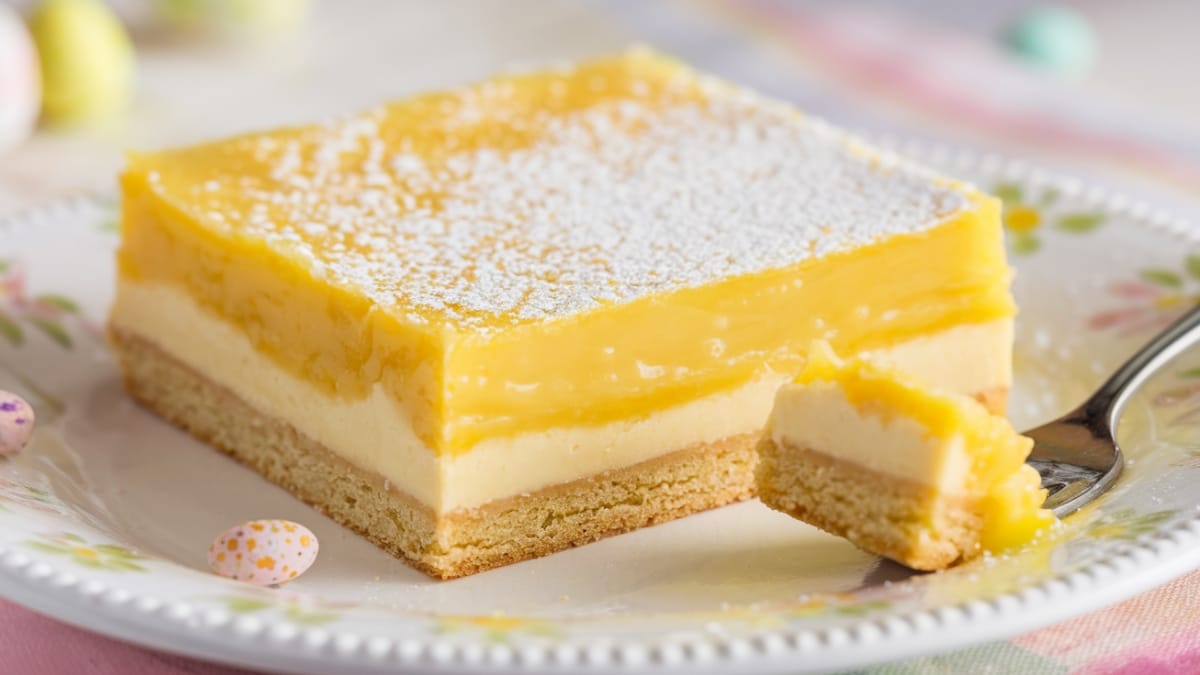
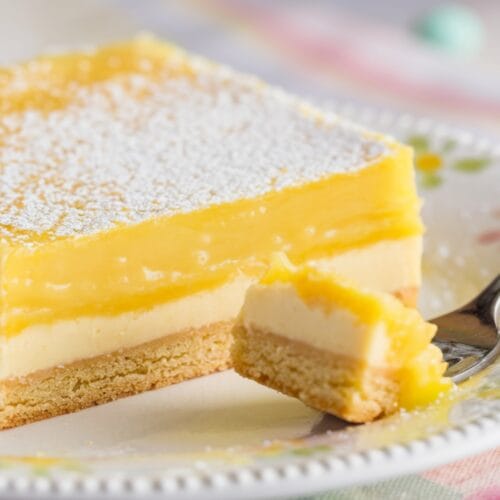
These aren’t your sad, one-note lemon squares from the neighborhood bake sale. These bars strike that magical balance between pucker-worthy tartness and just-right sweetness, all sitting atop a buttery shortbread crust that practically melts in your mouth. The contrast between the crisp base and silky lemon filling is basically a masterclass in texture.
And can we talk presentation? That dusting of powdered sugar over vibrant yellow? It’s like an Instagram filter in real life. They’ll make your Easter dessert spread look like it came straight from a magazine shoot – while secretly being one of the easiest desserts you’ll ever make. (Don’t worry, I won’t tell your guests how simple they actually were.)
Pioneer Woman Lemon Bars
Equipment
- 9×13 inch baking pan
- Parchment paper
- Medium bowl
- Large bowl
- Whisk
- Zester/grater
- Measuring cups and spoons
- Sifter (for powdered sugar)
Ingredients
For the shortbread crust
- 2 cups all-purpose flour
- 1/2 cup granulated sugar
- 1/4 teaspoon salt
- 1 cup (2 sticks) unsalted butter, cold and cubed
- 1 teaspoon vanilla extract
For the lemon filling
- 6 large eggs
- 3 cups granulated sugar
- 2 tablespoons lemon zest (from about 4-5 lemons)
- 1 cup freshly squeezed lemon juice (from about 6-8 lemons)
- 1 cup all-purpose flour
- Powdered sugar for dusting (about 1/4 cup)
Instructions
- Prep Your Battlestation. Preheat your oven to 350°F (175°C) and line your 9×13 inch baking pan with parchment paper, leaving some overhang for easy removal later. (Future you will thank present you for this step.)
- Crust Construction. In a medium bowl, whisk together the flour, sugar, and salt for the crust. Add the cold cubed butter and vanilla extract, then use your fingers (or a pastry cutter if you're fancy) to work the butter into the dry ingredients until the mixture resembles coarse crumbs. Think wet sand texture – the kind that's perfect for sandcastles, not the kind that gets in your swimsuit.
- Press and Bake. Dump this mixture into your prepared pan and press it firmly and evenly into the bottom. Don't rush this part – an even crust is a happy crust. Bake for 15-20 minutes until the edges are just barely turning golden. Remove from the oven but keep it running – we're not done yet!
- Lemon Filling Extravaganza. While the crust is baking, make your filling. In a large bowl, whisk together the eggs and sugar until well combined. Add the lemon zest, lemon juice, and flour, then whisk until smooth. If you see some tiny flour lumps, don't panic – they'll bake out. Pour this mixture over the hot crust as soon as it comes out of the oven.
- The Final Bake. Return the pan to the oven and bake for another 20-25 minutes, until the filling is set and doesn't jiggle in the center when you gently shake the pan. You're looking for a slight wobble like a firm Jell-O, not a wave pool.
- The Cooling Game. This is the hardest part – patience. Let the bars cool completely in the pan at room temperature, then refrigerate for at least 2 hours (overnight is even better). I know, I know – the waiting is torture, but cutting into warm lemon bars is like trying to slice pudding. Trust me.
- The Grand Finale. Once cooled and chilled, use the parchment overhang to lift the entire slab out of the pan. Cut into 16 squares with a clean, sharp knife, wiping the blade between cuts for Instagram-worthy precision. Just before serving, dust generously with powdered sugar for that classic finishing touch.
Notes
- These bars can be stored in an airtight container in the refrigerator for up to 5 days (if they last that long).
- For extra lemon intensity, add a drop or two of lemon oil to the filling.
- Make sure to zest your lemons before juicing them – it’s much easier!
- For an Easter twist, add a few drops of natural food coloring to make the bars a pastel yellow.
Common Mistakes to Avoid
- Using bottled lemon juice – Just don’t. Fresh lemons are essential for that bright, authentic flavor. Bottled juice will give you sad, artificial-tasting bars.
- Skipping the parchment paper – Unless you enjoy chiseling sticky lemon filling off your pan, use parchment.
- Cutting while warm – You’ll have a gooey mess instead of neat squares. Patience grasshopper, patience.
- Not chilling thoroughly – Room temperature isn’t enough! These bars need that refrigerator time to fully set up.
Variations & Customizations
- Citrus Medley: Substitute half the lemon juice with lime or orange juice for a more complex citrus flavor.
- Coconut Lemon Bars: Add 1/2 cup toasted coconut to the crust mixture for a tropical twist.
- Ginger Lemon Bars: Add 2 teaspoons of ground ginger to the crust for a zingy complement to the lemon filling.
FAQs About Pioneer Woman Lemon Bars
Can I make these ahead of time for my Easter gathering?
Absolutely! These bars actually improve after a day in the refrigerator, letting the flavors meld. They can be made up to 3 days ahead – just wait to dust with powdered sugar until right before serving.
Why did my lemon filling develop a white film on top?
That’s likely due to air bubbles rising to the surface during baking. To prevent this, let your filling sit for 5 minutes before pouring onto the crust, or tap the pan gently on the counter a few times to release air bubbles.
Can I freeze these lemon bars?
Yes! Freeze the cut bars (without powdered sugar) in a single layer, then transfer to a container with parchment between layers. They’ll keep for up to 3 months. Thaw in the refrigerator and dust with powdered sugar before serving.
Final Thoughts
The Pioneer Woman’s lemon bars are basically the dessert equivalent of that perfect spring day – bright, refreshing, and guaranteed to make everyone happy. They’re the ideal Easter dessert when you want something that balances out all those chocolate eggs and jelly beans with a zip of citrus. Plus, there’s something delightfully old-fashioned about them, like you’re channeling your inner prairie homemaker… even if you’re just trying to impress your mother-in-law.


