Remember that moment when you’re craving something sweet, but the thought of a complicated recipe makes you reach for the store-bought cookies instead? I’ve been there too many times. That’s exactly why this 3-Ingredient Fudge has become my secret weapon for chocolate emergencies.
It’s almost magical how something so simple can taste like you spent hours in the kitchen.
This isn’t just any fudge recipe—it’s the one I turn to when friends drop by unexpectedly or when I need a last-minute homemade gift. The best part? You probably already have everything you need in your pantry right now.
Why This Recipe is Awesome
What makes this 3-Ingredient Fudge stand out is its remarkable simplicity paired with fail-proof results.
Unlike traditional fudge that requires candy thermometers, precise timing, and sometimes a prayer to the sugar gods, this version delivers velvety, melt-in-your-mouth texture every single time.
The genius lies in the condensed milk, which provides both sweetness and the perfect creamy consistency without any fuss. I’ve tried countless fudge recipes over the years, and many left me with grainy, too-soft, or rock-hard results. This one, though?
Perfection in simplicity.
It’s also incredibly versatile—you can keep it classic or use it as a canvas for your creativity. And did I mention it takes just 10 minutes of active time? That’s less time than scrolling through Netflix deciding what to watch!
Equipment needed: Microwave-safe bowl, spatula, 8×8 baking dish, parchment paper
3-Ingredient Fudge
Ingredients
- 3 cups 18 oz semi-sweet chocolate chips (good quality makes a difference)
- 1 can 14 oz sweetened condensed milk
- 1 teaspoon pure vanilla extract
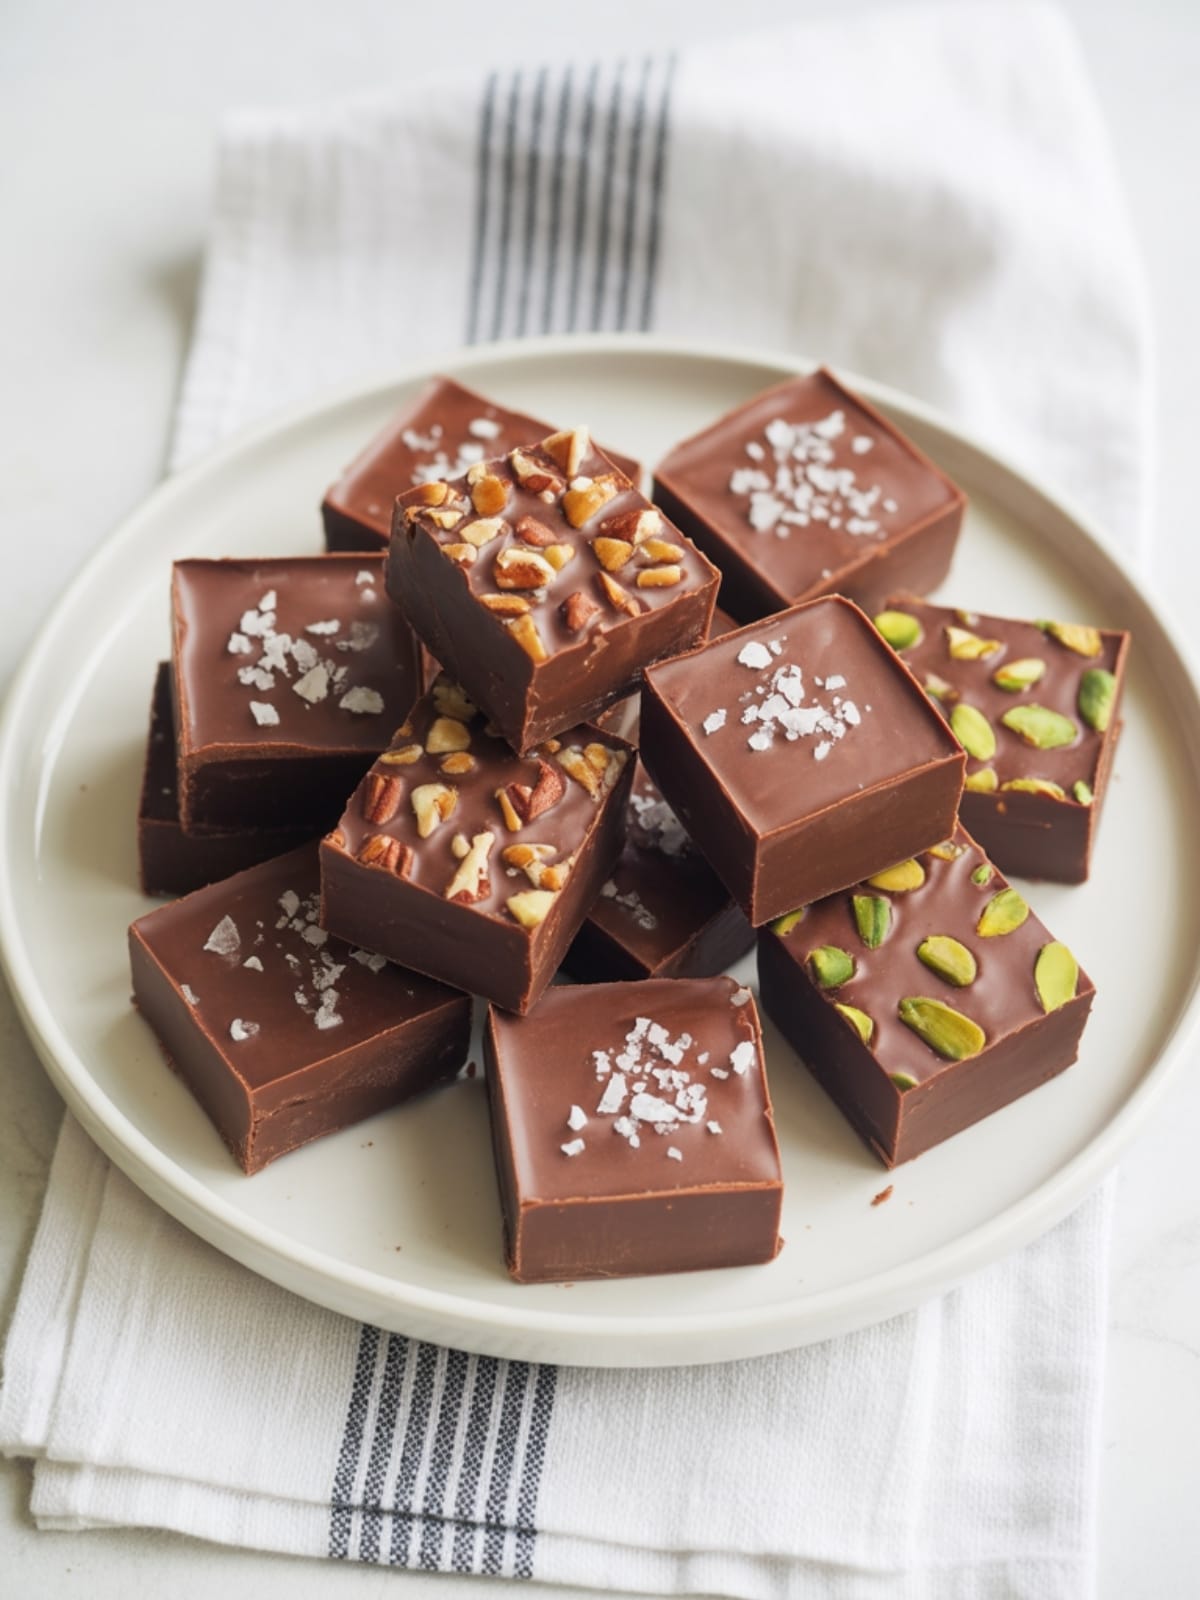
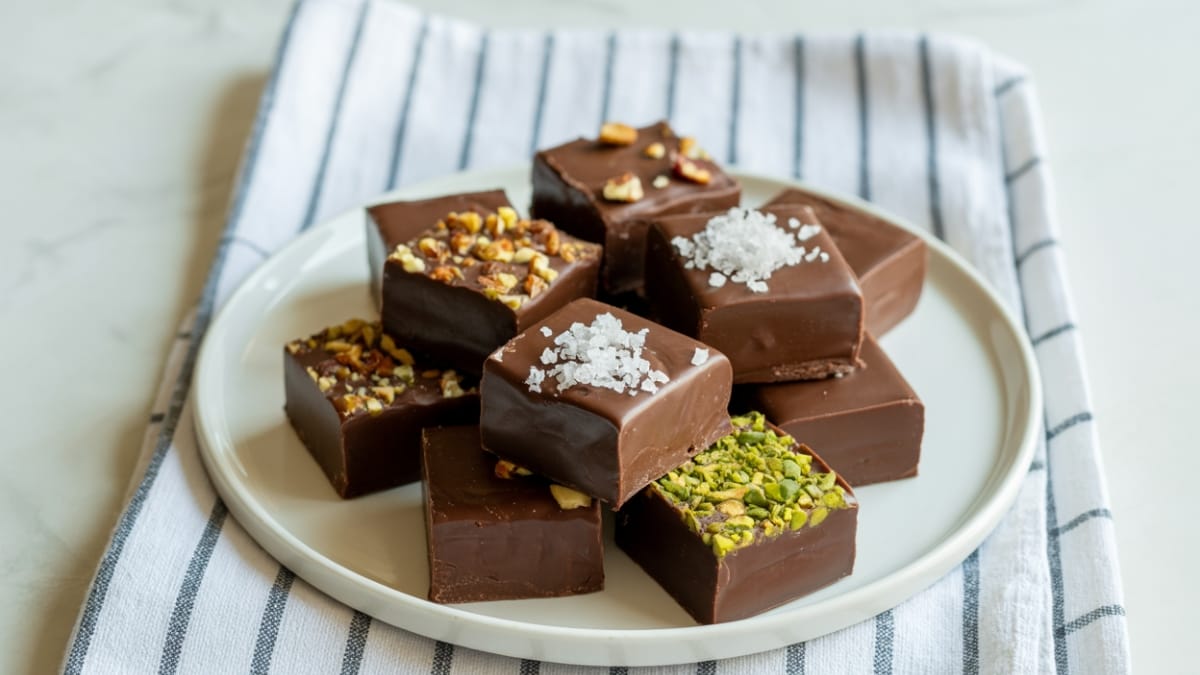
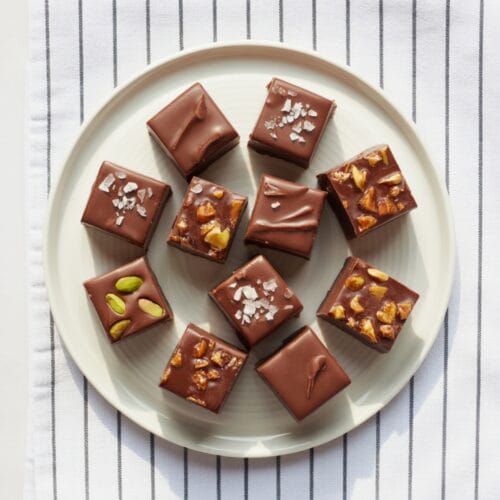
- Optional: 1/2 cup chopped nuts crushed peppermints, or sea salt for topping
Instructions
- Prepare your pan by lining an 8×8-inch baking dish with parchment paper, leaving some overhang on the sides for easy removal later. This step is crucial for clean-cutting later!
- Combine chocolate and condensed milk in a large microwave-safe bowl. The wide bowl gives you room to stir without making a mess.
- Microwave in 30-second intervals, stirring thoroughly between each, until the chocolate is about 90% melted (usually takes 1-2 minutes total). Be patient here—chocolate can burn easily if microwaved too long.
- Keep stirring off-heat until completely smooth. The residual heat will melt any remaining chocolate chips without risking scorching.
- Add the vanilla extract and stir until fully incorporated. This small addition makes a big difference in deepening the flavor.
- Pour the mixture into your prepared pan and spread evenly with a spatula. Give the pan a few gentle taps on the counter to release any air bubbles.
- Add any optional toppings while the fudge is still warm and press them lightly into the surface.
- Refrigerate for at least 2 hours or until completely firm. Patience yields the perfect texture!
- Lift the fudge out using the parchment paper overhang and transfer to a cutting board.
- Cut into squares with a sharp knife. For clean cuts, wipe the knife with a warm, damp cloth between slices.
Notes
- For extra-smooth fudge, use a double boiler instead of a microwave—it’s gentler on the chocolate.
- If your fudge seems too thick to pour, add 1 tablespoon of butter to make it more workable.
- Store in an airtight container with parchment paper between layers to prevent sticking.
- This fudge keeps well in the refrigerator for up to 2 weeks or can be frozen for up to 3 months.
- For gifting, cut into squares and place in mini cupcake liners inside a decorative tin.
Calories & Nutritional Info
- Calories: Approximately 170 calories per piece (based on 20 pieces)
- Fat: 9g (5g saturated)
- Carbohydrates: 21g (19g sugars)
- Protein: 2g
- Allergens: Contains dairy; check chocolate chips for possible soy or other allergens
- Not suitable for: Vegan or dairy-free diets unless using appropriate substitutes
Common Mistakes to Avoid
- Overheating the chocolate – This causes seizing or a grainy texture. Always melt gradually with frequent stirring.
- Using expired condensed milk – This can affect how well your fudge sets up and the overall flavor.
- Rushing the cooling process – Fudge needs adequate time to set for the right texture.
- Using low-quality chocolate chips – Since there are only three ingredients, quality really matters here.
- Cutting while still warm – This results in messy edges and uneven pieces.
Alternatives & Substitutions
- Chocolate variations: Try white chocolate chips, milk chocolate, or dark chocolate for different flavor profiles.
- Add-ins: Swirl in peanut butter, crushed cookies, dried fruit, or mini marshmallows before chilling.
- Flavor extracts: Replace vanilla with peppermint, orange, or almond extract for seasonal variations.
- Dairy-free option: Use dairy-free chocolate chips and coconut condensed milk for a vegan version (texture will be slightly different).
- Sugar-conscious option: Look for sugar-free chocolate chips and sugar-free condensed milk (though these will affect the texture).
FAQs
Why did my fudge turn out grainy?
Graininess usually happens when chocolate overheats or when moisture gets into the mixture. Melt your chocolate slowly and make sure your bowl and utensils are completely dry. The microwave intervals method helps prevent this common issue.
Can I make this fudge without a microwave?
Absolutely! Use a double boiler by placing a heat-safe bowl over a pot of simmering water. Stir continuously until melted. This method is actually gentler on the chocolate and many professional bakers prefer it.
How do I know when my fudge is set properly?
Properly set fudge should feel firm to the touch and not leave residue on your finger. If you’re unsure, let it chill for an extra hour. Well-set fudge will have clean edges when cut.
Why does the recipe call for semi-sweet chocolate specifically?
Semi-sweet chocolate provides the perfect balance with the already sweet condensed milk. Milk chocolate can make the fudge overly sweet, while dark chocolate might make it too bitter for some tastes (though it’s a great option if you prefer less sweetness).
Can I double this recipe?
Yes! Simply double all ingredients and use a 9×13 pan instead. The setting time might increase slightly, but the process remains the same. This is perfect for holiday gifting or larger gatherings.
Final Thoughts
This 3-Ingredient Fudge has saved countless last-minute dessert emergencies in my kitchen, and I hope it becomes a reliable standby in yours too. There’s something deeply satisfying about creating something so delicious with such minimal effort. Whether you keep it simple or dress it up with your favorite mix-ins, it’s bound to bring smiles. And isn’t that what home cooking is really about?


