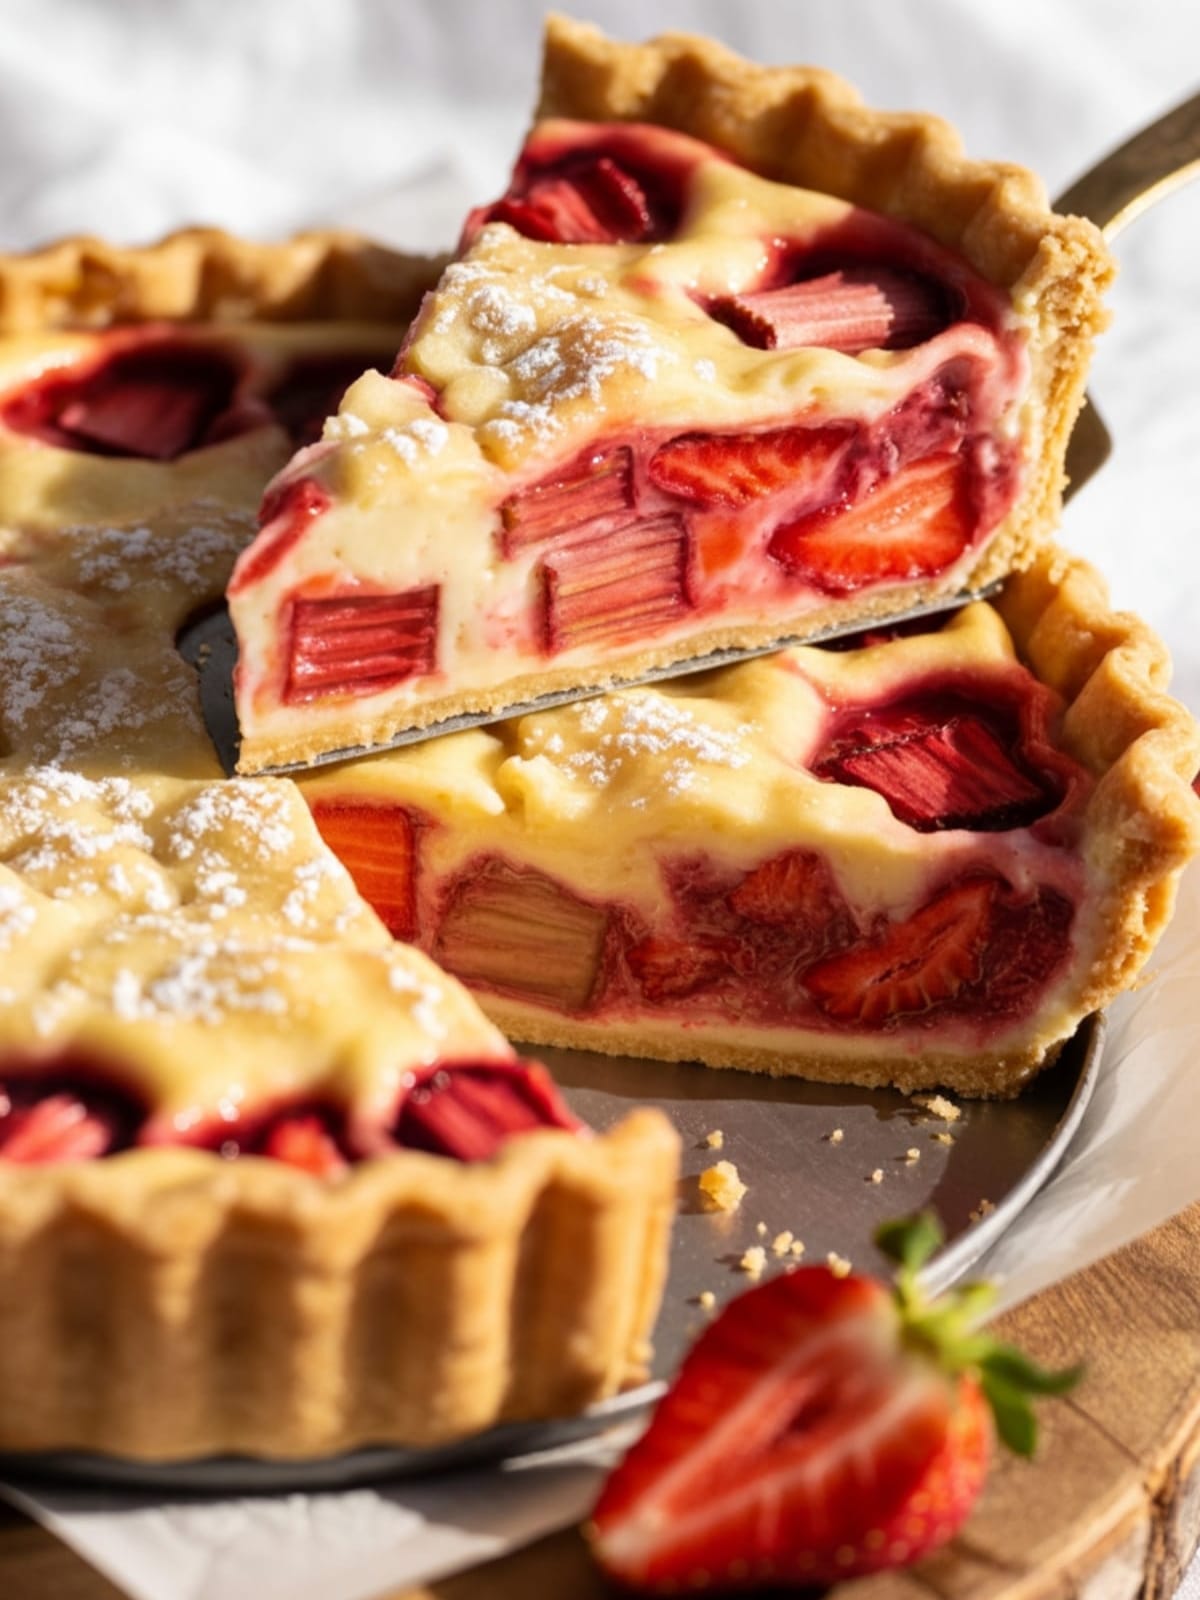
There’s something magical about the first bite of a Strawberry Rhubarb Custard Pie that makes time stand still. That perfect balance of sweet strawberries and tart rhubarb, all swimming in a silky custard and wrapped in flaky pastry, creates a dessert experience that feels like summer sunshine on a plate. If you’ve been intimidated by custard pies or unsure about rhubarb, I’m here to guide you through creating this spectacular dessert that will have everyone requesting the recipe.
Why This Recipe is Awesome

This Strawberry Rhubarb Custard Pie isn’t just another dessert—it’s a culinary masterpiece that marries contrasting flavors in perfect harmony.
The magic lies in how the creamy custard tempers rhubarb’s natural tartness while highlighting the strawberries’ sweetness. Unlike standard fruit pies that can be one-dimensional, the custard element adds a luxurious mouthfeel that elevates this dessert to restaurant quality. What makes this recipe truly special is its versatility throughout spring and summer.
It showcases seasonal produce at its peak and creates a dessert that feels both nostalgic and sophisticated. The recipe strikes that rare balance of being impressive enough for special occasions but straightforward enough for a weekend baking project.
Equipment needed: 9-inch pie dish, mixing bowls, whisk, rolling pin, parchment paper, pie weights, aluminum foil

Strawberry Rhubarb Custard Pie
Ingredients
- 1 homemade or store-bought pie crust for a 9-inch pie plus extra for lattice if desired
- 2 cups fresh rhubarb cut into ½-inch pieces
- 2 cups fresh strawberries hulled and halved (quarter if large)
- 1 cup granulated sugar
- 3 large eggs
- ¼ cup all-purpose flour
- ½ cup heavy cream
- 1 teaspoon vanilla extract
- ¼ teaspoon salt
- 2 tablespoons butter melted and cooled
- 1 tablespoon lemon juice
- 1 egg white for brushing the crust
- Turbinado or coarse sugar for sprinkling optional
Instructions
- Prepare your pie crust by rolling it out to about ⅛-inch thickness and transferring it to a 9-inch pie dish. Trim edges leaving a ½-inch overhang, then fold under and crimp decoratively. Refrigerate for 15 minutes while preheating your oven to 375°F (190°C).
- Blind bake the crust by lining it with parchment paper and filling with pie weights or dried beans. Bake for 15 minutes, then remove weights and parchment, brush with egg white, and bake for 5 more minutes. This prevents the dreaded “soggy bottom.”
- Prepare the fruit filling by combining the chopped rhubarb and strawberries in a large bowl. Toss with ¼ cup of the sugar and the lemon juice, then let sit for 10 minutes to draw out some moisture.
- Make the custard mixture by whisking together the remaining ¾ cup sugar, eggs, flour, heavy cream, vanilla, salt, and melted butter in a separate bowl until smooth and well combined.
- Arrange the fruit in the par-baked pie shell, spreading it evenly. The fruit should come about ¾ of the way up the crust.
- Pour the custard carefully over the fruit mixture, allowing it to seep between the fruit pieces. The custard should just barely reach the top of the fruit, not completely submerge it.
- Protect the edges of your pie with aluminum foil or a pie shield to prevent over-browning. Place the pie on a baking sheet to catch any potential overflow.
- Bake for 45-50 minutes at 375°F until the custard is mostly set but still has a slight wobble in the center. The filling should reach an internal temperature of about 170°F for food safety.
- Cool completely on a wire rack for at least 3 hours before slicing. The custard will continue to set as it cools, giving you clean, beautiful slices.
Notes
- For the best texture, use fresh rhubarb rather than frozen, which can release too much moisture.
- If your strawberries are particularly juicy, you might want to macerate them separately and drain some liquid before adding to the pie.
- The pie needs adequate cooling time (at least 3 hours) to properly set the custard—rushing this step will result in a runny filling.
- For a more decorative presentation, reserve some of your pie dough to create a lattice top or cut-out shapes.
- This pie can be made a day ahead and refrigerated overnight for even cleaner slices.
Calories & Nutritional Info
- Calories: Approximately 320 per slice
- Carbohydrates: 45g
- Fat: 15g
- Protein: 5g
- Allergens: Contains wheat, dairy, and eggs
- Dietary notes: Not suitable for vegan or gluten-free diets without significant modifications
Common Mistakes to Avoid
- Skipping the blind bake – This crucial step prevents a soggy crust when working with wet fillings like custard.
- Using underripe rhubarb – Make sure your rhubarb stalks are firm and brightly colored for the best flavor.
- Overworking the pie dough – This leads to a tough rather than flaky crust. Handle the dough minimally for best results.
- Rushing the cooling process – Cutting into the pie too soon will result in a runny filling that hasn’t properly set.
- Forgetting to account for juicy fruit – If your strawberries are particularly juicy, you may need to add an extra tablespoon of flour to the custard mixture.
Alternatives & Substitutions
- Dairy-free option: Substitute the heavy cream with full-fat coconut milk and use a plant-based butter alternative.
- Berry variations: Replace strawberries with raspberries or blackberries for a different flavor profile.
- Gluten-free crust: Use your favorite gluten-free pie crust recipe or a ready-made gluten-free option.
- Lower sugar version: Reduce sugar to ¾ cup and add 1 tablespoon of cornstarch to help with setting.
- No rhubarb option: If you can’t find rhubarb, use 4 cups of mixed berries instead, though you’ll lose the characteristic tartness.
FAQs
Can I use frozen rhubarb and strawberries for this pie?
Yes, but with caution. Thaw completely and drain excess liquid first. Add an extra tablespoon of flour to your custard mixture to account for the additional moisture that frozen fruit releases during baking.
Why did my custard not set properly?
The most common culprit is underbaking or not allowing enough cooling time. The custard should reach 170°F internally and needs at least 3 hours to set completely. Also check that you used the correct amount of eggs, which are crucial for setting.
Do I need to peel rhubarb before using it?
Generally no. Simply trim the ends and remove any strings by pulling them down the stalk as you would with celery. Only peel if the stalks are particularly woody or tough.
Can I make this pie ahead of time?
Absolutely! This pie actually benefits from being made a day ahead and refrigerated overnight, which allows the custard to set fully and the flavors to meld beautifully.
How do I store leftover pie?
Because of the custard, refrigerate any leftovers covered with plastic wrap for up to 3 days. Let slices come to room temperature before serving for the best flavor, or gently warm in a 300°F oven for 10 minutes.
Final Thoughts
The Strawberry Rhubarb Custard Pie beautifully showcases the fleeting magic of seasonal produce. There’s something deeply satisfying about transforming simple ingredients into something so spectacular. Don’t be intimidated by the steps—each one builds toward creating a dessert that balances tartness, sweetness, and creaminess in perfect harmony. Your kitchen will smell amazing, and that first slice will be worth every minute spent making it.


