Ever found yourself staring into the fridge at 5:30 PM, wondering how to transform ground beef and random vegetables into something that doesn’t scream “I’ve given up on dinner”? Taco Rice Bowls are your answer. They’re essentially the choose-your-own-adventure of weeknight meals—customizable, scalable, and impossible to mess up. Even better? Everyone at your table can build their own version, which means no more complaints from the picky eaters in your life. You’re welcome.
Why This Recipe is Awesome
This isn’t just a recipe—it’s a dinner strategy that will save you from the “what’s for dinner” panic more times than you can count.
The formula is brilliantly simple. Start with a base of fluffy rice, add perfectly seasoned taco meat, then pile on toppings to your heart’s content. It’s like having a taco bar right in your kitchen, but without the hassle of crunchy shells that shatter on the first bite, sending their contents all over your lap.
What I love most about this recipe is its flexibility. Got leftover roasted vegetables? Throw them in. Only have black beans but no pinto? No problem. Need to stretch that pound of beef to feed unexpected guests? Just add more beans and rice. These bowls adapt to whatever you have on hand, which makes them perfect for busy weeknights when a grocery store run isn’t happening.
Plus, they’re ready in about 30 minutes and work just as well for meal prep as they do for dinner tonight. That’s what I call mealtime multitasking.
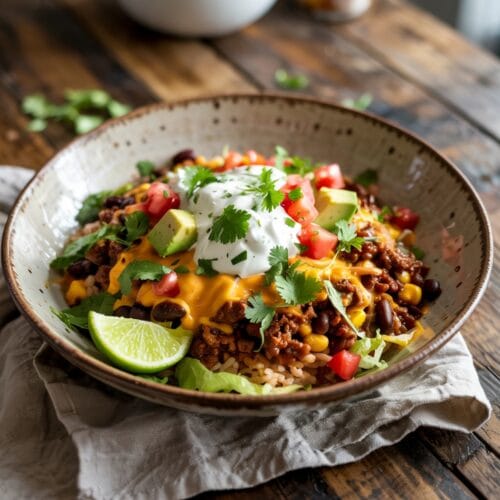
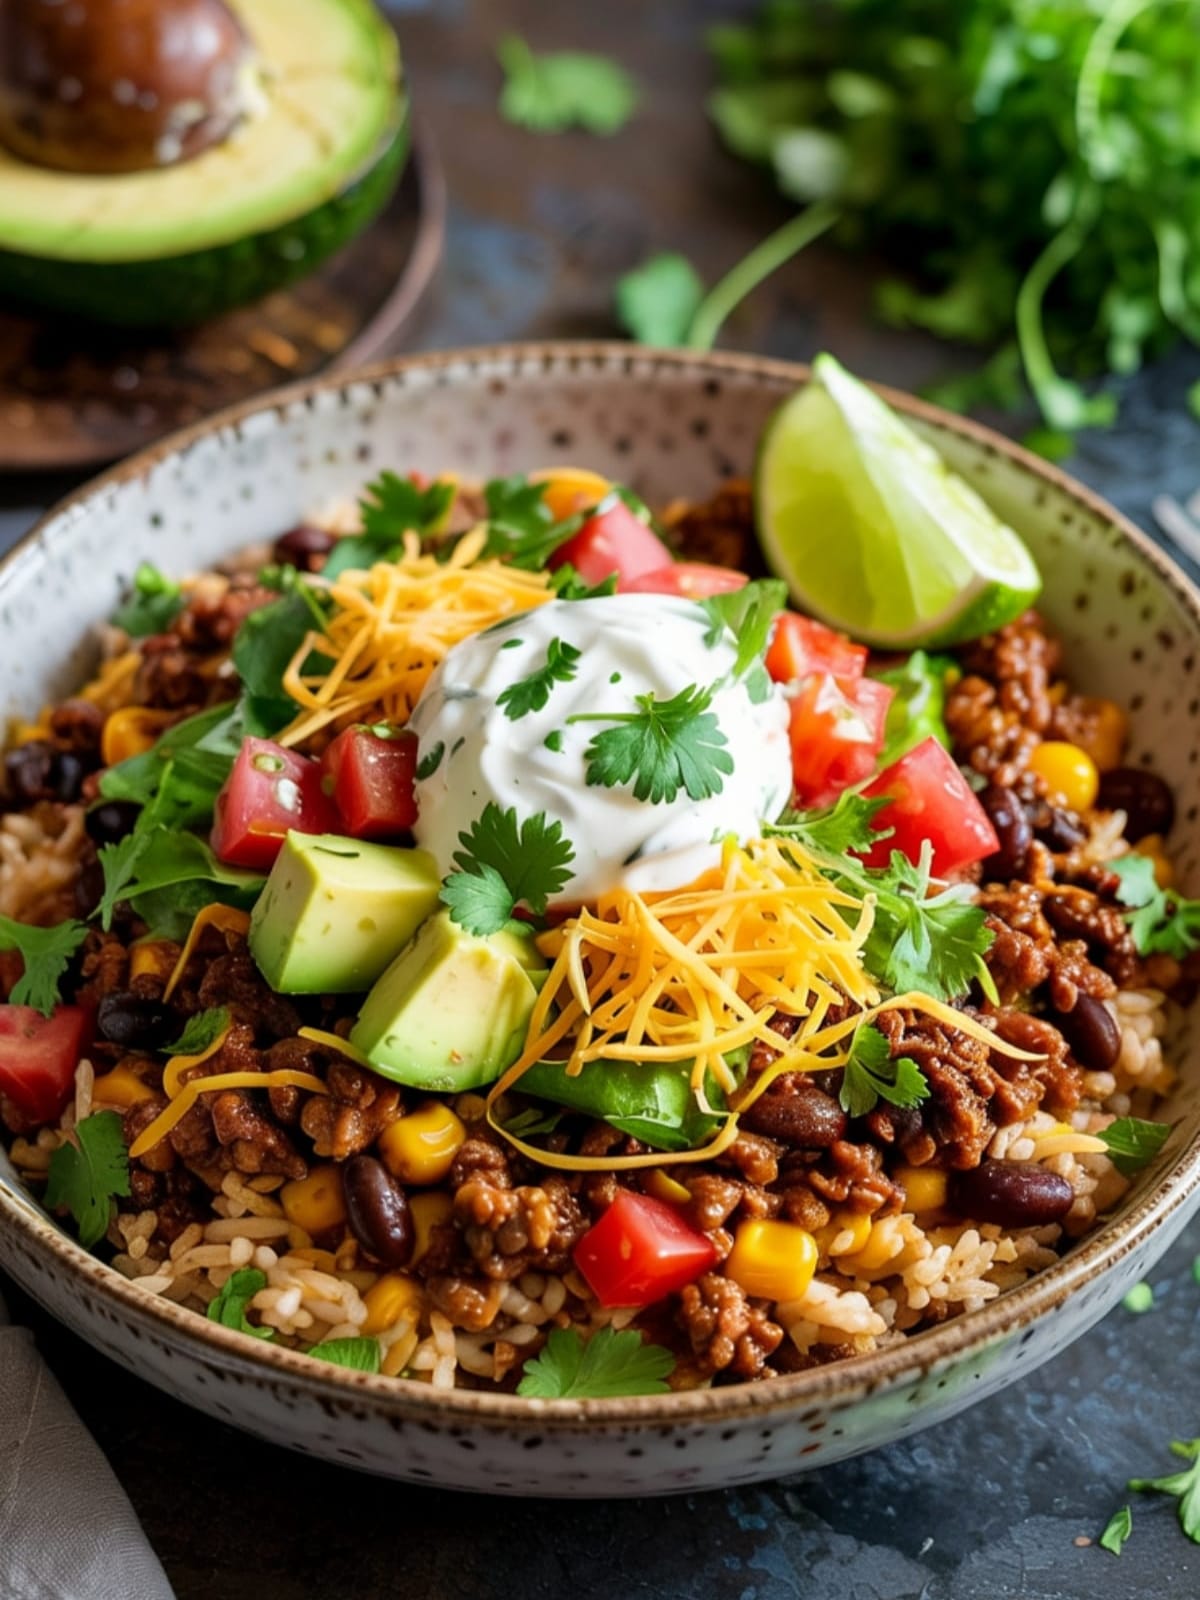
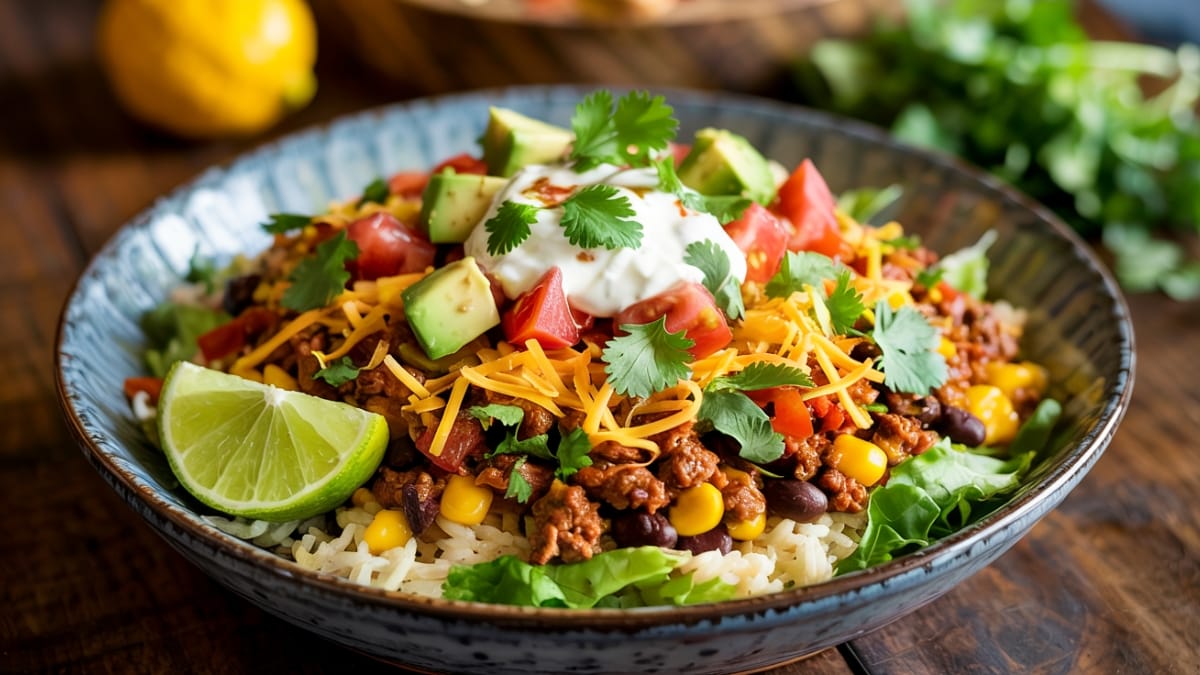
Taco Rice Bowls
Ingredients
For the Rice
- 1 cup long-grain white rice
- 2 cups water or chicken broth
- 1 tablespoon butter or oil
- 1/2 teaspoon salt
- Optional: Juice and zest of 1 lime
- Optional: 2 tablespoons chopped cilantro
For the Taco Meat
- 1 pound ground beef 85% lean works best
- 1 small onion diced
- 2 cloves garlic minced
- 1 packet taco seasoning OR 2 tablespoons homemade taco seasoning recipe below
- 1/4 cup water
- 1 can 15 oz black beans or pinto beans, drained and rinsed
- Optional: 1 cup frozen corn thawed
Homemade Taco Seasoning (if not using packet)
- 1 tablespoon chili powder
- 1 teaspoon ground cumin
- 1/2 teaspoon paprika
- 1/2 teaspoon oregano
- 1/2 teaspoon salt
- 1/4 teaspoon garlic powder
- 1/4 teaspoon onion powder
- 1/4 teaspoon black pepper
- Pinch of cayenne pepper optional
For Topping (choose your favorites)
- Shredded lettuce or cabbage
- Diced tomatoes
- Diced avocado or guacamole
- Shredded cheese cheddar, Mexican blend, pepper jack
- Sour cream or Greek yogurt
- Sliced jalapeños
- Diced red onion or green onions
- Fresh cilantro
- Salsa or pico de gallo
- Lime wedges
- Crushed tortilla chips
Instructions
- Start the rice. In a medium saucepan, combine rice, water or broth, butter or oil, and salt. Bring to a boil, then reduce heat to low, cover, and simmer for 15-18 minutes until water is absorbed and rice is tender. Remove from heat and let stand, covered, for 5 minutes. If using, fluff with a fork and stir in lime juice, zest, and cilantro.
- While the rice cooks, prepare the taco meat. Heat a large skillet over medium-high heat. Add the ground beef and break it apart with a wooden spoon. Cook for about 5-7 minutes until no longer pink, stirring occasionally.
- Add flavor builders. Add the diced onion to the beef and cook for 2-3 minutes until softened. Add garlic and cook for 30 seconds until fragrant. Drain excess fat if desired (but leaving a little adds flavor).
- Season like you mean it. Sprinkle the taco seasoning over the beef mixture and stir to coat evenly. Add 1/4 cup water, stir well, and bring to a simmer. Let it cook for 2-3 minutes until the sauce thickens slightly.
- Bulk it up. Add the drained and rinsed beans and corn (if using) to the meat mixture. Stir to combine and cook for another 2 minutes until heated through. Taste and adjust seasonings if needed.
- Prepare your toppings. While the meat mixture simmers, get all your toppings ready and arranged for easy bowl assembly.
- Build your bowls. Start with a base of rice in each bowl. Top with a generous portion of the taco meat mixture. Let everyone add their preferred toppings.
- Finish with flair. A squeeze of fresh lime juice over the top brightens all the flavors and pulls everything together.
Notes
- Rice variations: Brown rice works great for a more nutritious option (adjust cooking time according to package directions). You can also use cauliflower rice for a lower-carb option or quinoa for extra protein.
- For meal prep, store the rice, meat mixture, and toppings separately. Assemblage at the time of eating guarantees the best texture.
- The taco meat mixture freezes beautifully for up to 3 months. Thaw overnight in the refrigerator for an even quicker meal next time.
- Stretching the meal: For budget-friendly options or to feed more people, increase the beans and rice while keeping the same amount of meat.
- For a spicier version, add diced jalapeños or a pinch of red pepper flakes to the meat while cooking.
- Time-saving hack: Use pre-cooked rice (either leftover or microwavable packets) and have dinner ready in under 15 minutes.
- For an authentic touch, toast the rice in the pan with a bit of oil before adding the liquid, then cook as directed.
Calories & Nutritional Info
- Calories: Approximately 450-500 per bowl (base recipe without optional toppings)
- Protein: 25g
- Fat: 18g
- Carbs: 45g
- Fiber: 6g
- Sodium: 800mg (varies with taco seasoning used)
- Iron: 20% daily value
- Calcium: 10% daily value
- Vitamin C: 15% daily value
- Potassium: 15% daily value
Common Mistakes to Avoid
- Using extra lean ground beef. While healthier on paper, 93% or 95% lean beef can result in dry, less flavorful taco meat. The 85% lean gives you the perfect balance of flavor and juiciness.
- Skipping the simmer step with the taco seasoning. This important step allows the flavors to meld and the sauce to thicken. Don’t rush it!
- Not draining and rinsing the beans. This simple step reduces sodium and prevents that cloudy bean liquid from diluting your flavors.
- Overcooking the rice. Follow the package directions and set a timer. Mushy rice can ruin an otherwise perfect bowl.
- Preparing all toppings days in advance. Some toppings like cut avocado and tomatoes are best prepared just before serving to maintain freshness.
- Using cold toppings on hot rice and meat. Let refrigerated toppings come to room temperature for about 10 minutes before serving for the best flavor profile.
- Not offering enough variety in toppings. The beauty of taco bowls is personalization—offer at least 4-5 topping options for the best experience.
Alternatives & Substitutions
- Protein options: Ground turkey, chicken, plant-based crumbles, or crumbled tofu all work well with the same seasonings. Shredded chicken or beef are excellent alternatives too.
- Bean varieties: Black, pinto, kidney, or even white beans all work great. Use what you have or prefer.
- Grain alternatives: Try quinoa, farro, or barley instead of rice. For low-carb options, cauliflower rice or a bed of shredded lettuce works well.
- Make it vegetarian: Double the beans, add extra corn, and include diced bell peppers and zucchini for a hearty meatless version.
- Spice variations: Add a teaspoon of smoked paprika, a dash of cinnamon, or some chipotle powder to the taco seasoning for different flavor profiles.
- Different toppings: Try pickled red onions, mango salsa, or pineapple chunks for sweet-savory combinations. Sliced radishes add great crunch.
- Sauce options: Drizzle with chipotle mayo, avocado crema, or cilantro-lime sauce instead of just sour cream.
- Cheese alternatives: Crumbled cotija, queso fresco, or even blue cheese can be interesting substitutes for standard cheddar.
FAQs
Can I make this ahead of time for meal prep?
Absolutely! The rice and taco meat mixture can be made 3-4 days ahead and refrigerated. Store toppings separately, with wet ingredients (like tomatoes) in their own containers. Avocado is best cut fresh, but you can use packaged guacamole for convenience.
How can I make this healthier?
Several options: use brown rice instead of white, lean ground turkey instead of beef, Greek yogurt instead of sour cream, and load up on extra vegetables as toppings. You can also reduce the amount of cheese or use a smaller portion of meat with more beans.
My family has different spice preferences. How can I accommodate everyone?
Keep the base meat mixture mild and offer spicy toppings like sliced jalapeños, hot sauce, or spicy salsa for those who want more heat. This way everyone can customize their own heat level.
What are some good side dishes to serve with taco bowls?
These are pretty complete meals on their own, but a side of Mexican street corn (elote), a simple green salad with cilantro-lime dressing, or some tortilla soup would complement them nicely.
Can I use leftover taco meat for something else?
Definitely! Use it in quesadillas, stuffed peppers, mixed with eggs for a breakfast scramble, or added to nachos. It’s incredibly versatile.
How do I keep the avocado from turning brown if I’m meal prepping?
Toss diced avocado with a bit of lime juice before storing, and place plastic wrap directly on the surface to minimize air exposure. Better yet, just bring whole avocados and cut them when ready to eat.
Can I make this in a slow cooker or Instant Pot?
Yes! For the meat mixture: brown the beef, onions, and garlic first, then add to a slow cooker with the remaining ingredients. Cook on low for 3-4 hours. For Instant Pot, use the sauté function for the beef, then add remaining ingredients and cook on manual for 5 minutes with quick release.
Final Thoughts
Taco Rice Bowls are the answer to so many mealtime dilemmas. They’re infinitely customizable, satisfying enough for the hungriest family members, yet can be easily adjusted for those with dietary preferences or restrictions. Their versatility makes them perfect for both impromptu weeknight dinners and planned meal prep sessions.
What I love most about this recipe is how it brings everyone to the table to create their own perfect meal—an increasingly rare opportunity in our busy lives. Plus, the inevitable leftover toppings become building blocks for other meals later in the week. Talk about a recipe that keeps on giving! So next time you’re stuck in a dinner rut or facing a fridge full of odds and ends, remember that a delicious taco bowl is just 30 minutes away.


