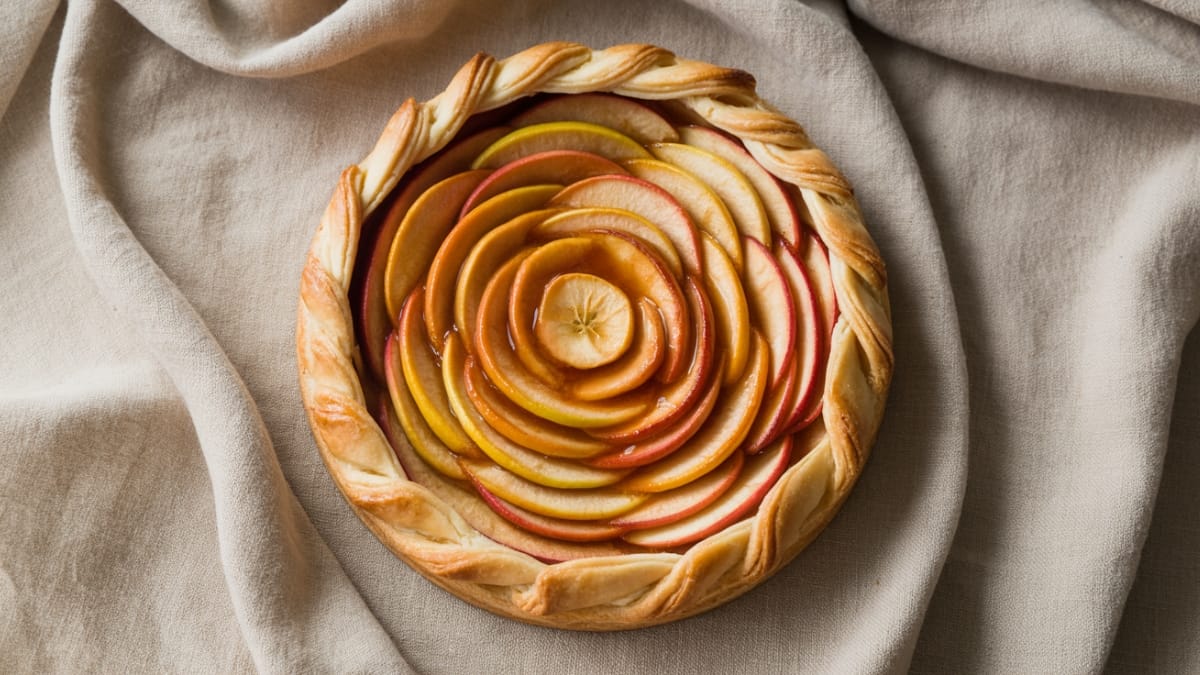
There’s something magical about the moment a warm apple tart emerges from your oven, filling the kitchen with that irresistible aroma of caramelized fruit and buttery pastry. It’s one of those timeless desserts that somehow manages to be both elegant and comforting at the same time. I’ve been perfecting my Apple Tart recipe for years, and I’m thrilled to share it with you today.
This isn’t just any dessert—it’s the kind that makes people close their eyes on the first bite and then immediately ask for your secret.
Why This Recipe is Awesome
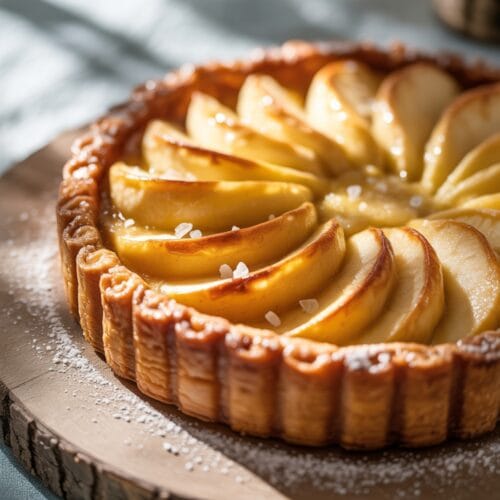
What makes this Apple Tart truly special is its beautiful simplicity. Unlike fussy desserts that require specialized equipment or hard-to-find ingredients, this tart celebrates the natural beauty of fresh apples arranged on a canvas of buttery pastry. The magic happens in the caramelization process, where the fruit’s natural sugars concentrate and intensify, creating complex flavor from just a handful of ingredients.
The crust strikes that perfect balance—crisp at the edges yet tender underneath—providing the ideal foundation for those gorgeous apple slices. This recipe is also incredibly versatile. It can be dressed up with a scoop of vanilla ice cream for a dinner party finale or enjoyed with afternoon tea on a lazy Sunday.
It’s the kind of reliable, crowd-pleasing dessert that builds your reputation as someone who really knows their way around the kitchen.
Equipment needed: Rolling pin, 9-inch tart pan or baking sheet, parchment paper, pastry brush
Apple Tart
Ingredients
- 1 ½ cups all-purpose flour
- 3 tablespoons granulated sugar
- ¼ teaspoon salt
- ½ cup 1 stick cold unsalted butter, cut into small cubes
- 4-5 tablespoons ice water
- 4-5 medium apples preferably a mix of sweet and tart varieties like Honeycrisp and Granny Smith
- ⅓ cup granulated sugar for sprinkling
- 2 tablespoons cold unsalted butter cut into tiny pieces
- ¼ cup apricot jam
- 1 tablespoon water
- Optional: 1 teaspoon cinnamon
- Optional: 1 tablespoon lemon juice
Instructions
- Prepare the pastry dough by combining flour, 3 tablespoons sugar, and salt in a large bowl. Cut in the cold butter using a pastry cutter or your fingertips until the mixture resembles coarse crumbs with some pea-sized pieces remaining.
- Add ice water one tablespoon at a time, stirring gently with a fork until the dough just begins to come together. Be careful not to overwork the dough—this ensures your crust will be flaky.
- Form the dough into a disk, wrap it in plastic, and refrigerate for at least 30 minutes or up to 2 days. This resting period allows the gluten to relax and the butter to chill properly.
- Preheat your oven to 400°F (200°C) and position a rack in the center. If using a baking sheet, line it with parchment paper.
- Core and slice the apples thinly (about ⅛ inch thick), keeping the skin on for color and texture. If using lemon juice, toss the slices with it to prevent browning.
- Roll out the chilled dough on a lightly floured surface into a 12-inch circle about ⅛ inch thick. Transfer to your tart pan or baking sheet.
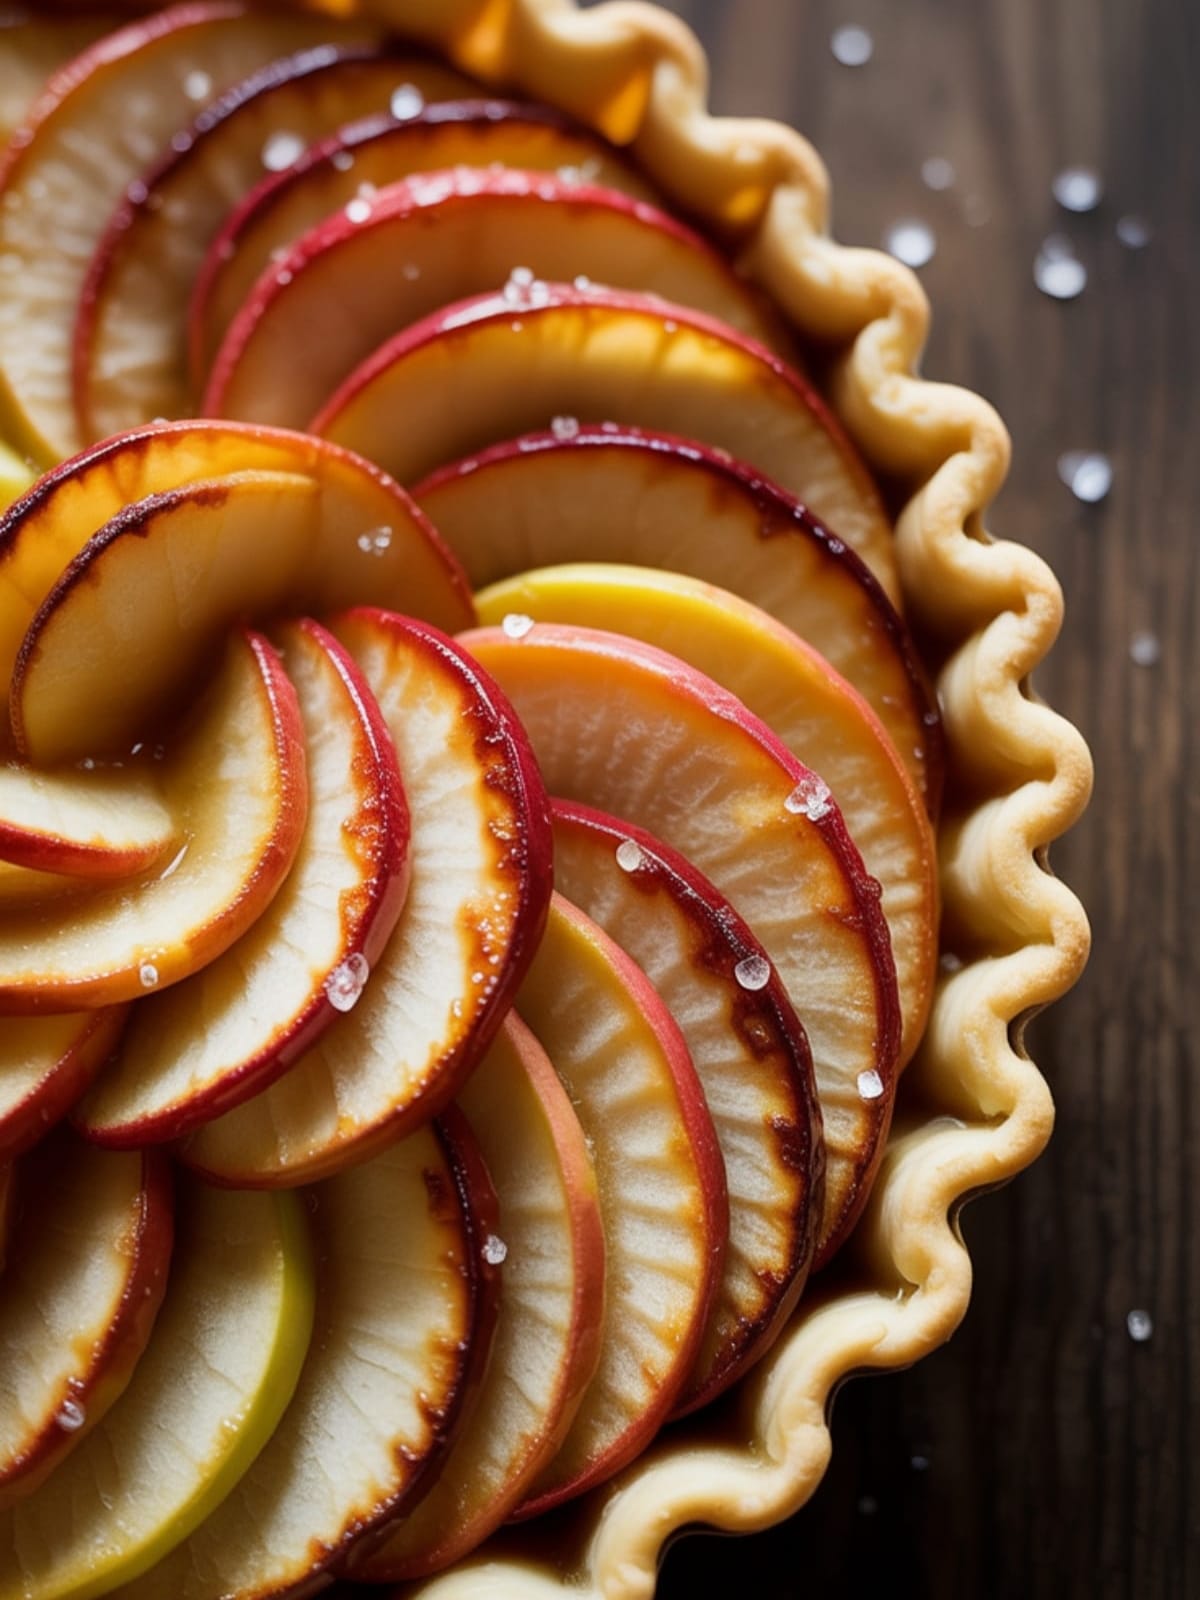
- Arrange apple slices in an overlapping pattern, starting from the outside and working toward the center, leaving about a 1.5-inch border around the edge.
- Fold the pastry border over the edge of the apples, pleating as necessary to create a rustic look. The center of the tart should remain open with the fruit visible.
- Sprinkle the arranged apples with the remaining sugar and cinnamon (if using), then dot with the 2 tablespoons of butter pieces.
- Bake for 45-50 minutes until the crust is golden brown and the apples are tender and caramelized at the edges. Rotate the pan halfway through for even browning.
- Prepare the glaze by heating the apricot jam with 1 tablespoon of water in a small saucepan until it becomes liquid, then strain if chunky.
- Brush the warm glaze over the apples immediately after removing the tart from the oven for a beautiful shine and added flavor.
- Allow the tart to cool for at least 15 minutes before slicing to let the juices set slightly. Serve warm or at room temperature.
Notes
- For the most flavorful result, use a mix of apple varieties—some sweet (like Fuji or Gala) and some tart (like Granny Smith).
- The pastry dough can be made up to 2 days in advance and kept refrigerated.
- If you don’t have apricot jam for the glaze, try orange marmalade or even warmed honey as alternatives.
- For extra richness, you can brush the crust with a beaten egg before baking.
- If your kitchen is warm, chill the assembled tart for 15 minutes before baking to help maintain the crust’s structure.
Calories & Nutritional Info
- Calories: Approximately 275 calories per slice
- Carbohydrates: 38g
- Fat: 14g
- Protein: 2g
- Sugar: 19g
- Contains: Gluten, dairy
- Suitable for vegetarians
Common Mistakes to Avoid
- Overworking the dough – This develops too much gluten, resulting in a tough rather than flaky crust. Mix just until the ingredients come together.
- Using warm butter – Cold butter creates steam pockets during baking, which gives you that desired flaky texture. Keep it chilled until the last minute.
- Slicing apples too thick – Thick slices won’t cook through properly. Aim for ⅛ inch thickness for even baking and tender results.
- Overcrowding the tart – Leave some breathing room between apple slices to allow moisture to evaporate, preventing a soggy bottom.
- Skipping the cooling period – Cutting into the tart while it’s too hot will cause the filling to run. Allow at least 15 minutes of cooling time.
Alternatives & Substitutions
- Gluten-free option: Substitute the all-purpose flour with a 1:1 gluten-free baking blend.
- Dairy-free variation: Replace butter with solid coconut oil or a plant-based butter substitute (though this will alter the flavor profile).
- Fruit variations: Try pears, peaches, or a mix of berries using the same technique.
- Lower sugar option: Reduce the sugar by half and add a teaspoon of vanilla extract to enhance natural sweetness.
- Spice alternatives: Experiment with cardamom, nutmeg, or ginger instead of or alongside cinnamon.
- Quick version: Use high-quality store-bought puff pastry as a time-saving alternative to homemade dough.
FAQs
Can I make this apple tart ahead of time?
Absolutely! You can prepare the dough up to 2 days ahead and keep it refrigerated. The fully baked tart holds well at room temperature for a day, or refrigerated for up to 3 days. Just warm it slightly in a 300°F oven for 10 minutes before serving to crisp up the crust.
Why is my tart crust soggy on the bottom?
A soggy bottom usually happens when the apples release too much moisture during baking. Try these fixes: slice the apples very thin, let them sit with sugar for 15 minutes and drain excess liquid, or sprinkle a tablespoon of flour or ground almonds on the dough before arranging the fruit.
What’s the best way to slice apples for a tart?
For the most professional-looking result, core the apples and slice them thinly and evenly (about ⅛ inch) using a sharp knife or mandoline. Keeping the skin on adds color and helps the slices hold their shape during baking.
Can I freeze this apple tart?
Yes! You can freeze it either before or after baking. To freeze unbaked, assemble the tart on a parchment-lined baking sheet, freeze until solid, then wrap well. Bake directly from frozen, adding 10-15 minutes to the baking time. For baked tarts, cool completely, wrap well, and freeze for up to 3 months.
What’s the difference between an apple tart and apple pie?
The main difference is that a tart is open-faced with only a bottom crust, while a pie typically has both bottom and top crusts. Tarts are also usually shallower than pies and are often removed from their pans before serving, showcasing their elegant presentation.
Final Thoughts
This Apple Tart beautifully balances simplicity and elegance, making it perfect for both special occasions and everyday treats. There’s something deeply satisfying about transforming humble ingredients into something so visually stunning and delicious. Whether you’re an experienced baker or just starting out, I hope this recipe brings as much joy to your table as it has to mine. Happy baking!


