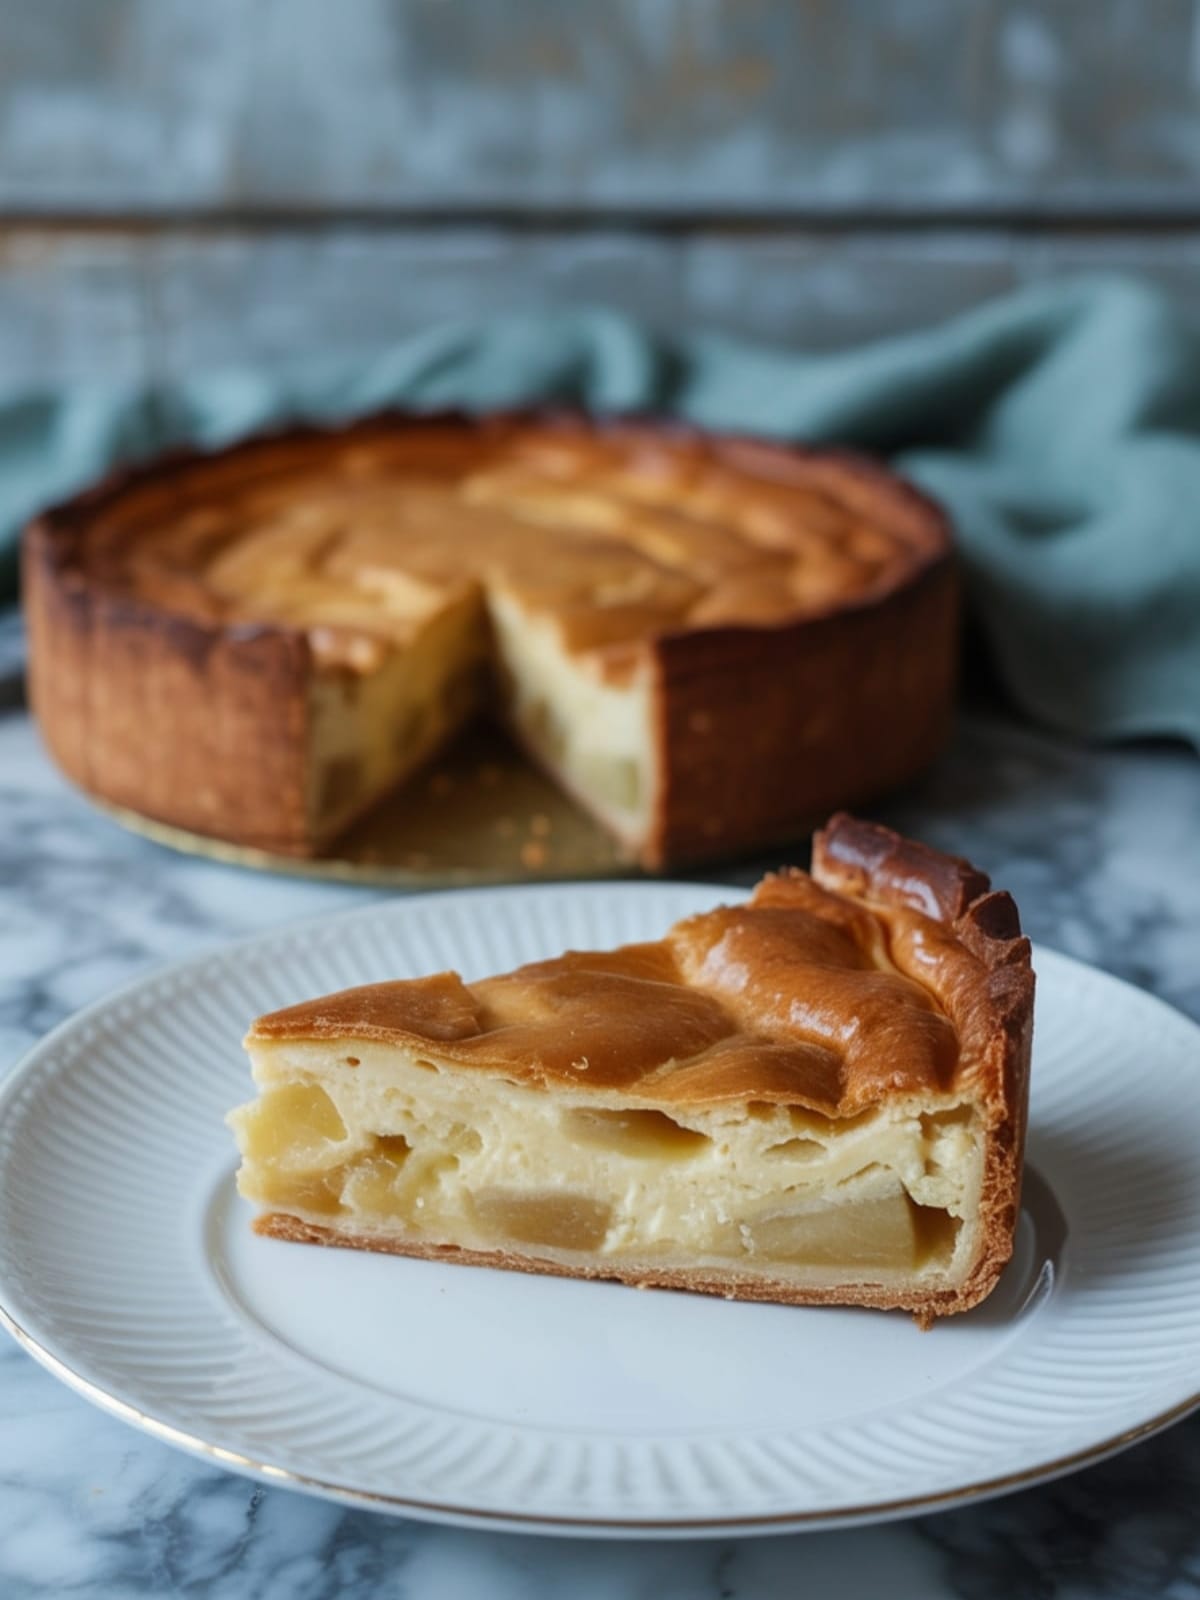
Imagine sinking your fork through a silky, vanilla-scented custard into tender apple slices, all nestled in a buttery, flaky crust. That’s the magic of a French Apple Custard Pie. Unlike its American cousin with its cinnamon-heavy filling and double crust, this French classic offers a more refined, less sweet experience that lets the natural flavor of apples truly shine through the delicate custard embrace.
Why This Recipe is Awesome

The French Apple Custard Pie represents the perfect balance between rustic comfort and elegant sophistication.
What makes this version special is how it transforms basic ingredients into something that feels luxurious without being pretentious. The custard adds a silky richness that elevates this beyond a standard apple pie, creating a dessert worthy of a Parisian patisserie but achievable in your own kitchen. The beauty lies in its simplicity – there’s no complicated technique or rare ingredients, just a thoughtful layering of flavors and textures.
When apples are in season, this pie becomes an absolute showstopper with minimal effort, making it perfect for impressing guests or treating yourself to something special on an ordinary Tuesday.
Equipment needed: 9-inch pie dish, mixing bowls, whisk, pastry brush, baking sheet
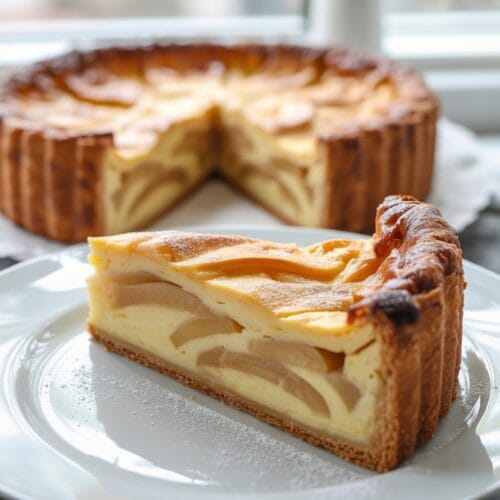
French Apple Custard Pie
Ingredients
- 1 pre-made pie crust or your favorite homemade crust
- 4-5 medium apples preferably Granny Smith or Honeycrisp, peeled and thinly sliced
- 3 large eggs
- 1 cup heavy cream
- ½ cup granulated sugar
- 1 tablespoon all-purpose flour
- 2 teaspoons vanilla extract
- ¼ teaspoon salt
- 2 tablespoons unsalted butter melted
- 1 tablespoon lemon juice
- Optional: 1 tablespoon apricot jam for glazing
Instructions
- Prepare your oven and crust: Preheat your oven to 375°F (190°C). Place your pie crust in a 9-inch pie dish, crimping the edges decoratively. Refrigerate while preparing the filling.
- Prepare the apples: Peel, core, and slice the apples into thin, uniform slices (about ⅛ inch thick). Toss them gently with lemon juice to prevent browning.
- Make the custard filling: In a medium bowl, whisk together the eggs, heavy cream, sugar, flour, vanilla extract, and salt until smooth and well combined. The mixture should be pourable but have some body to it.
- Arrange the apples: Remove the pie crust from the refrigerator. Layer the apple slices in concentric circles in the pie crust, slightly overlapping them for an attractive pattern. For extra flavor, brush the apples lightly with melted butter.
- Pour the custard: Slowly pour the custard mixture over the arranged apples, allowing it to seep between the layers. The custard should come just below the top layer of apples.
- Bake with protection: Place the pie on a baking sheet (to catch any potential overflow) and bake for 20 minutes. Then lower the temperature to 350°F (175°C) and continue baking for about 25-30 minutes more, until the custard is set in the center with just a slight wobble.
- Cool properly: Remove from the oven and allow to cool completely on a wire rack for at least 2 hours before slicing. The custard needs time to fully set.
- Optional finishing touch: For a professional shine, warm the apricot jam slightly and brush it over the top of the cooled pie.
Notes
- For the best texture contrast, slice your apples consistently thin but not paper-thin – about ⅛ inch is perfect.
- This pie can be made a day ahead and refrigerated overnight – just bring to room temperature before serving.
- The custard will continue to set as it cools, so don’t worry if it seems slightly jiggly in the center when you remove it from the oven.
- For extra flavor depth, try adding a tablespoon of brandy or Calvados to the custard mixture.
- Blind baking the crust for 10 minutes before adding fillings can help prevent a soggy bottom, though it’s not strictly necessary.
Calories & Nutritional Info
- Calories: Approximately 320 per slice
- Carbohydrates: 35g
- Fat: 18g
- Protein: 5g
- Contains: Eggs, dairy, wheat (in crust)
- Suitable for vegetarians
Common Mistakes to Avoid
- Overloading with apples: Too many apple slices will prevent the custard from properly setting between the layers.
- Under-baking the pie: Look for a slight wobble in the center, not a liquid jiggle – patience is key for perfect custard.
- Slicing while warm: Cutting before the pie has fully cooled will result in a messy, runny filling instead of clean, beautiful slices.
- Using the wrong apples: Soft varieties like McIntosh will break down too much; firm-tart apples maintain their structure best.
- Forgetting to protect your oven: Always place the pie on a baking sheet, as custard can bubble over during baking.
Alternatives & Substitutions
- Dairy alternatives: Coconut cream can replace heavy cream for a dairy-free version, though the flavor profile will change slightly.
- Fruit variations: Pears work beautifully as a substitute for apples, especially Bosc or Anjou varieties.
- Sugar options: Light brown sugar can replace white sugar for a deeper caramel note.
- Gluten-free: Use a gluten-free pie crust and replace the tablespoon of flour with cornstarch.
- Flavor enhancements: Add a touch of cinnamon, nutmeg, or cardamom to the custard for a warming spice profile.
FAQs
Can I make this pie with a store-bought crust?
Absolutely! While homemade crust adds a special touch, a high-quality store-bought crust works perfectly. Just make sure to follow the package instructions for pre-baking if recommended.
Why did my custard curdle or separate?
This usually happens when the pie is baked at too high a temperature or for too long. The eggs in the custard become overcooked. Following the temperature reduction during baking and watching for that slight wobble in the center will help prevent this issue.
Can I prepare components of this pie ahead of time?
Yes! You can prepare the pie crust and custard mixture up to a day ahead and store them separately in the refrigerator. Assemble and bake when ready, adding perhaps 5 extra minutes to the baking time if components are cold.
How do I know when the custard is perfectly set?
The center should have a slight wobble when gently shaken – similar to set jello. The edges should be more firmly set than the center. Remember, it will continue to firm up as it cools.
How long does this pie keep?
The French Apple Custard Pie will keep well in the refrigerator for up to 3 days. After that, the crust may begin to soften too much from the moisture in the custard.
Final Thoughts
The French Apple Custard Pie bridges the gap between everyday comfort and special occasion elegance. There’s something deeply satisfying about creating something so refined from simple ingredients. Whether you’re serving it at a dinner party or enjoying a slice with your afternoon coffee, this pie offers a little moment of Parisian charm in your day. Happy baking!


